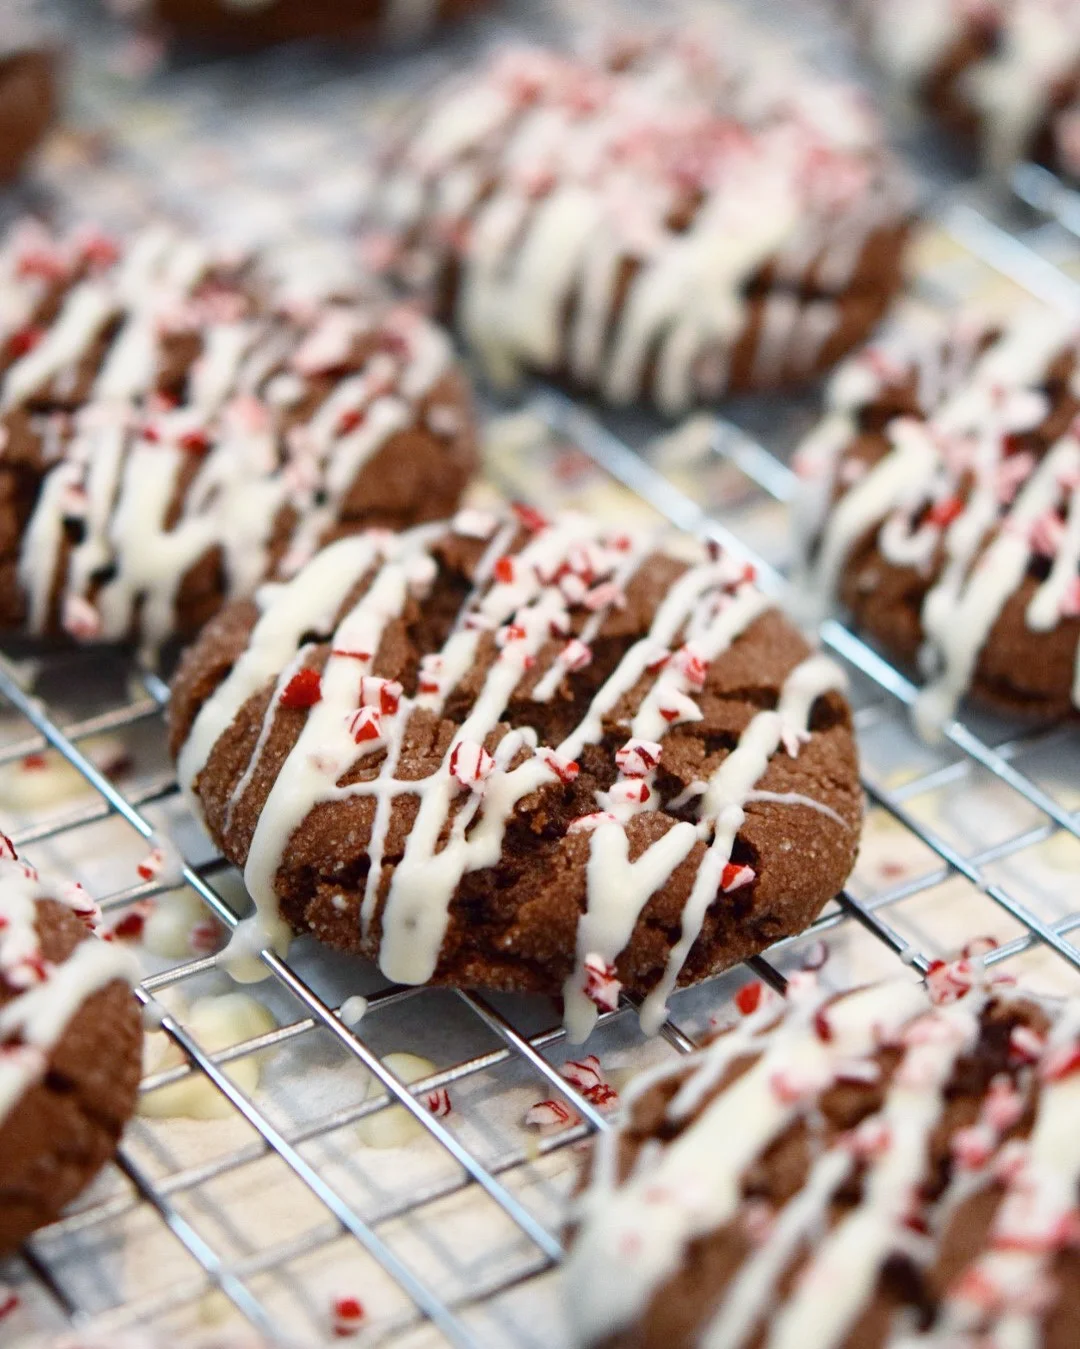
Just like every tweens' order during the holidays at Starbucks, this cookie has a little bit of everything. Couple pumps of peppermint mocha in the espresso, a bit of white chocolate, and a pretty garnish - this cookie is all those things and more! Aaron is saying these are his new favorite Christmas cookie - they are a little sweet, but not too much, soft but with a sugary crust, pretty but not too time-consuming to decorate. These cookies come together easily and make a festive impression!
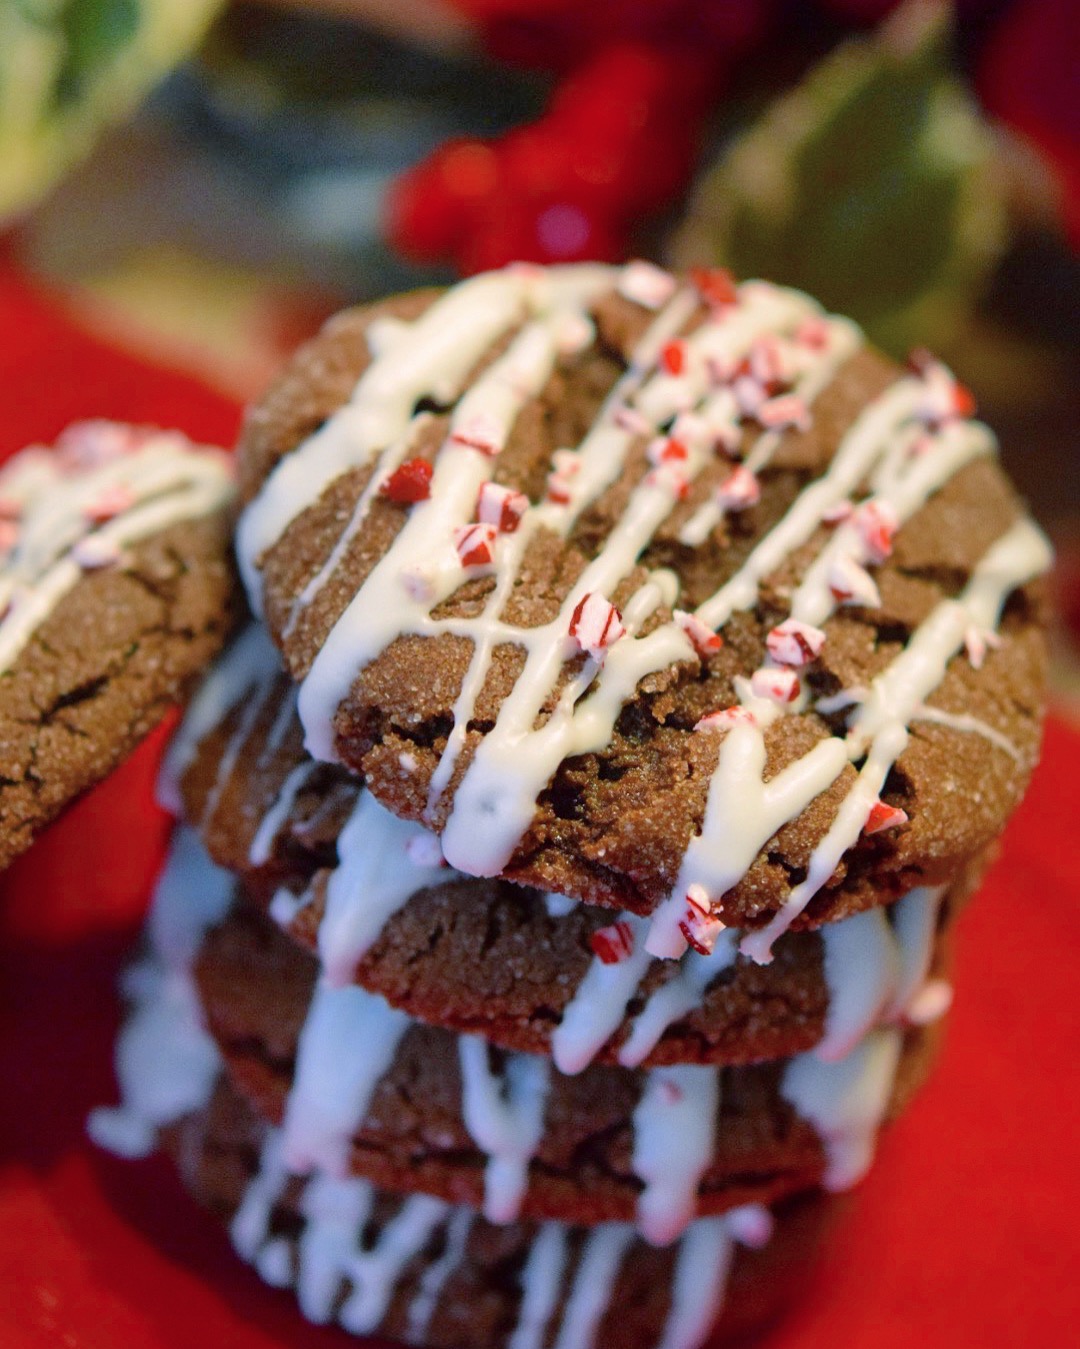
White Chocolate Peppermint Mocha Cookies
Makes about 2 dozen cookies
For the Cookies:
- 12 tbs. butter, softened
- 1/2 cup cocoa powder
- 2 tbs. molasses
- 1 tbs. instant espresso (or coffee) powder/granules
- 1/2 cup granulated sugar, plus extra for rolling
- 1/2 dark brown sugar
- 1 egg
- 1 tsp. vanilla extract
- 1/4 - 1/2 tsp. peppermint extract (this stuff is strong, so a little goes a long way, but if you really love peppermint, go for it - do not use Mint extract or it will taste like toothpaste, make sure its Peppermint)
- 1 1/2 cups flour
- 1 1/2 tsp. baking soda
- 3/4 tsp. salt
For the drizzle:
- 3/4 cup white chocolate chips
- 2-3 tbs. vegetable shortening
- 1/4 tsp. peppermint extract (optional)
- Crushed peppermint candies/candy canes, for garnish (optional)
Preheat your oven to 375° and line two cookie sheets with parchment paper or silicon baking mats. Set aside.
Melt 4 tbs. of the butter in a small bowl. Whisk in the cocoa, molasses, and espresso. Mix until smooth and set aside.
In the bowl of a stand mixer, cream together the other 8 tbs (1 stick) of butter with the sugars. Beat until light and fluffy. One at a time, beating after each addition, add the chocolate mixture, egg, and extracts. Mix well and scrape the bowl.
Slowly mix in the flour, baking soda, and salt. Mix until combined.
Roll one tablespoon of dough into a ball and then roll in granulated sugar. Place it on the cookie sheet and pat the top just slightly to flatten it. Repeat with remaining dough, placing each cookie an inch and a half apart on the cookie sheets.
Bake for 9-12 minutes, until the tops crack and the middles are set. Do not over bake! If you like a soft cookie make sure you take them out just as they are cooked, the long they are in the crunchier they will be.
Cool the cookies on the cookie sheet for 5 minutes, then move them to a cooling rack, placed over paper towels.
While the cookies are baking, prepare the drizzle. In 5 - 10 second increments, in a microwave safe bowl, melt the white chocolate chips and shortening. It will burn VERY easily so seriously, go ten seconds or less at a time and stir it super well between heating. Once it is melted, stir in the peppermint extract. Using a spoon, lift some of the chocolate out of the bowl and drizzle it back in. If it is too think, melt more shortening into it, in five second intervals, until it is thin enough to drizzle well.
Once the cookies are cooled to the touch, drizzle the white chocolate over the cookies and then sprinkle the crushed candy canes on top. Let the drizzle set at room temperature until no longer soft. Store cookies at room temp, in a sealed container.