I started this tradition two years ago when my first son, Townes, was born. We were living in our tiny house back then (sometimes I really miss it) and I had painted a half wall in his nursery with chalkboard paint. Note: I LOVE chalkboard paint.
I had gotten a bunch of Pinspiration from others who had done similar things and this was my version of the chalkboard updates. I'm not the best about sending photos or taking videos, so posting these on Facebook for my friends and family was an awesome way to share his milestones. Plus, I knew there was no way I was actually going to fill out his baby book.


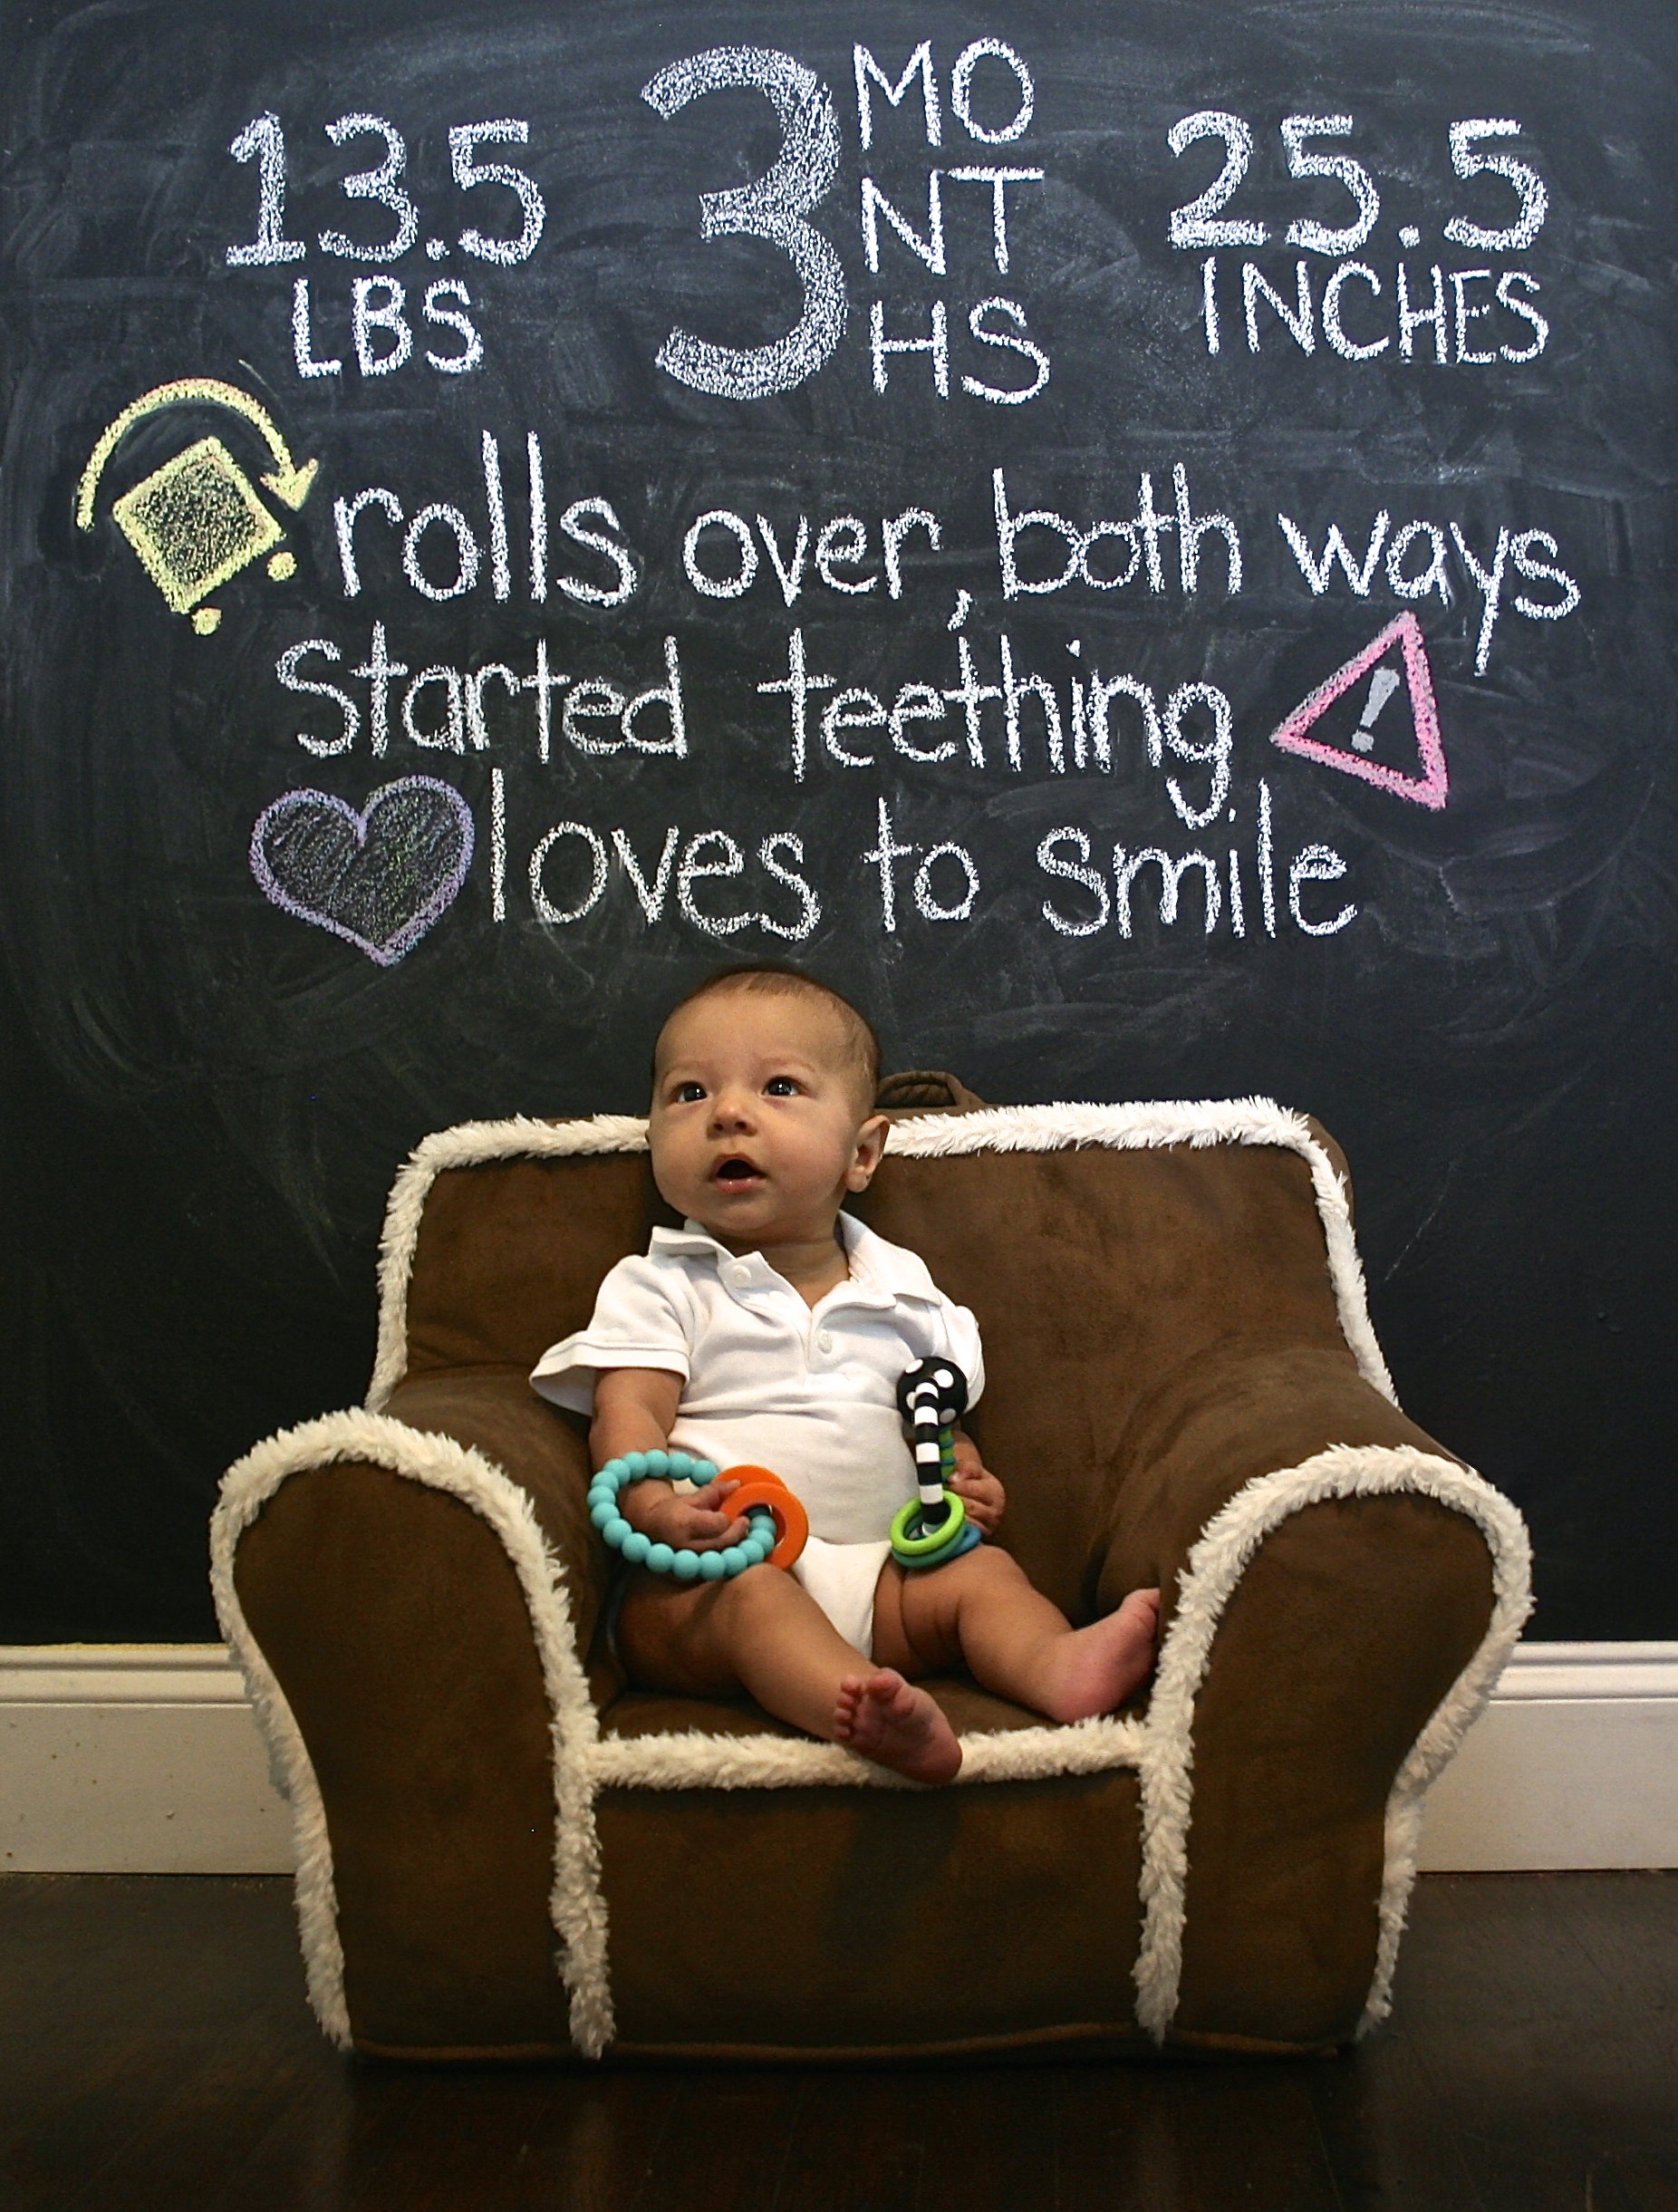


Being that I only had one baby and this was a fun creative outlet, I did monthly milestones and holidays. I changed up the regular pattern on his birthday when I had everyone who attended his birthday party sign his chalkboard, I thought that would make for a special memory (and helped with thank you notes haha). You can also see a progression of my chalk art, approach, and photo editing as time went on. Sometimes I look back at the early ones and wish I could re-do them, but perfection is pointless.
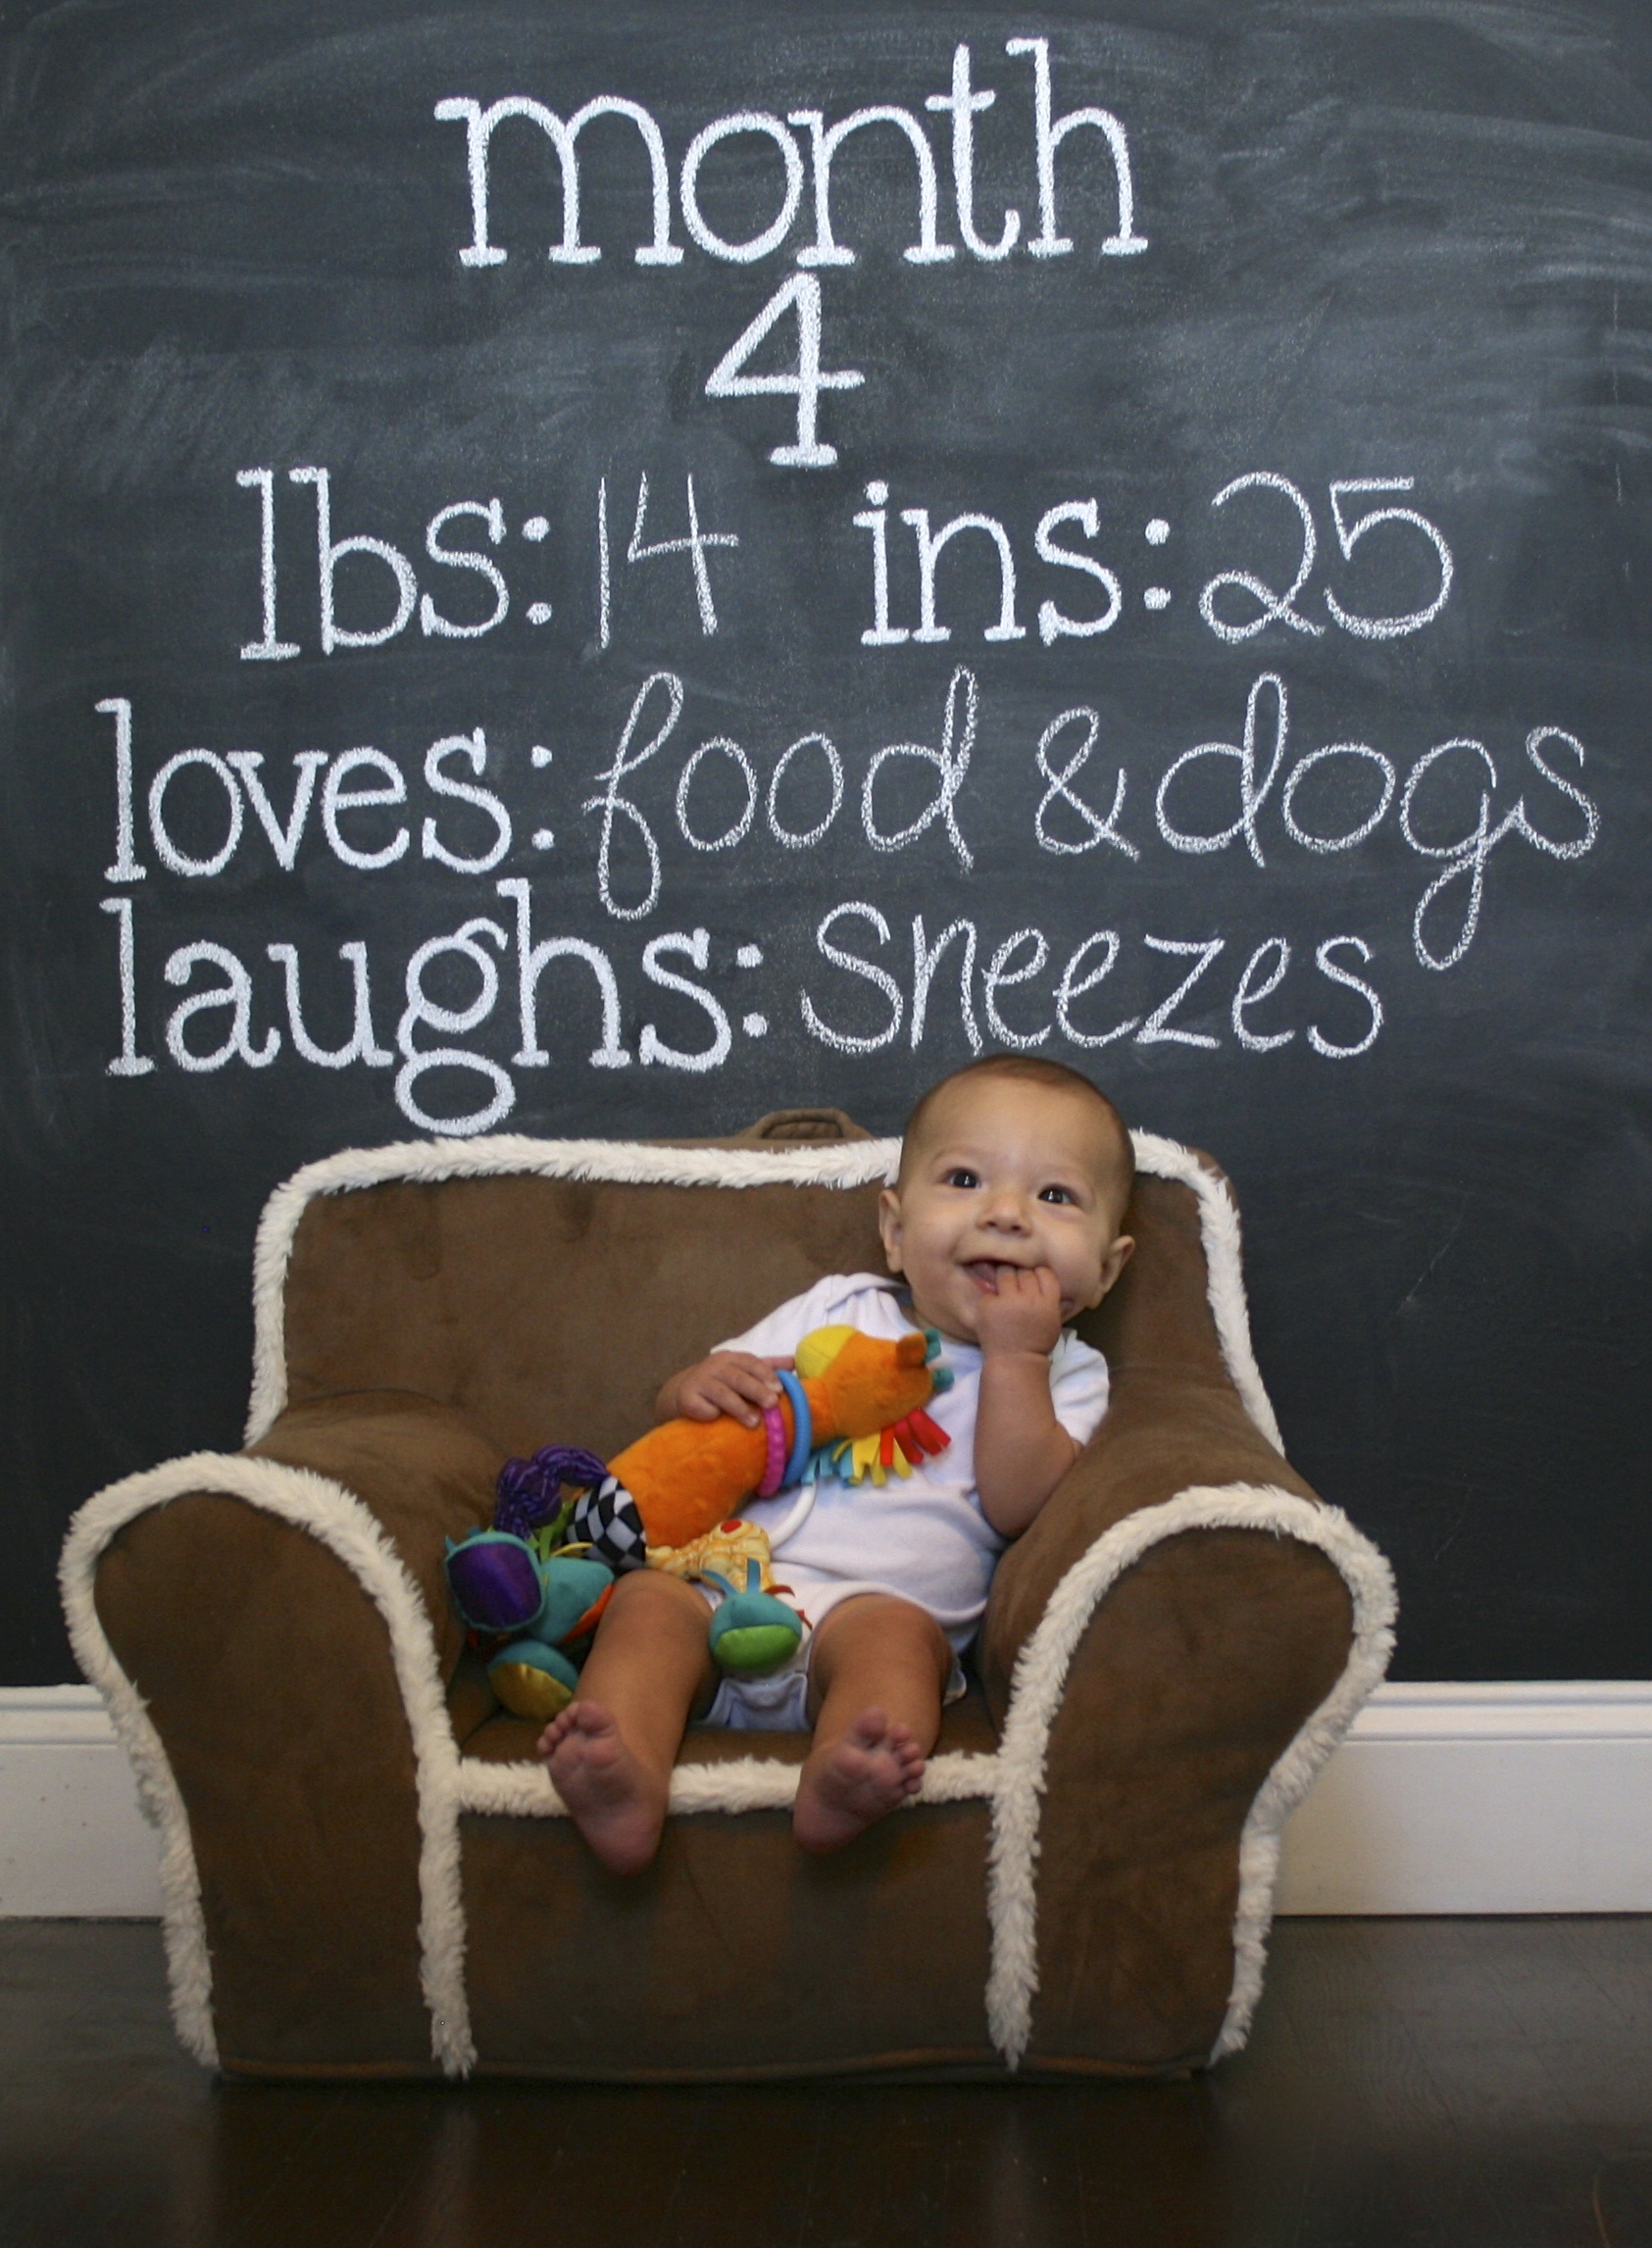
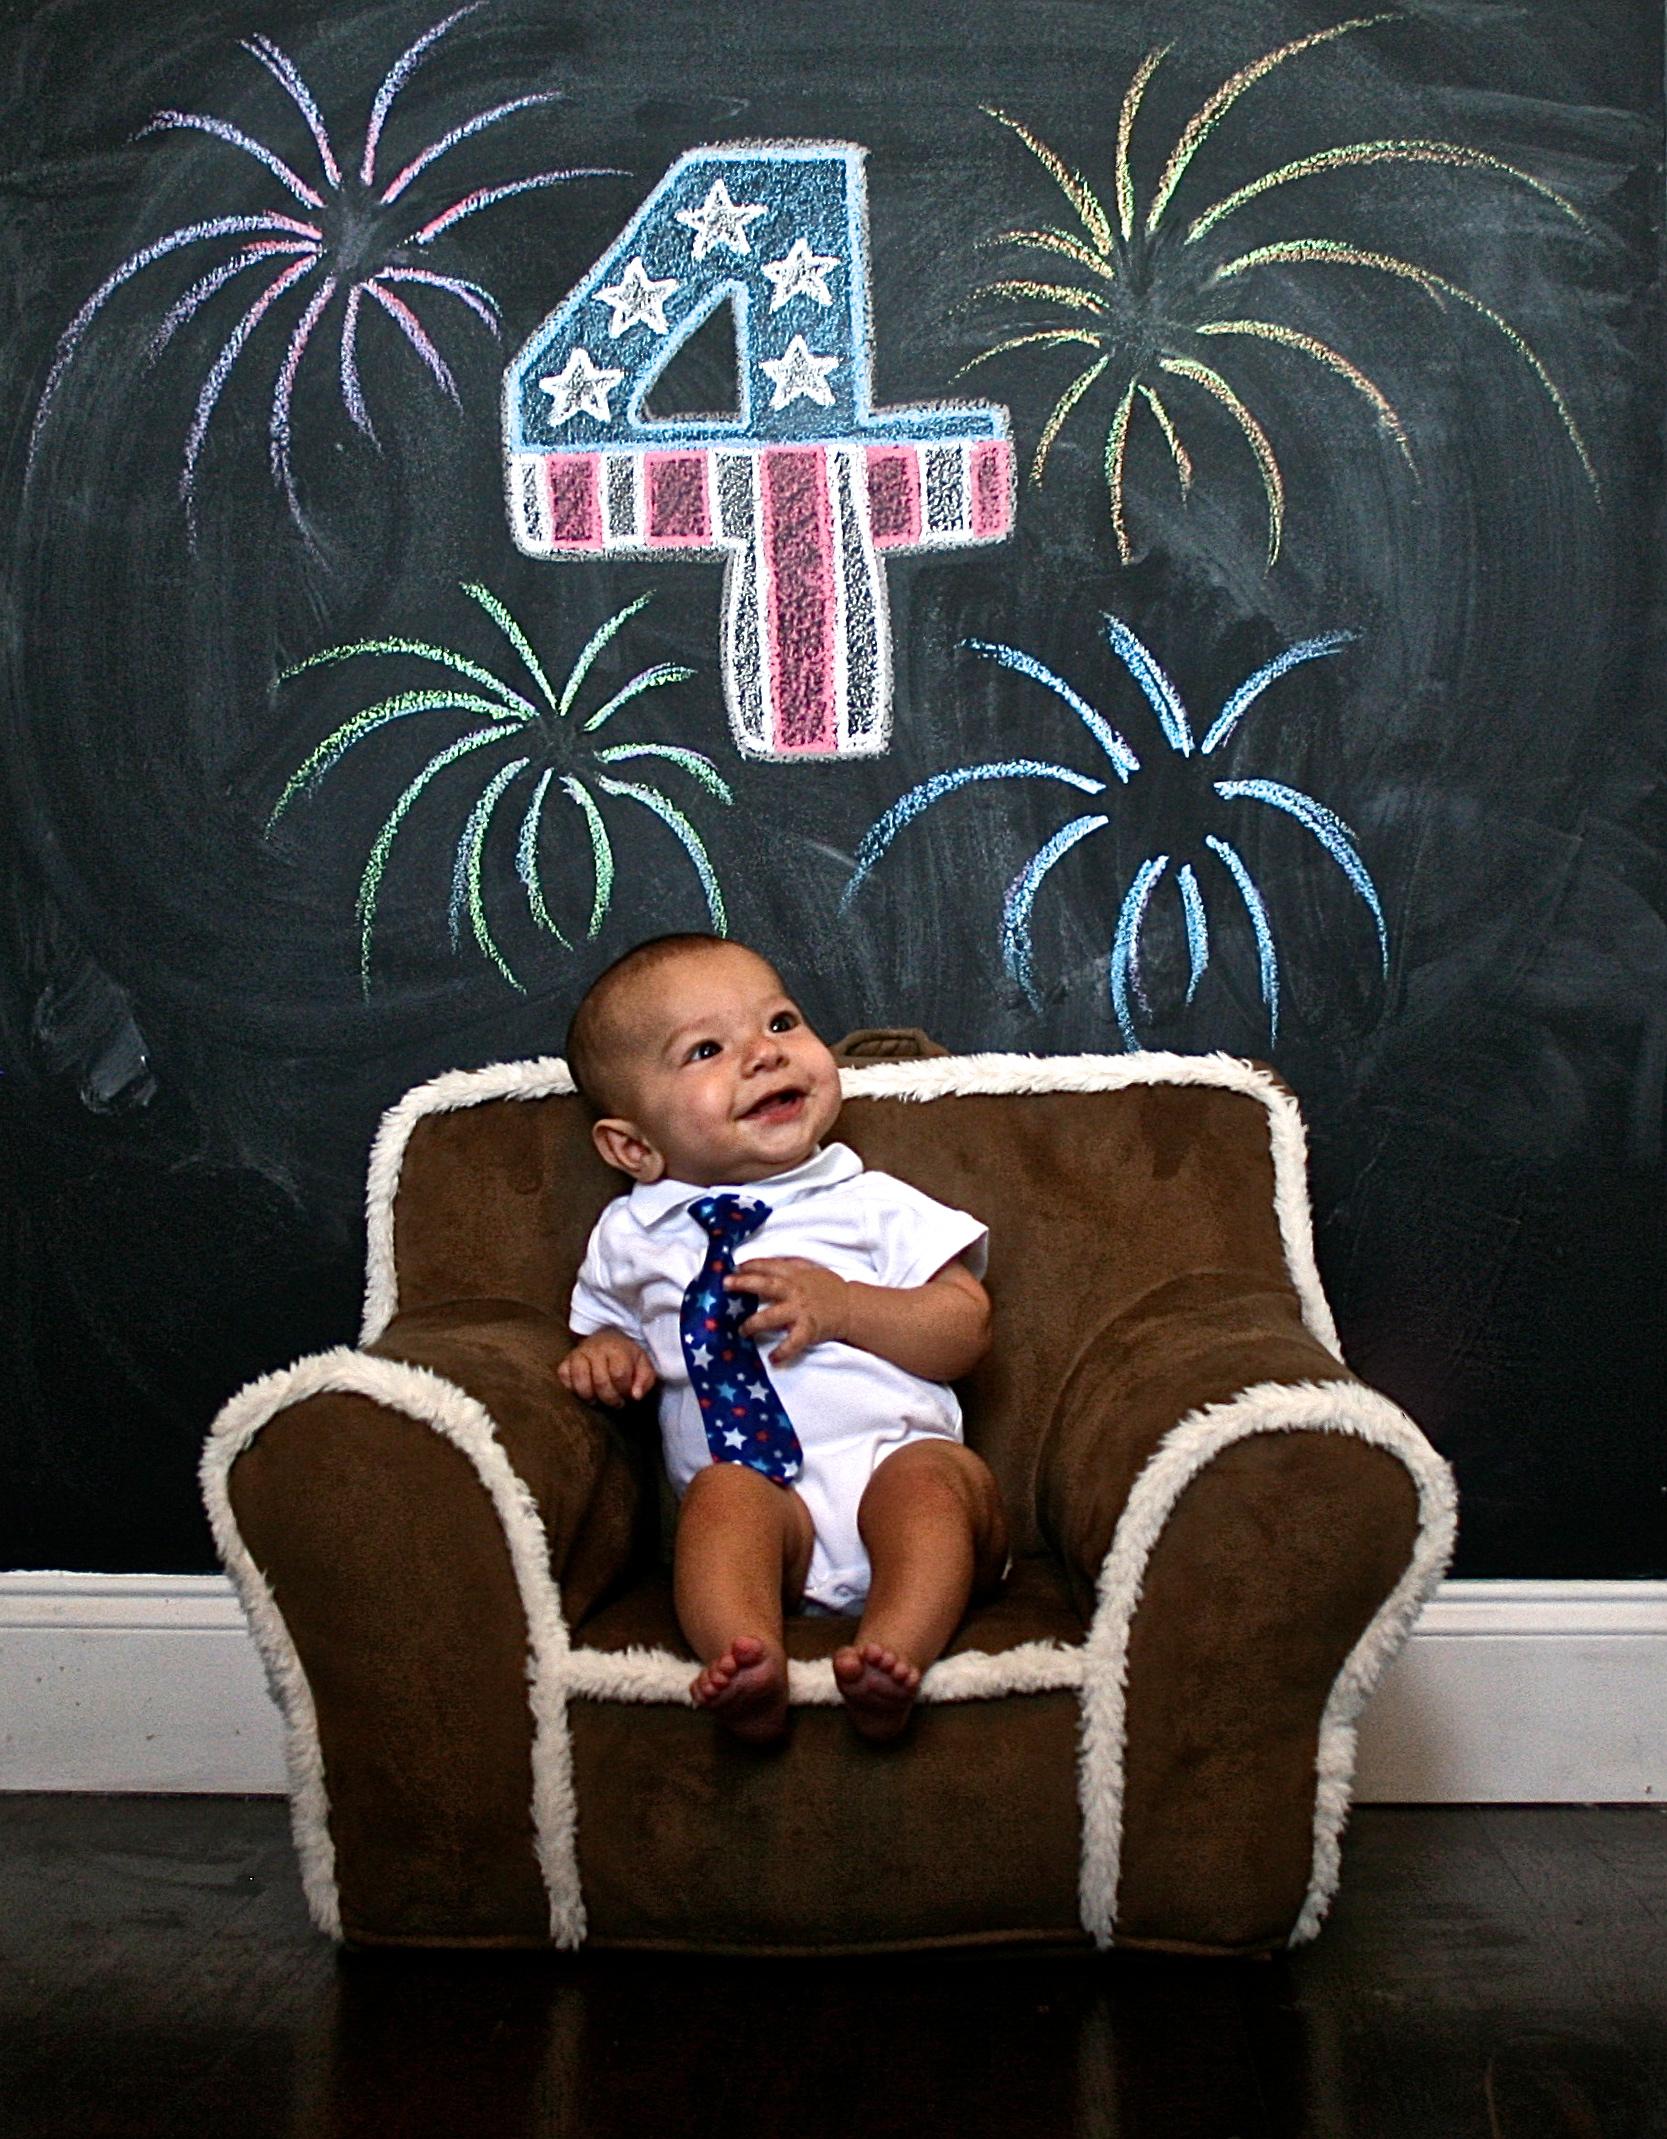
One thing I am happy I did was choosing a particular item to photograph him with that was a favorite at the time. Babies jump from one favorite thing to another so quickly its easy to forget what they were into or a milestone like using their first sippy cup. Putting those things in the pictures with him will always serve as a reminder of what he loved, even if it was fleeting.


You also might notice that sometime in the summer, the floor magically changes colors. Not magic. What happened was, we decided to remodel our tiny 780 sq ft. bungalow into a 2400 sq ft. dream home. However, part of the collateral damage was Townes' actual wall in his first bedroom (which became Aaron's office). Also, we had to move out of our house and live in a rental for almost a year, and I had to figure out a solution to my continuity issue.
I couldn't very well paint a wall in the rental house with chalkboard paint, landlords tend to frown upon those types of things. So I did the only logical thing. I measured the wall exactly, took a picture of the baseboard molding and headed out to Home Depot. I'm pretty sure every guy there thought I had lost my mind, but I asked that they cut me a piece of MDF to the exact size, and found matching baseboard and had them cut that for me too.
Back at home, I painted my new "wall" with two coats of Rust-Oleum Liquid Chalkboard Paint (its better than the spray can) and then attached the baseboard to the bottom with wood glue. All I had to do now was lean it on the wall and plop his Pottery Barn Baby Chair in front of it and no one would know the difference (unless they compared the stain color on the hardwood floors).
Here are some of the pre-edit photos so you can get an idea of what a difference good photo editing can do. Nowadays I use my favorite app on my phone, Aviary, but at the time I was just using what tools were available to me in iPhoto. When taking the photo here are a few tips to make sure they turn out great.


- Keep it straight and level: I used to place my camera on an board book on an ottoman away from Townes and used a remote to shoot the photos (I used this really simple one from Precision). You want the camera to be straight on to your little ones face, make sure you aren't shooting from higher up; that may mean your camera only needs to be 18 inches off the ground, so use a little tripod or a stool. Before even bringing your baby in, you can make sure the camera is set to capture the whole space you need and that the floor is straight and level in the photo, this will give you the most to work with when cropping later. It will also keep the camera steady and makes the photos look more consistent month to month.
- Shoot, shoot, shoot: Set your camera to a rapid shooting setting. This will allow you to just keep clicking the shutter button on your remote and gives you the most options to choose from (see photo to the right). Make sure your camera is on auto-focus so they aren't blurry (though if your kiddo is making crazy moves that can't be helped) and it will focus before shooting.
- Focus on your baby: Don't worry about trying to get a perfect picture. Once your camera is set, bring in your baby and don't worry about the camera. Kids will give you laughs and giggles if you just set them where you need them and keep eye contact with them and make funny faces, play their favorite songs, etc. If you try to goad them into saying cheese or looking at the camera you may both end up frustrated. Stay out of the frame, but just worry about your little one, I promise you will have a photo you love.
- Edit: Once you have your photos, pick the one you feel makes you the happiest. The one that embodies your kiddo at the time. Then let the magic of digital editing take it to the next level. Crop it to the same size every month, and then adjust your brightness, color, saturation and tint, or add a filter - the more your experiment with your editing tools the better you will get and you will find what you like. Almost every photo editor should have a "straighten" or "align" option - make sure your baseboard or floor is level to the bottom of your photo! I was even able to edit out the power outlet on the wall with the "blemish" tool.

