Homemade Hot Pockets

For those of you who don't know, my husband, Aaron, is a professional chef.  Ironic that I am the one with a food blog, isn't it?  In any case, after we had kids he got out of the kitchen and into the other side of the restaurant and bar business - but I digress - the point is, in the last five years, I do the majority of the cooking.

This hasn't come as much of a surprise though to those who worked and cooked with Aaron for the last fifteen or twenty years because he was notorious for putting out the most gorgeous, sophisticated plates and then sitting out back and having a frozen corn dog or hot pockets for dinner.  It would drive executive chefs crazy that they had all this wonderful food in their walk-ins, stacked next to frozen corn dogs.

So as much as I can impress Aaron with some of the dishes that I produce in our kitchen here, there is also always a family-size box of Hot Pockets in our freezer.  And, don't get me wrong, I can totally understand their appeal - I have the occasional need for a Hot Pocket or Taco Cabana burrito myself, but as a mom, I don't love the idea of feeding it to my kids.

When I cook at home I use as much organic produce and ingredients as are available, and try to make things as scratch as possible.  It feels really good to know exactly what's going in my kids - there isn't a lot we can control as parents so this feels like a nice attempt at it for me.  So over Christmas break I decided to jump in a tackle the ever-present Hot Pocket.

Not only were these insanely delicious but they were completely organic! I even managed to finagle some vegetables into one version (though Aaron condemned this variety as blasphemy).  On top of all of that, they were hand-held, un-messy, kid-pleasing, and easy to make!  The dough came together well and then you just fill it with whatever you want - we made the regular pepperoni, sausage and cheese variety for Aaron, and a second one with sausage, bell pepper, mushroom, and spinach.  But get creative - anything you would put on pizza would be perfect!

Homemade Hot Pockets

Serves 6-8

For the Dough:

  • 1 cup warm water (100°+)
  • 1 pkg. active dry yeast (2 1/4 tsp.)
  • 1/2 tsp. salt
  • 1 tsp. sugar
  • 2 tbs. vegetable oil
  • 2-3 cups bread flour
  • Egg Wash (1 egg whisked with a bit of water, dried basil and dried oregano)

For the Filling:

You can use whatever you want - but we used these two variations:

Italian Medley:

  • 1 lb. ground Italian sausage
  • 1 small red bell pepper, diced small
  • 6 oz. baby bella mushrooms, diced
  • 2 cups spinach, chopped
  • 2 tsp. minced garlic
  • Shredded mozzarella cheese (2-4 cups, depending on your cheese addiction)
  • Prepared pizza sauce (1-2 cups)

Pepperoni and Sausage:

  • 1 lb. ground Italian sausage
  • 8 oz. pepperoni, chopped
  • Shredded mozzarella cheese (2-4 cups, depending on your cheese addiction)
  • Prepared pizza sauce (1-2 cups)

Prepare the Filling

For the Italian Medley version: In a large skillet, warm some olive oil over medium high heat.  Add the garlic and saute for a minute or two until fragrant.  Add the vegetables and saute until spinach has wilted.  Push the vegetables to the side and add the sausage.  Breaking up the sausage with your spoon as it cooks, cook the meat through before mixing it into the vegetables.  Once mixed, then cook for just a minute or two more, season with salt and pepper and then remove from heat and set aside.

For the "traditional" version:

Saute the sausage in a skillet until cooked through, breaking up the meat with a spoon as your go.  Remove from heat and toss with the chopped pepperoni.  Set aside.

Make the Dough

Preheat your oven to 400° and line a baking sheet with parchment paper or a silicon baking mat.  Set aside.

In a large mixing bowl, mix the yeast and the sugar.  Add the warm water and let stand for five minutes until foamy, so you know the yeast is live.  If it doesn't foam, toss it and start over with new yeast.

Add half a cup of the bread flour and mix well with a spatula or with a mixer fitted with a dough hook.  Add another 1/2 cup of flour and the salt and mix well. Continue to add flour, 1/2 cup at a time, until the dough is no longer sticky.  If using a dough hook, it will have formed a ball around the hook.  If mixing by hand, it should be elastic enough to knead easily with your hands without sticking to your hands and coming apart.

Take it out of the bowl and knead it by hand on a floured work surface for just a few minutes.  Roll the dough into a ball and then pat it gently into a 1 inch thick disc.  You may want to use a floured rolling pin, but careful not to roll it too flat.

Then using a biscuit cutter or drinking glass, cut out 6-8 circles of dough. Using a rolling pin, roll each piece of dough into a circle 1/4 inch thick. 

In the middle of the circle, layer cheese, filling, then drizzle sauce over top.  Go lighter with the sauce, it gets super hot inside (as any Hot Pocket aficionado knows) and you want the filling to stay in there, not spew out if there is too much liquid.

Fold the dough in half and then seal the seam by folding over a 1/2 inch segment at a time, overlapping over the previous section just a bit (see the photo).

Place on the prepared baking sheet and repeat with remaining circles of dough.  Once all pockets are made, brush the tops with the egg wash and then bake until golden brown, 12-14 minutes.

Dough Recipe adapted from Lovely Little Kitchen

Chipotle Sweet Potato Risotto

I had just finished checking a whole lot of things off my to-do list, like Townes' birthday invitations and health insurance changes, when I realized it was suddenly 3:30 and I had no idea what we were eating for dinner.  I also looked outside and it had gone from a blustery, damp day to pre-storm gloom.  I had to make a decision fast and had no where to start.
I wanted something comforting, but I didn't want another comfort food that was covered in cheese and grease and overly decadent.  I wanted comfort food that would warm my soul but also make me feel good.  I wanted veggies and freshness.  I decided risotto was a great place to start, but my favorite (mushroom risotto) would be a no-go with Aaron.  So while I walked to Randall's with T in the stroller I started deciding what to put together. 

I thought sweet potatoes would be an interesting starch to add to the rice, but wouldn't be savory enough on their own.  I always think bacon marries well to sweet potatoes and would add some kick.  Chipotle and sage would add smoky, spiciness that would bring out the depth of the sweet potato instead of the sweetness.  I decided to up the nutritional factor and add some spinach, along with the risotto staples of onion, shallots and garlic. Finish it off with nutty Parmesan and I was good to go.

The best part about how this came out, is that you can keep customizing it.  Substitute kale for spinach, use prosciutto instead of bacon, vegetable broth instead of chicken.  This can be filled with super foods, its gluten free, and it could be vegetarian!
Chipotle Sweet Potato Risotto

Serves 6

Ingredients:

  • 2 medium sweet potatoes, peeled, chopped into 1-inch chunks
  • Olive oil
  • 1 tbs. chopped fresh sage
  • 1 tbs. Chipotle powder
  • 1/4 teaspoon pepper
  • 1 tsp. garlic powder
  • 8-12 oz. bacon, diced
  • 2 tablespoons unsalted butter
  • 1 shallot, diced
  • 1/2 medium white onion, diced small
  • 2 tbs. minced garlic
  • 2-3 cups fresh spinach, chopped
  • 1 1/2 cups Arborio rice
  • 1 cup dry white wine
  • 4 cups chicken stock
  • 1/2 cup grated Parmesan cheese

Preheat your oven to 400° and line a baking sheet with aluminum foil and lightly coat with cooking spray or olive oil. 

In a large mixing bowl, toss the sweet potato chunks with the sage, Chipotle powder, garlic powder, season with salt and pepper and 2-3 tbs. of olive oil, until evenly coated.  Spread the sweet potato onto the prepared baking sheet and roast in the oven until very soft and tender.  Mine took about 30 minutes, tossing them every 10 minutes to make sure they cook evenly.

Meanwhile, in a large dutch oven, over medium heat, cook the diced bacon.  In a separate sauce pot, warm the chicken broth over medium high heat, if it comes to a boil, turn the heat down and keep it warm.

When the bacon is done, remove it from the pot with a slotted spoon into a paper towel-lined bowl.  Pour out the bacon fat, leaving just about a tablespoon or two at the bottom, discard the rest.

Melt the 2 tbs. butter in the dutch oven into the bacon fat over medium heat.  Add the shallots and onion, sauteing until translucent, 3-5 minutes.  Add the minced garlic and spinach, cook until spinach has wilted. 

Your sweet potatoes should be done around now, just pull the tray out and set it aside and let them cool for a bit.

Add the rice to the pot with the veggies and cook for around 5 minutes, stirring constantly so the rice doesn't burn, but starts to toast.  Add the white wine and stir until the wine has been absorbed. 

Once the wine is fully incorporated, pour in enough chicken broth to just cover the rice.  Stir frequently to prevent the rice from sticking to the bottom or burning.  The broth should bubble a bit, but should not be boiling.  After the broth is absorbed, add more broth, just enough to cover the rice and repeat the process until the rice is tender and cooked.

While the rice is cooking, put your sweet potatoes into a bowl and mash until smooth.  Taste and re-season to your preference.  I added more Chipotle powder to kick up the spice factor. Don't forget to keep stirring your rice, though!

Once your rice is cooked and all the liquid is absorbed (you may need more or less than 4 cups of chicken broth depending on your rice), turn the heat down to low and stir in the sweet potatoes one scoop at a time.  My potatoes made about 1 1/2 cups mash and I used it all.  If your potatoes were very big you may not want to use it all. Stir well until the sweet potatoes are well incorporated.  Keep stirring and let it cook for a few more minutes to let the flavors mingle. 

Add the grated Parmesan and half of the cooked bacon, mix well, and turn off the heat. Taste and re-season as needed.  Garnish with Parmesan, bacon and some fresh herbs like sage or parsley.  

Comforting Chili-Mac

So right now finding things to eat in our house can be a bit of a challenge; everyone has an opinion and so I feel like often whatever I make, at least one person is unhappy that night at dinner.  Townes is in a phase where all meat is "sausage" and he only wants "sausage" - Hondo is all carbs all the time, if there isn't pasta, life's not worth living - and Aaron is fine as long as the vegetables aren't big enough to be obvious.  Easy to make everyone happy, right?

Not surprisingly I was exasperated figuring out what to make for dinner, so I asked Chanel (who I have finally realized is like a dinner Magic 8 Ball - I don't know how she does it - I say what should I make for dinner and she just says "x" and its perfect).  Well, she said chili, because it would make T happy, but then macaroni because of Hondo.  I couldn't choose between my children, so I made both.

This chili-mac is full of veggies (and you can even add more, I think sweet potatoes diced up add a great layer of flavor in chili and are chock full of nutrients; a spicy pepper like a jalapeno would kick it up a notch; use your imagination!), has pasta for Hondo, meat for Townes (we can just call it sausage), and is wrapped in a silky cheese sauce no one can resist.  Serve it Texas-style with some Fritos for a second-level frito pie, or top it fully-loaded with sour cream, bacon, green onions and shredded cheese, or just eat it as it is.  You can't go wrong.

Cozy Chili-Mac

Serves 8

ingredients for chili:

  • 3 tbs butter
  • 2 tbs minced garlic
  • 1 red bell pepper, diced small
  • 1 green bell pepper, diced small
  • 1 medium to large white onion, diced small
  • 2 lbs ground beef
  • 3 tbs chili powder
  • 1 tsp cumin
  • 2 tsp chipotle powder
  • 1 tsp oregano
  • Salt and pepper
  • 1 can of red kidney beans (15 oz)
  • 1 can of black beans (15 oz)
  • 1 small can of crushed or petit diced tomatoes
  • 1 lb tube pasta, uncooked (I used elbows but cavatappi would be fun, or anything you like to hold sauce well)
  • 1 box (32 oz) beef broth

ingredients for cheese sauce:

  • 2 tbs butter
  • 2 tbs flour
  • 1 cup milk
  • 1 cup heavy cream
  • 1/2 cup chicken broth (optional)
  • 2 cups shredded Mexican blend cheese
  • Salt and pepper

In a large Dutch oven or pot, melt the 3 tbs of butter and sauté the garlic for just a minute or two until fragrant. Add the peppers and onion and sauté until onions are translucent.

Push the vegetables to the on half of the pot, add half of the ground beef and brown. Once browned well, and broken up, stir into the vegetables and push the mixture back to half the pot. Repeat with second half of the meat.

Add the seasonings (chili powder, chipotle, cumin, oregano and salt and pepper) and stir to combine well. Add the beans and tomatoes. Combine evenly and bring to a simmer.

Pour in the beef broth, bring to a boil and add the uncooked pasta. Boil until the pasta is cooked: it will probably take 50% longer than the time on the box (i.e. If it says 8 minutes, expect about 12). Stir frequently to prevent the chili from cooking into the bottom of the pot.

While the pasta in cooking, prepare your cheese sauce. In a saucepan, melt the butter over medium-low heat and then whisk in the flour. Whisking constantly, let the floor and butter cook for just a minute or two, but do not burn.

Slowly, adding it just a little at a time, whisk in the half cup of chicken broth, whisking until smooth. Repeat with the milk and then cream. Once combined, mix in the cheese and stir until melted. Season with salt and pepper. Remove from heat.

Once the pasta is cooked into the chili, remove from heat and pour the cheese sauce into the chili. Stir well to combine together. Serve immediately. Garnish with sour cream, bacon bits, shredded cheese, sliced green onions, chives or Fritos.


White Russian Casserole

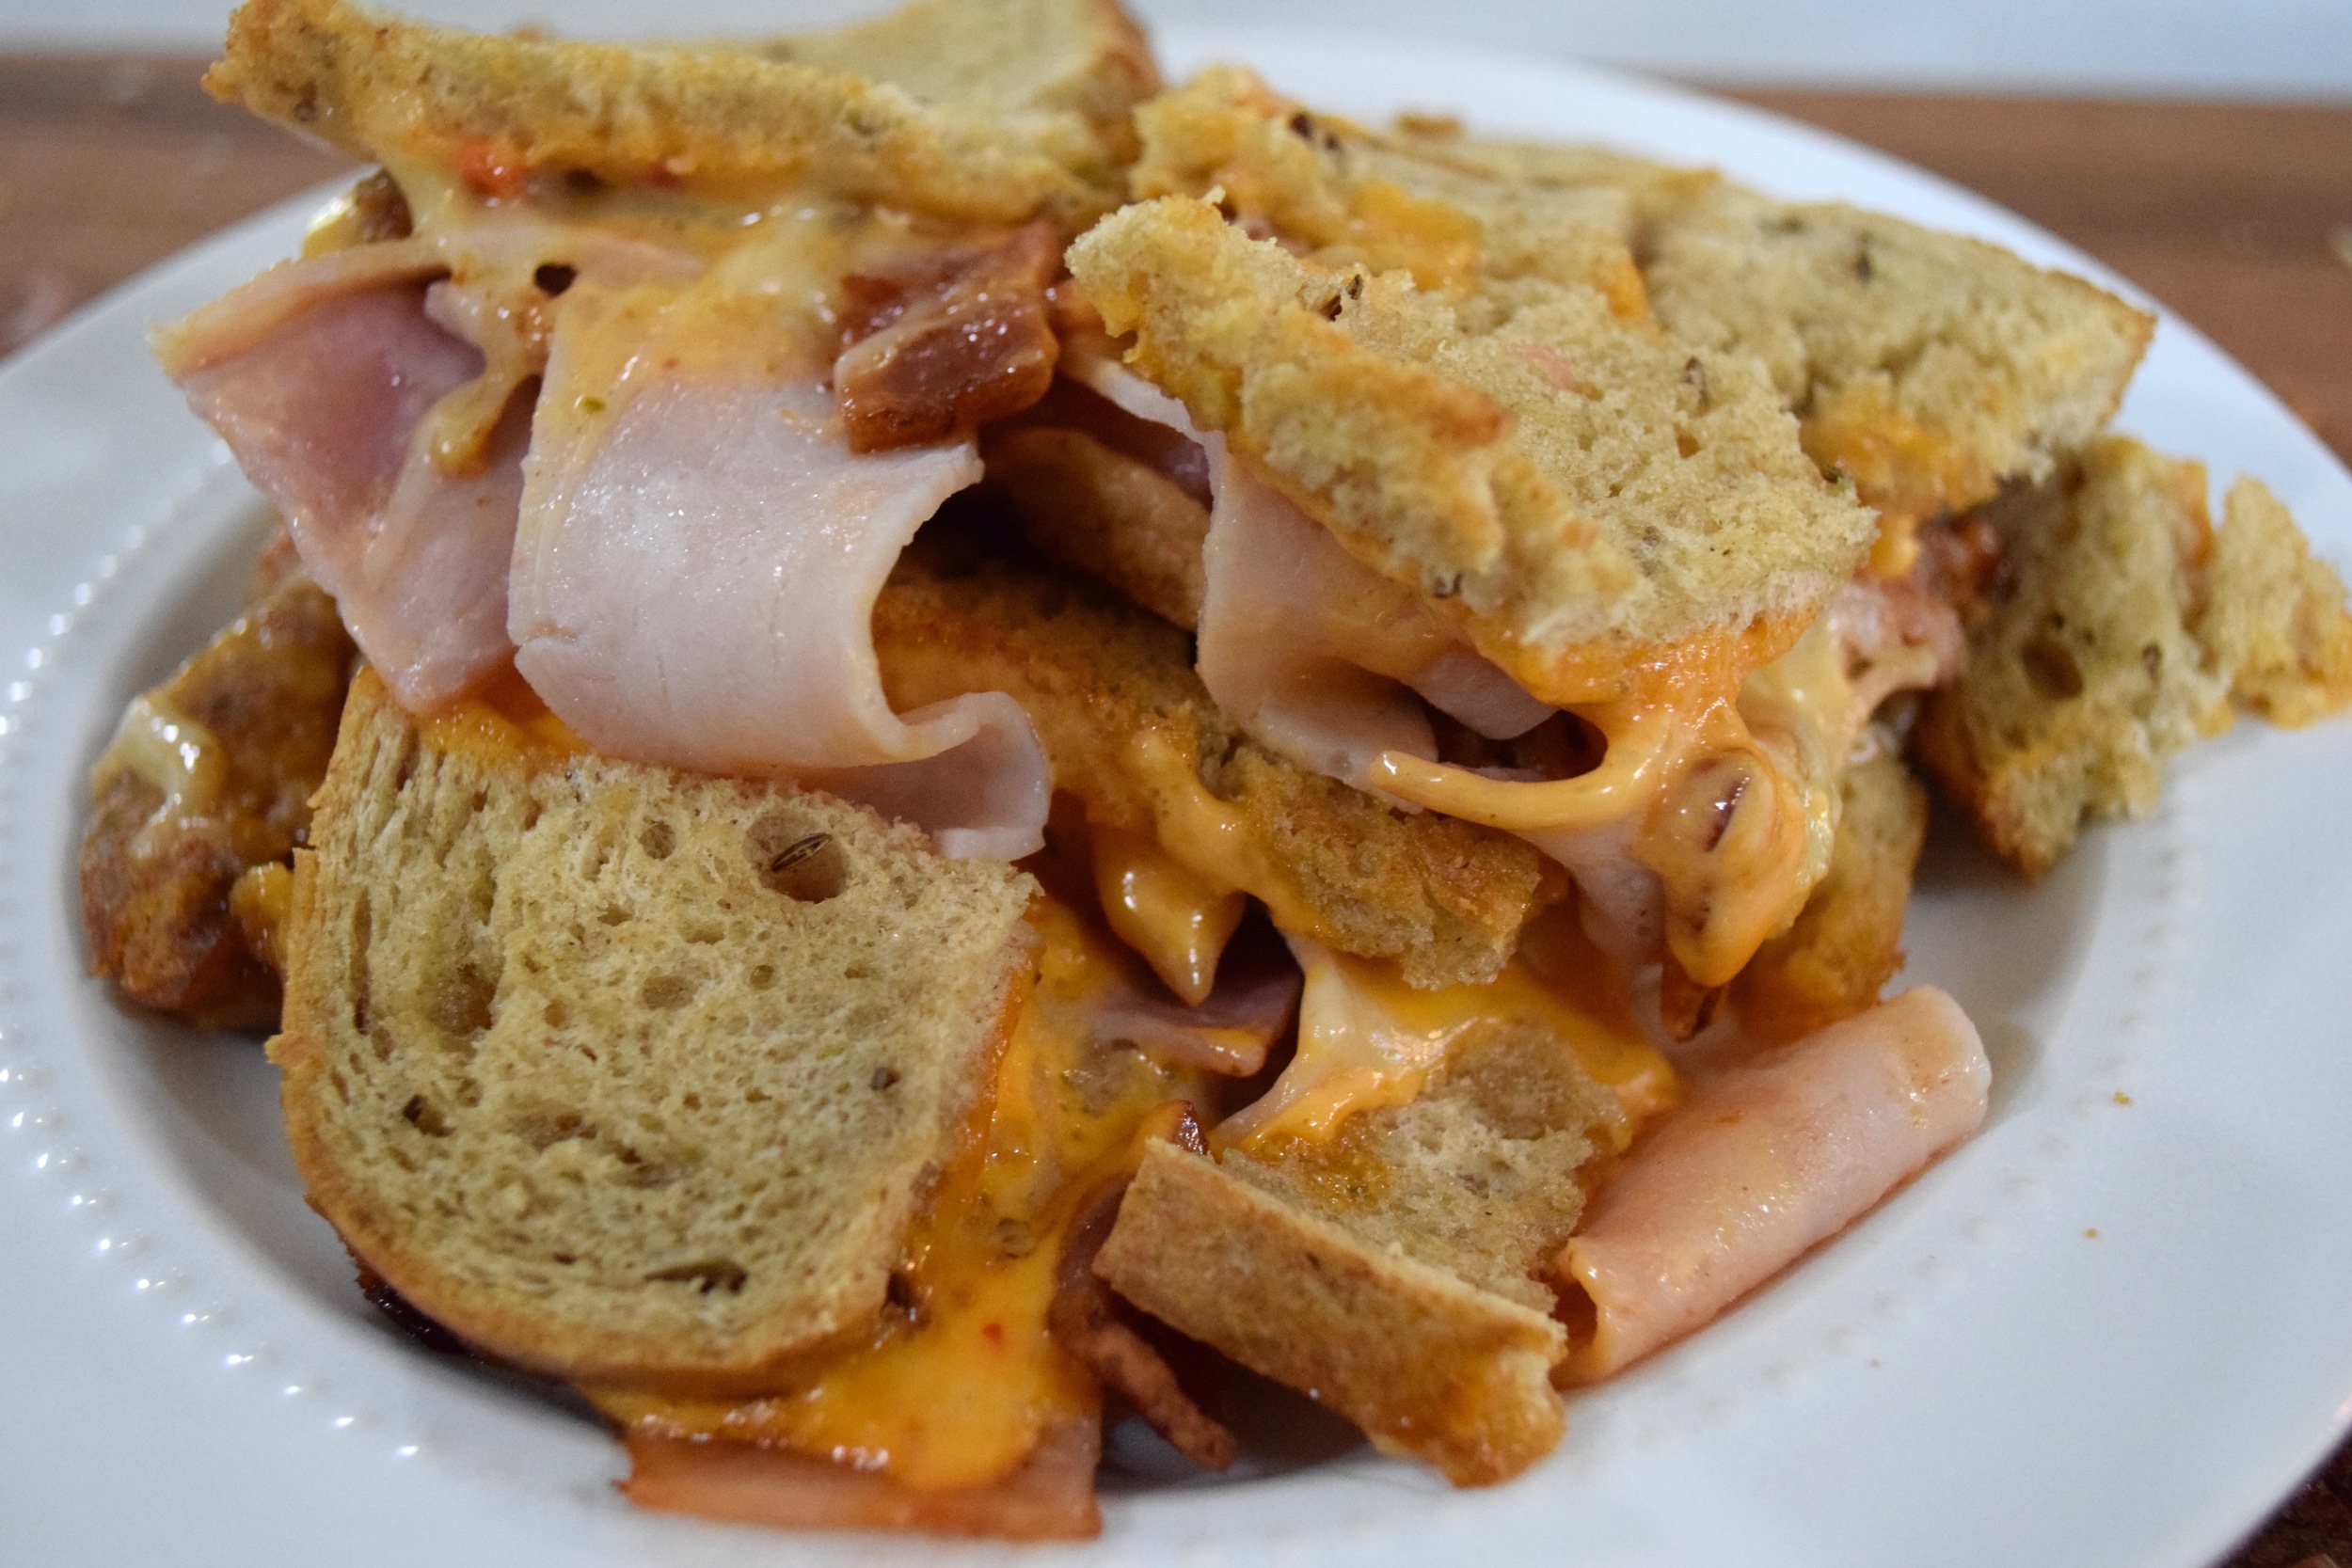
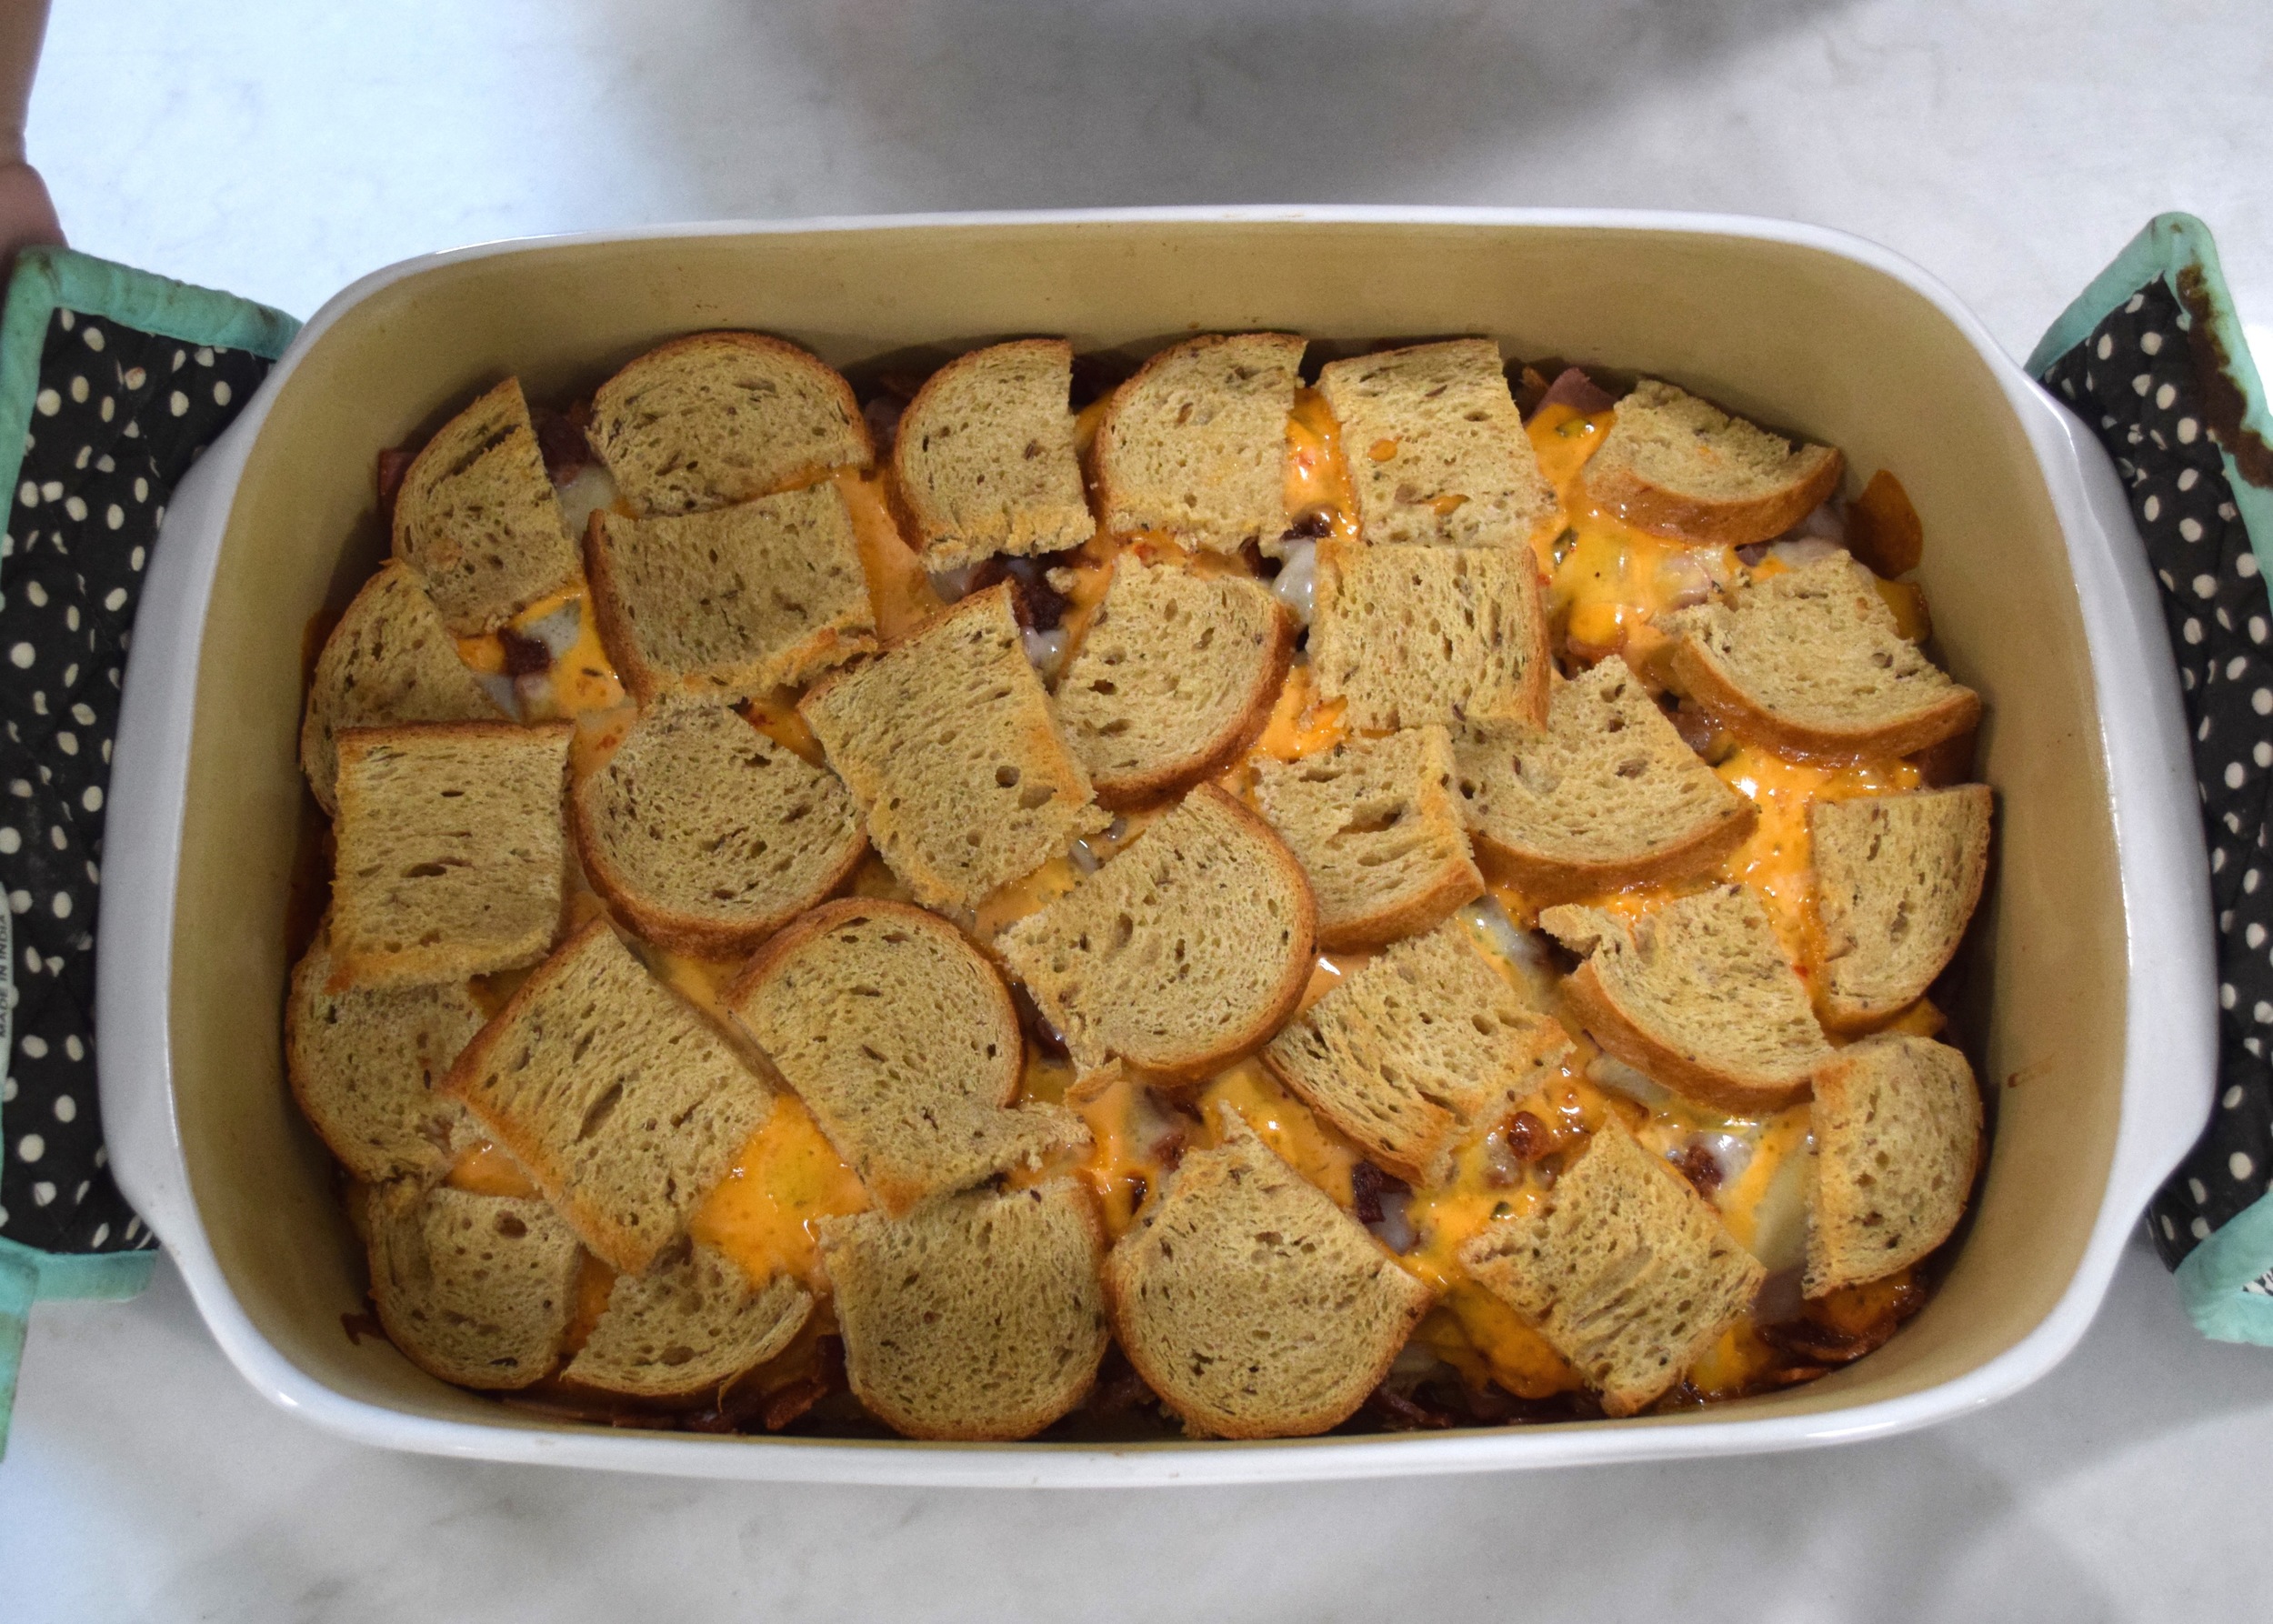
I don't know if this is a casserole as much as it is a family-sized sandwich.  You put it together like a sandwich but in a casserole dish and then you bake it to crispy, melty deliciousness. 

The Inspiration for this came from a sandwich I ate all the time in high school back home in New York.  There was a restaurant down the road from my mom's house, The Katonah Bar and Grill (which has since been renamed Oliver's and the menu is different), and they had a sandwich on the menu, the White Russian.  I'm not entirely sure why it was called that, but it was my favorite.

It was layers of turkey, ham, bacon, cheese and Russian dressing in between buttery-toasted rye bread.  They served it with beer battered french fries and a pickle.  I highly recommend the pairing - however, I didn't have any fries to go with this dinner.

This is honestly one of the easiest, cleanest meals I've ever put together.  With the exception of a bowl for melted butter and a cutting board, all you need is a knife and a casserole dish.  Woohoo! A meal that requires practically no clean-up!

This would also be a great dish for a winter potluck of sorts - a football party or something.  Its basically the epitome of a bar food casserole. 

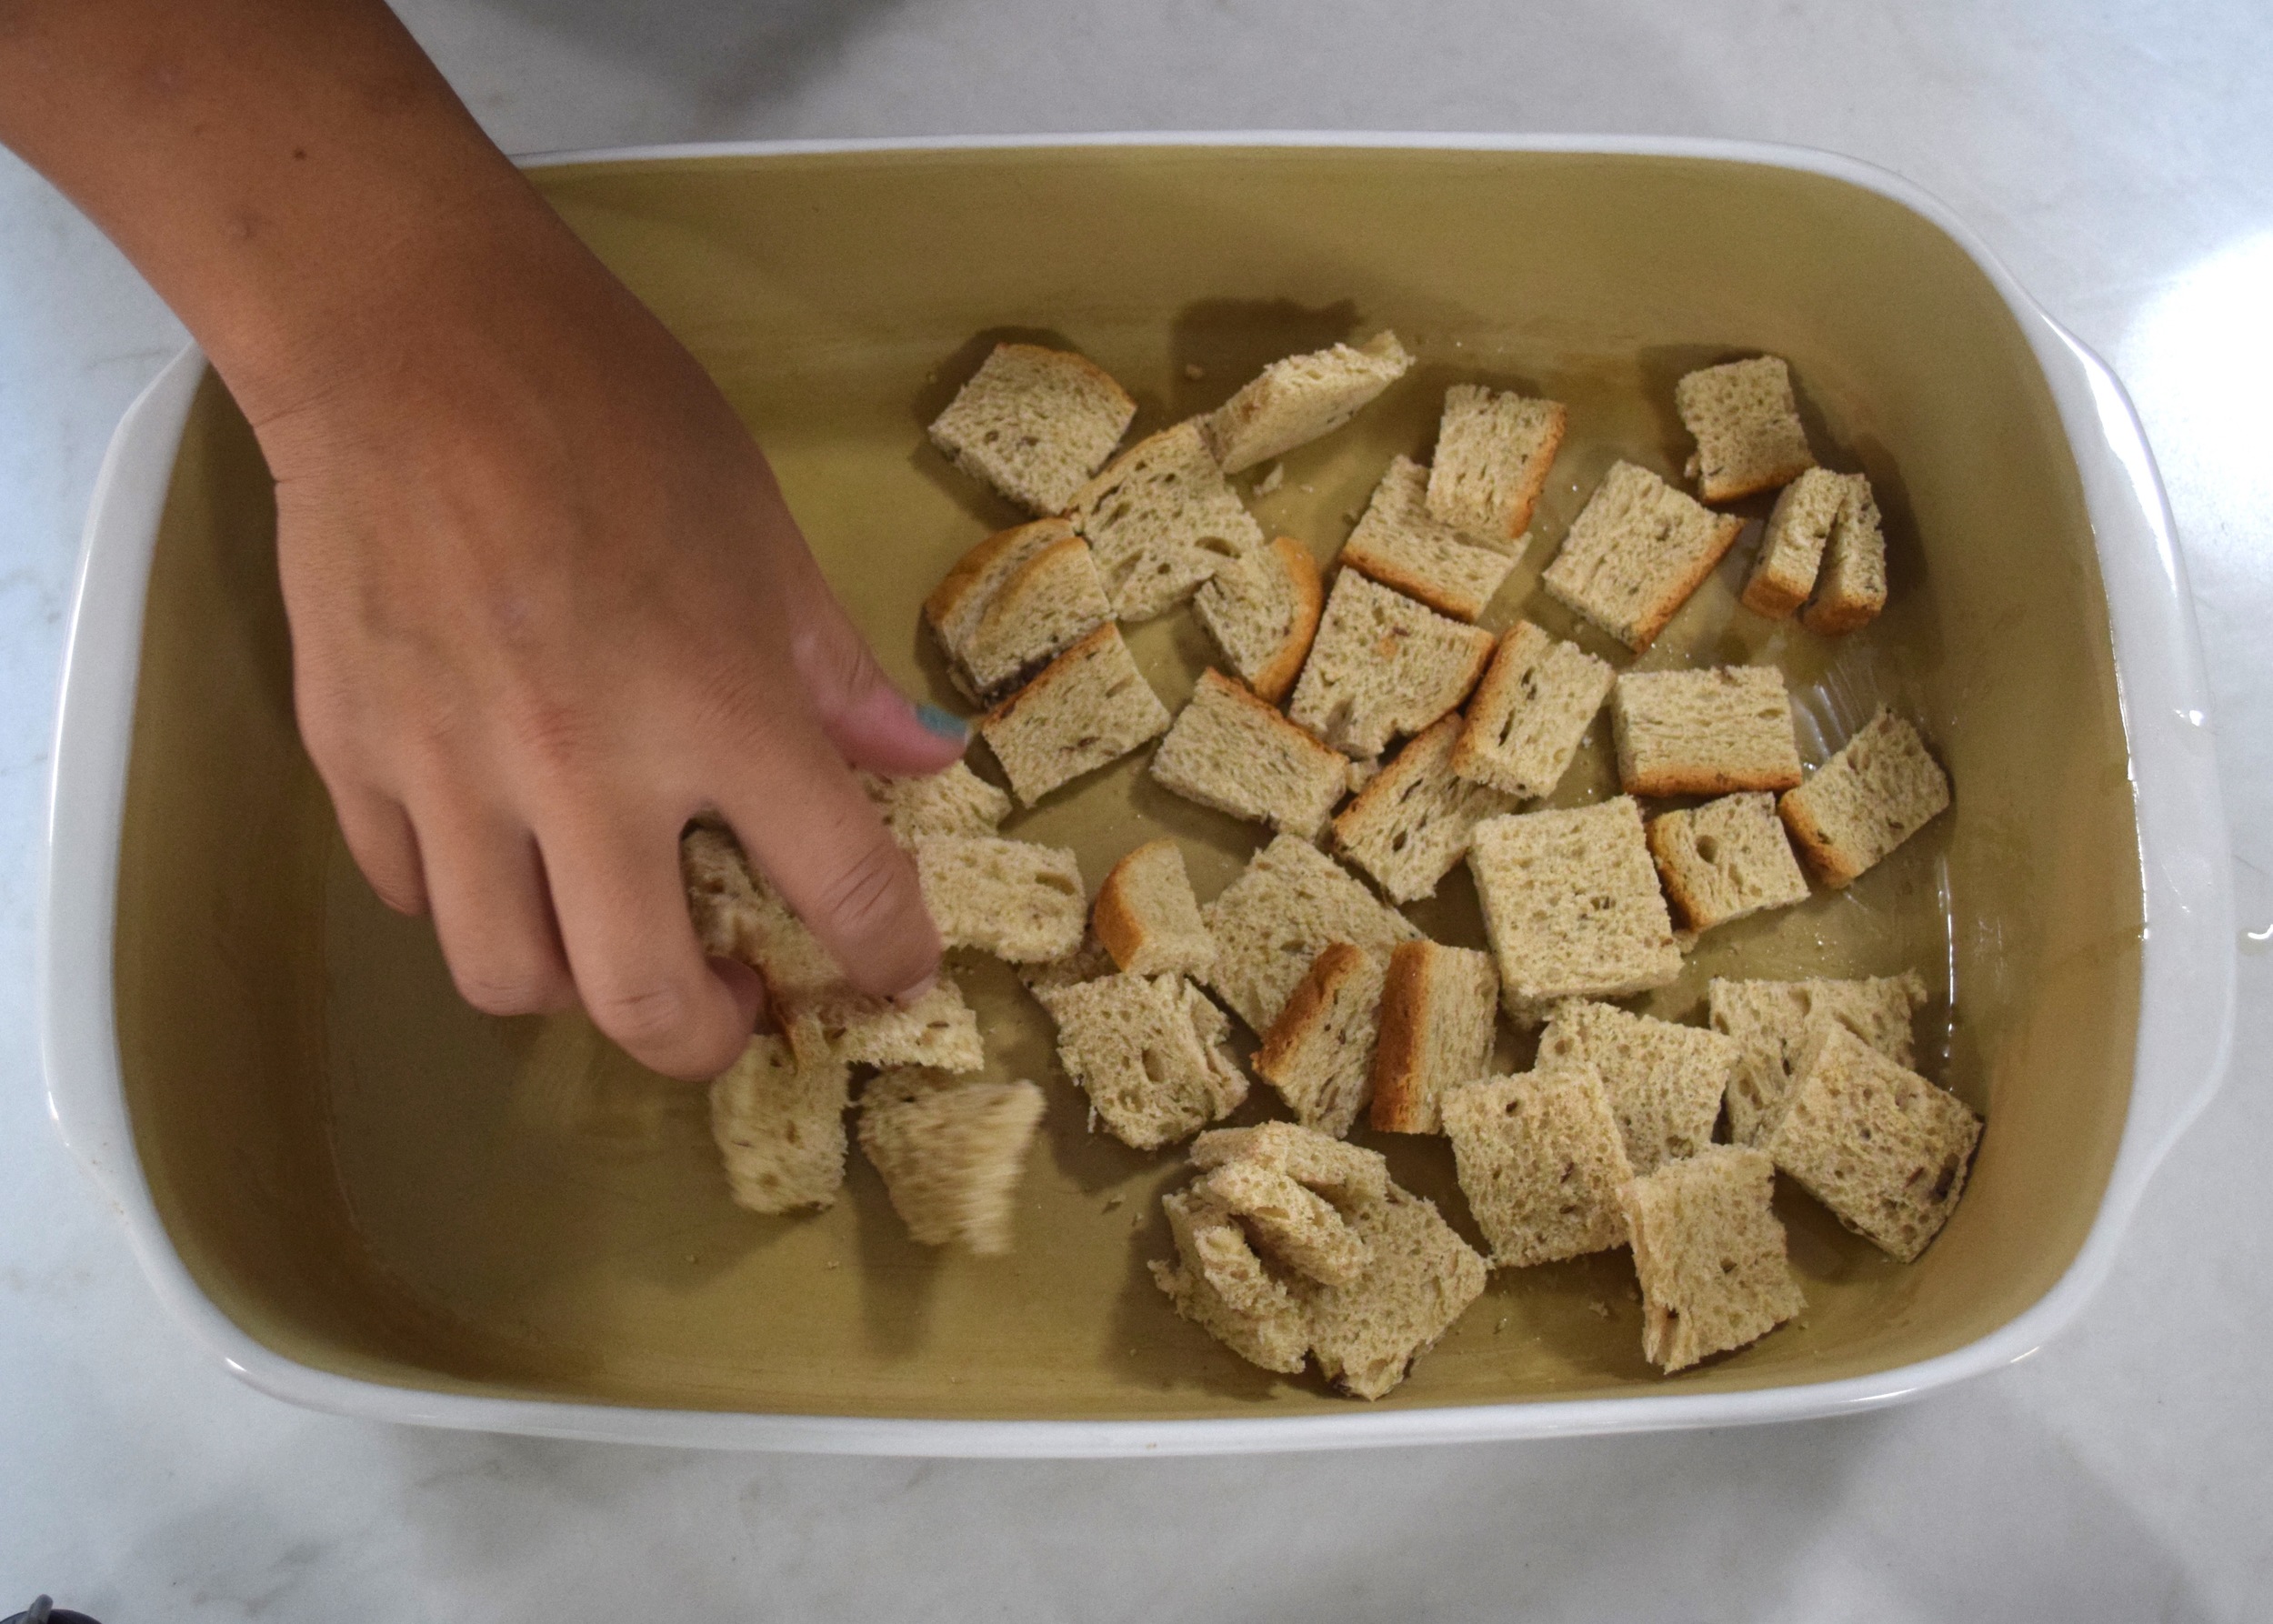
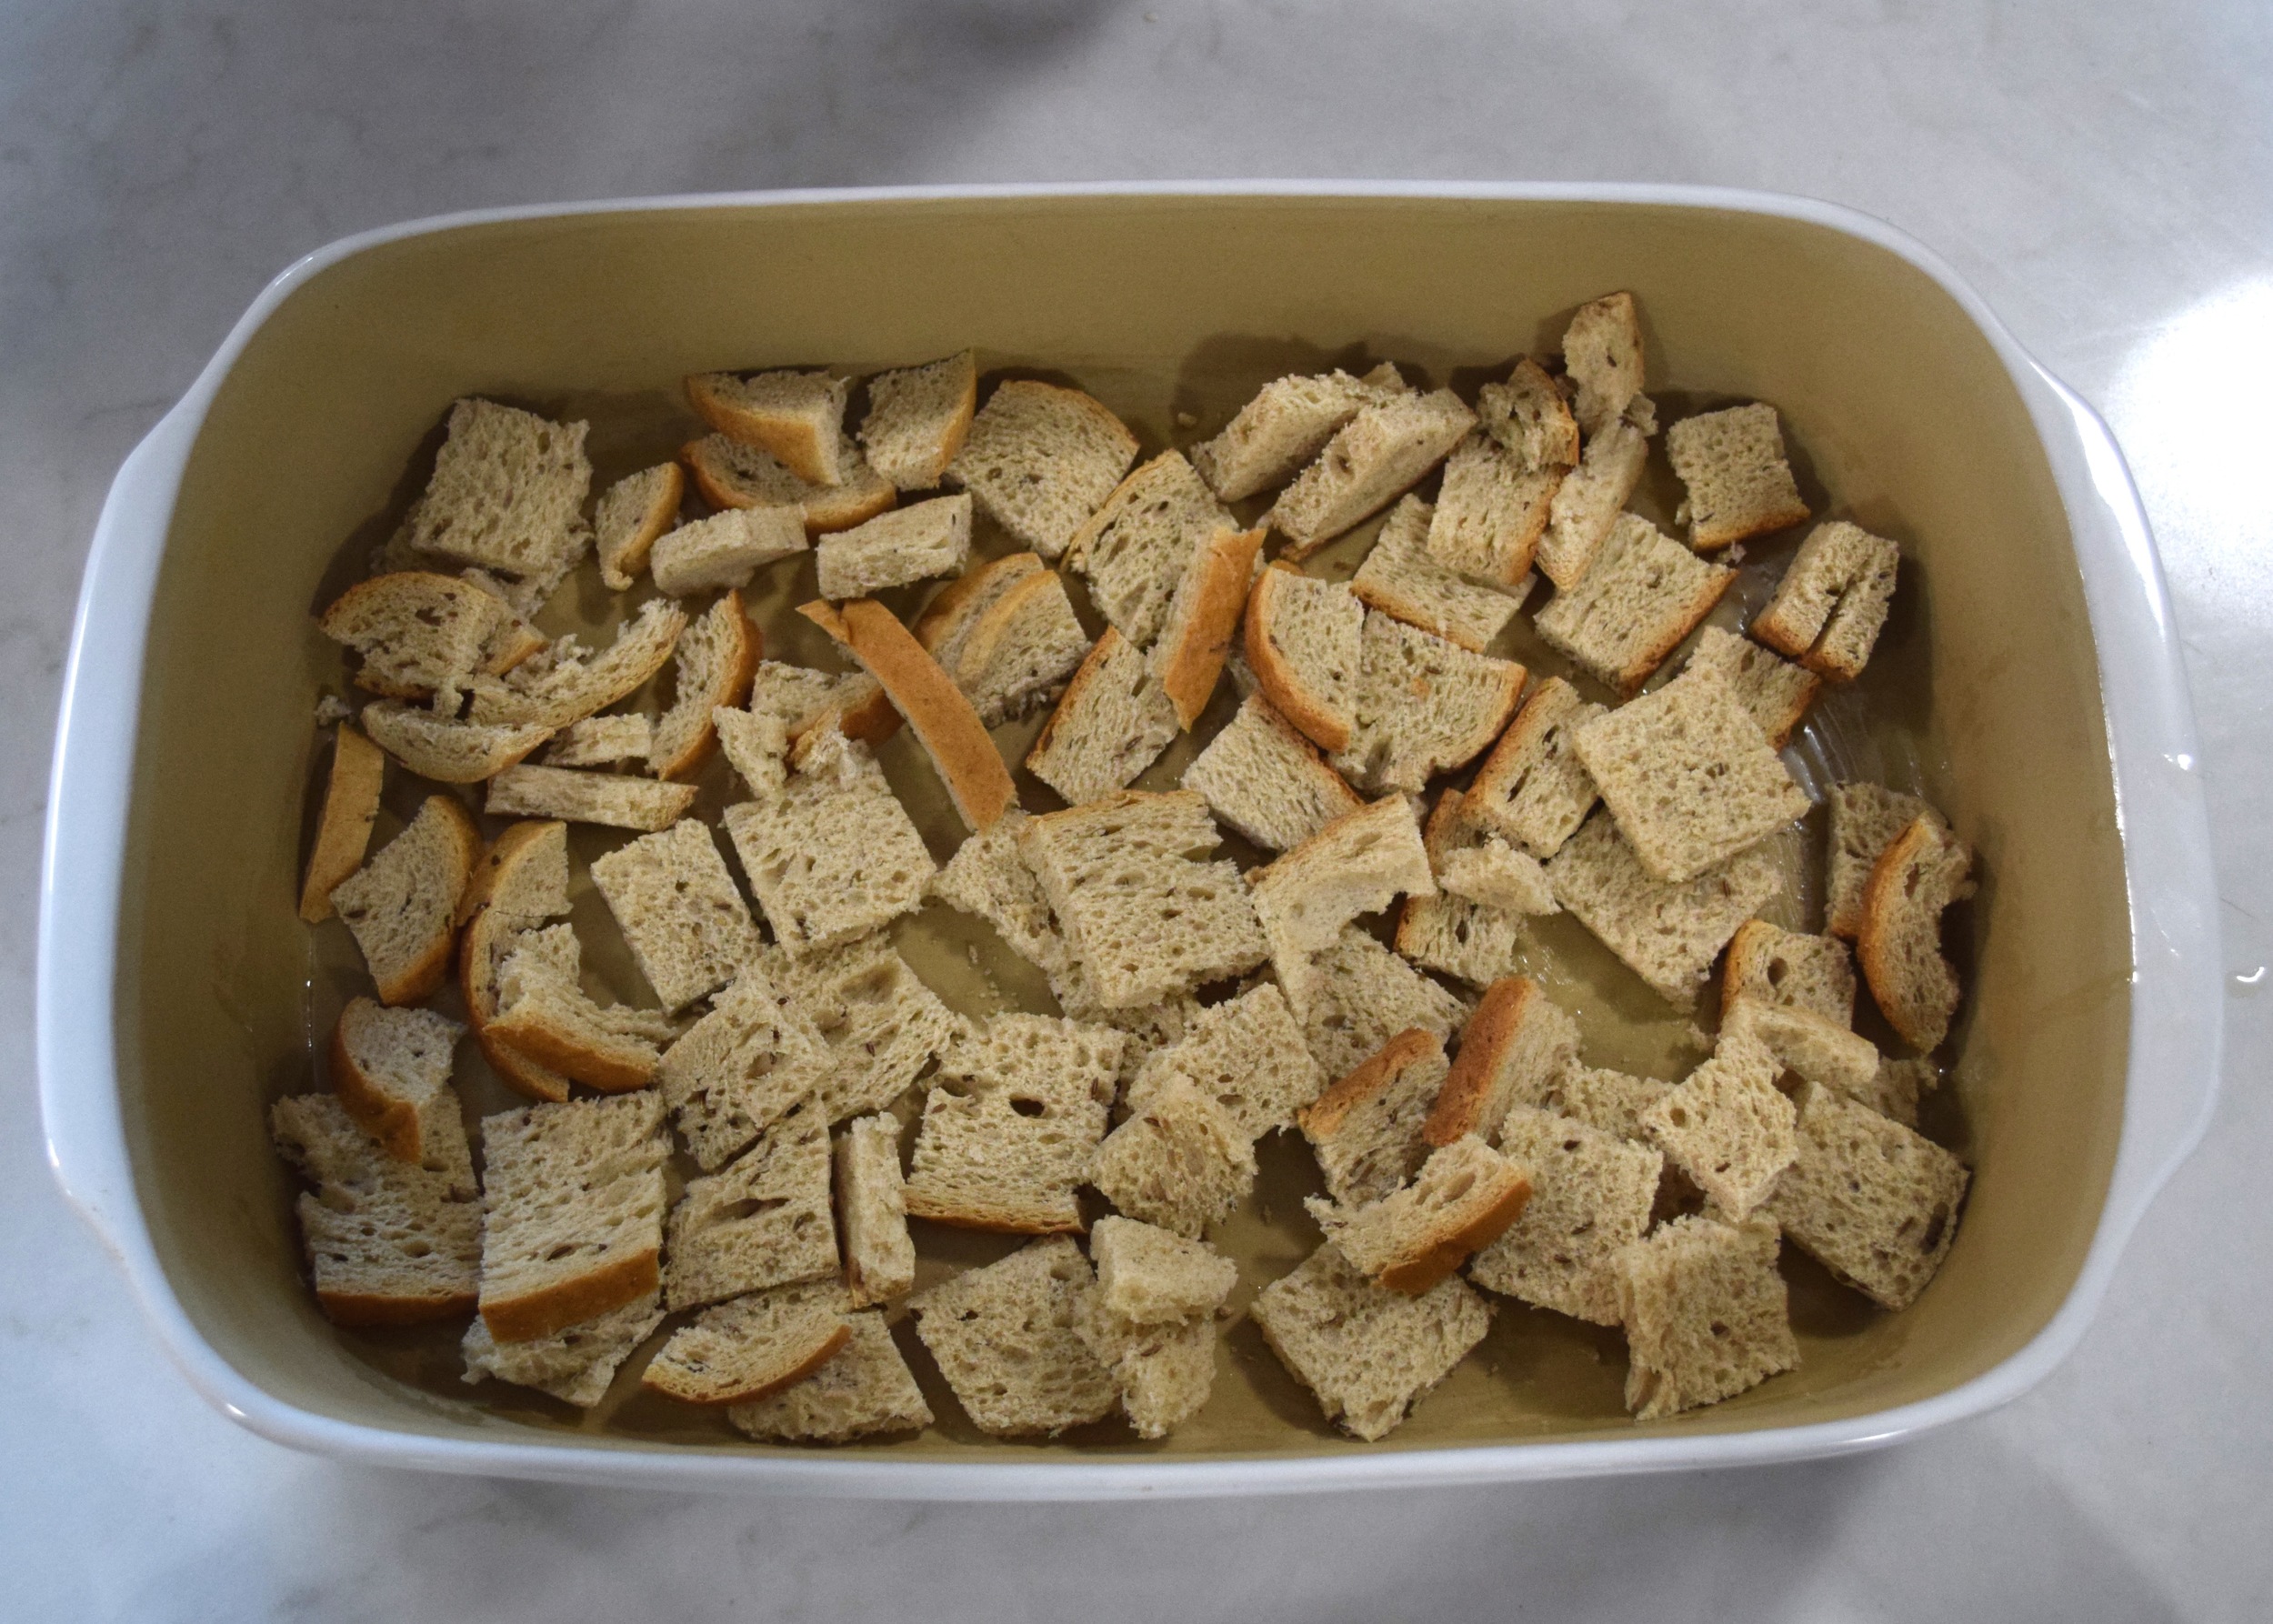
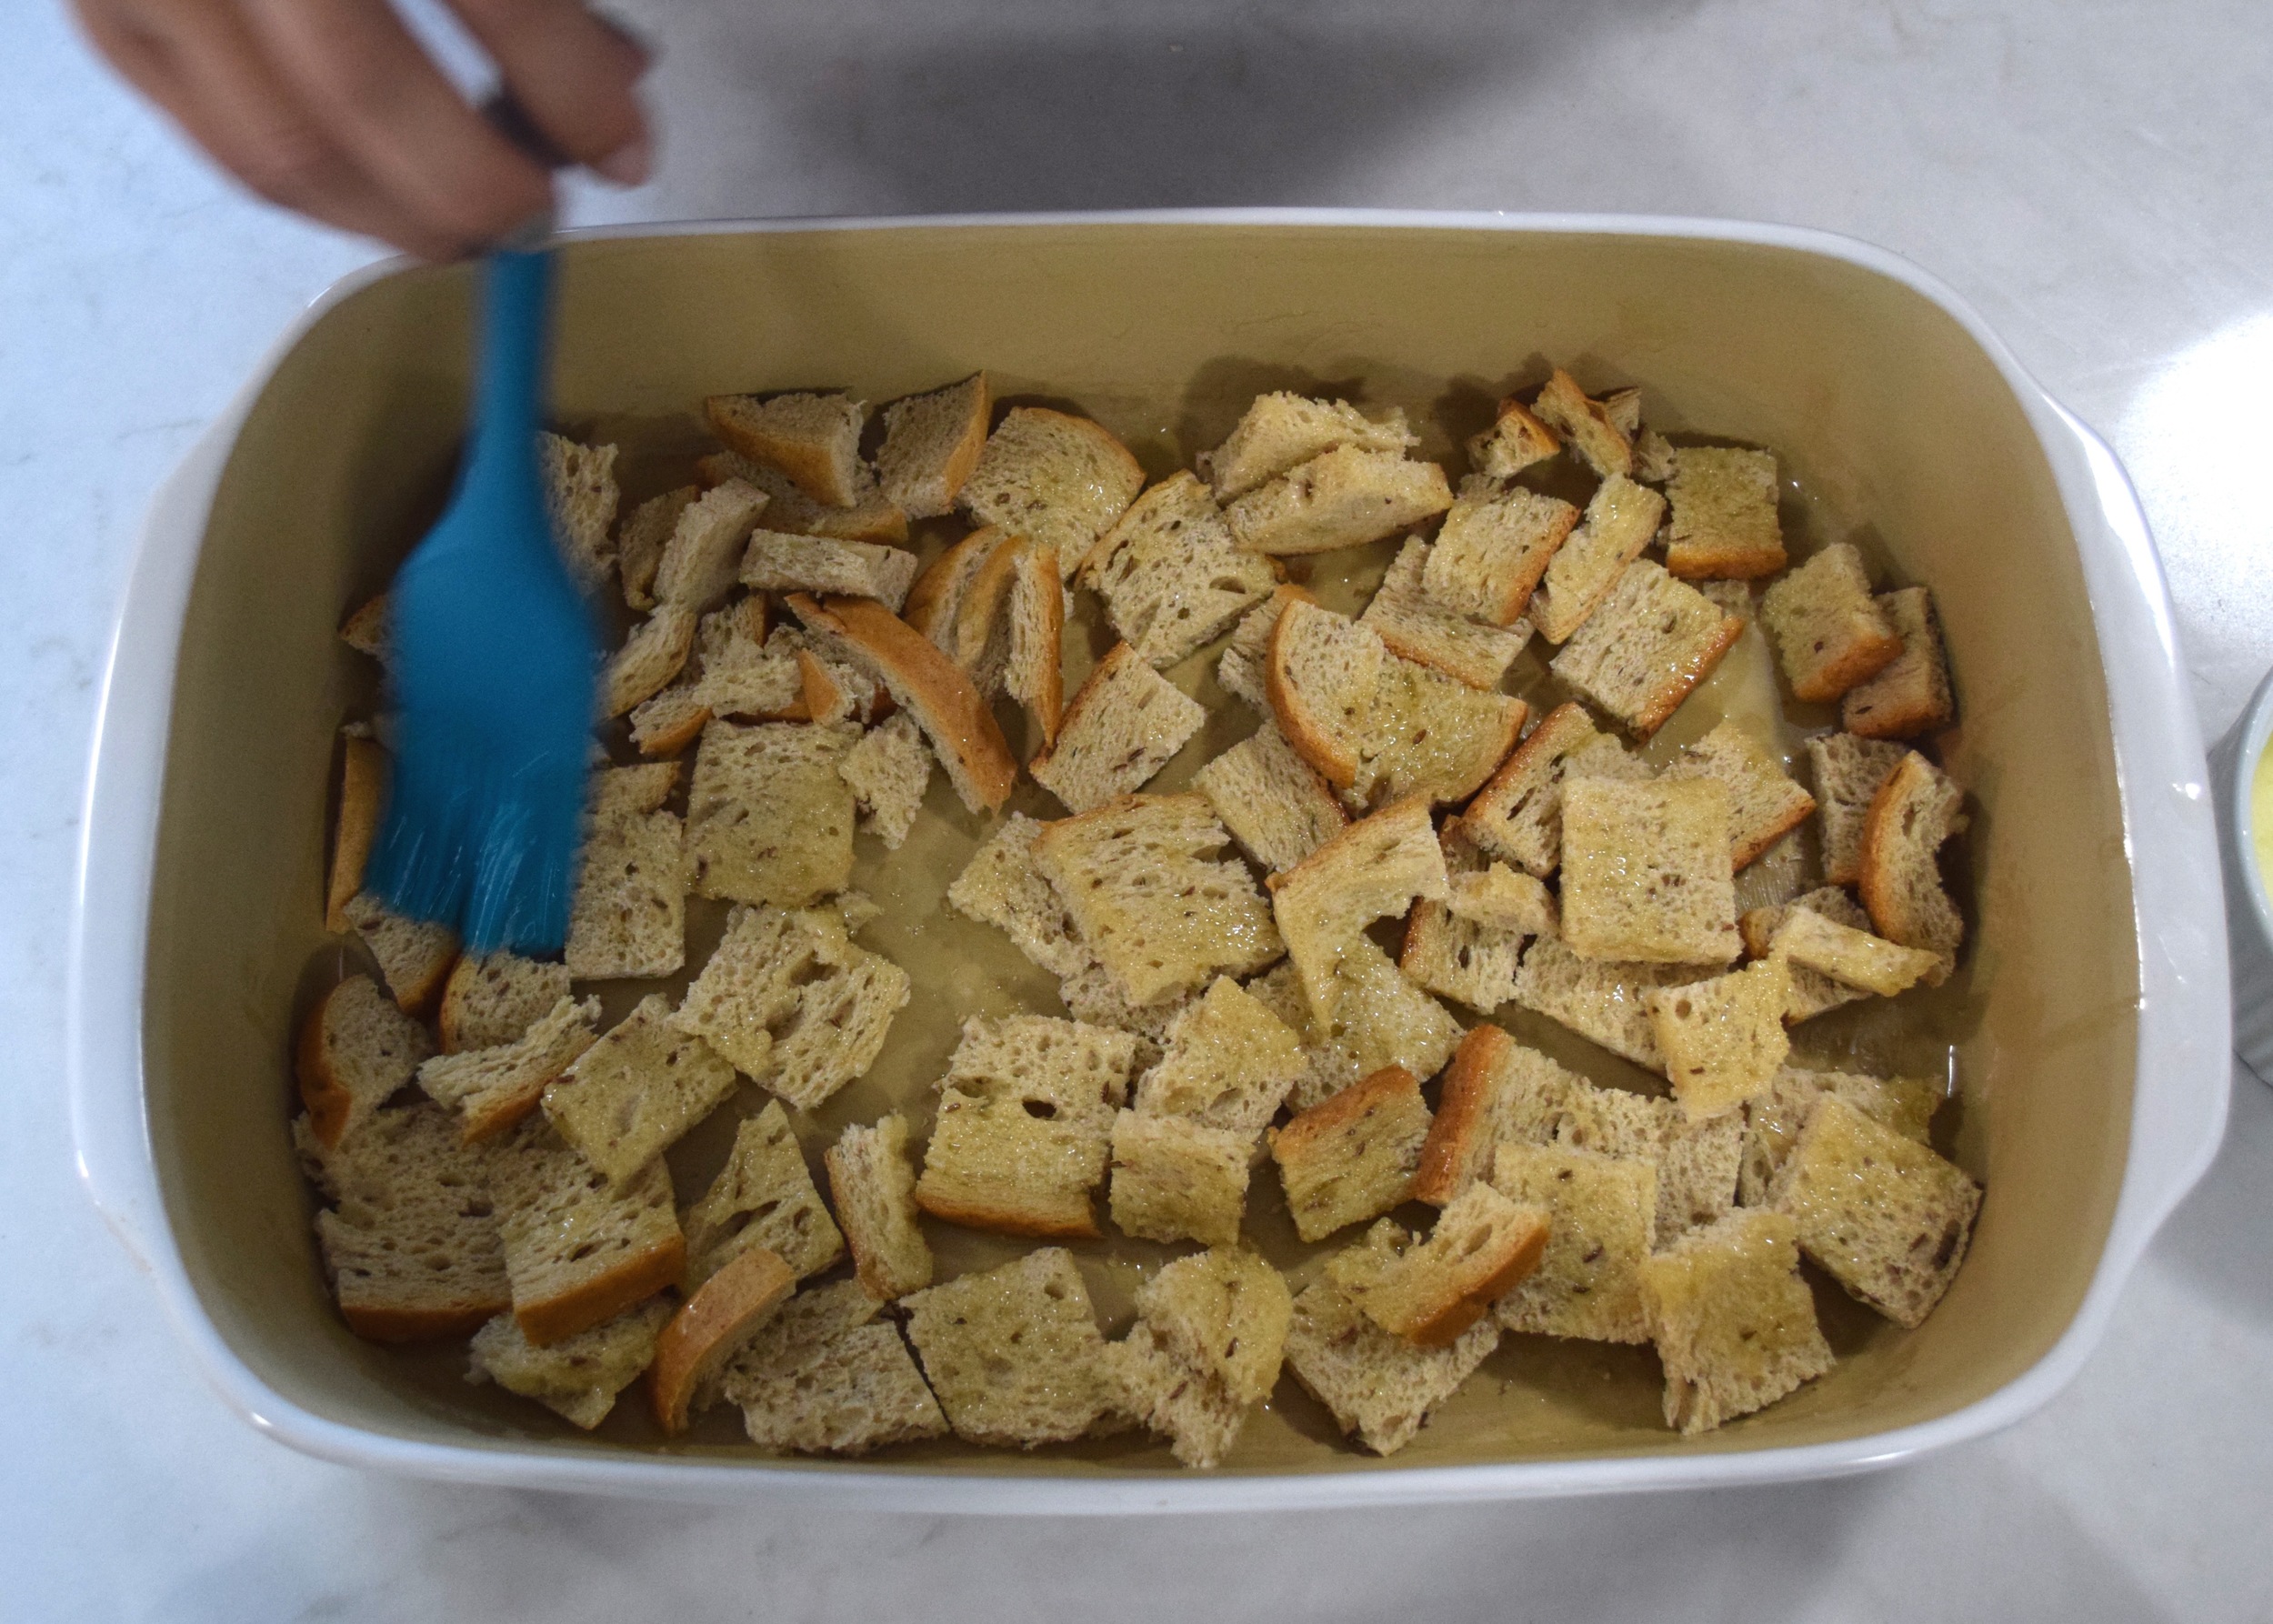
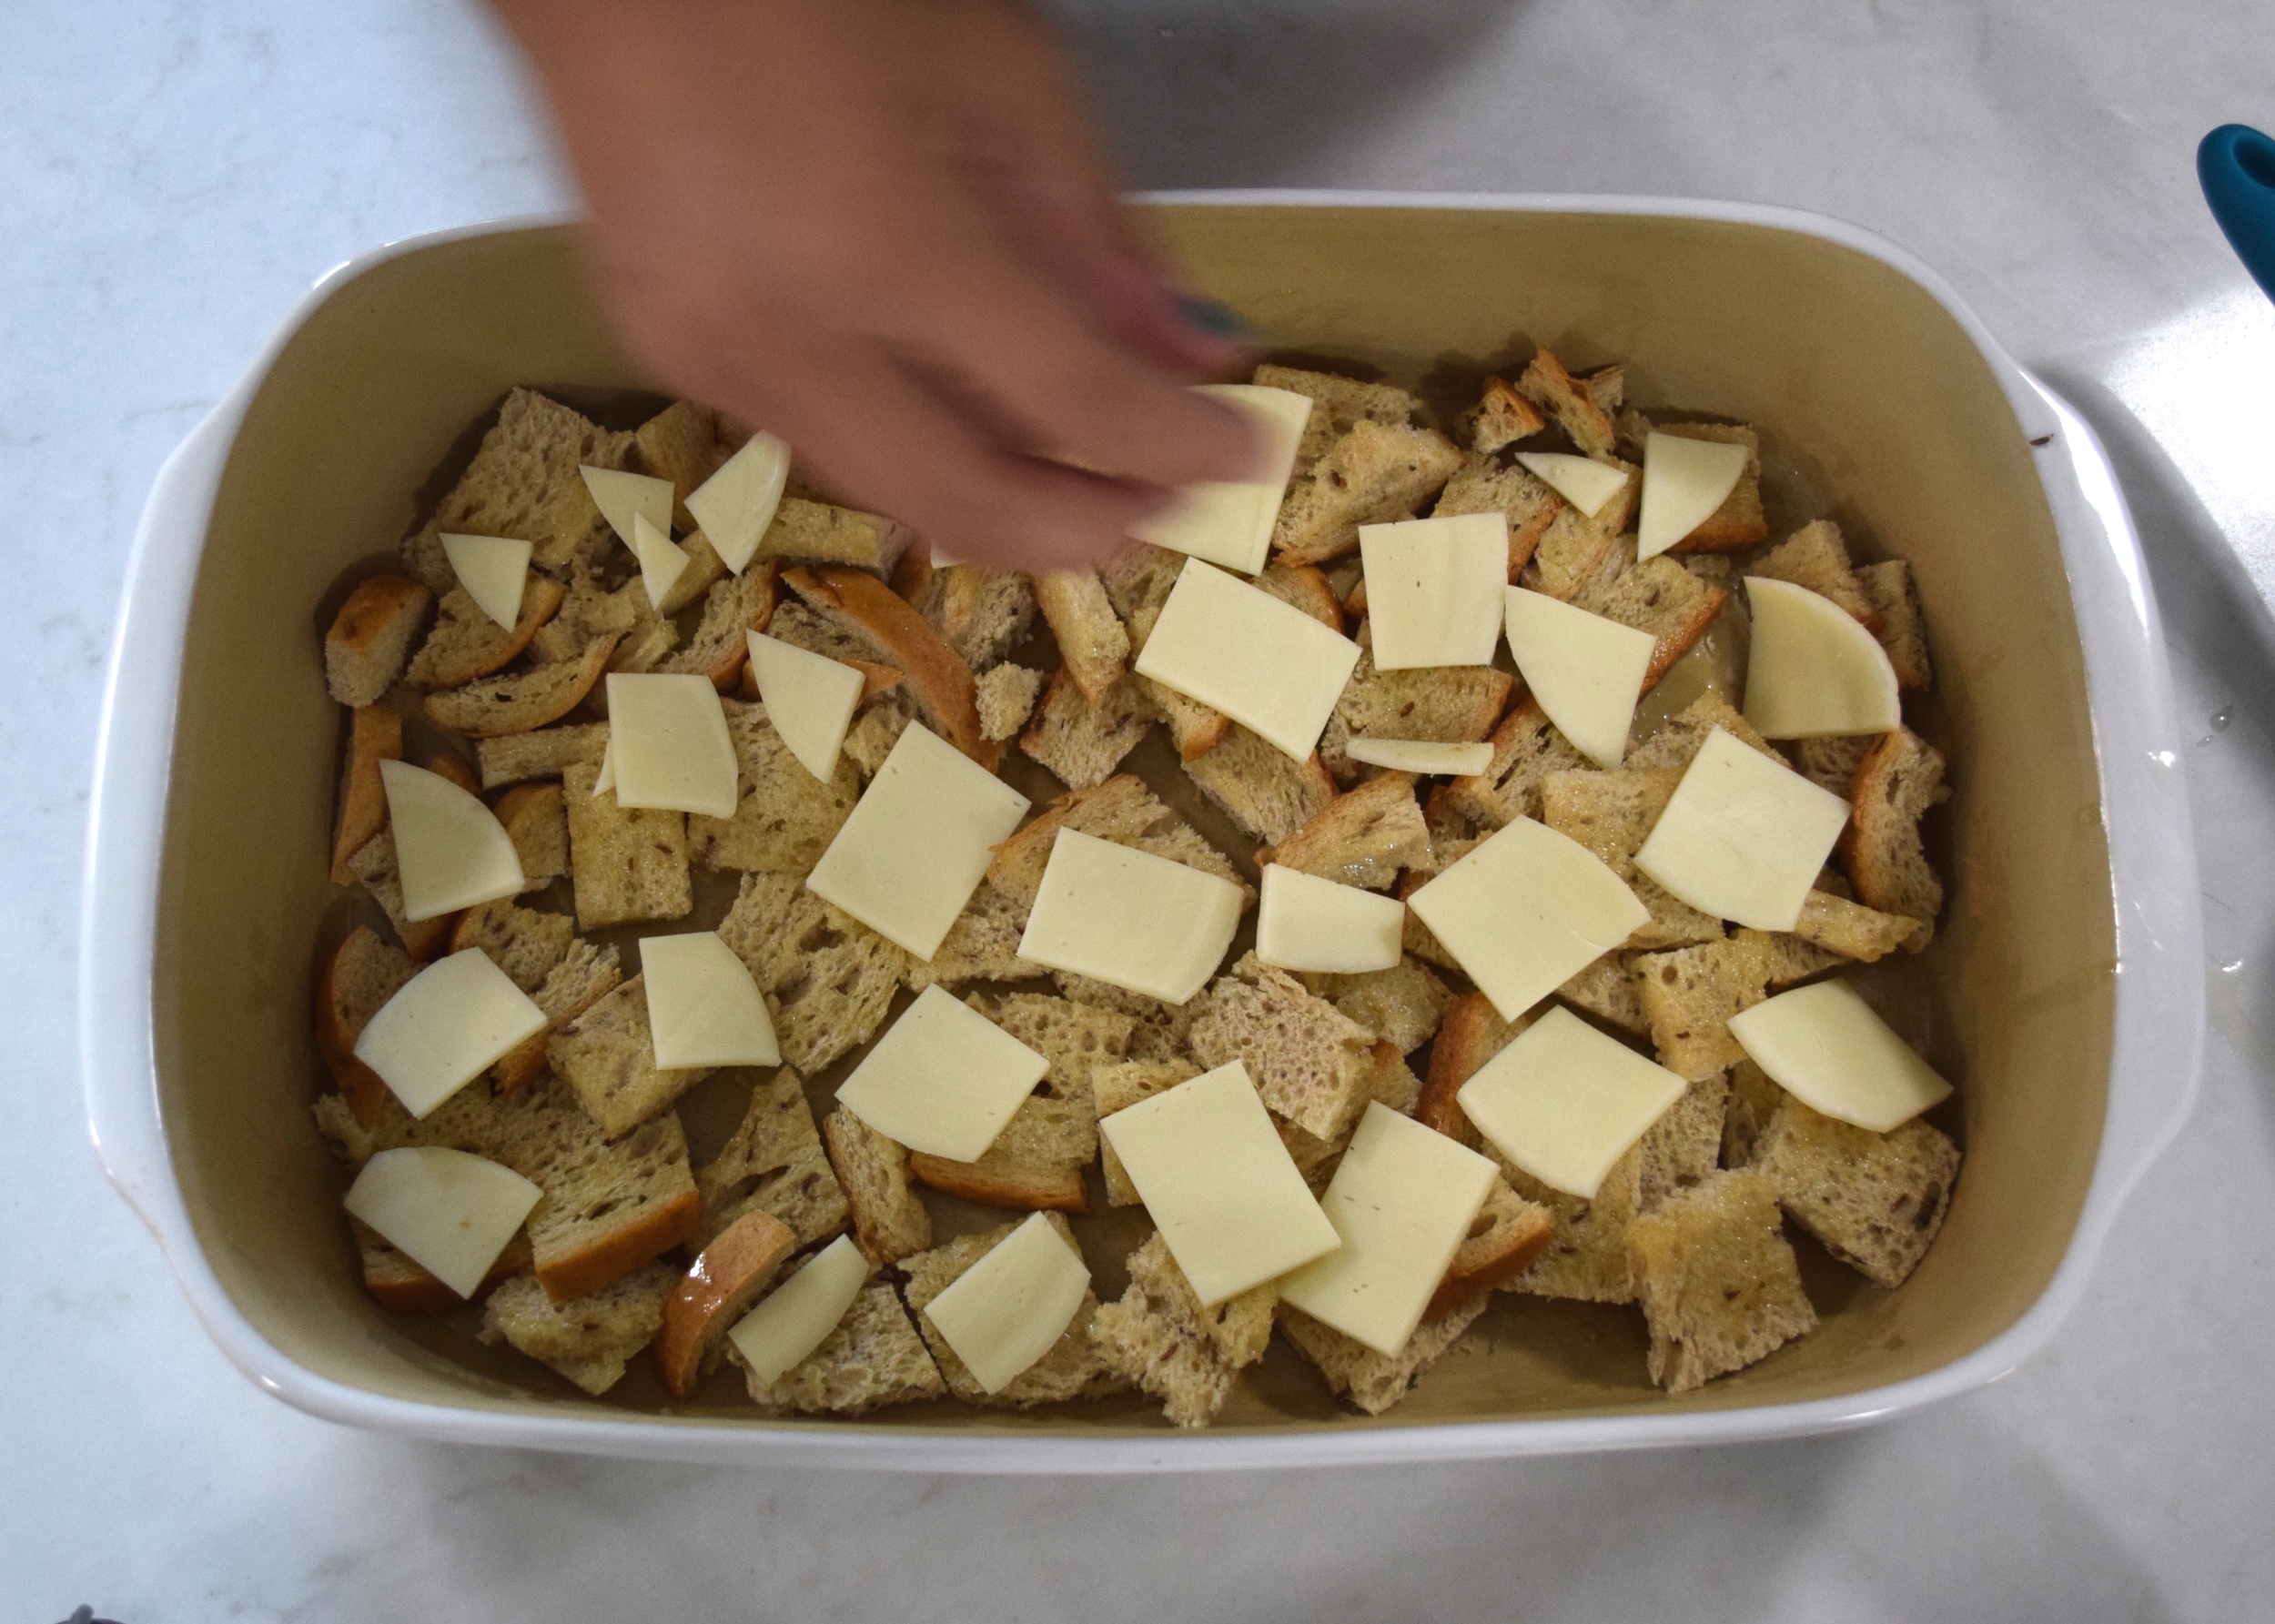
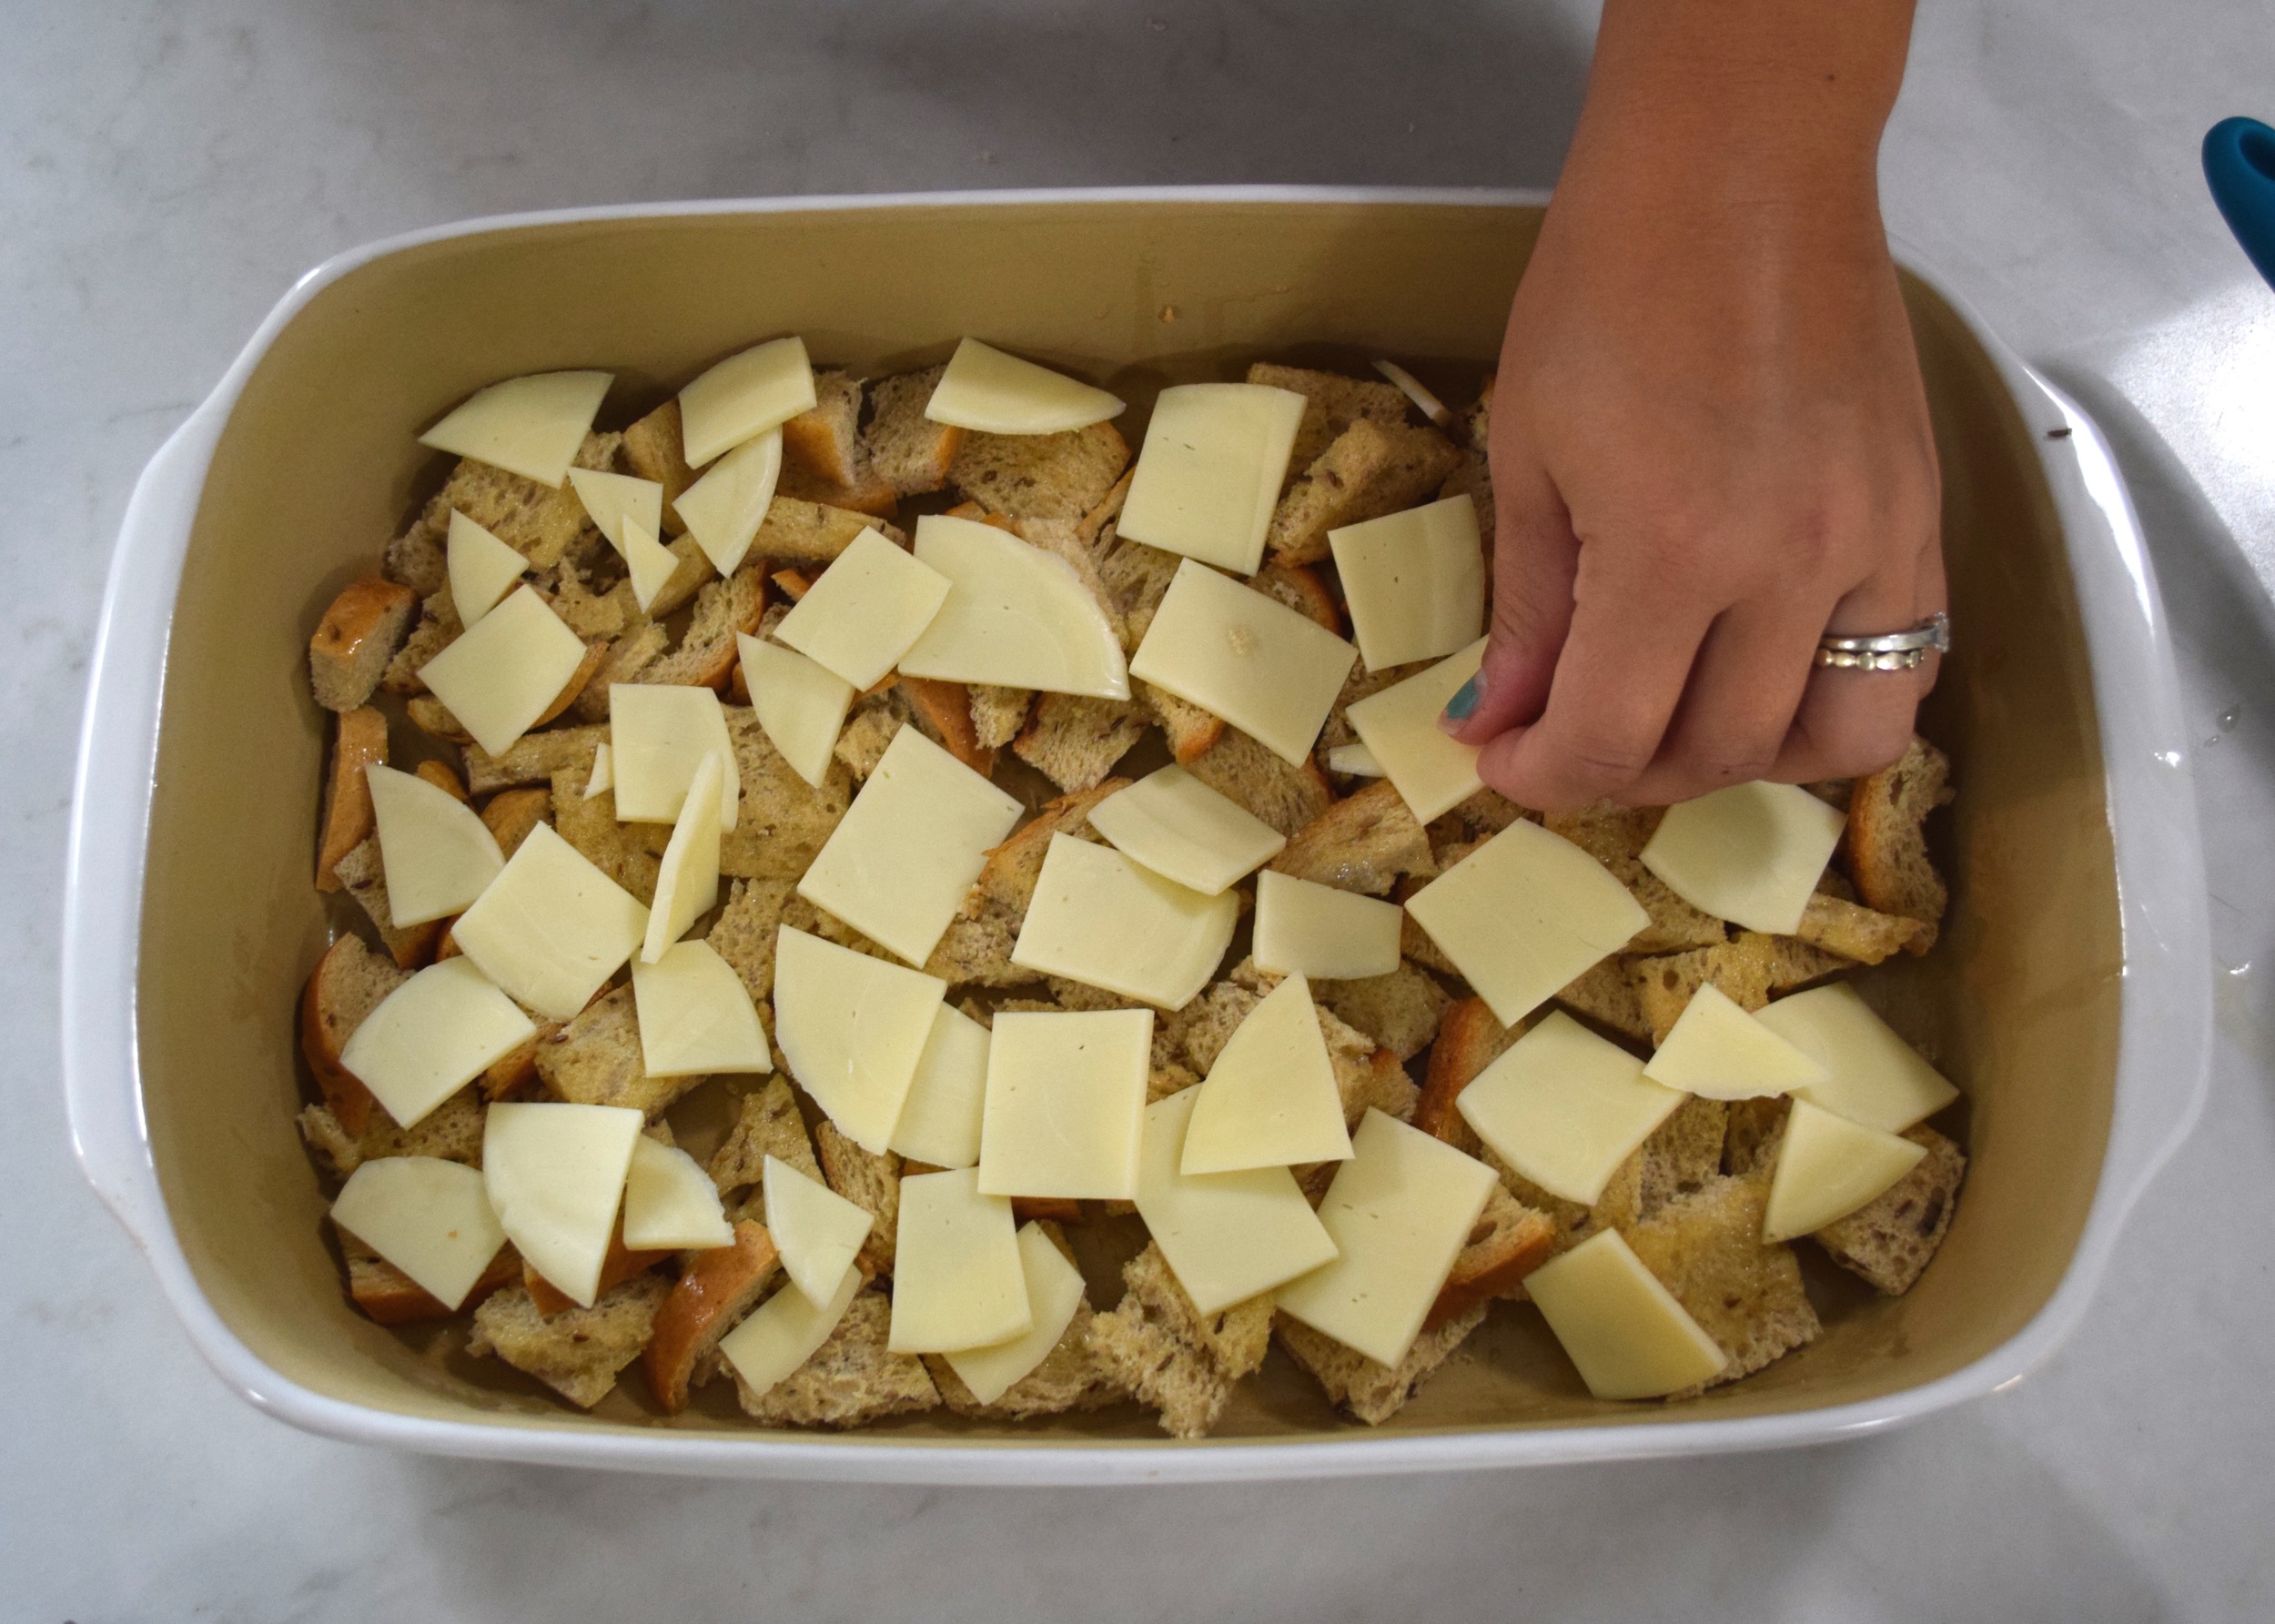
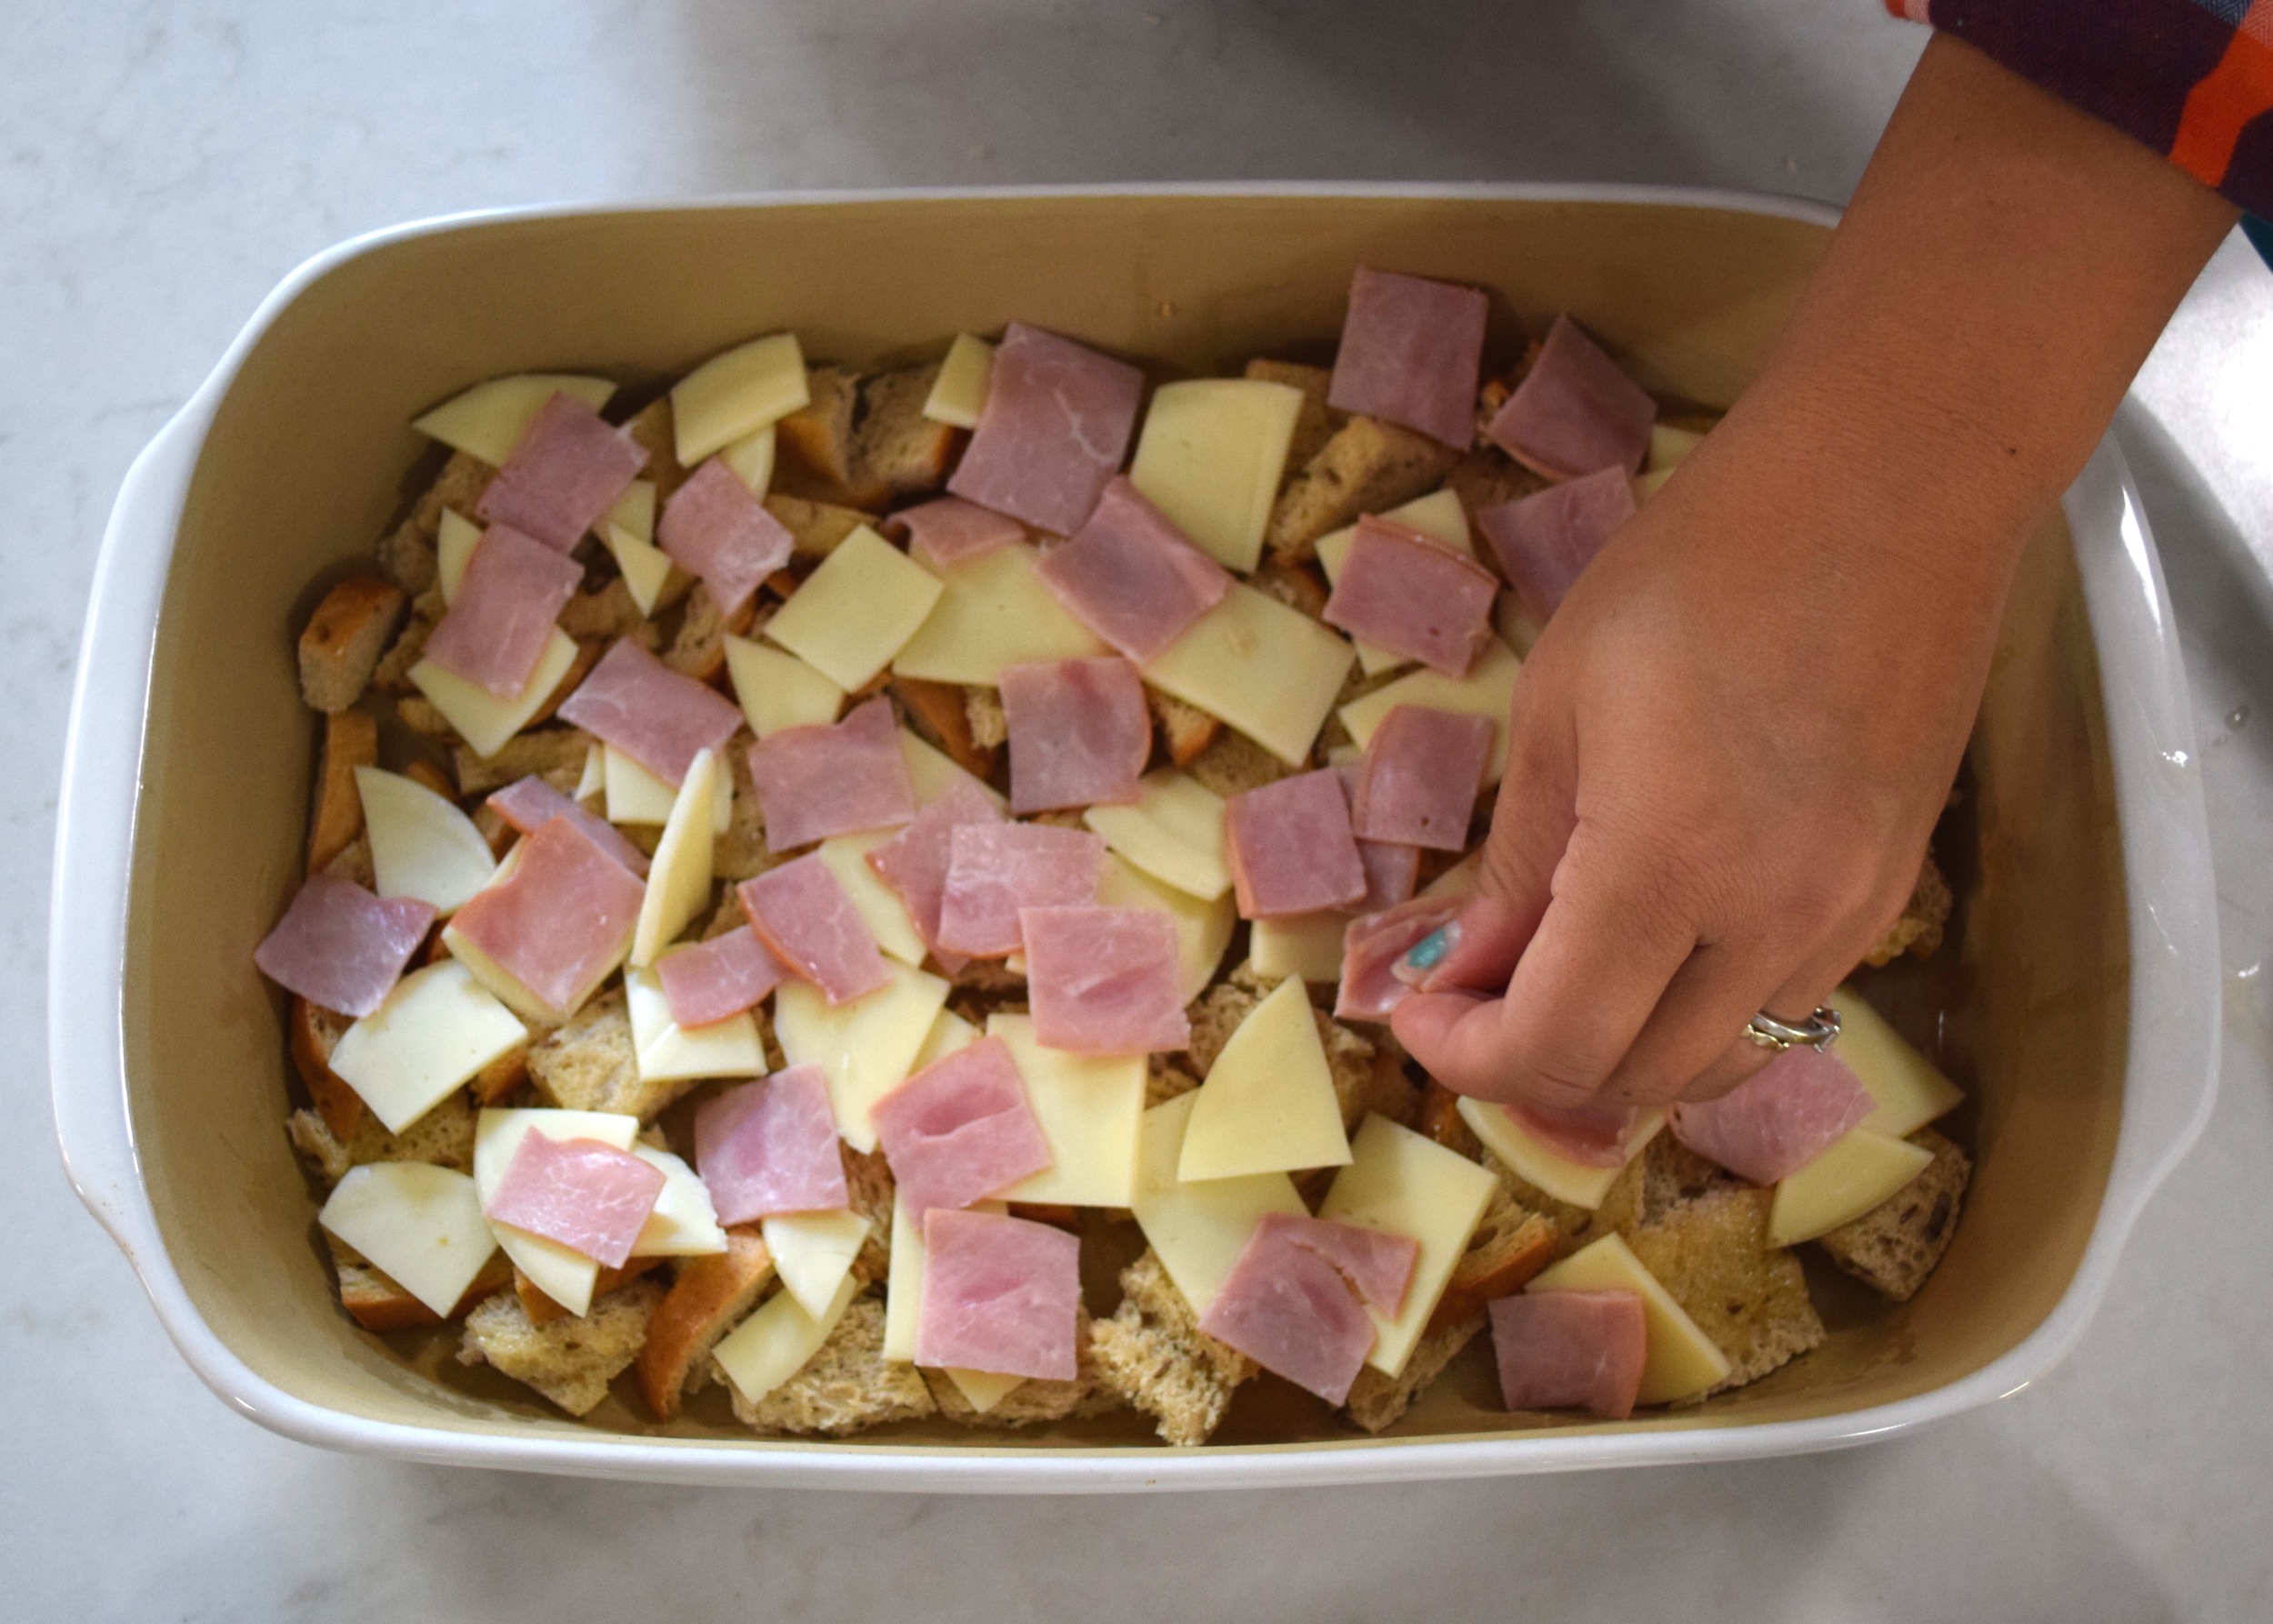
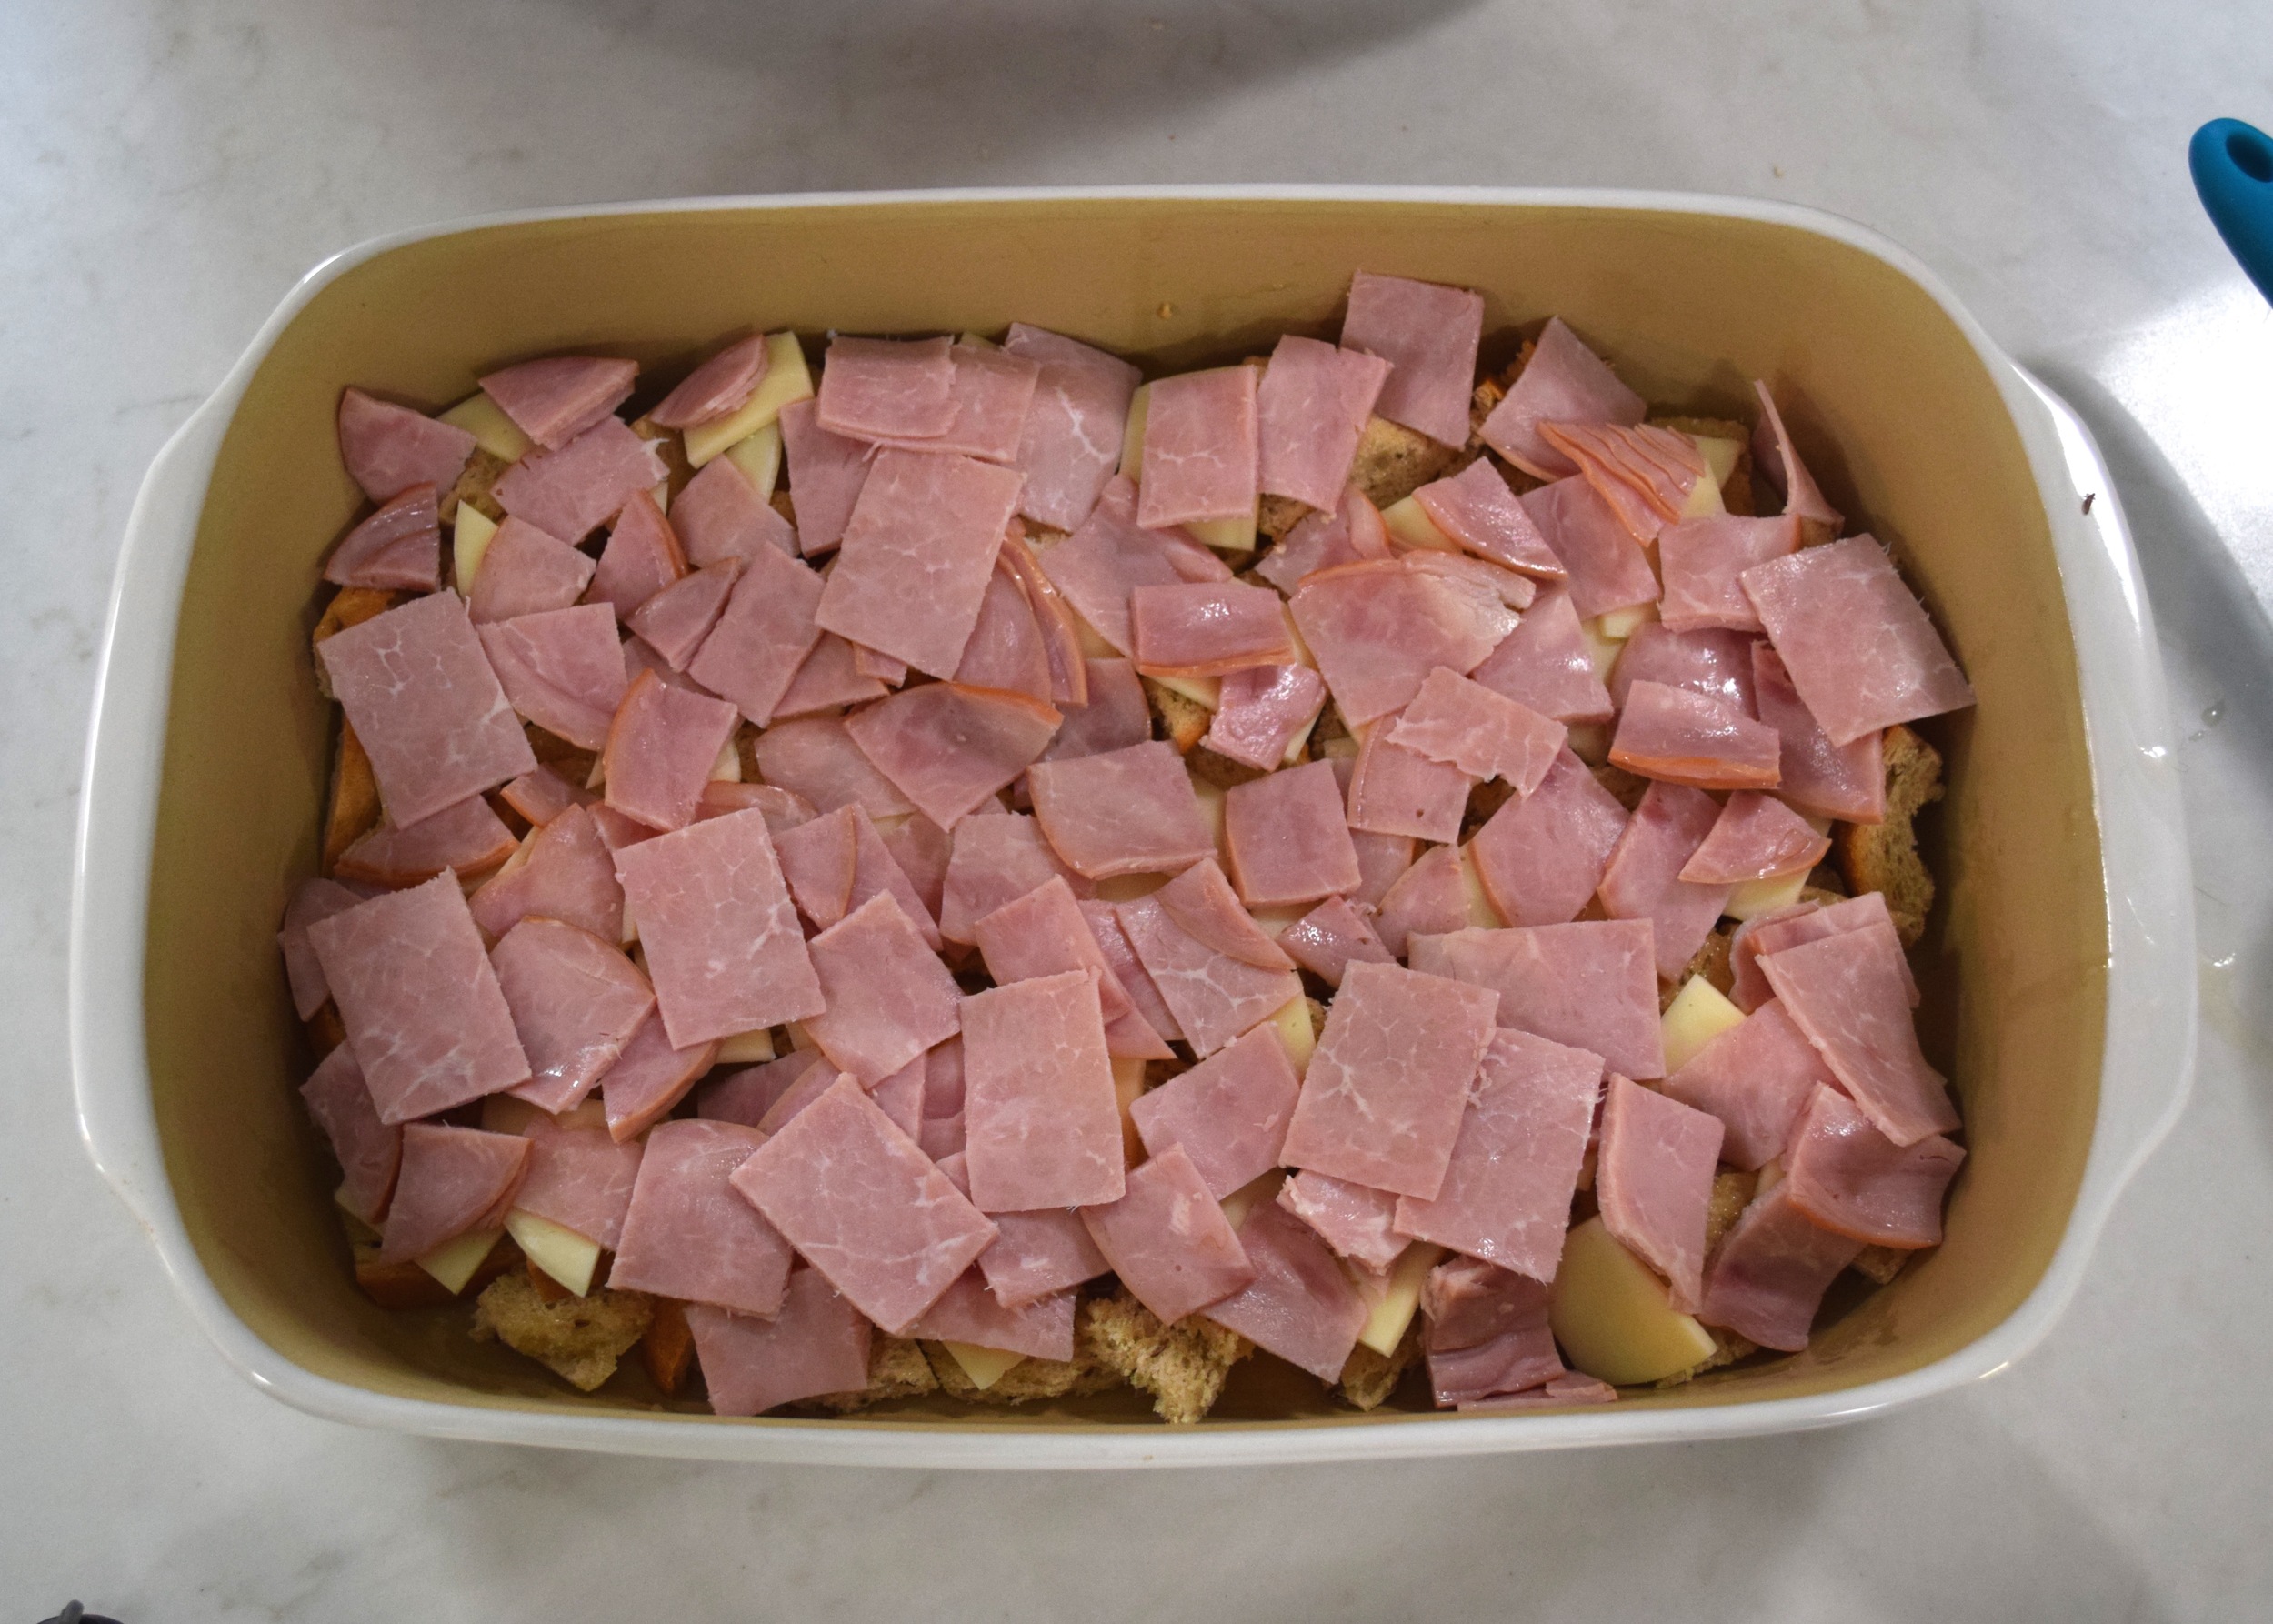
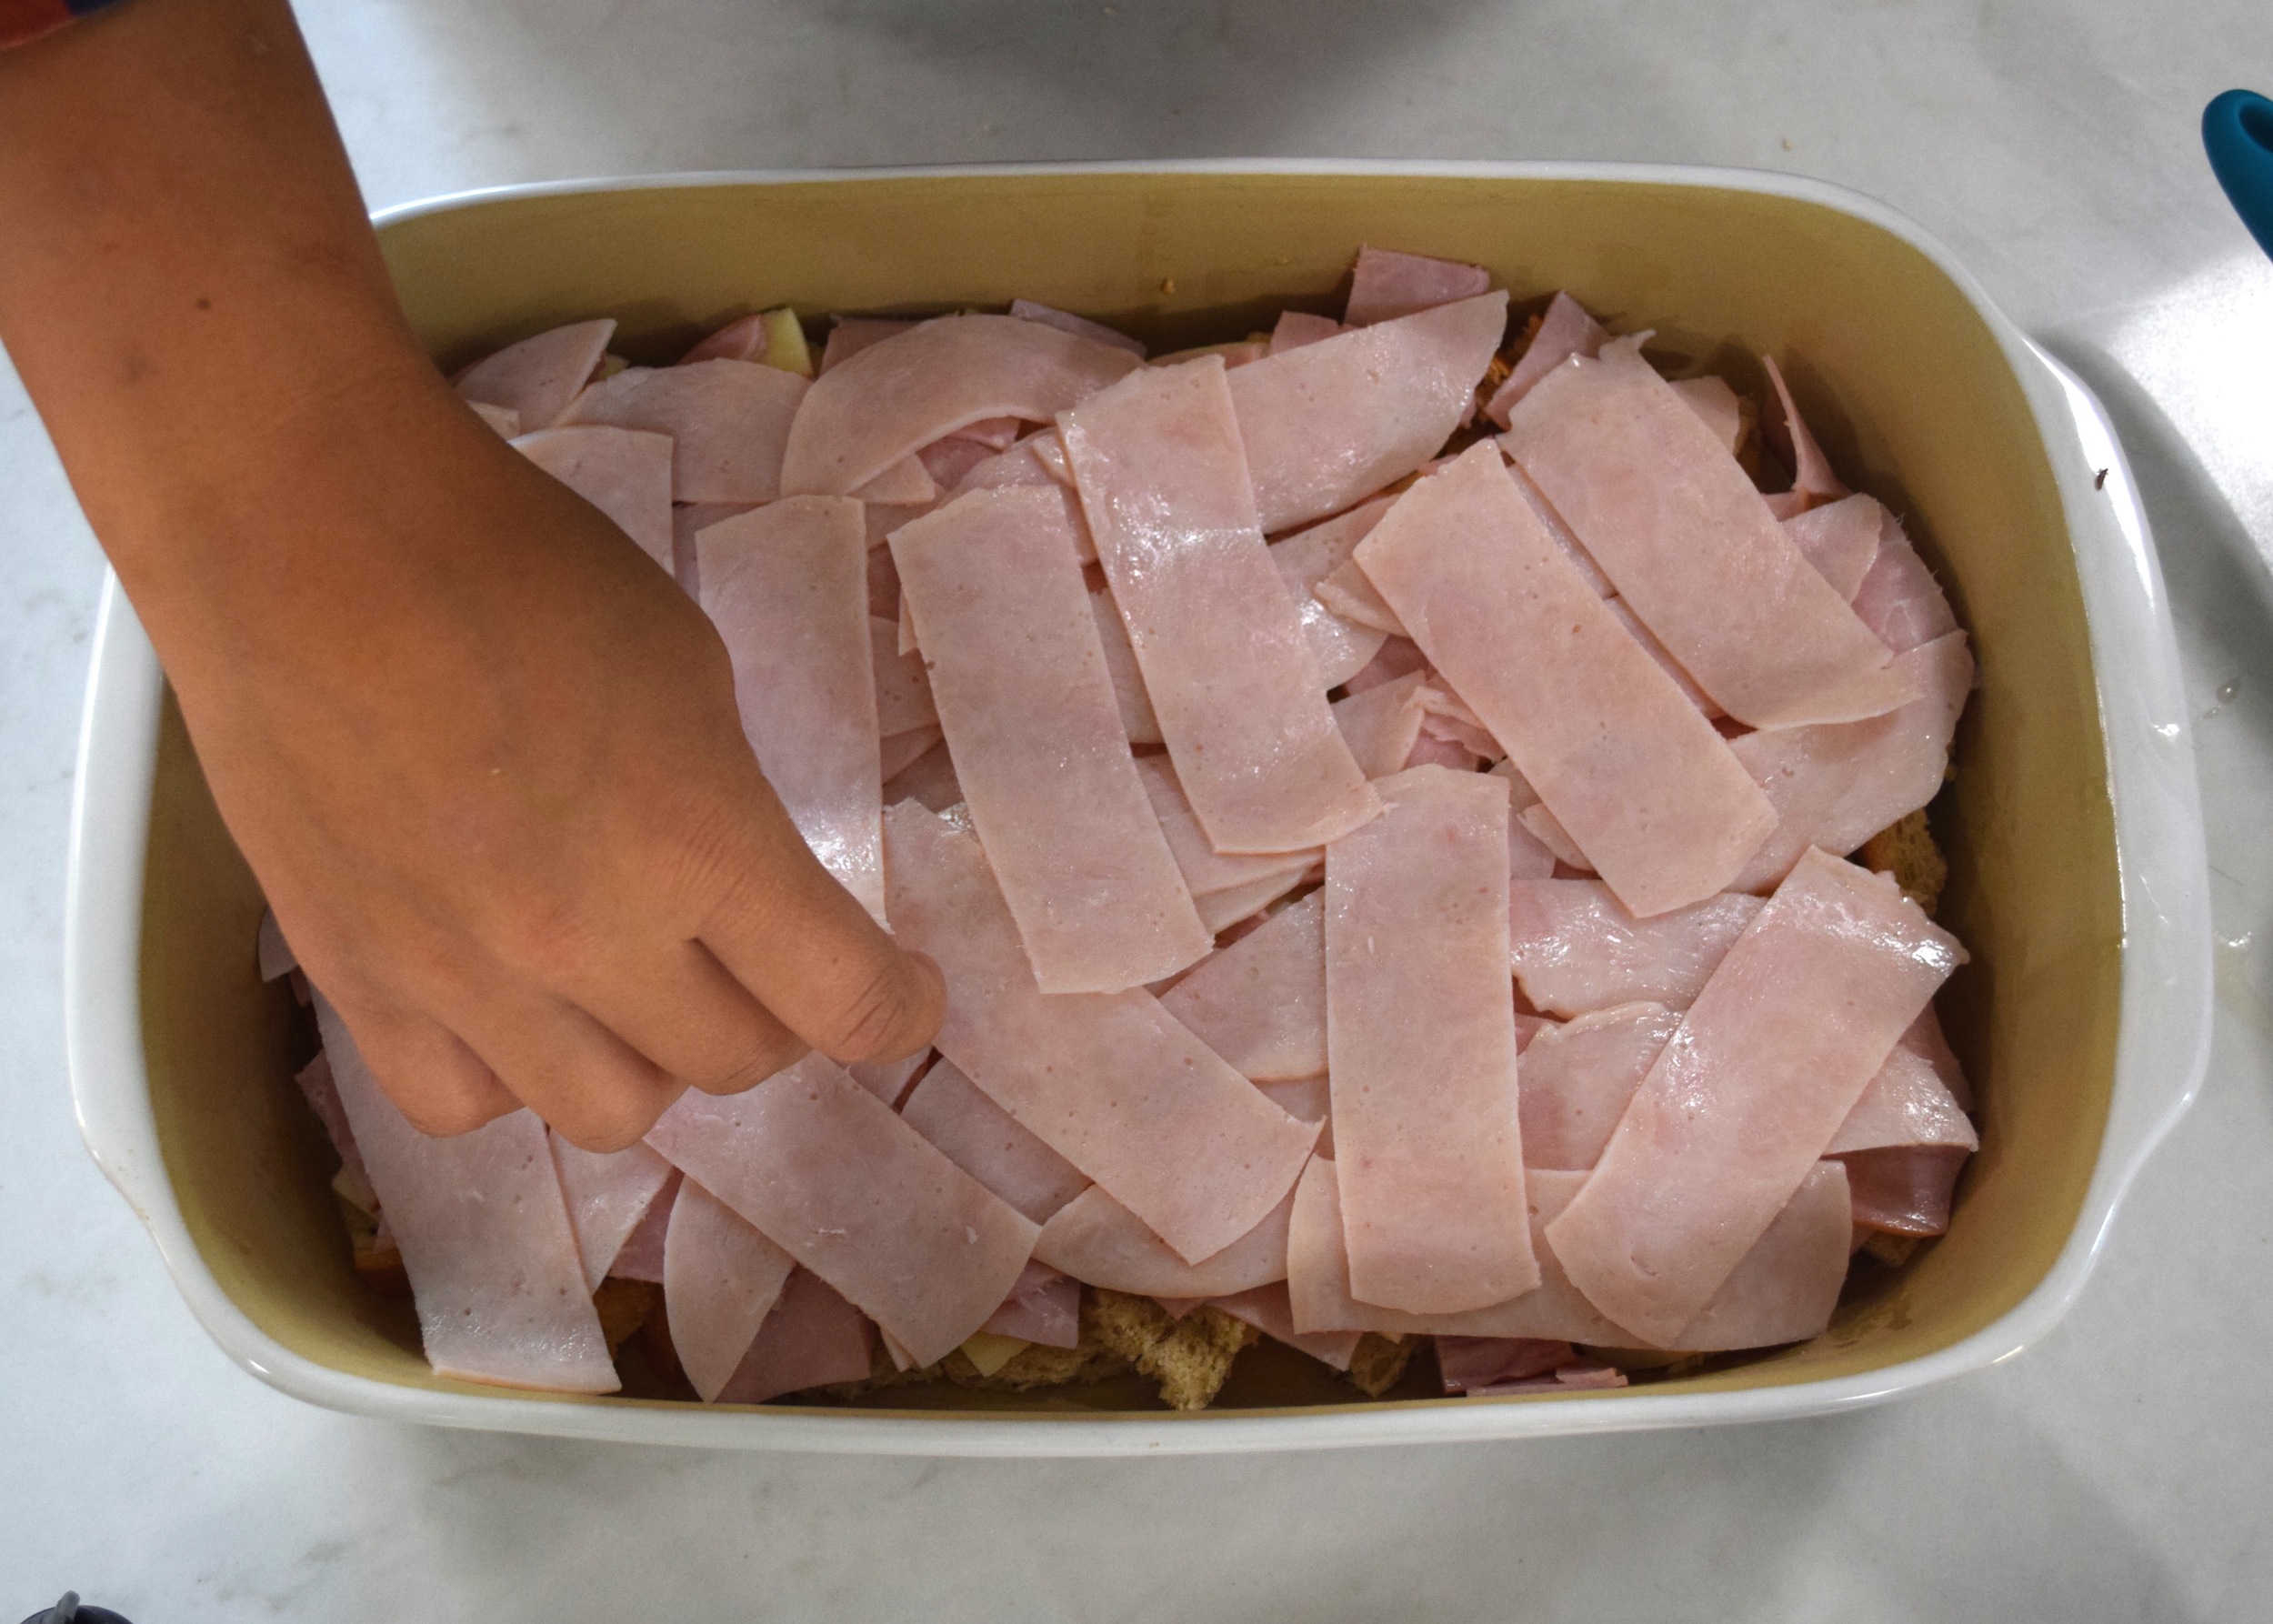
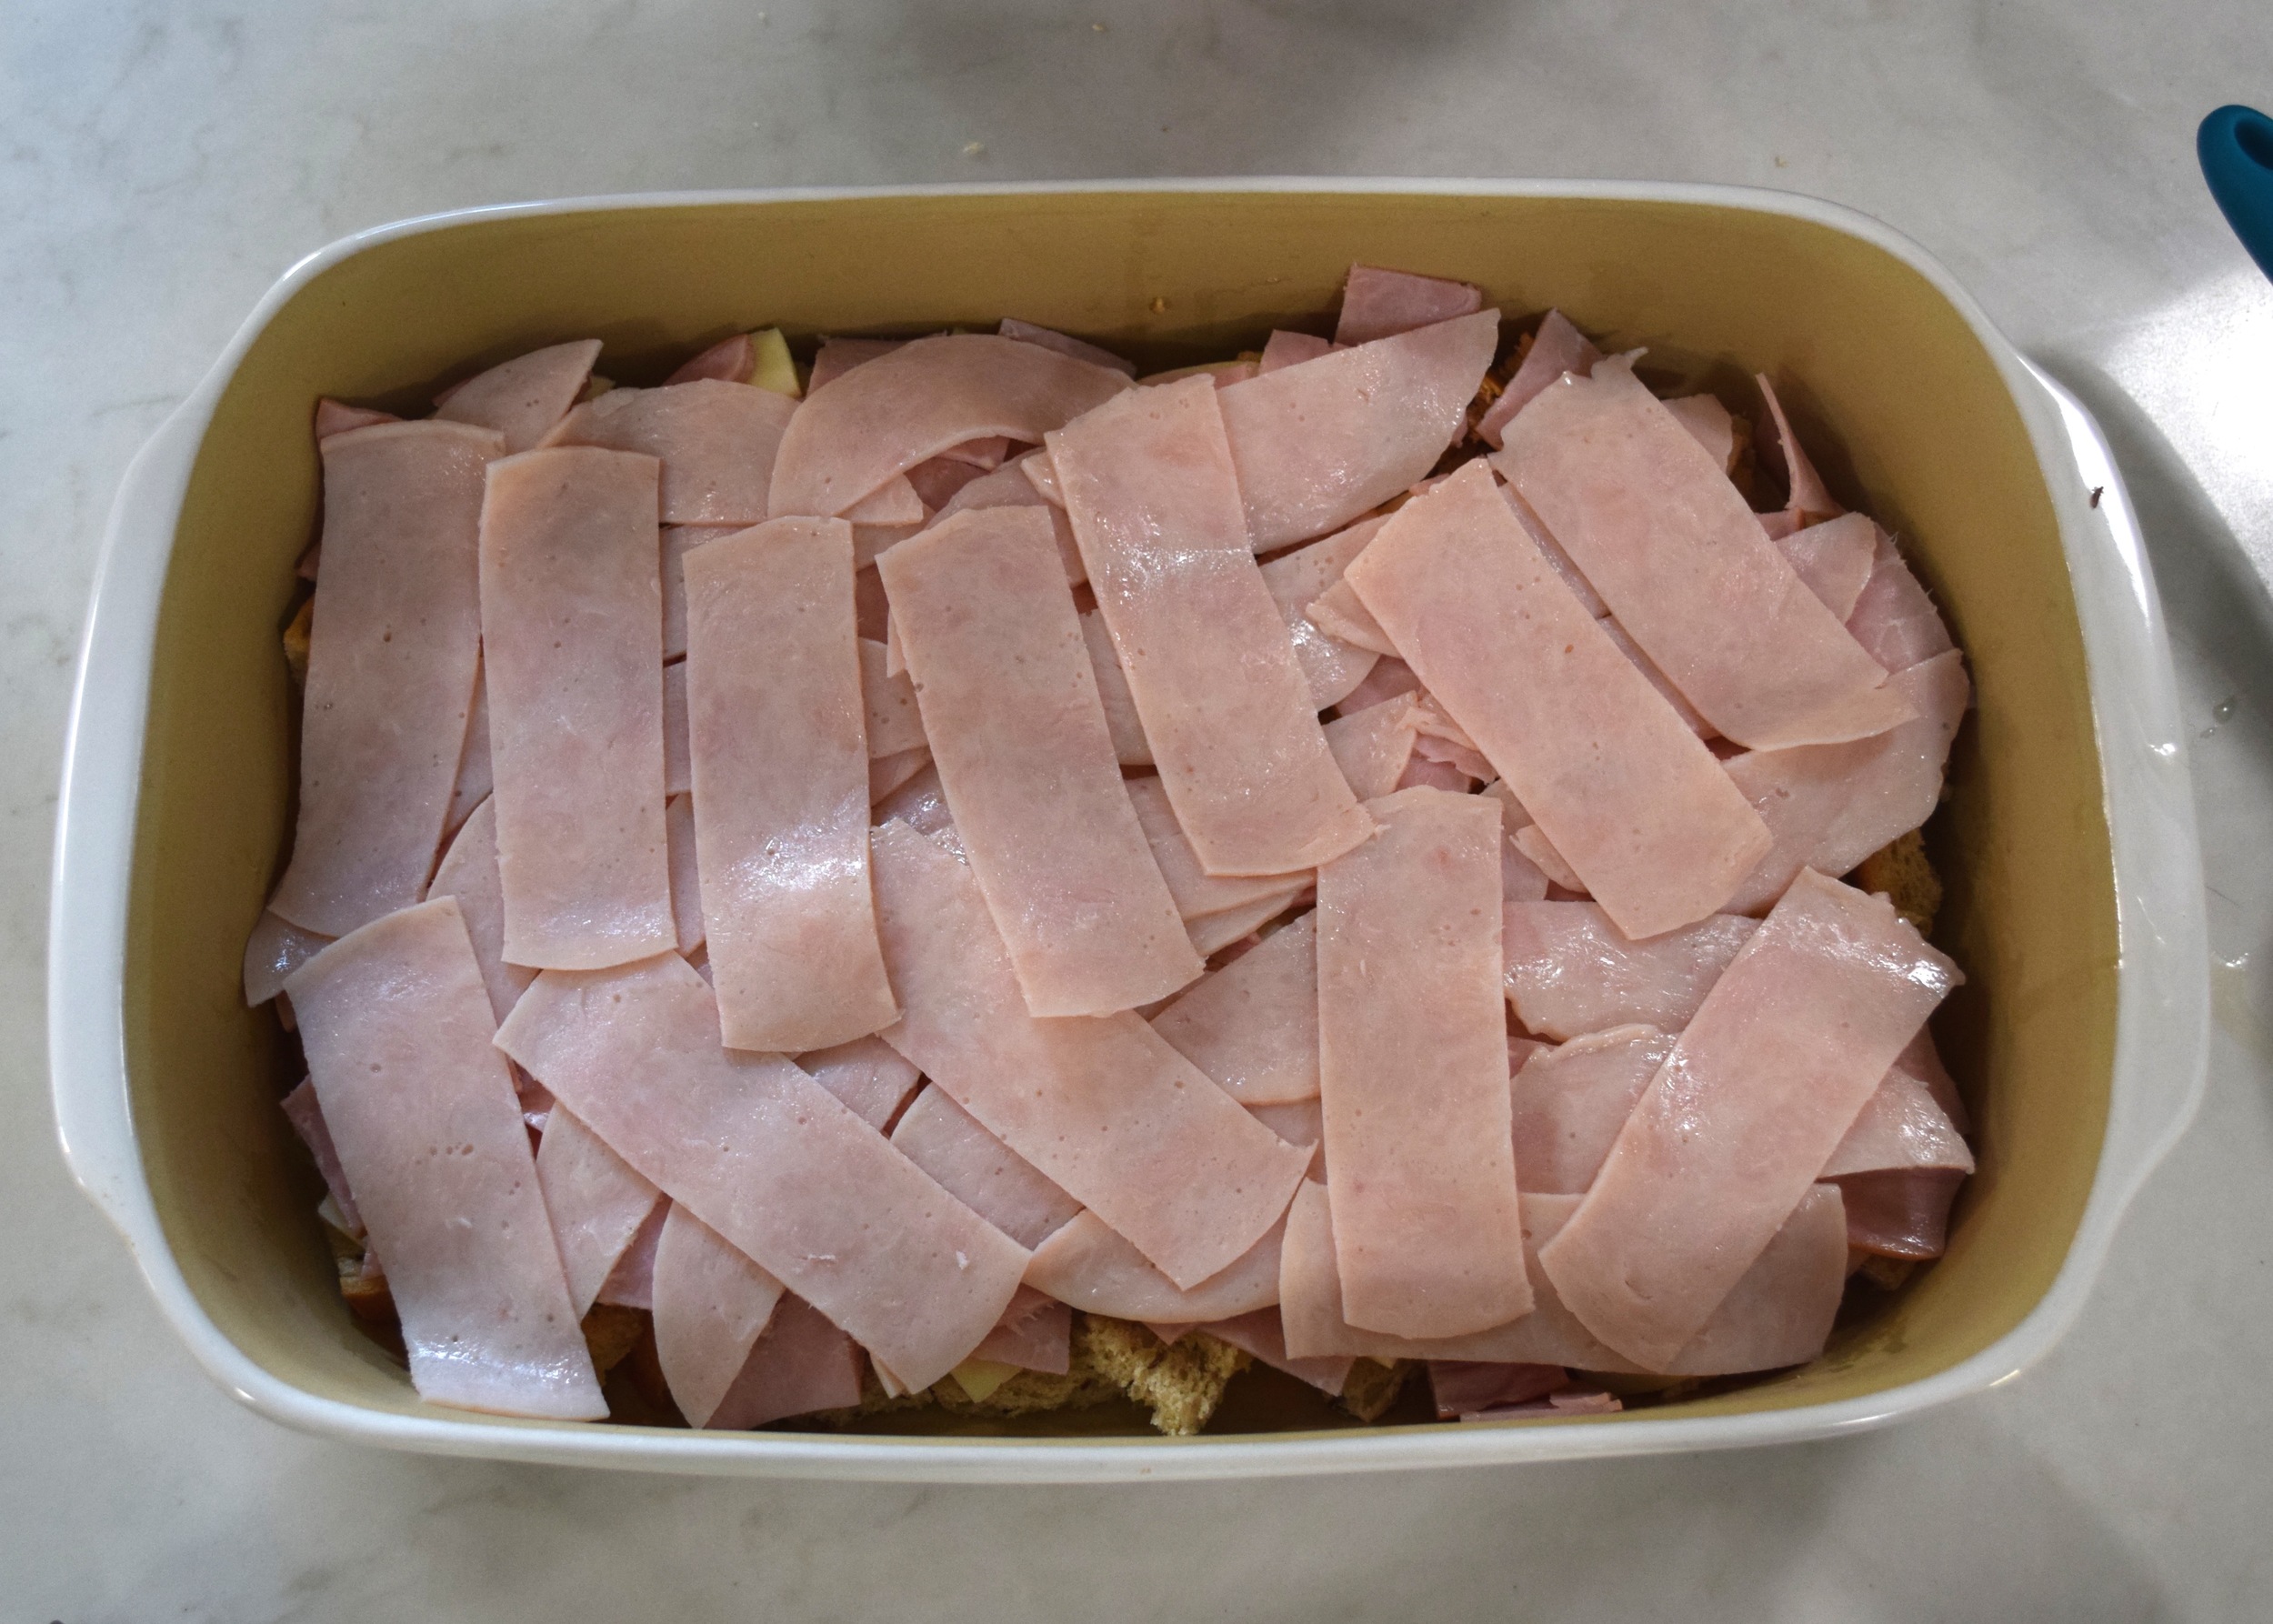
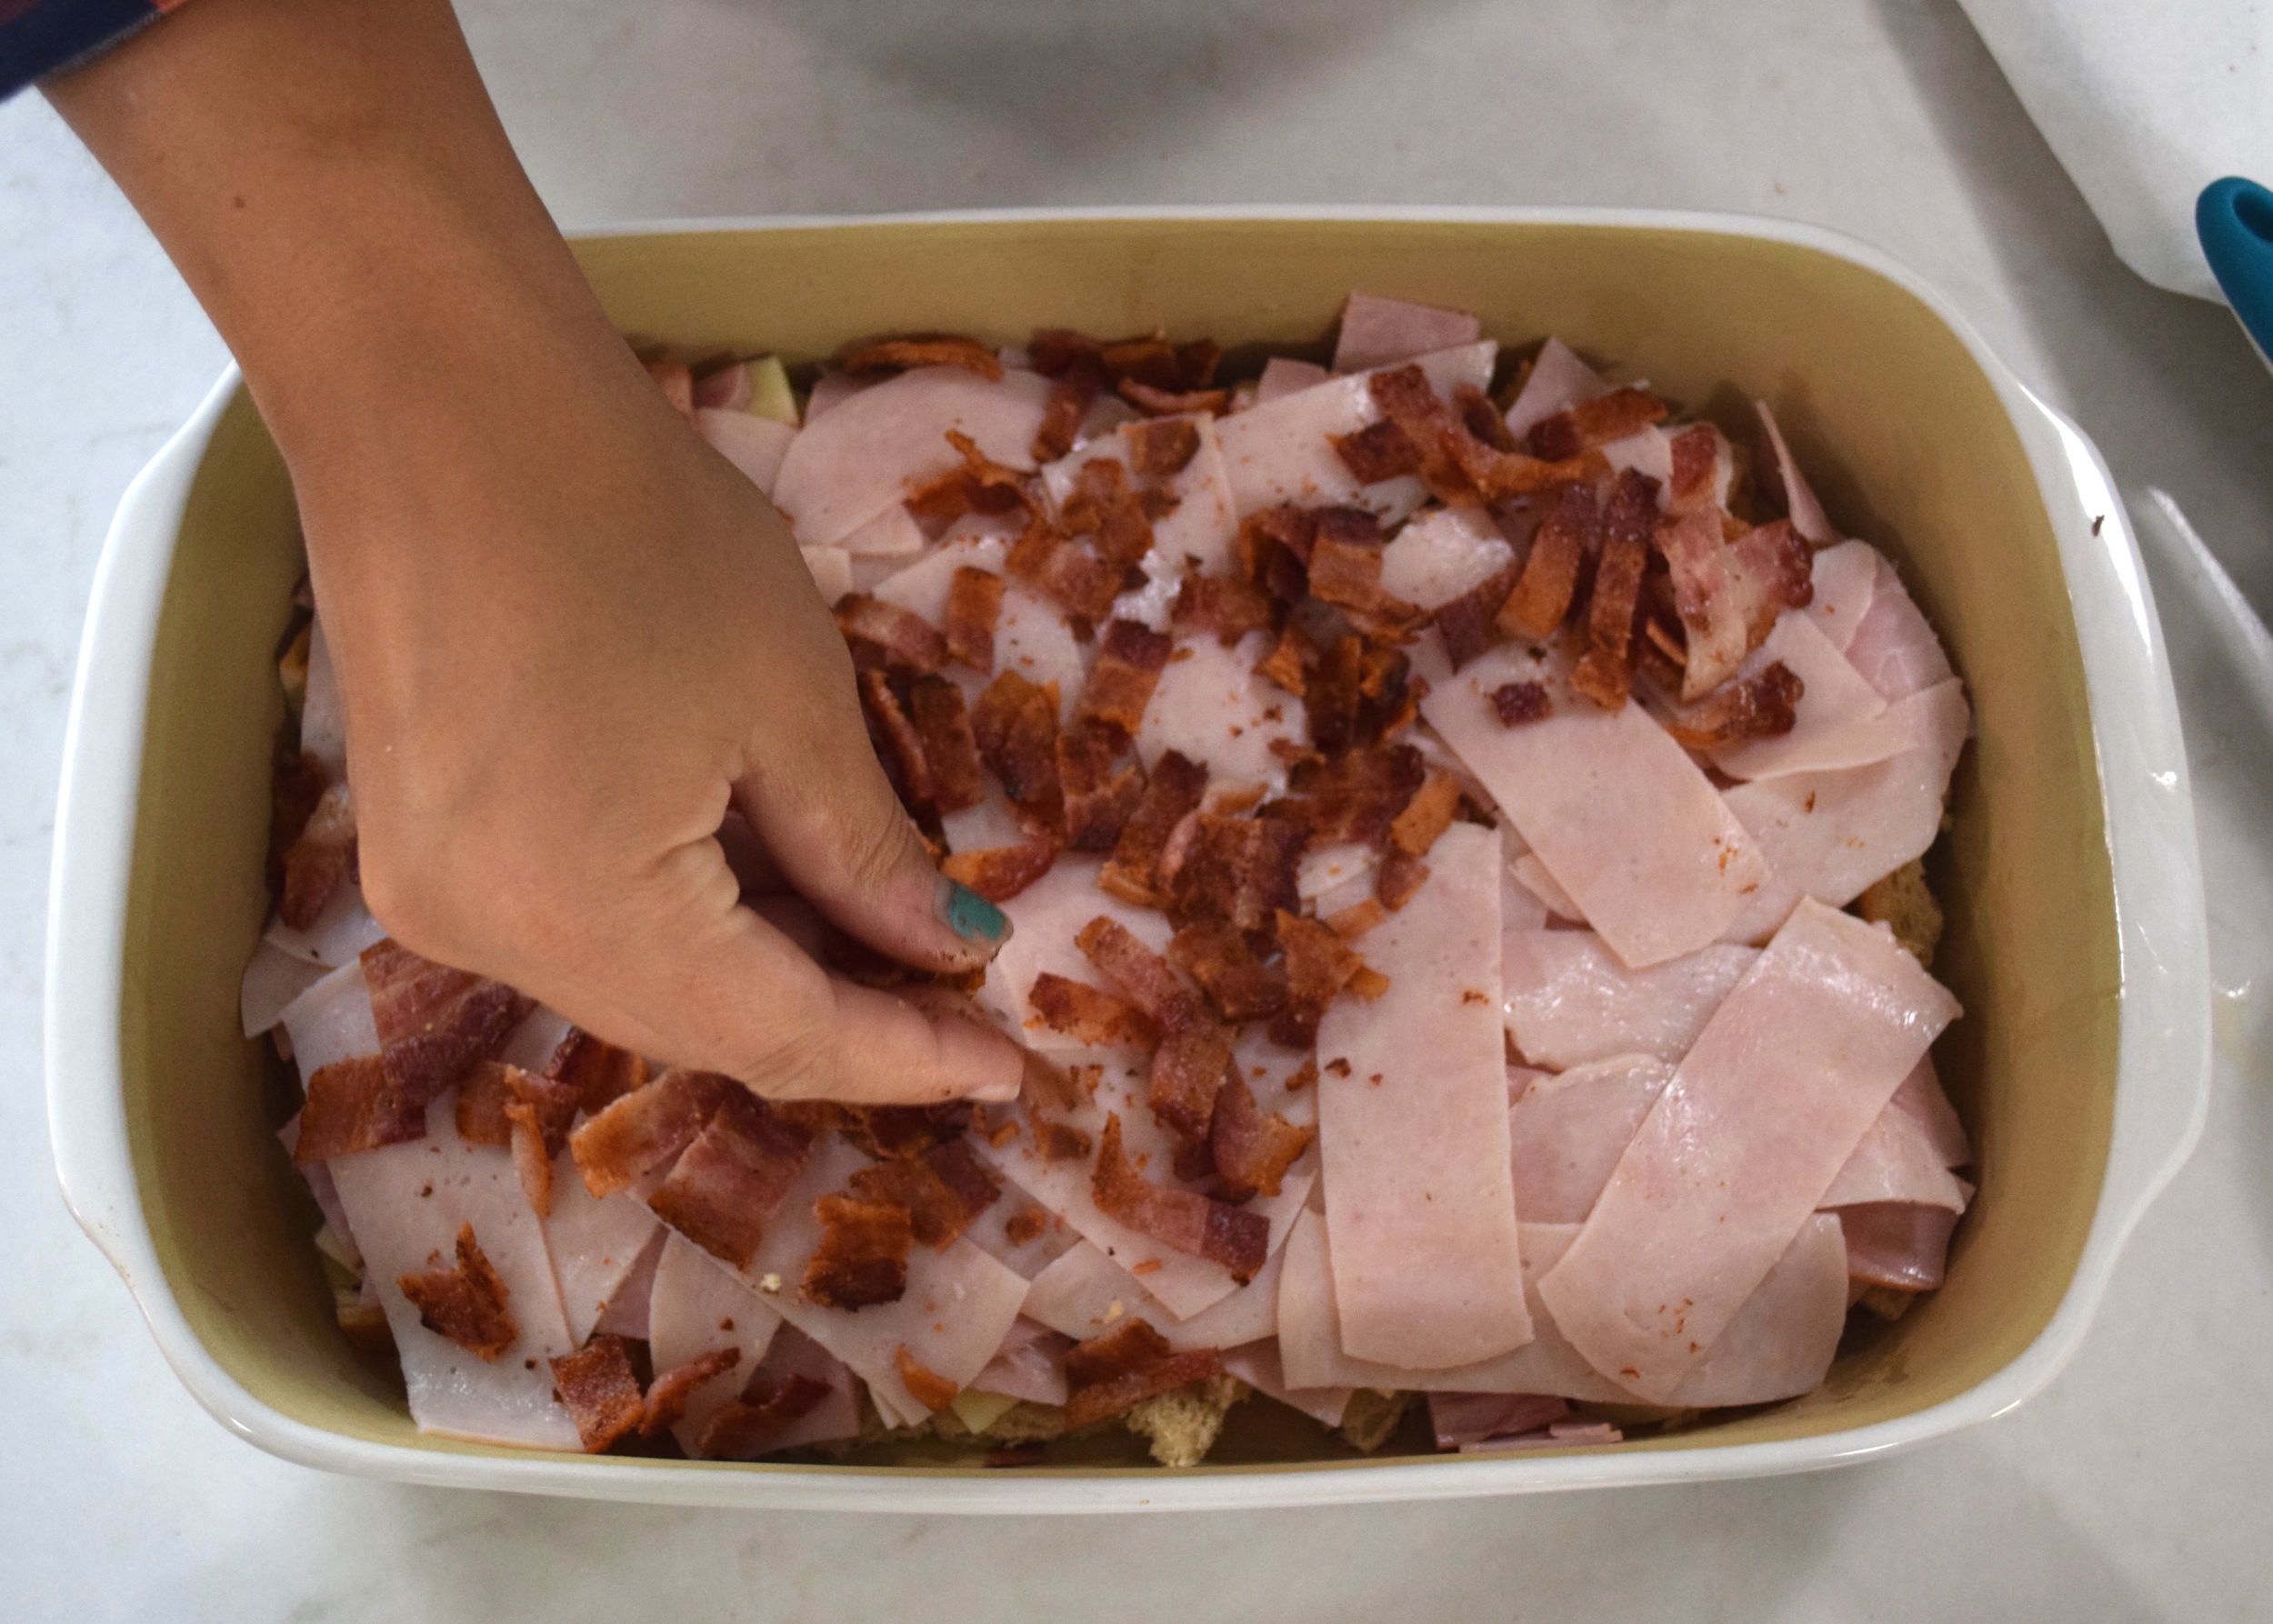
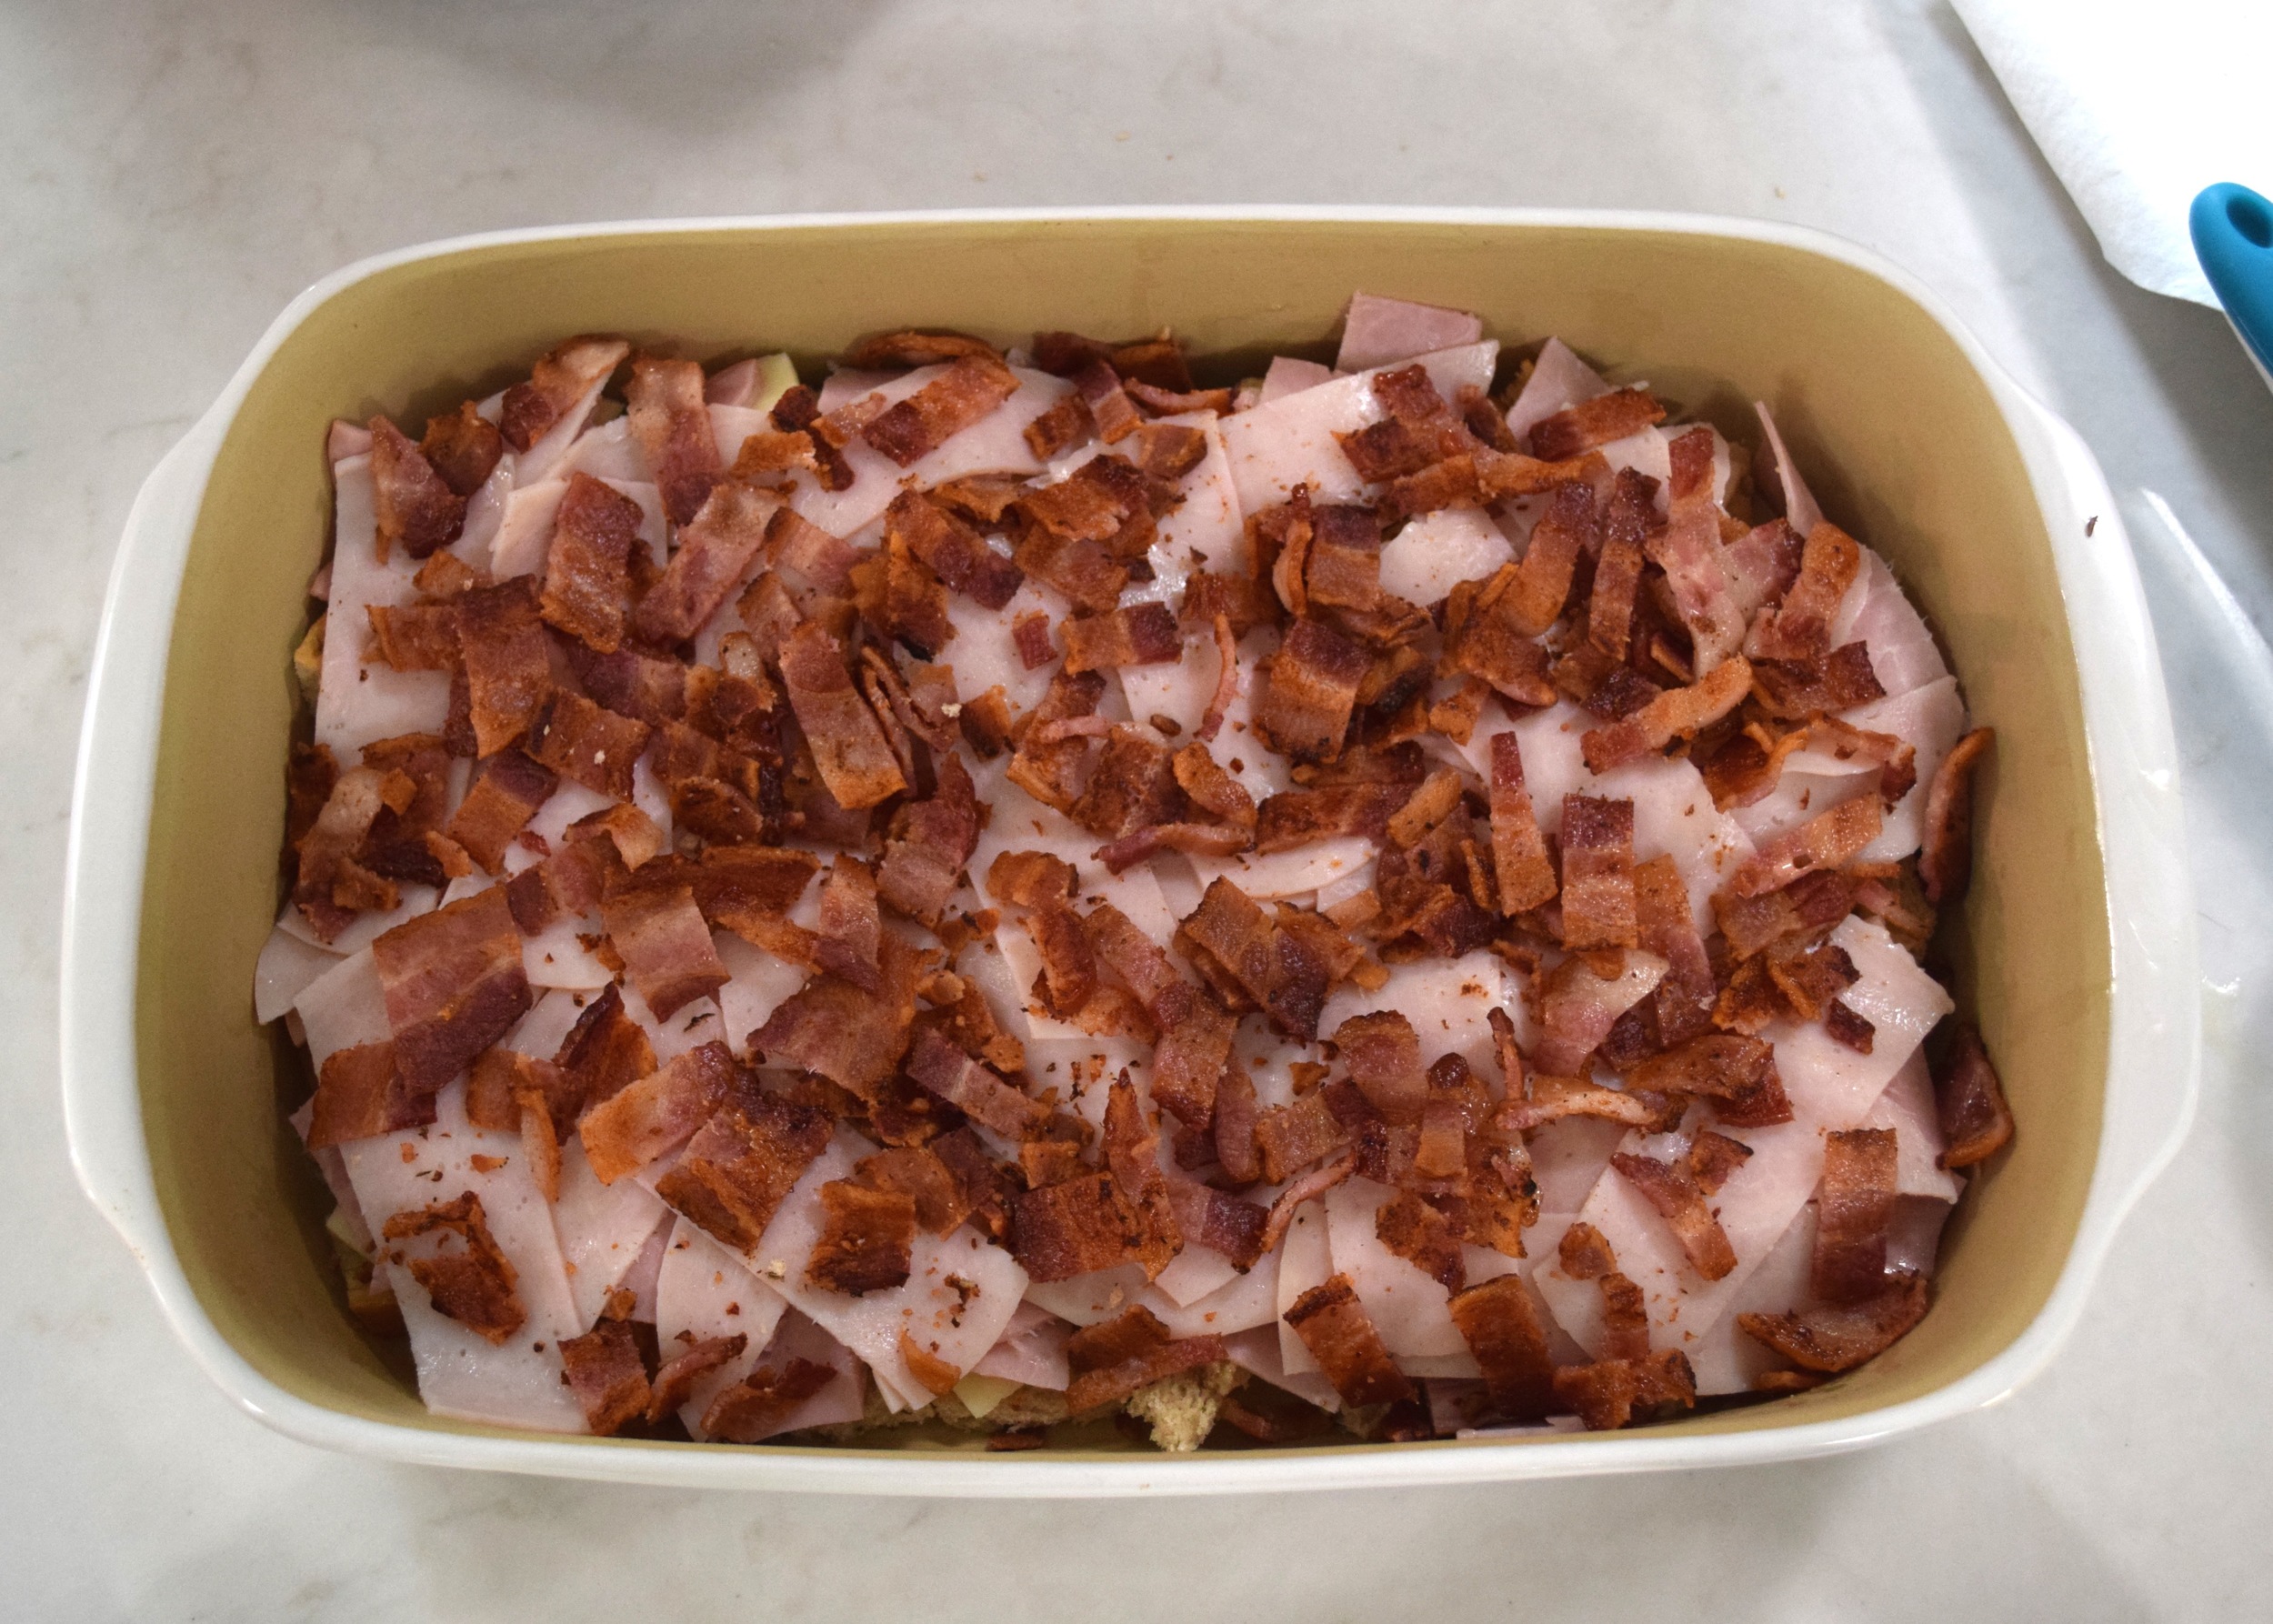
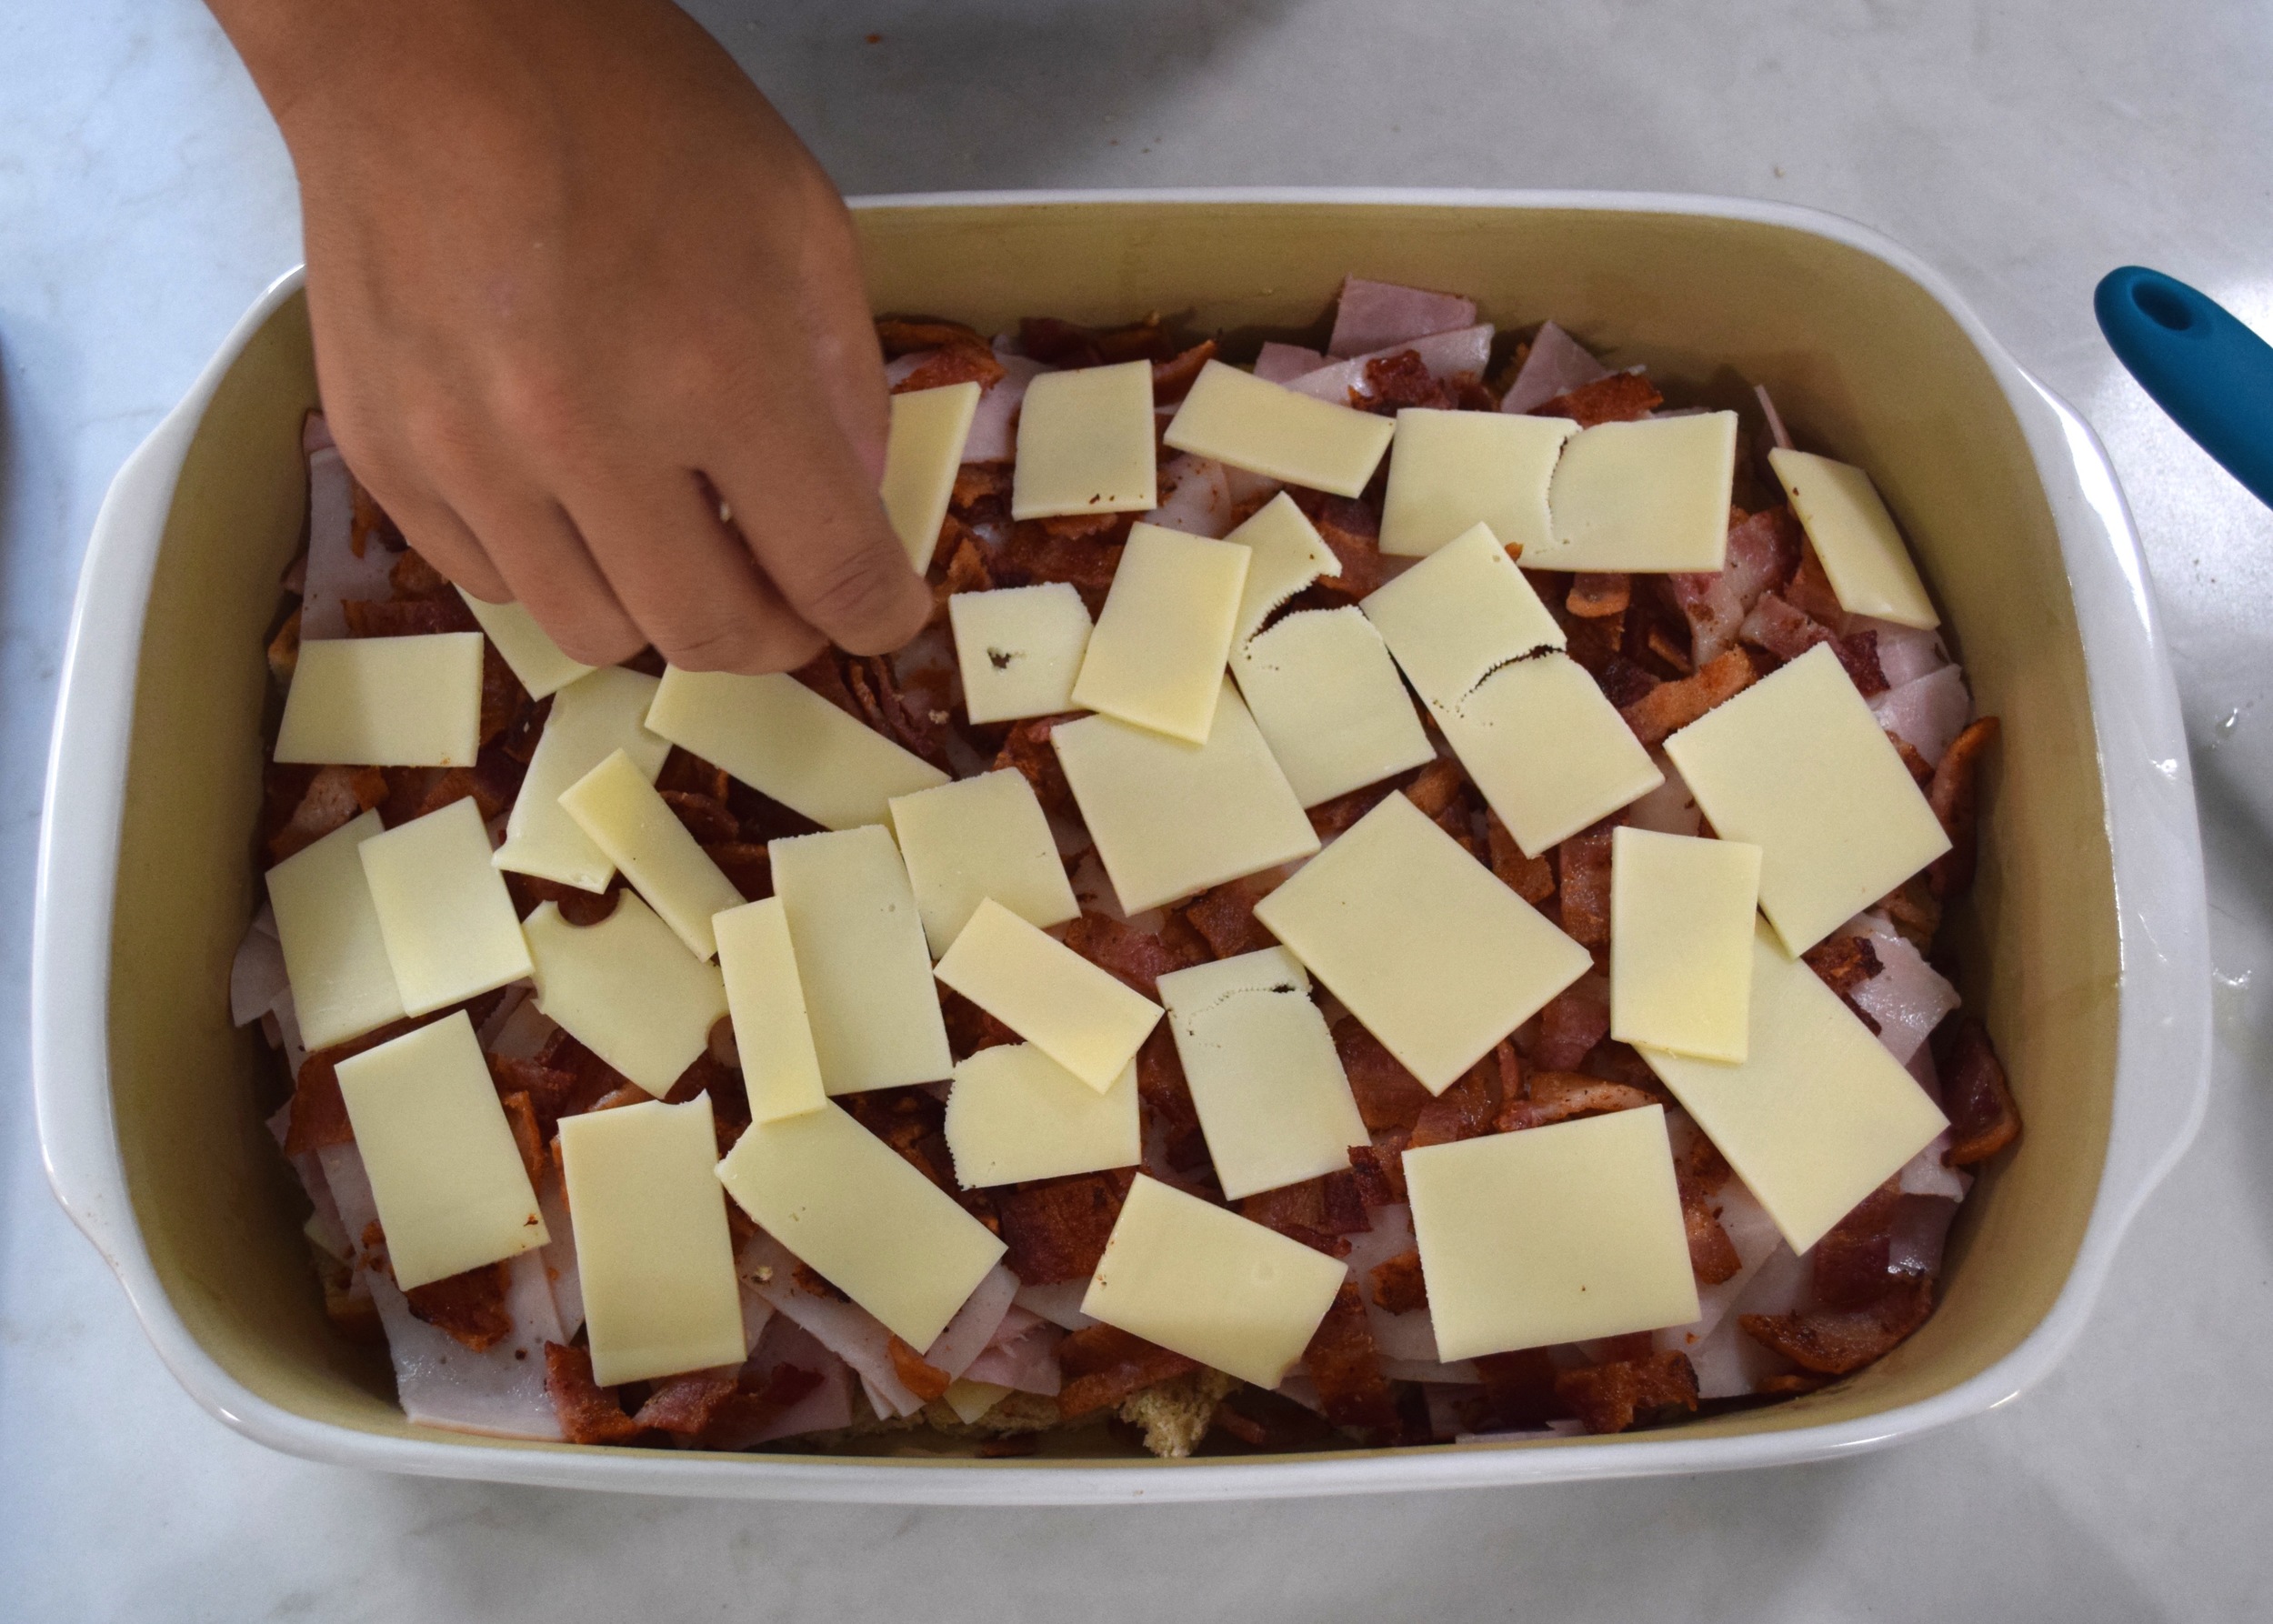
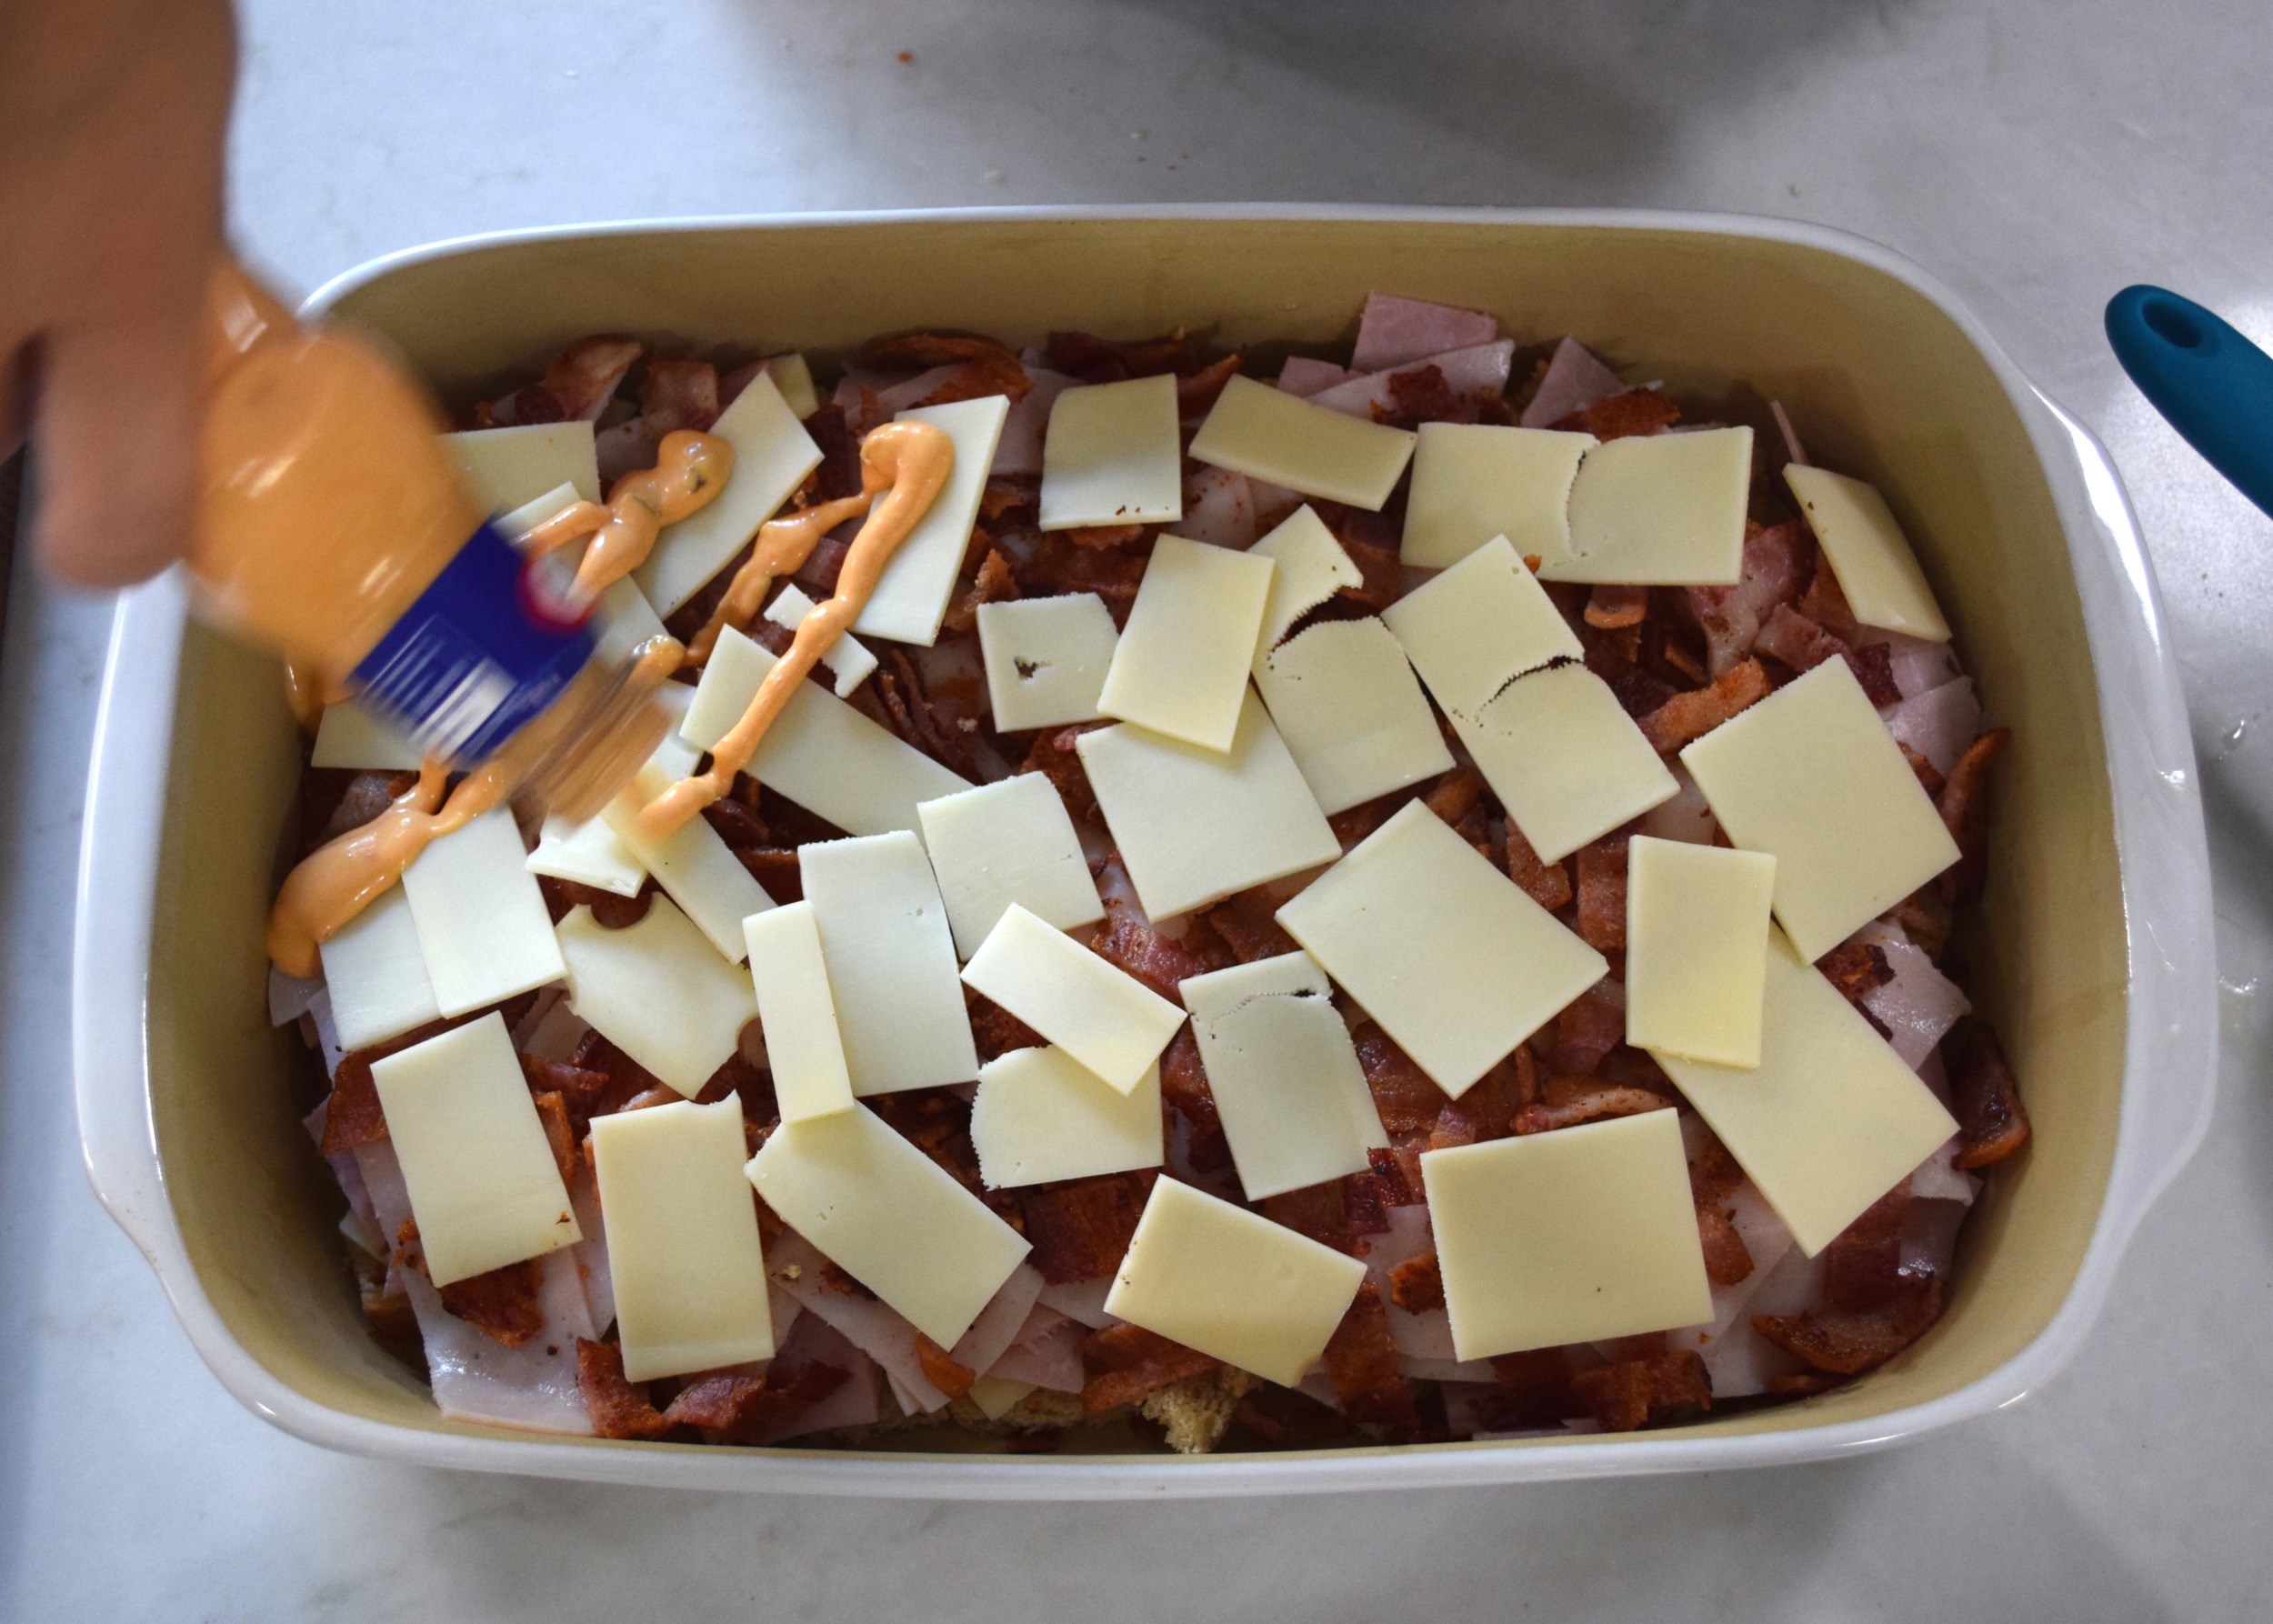
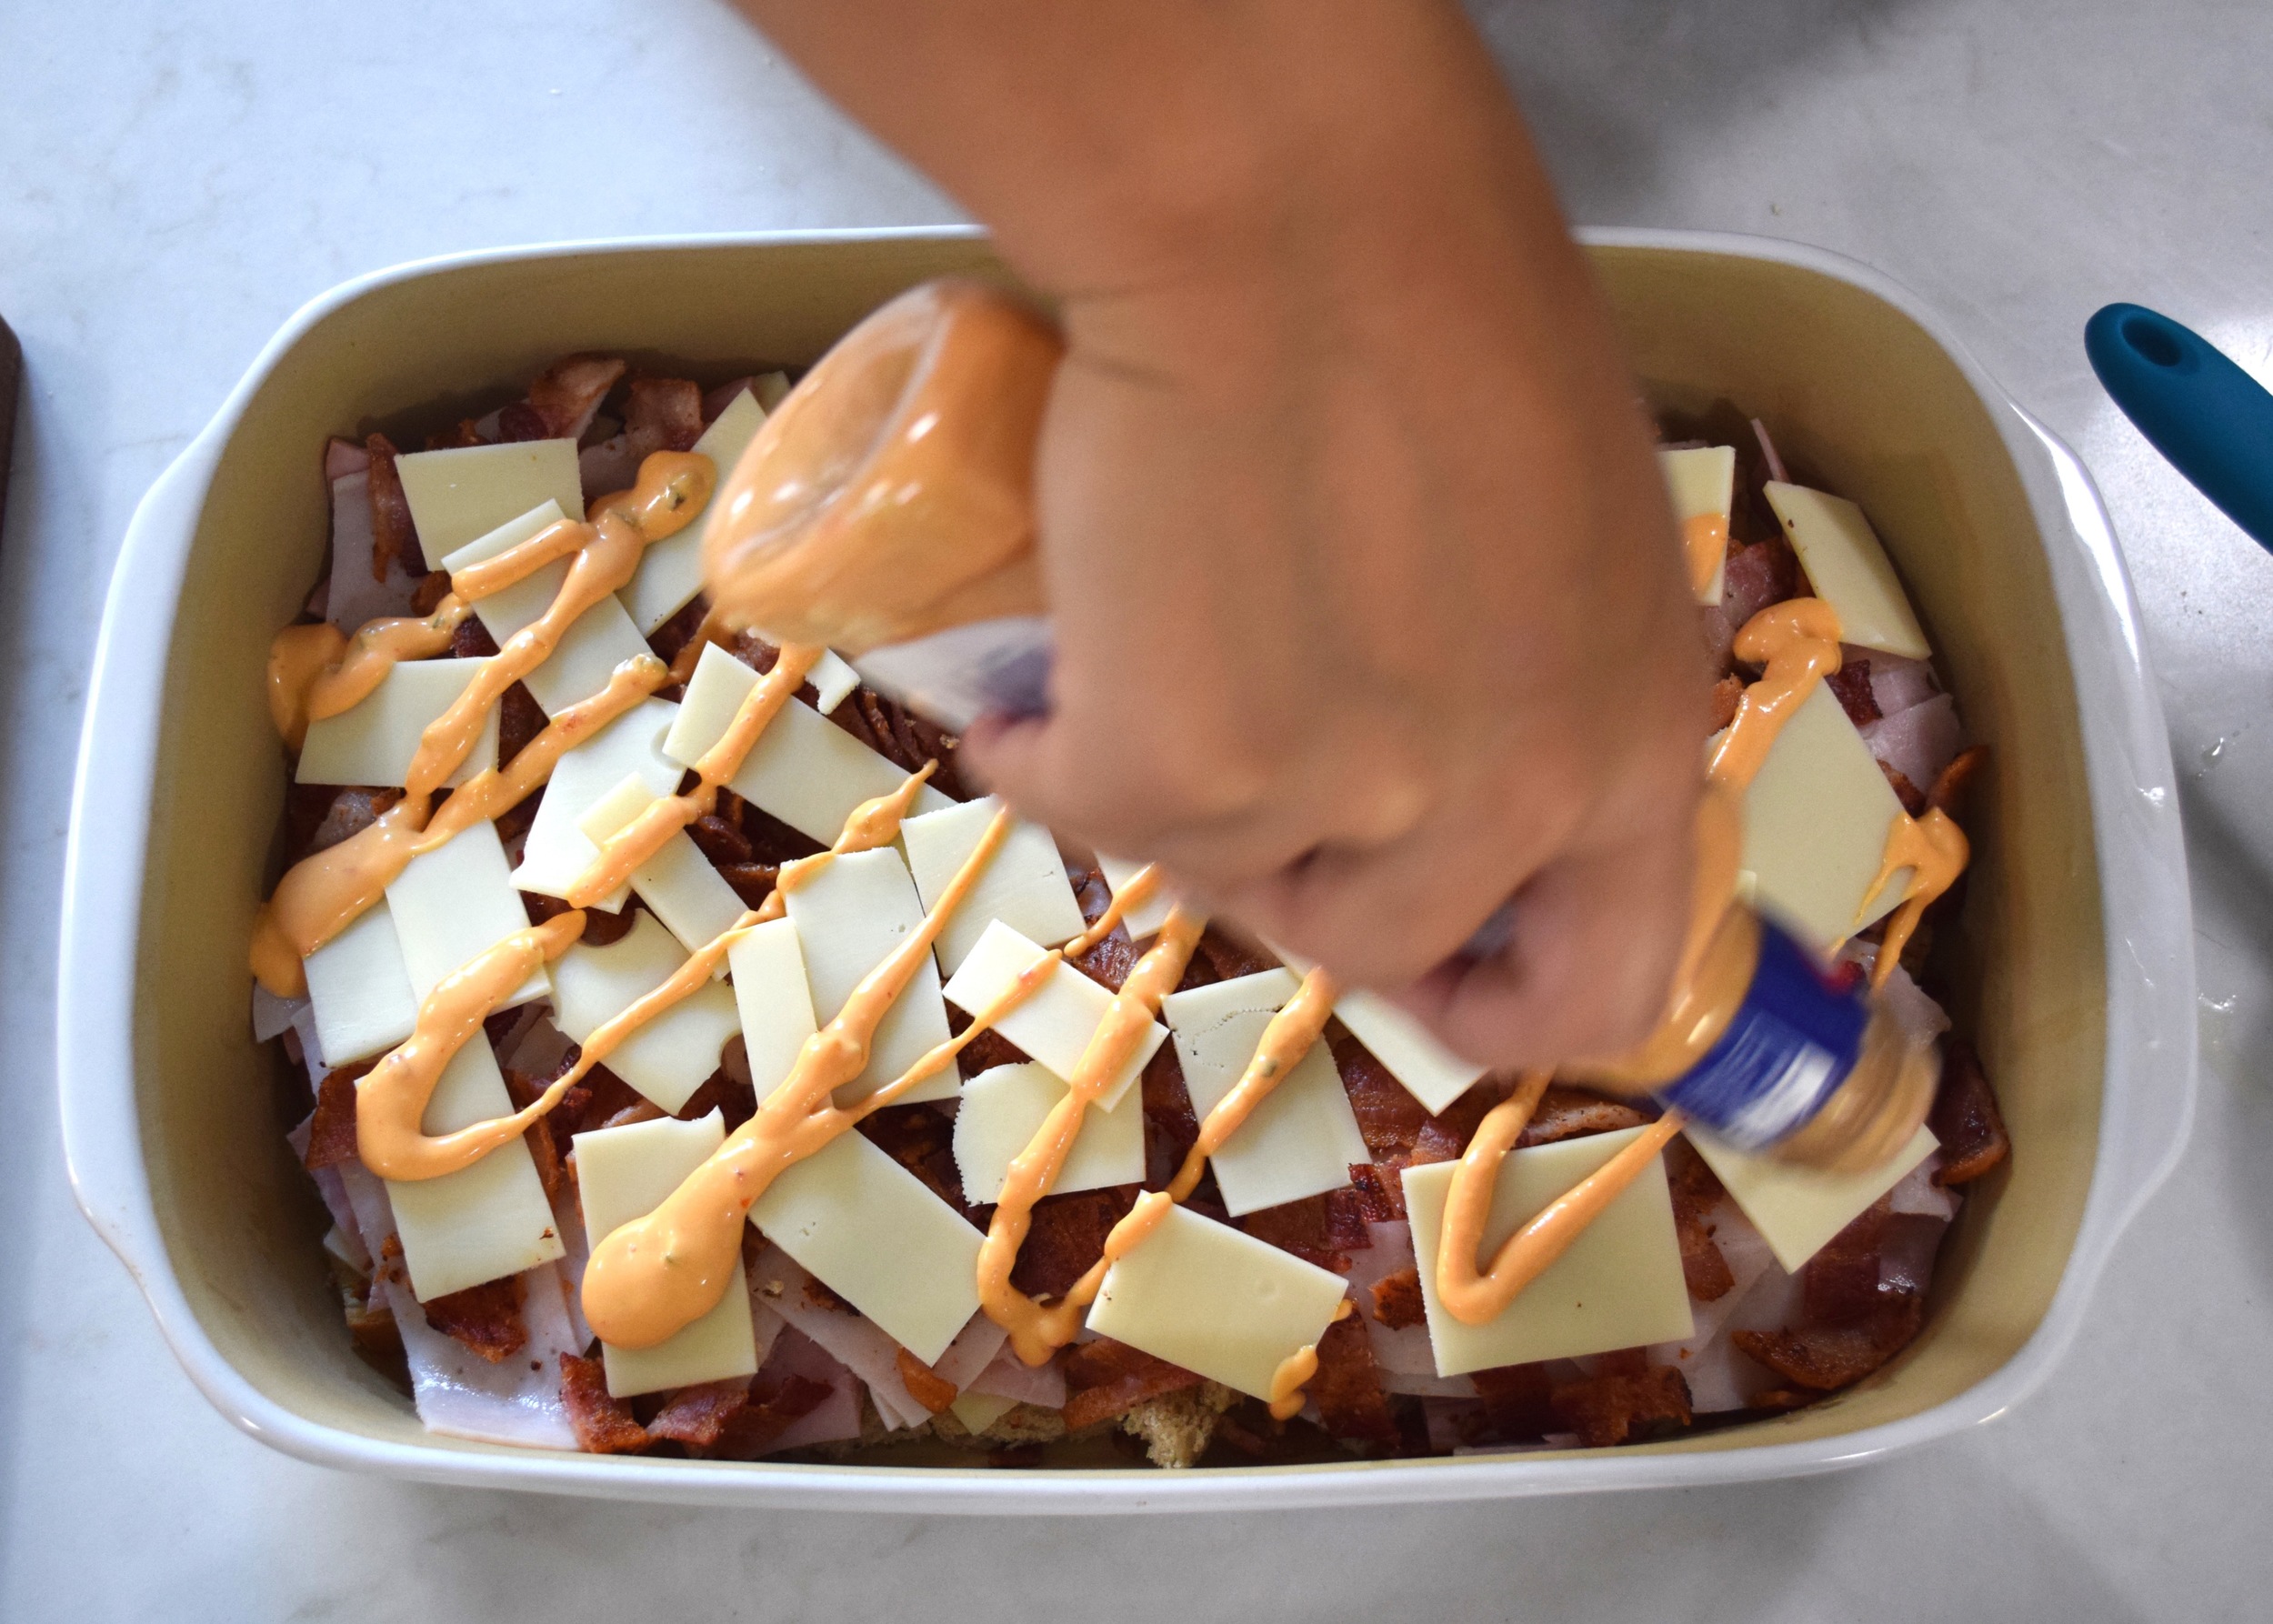
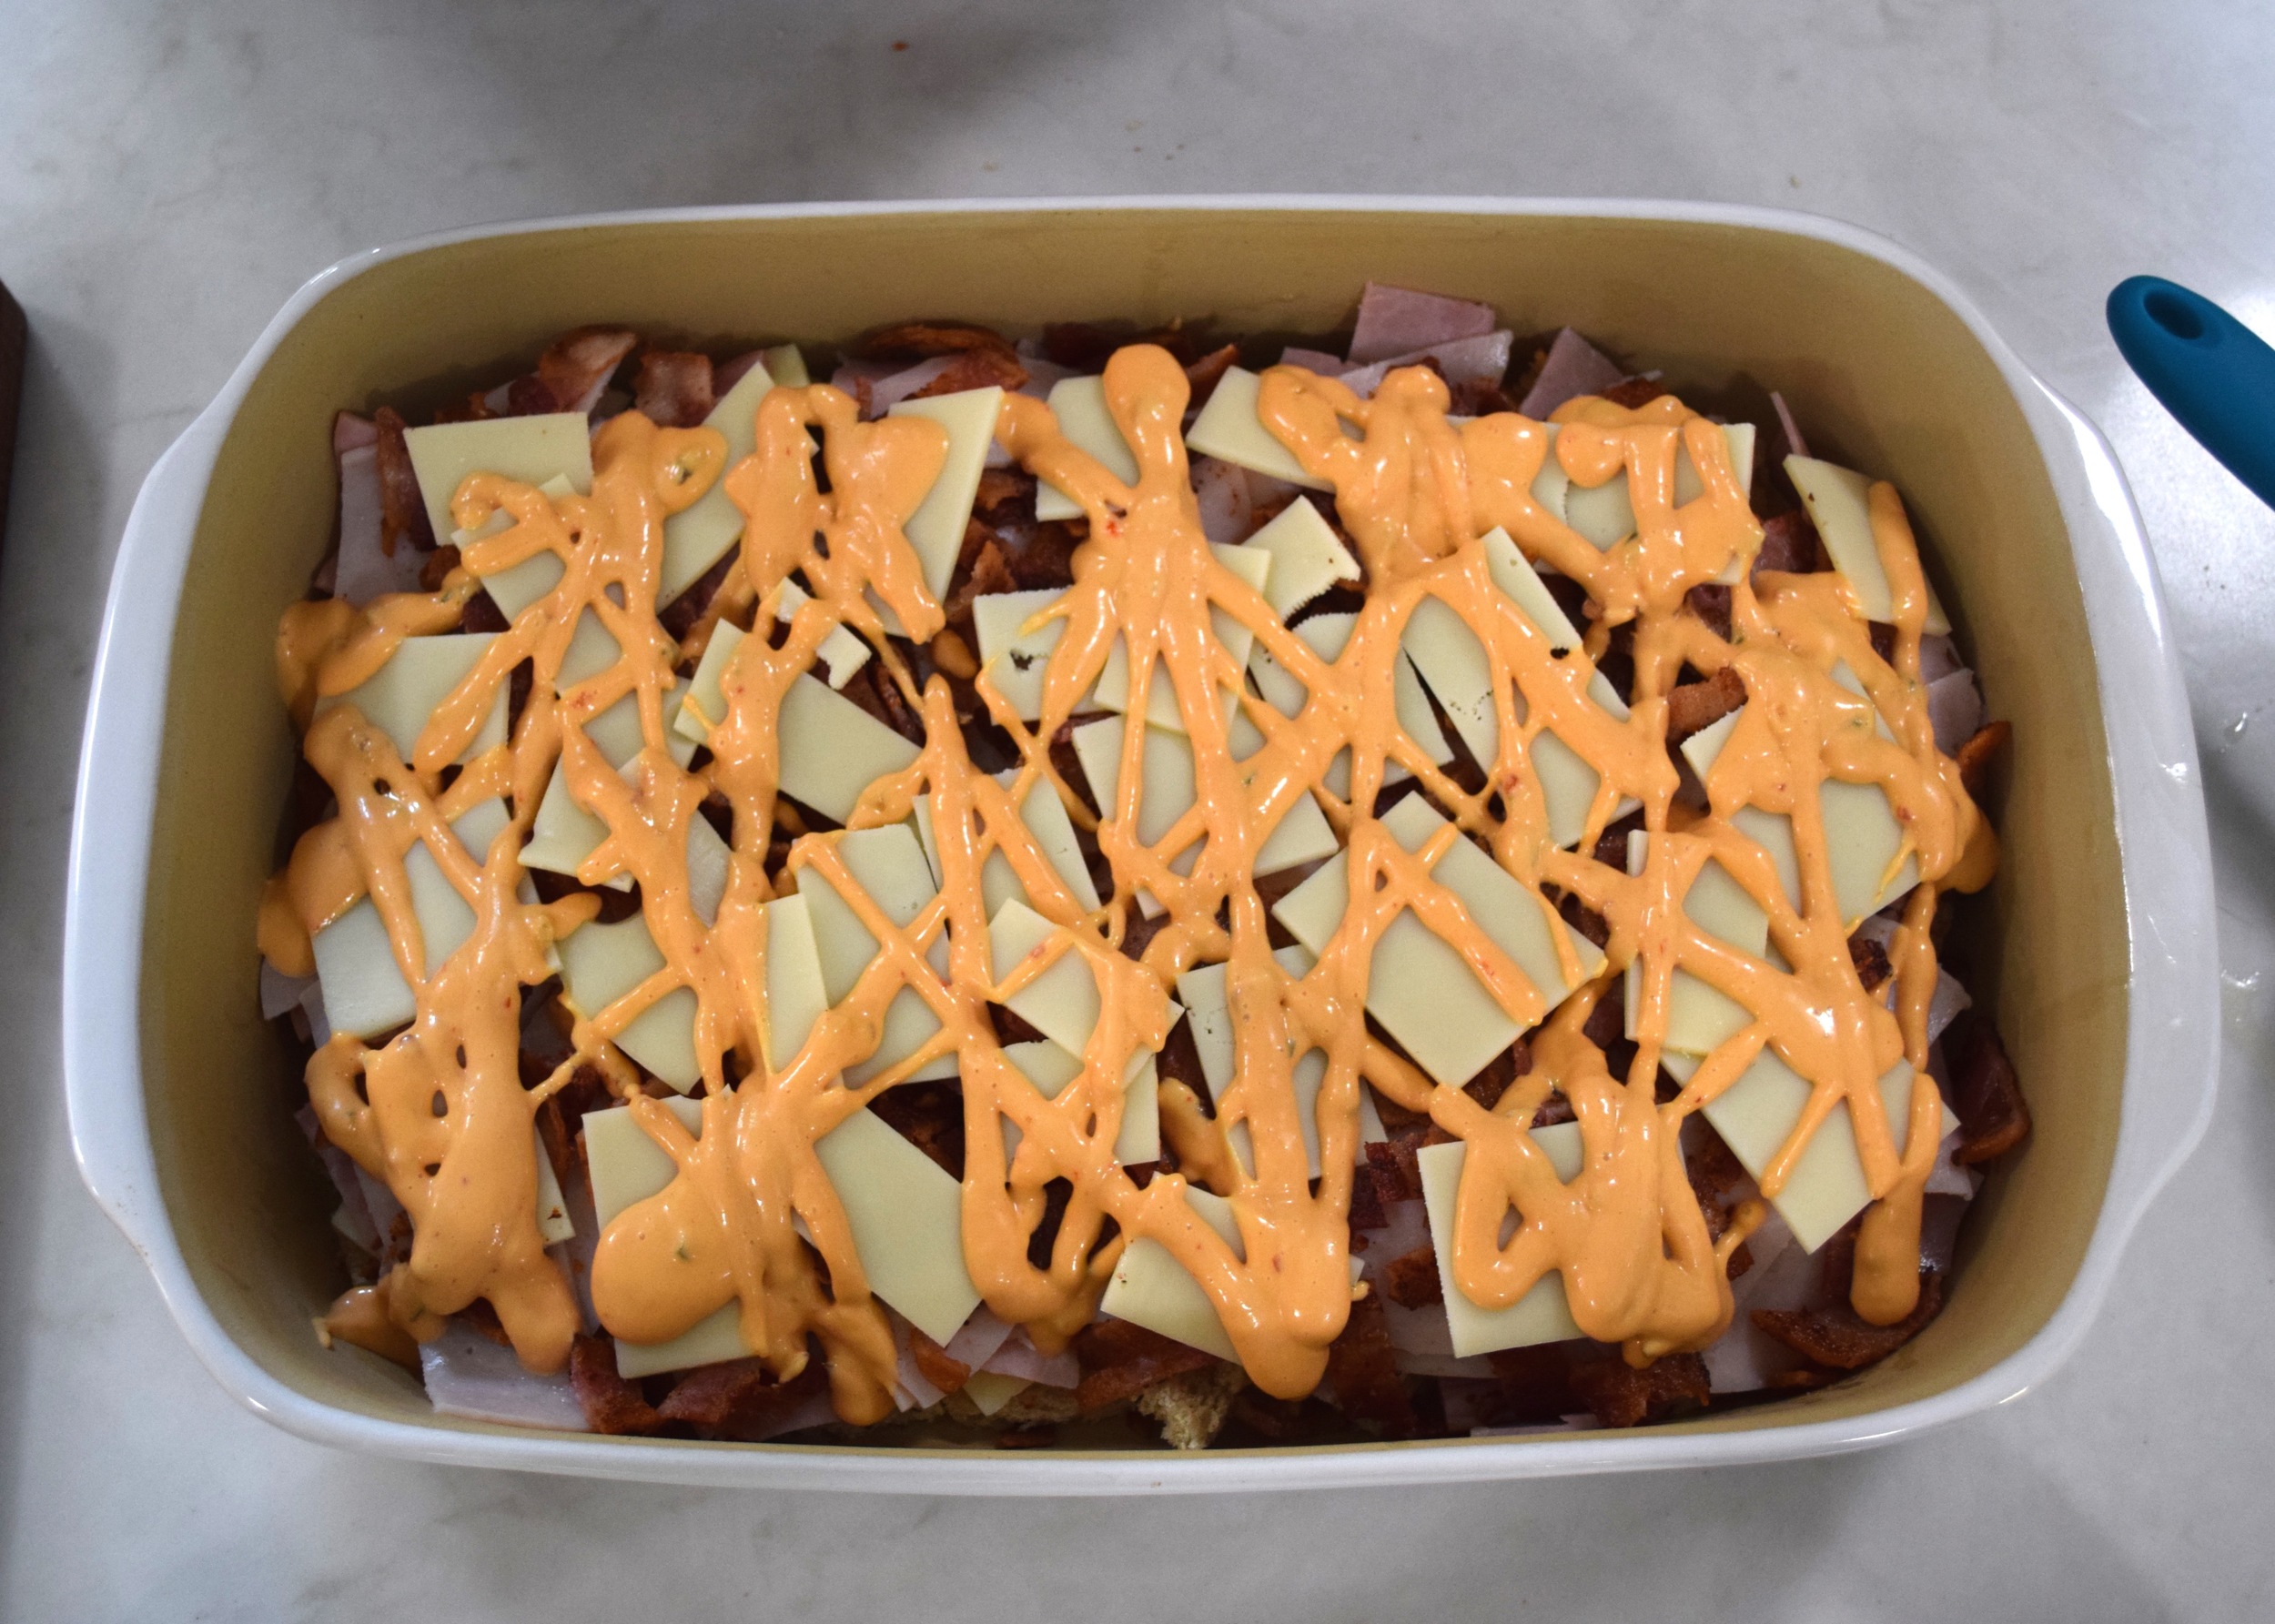
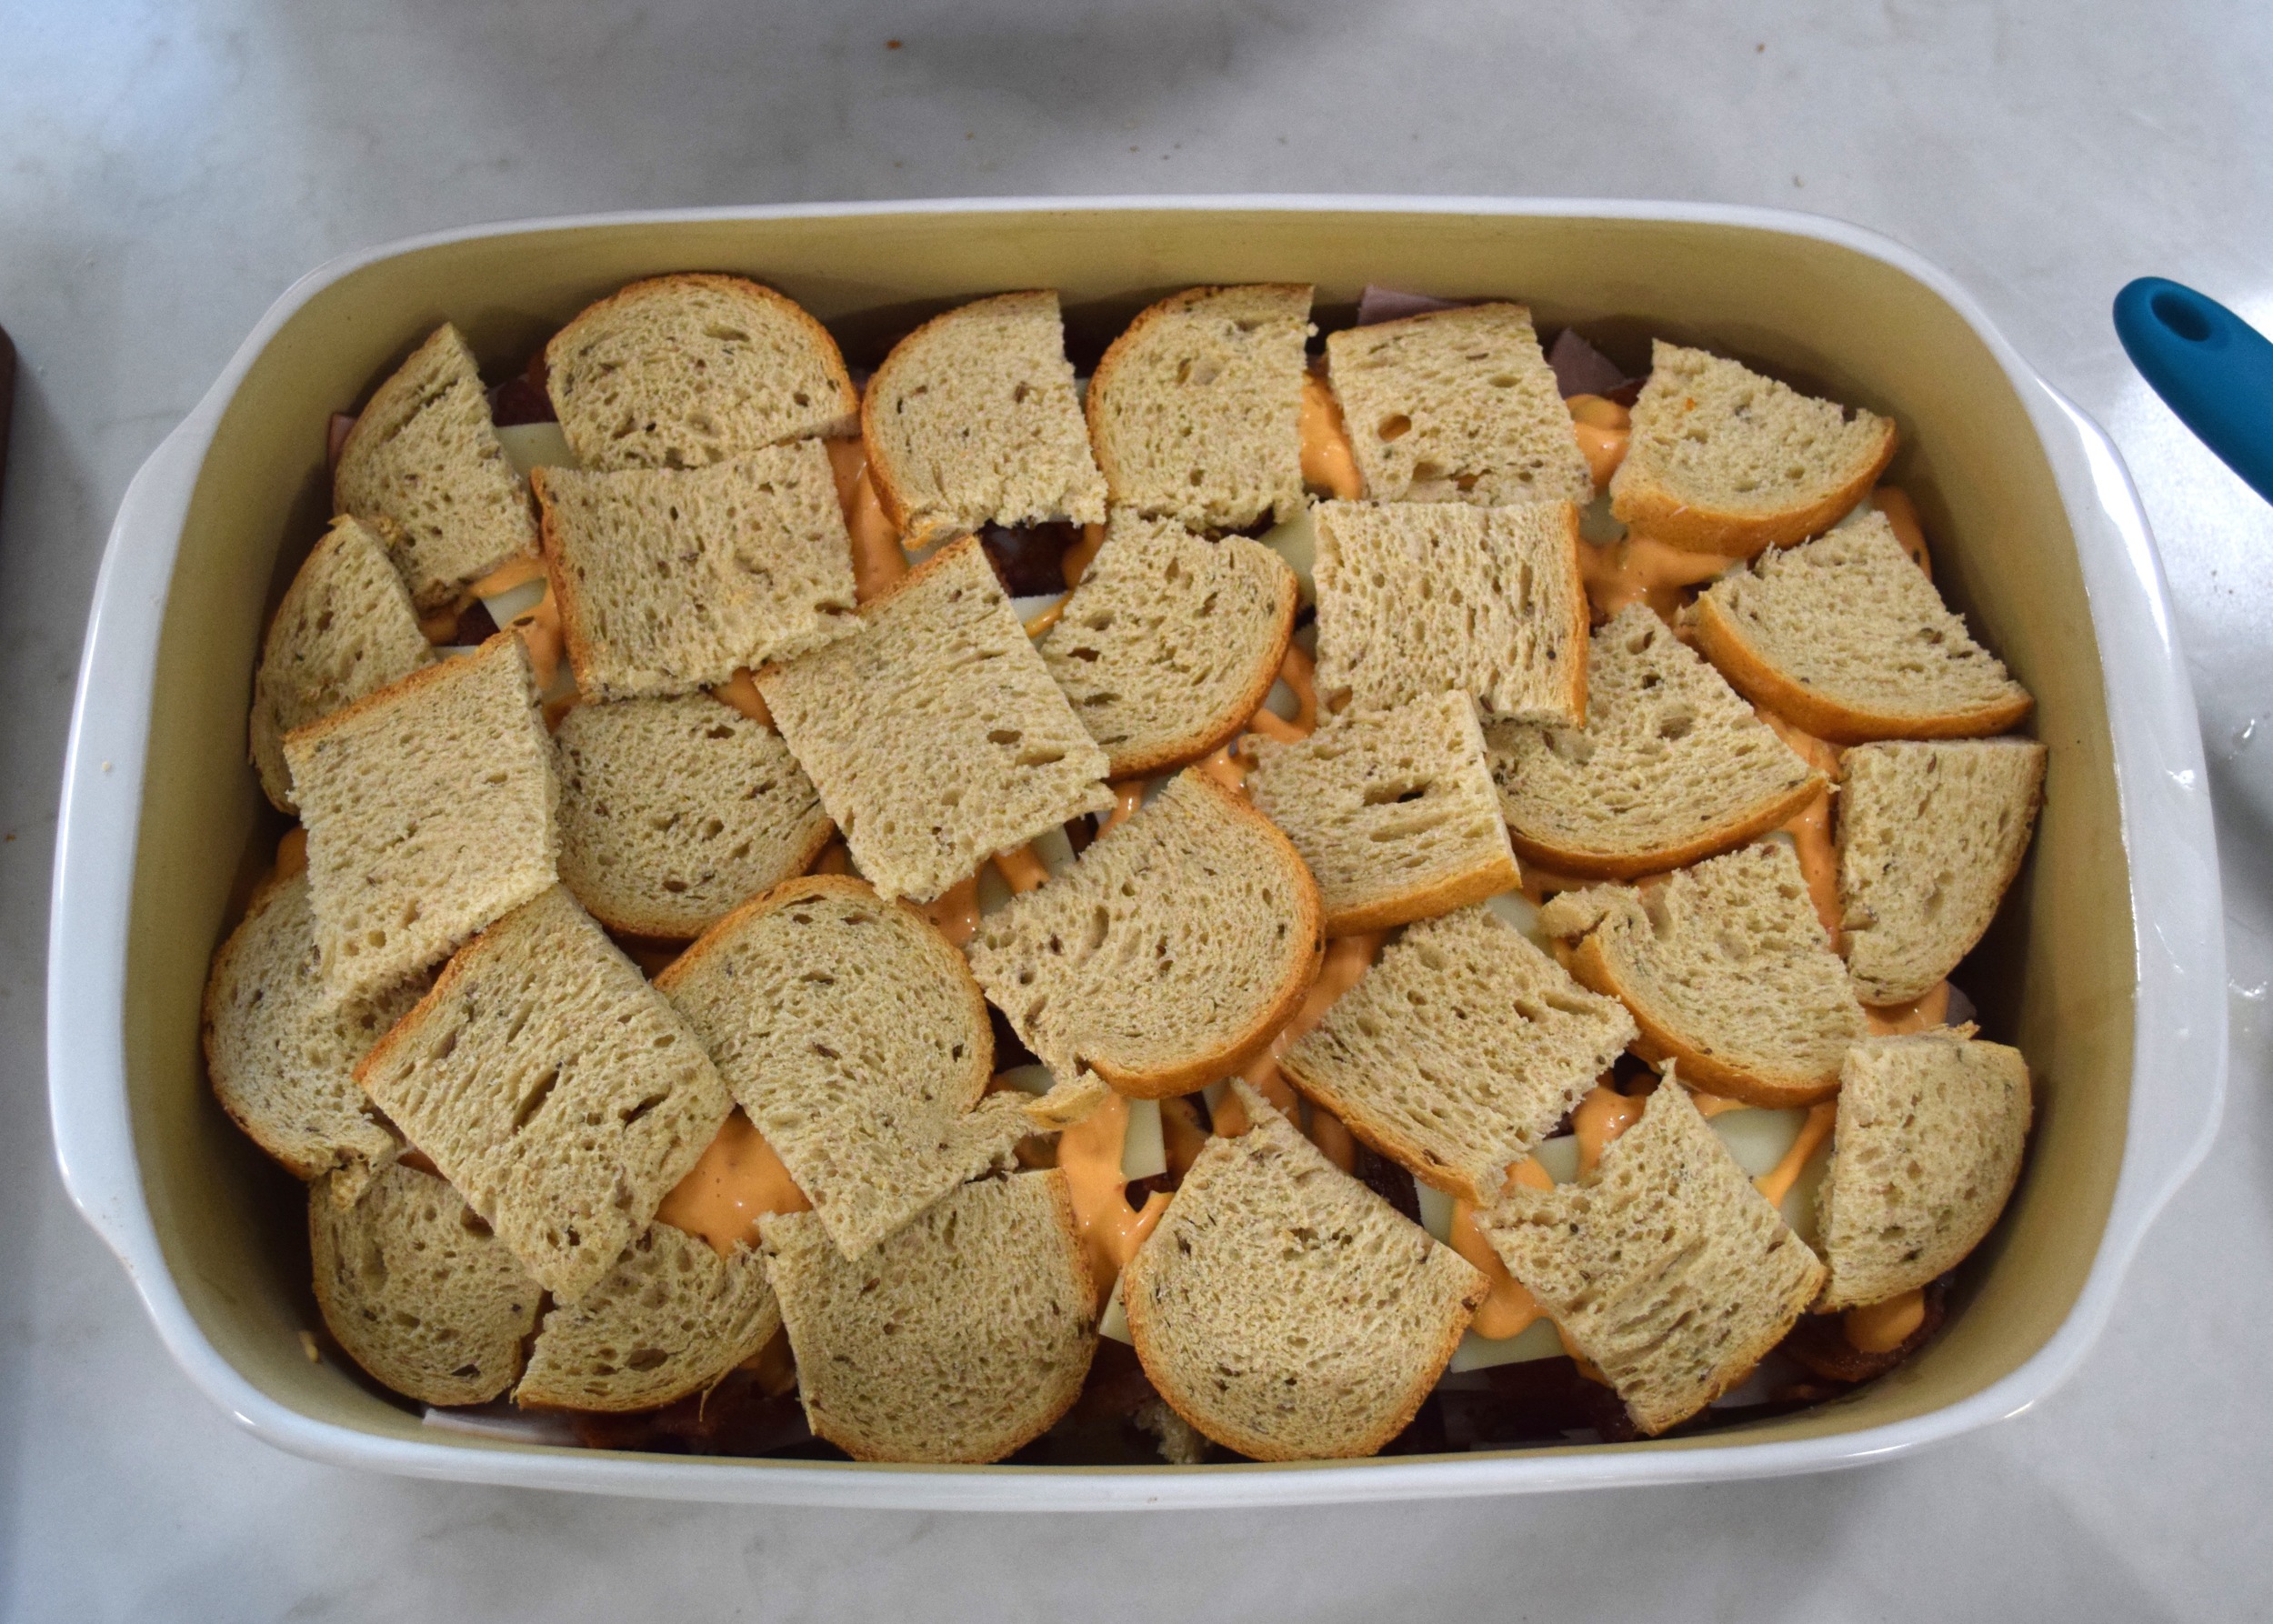
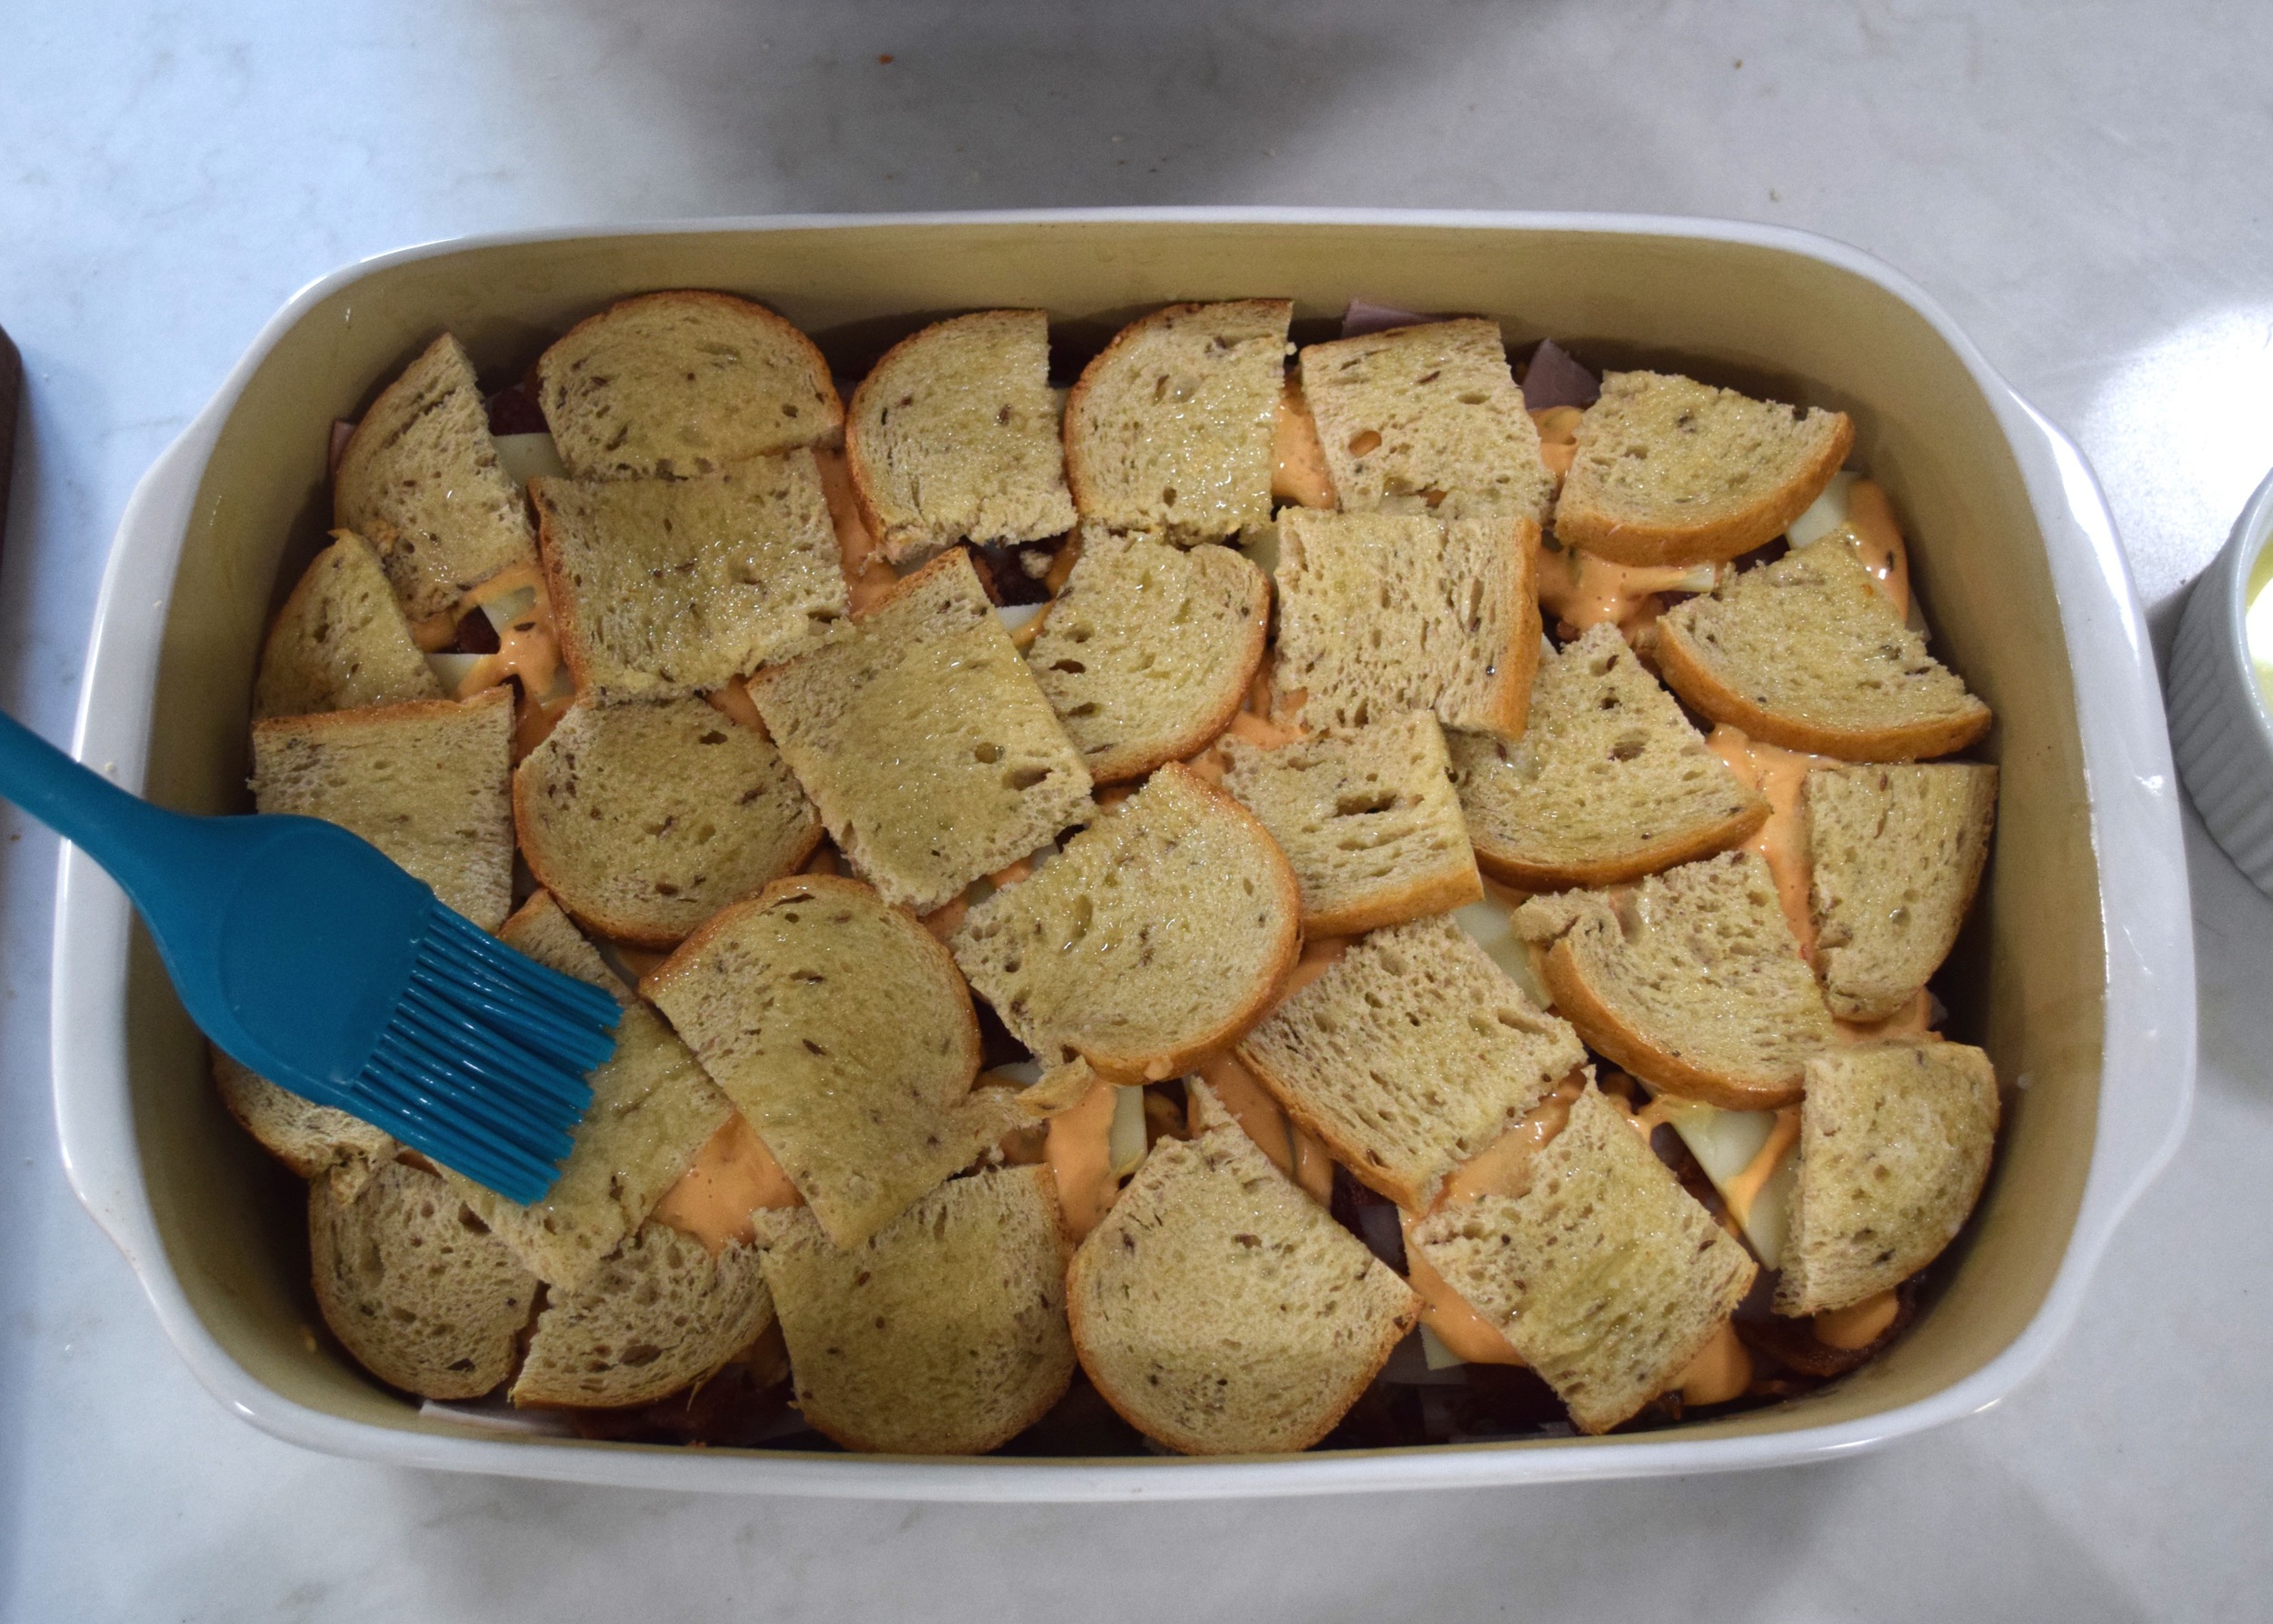
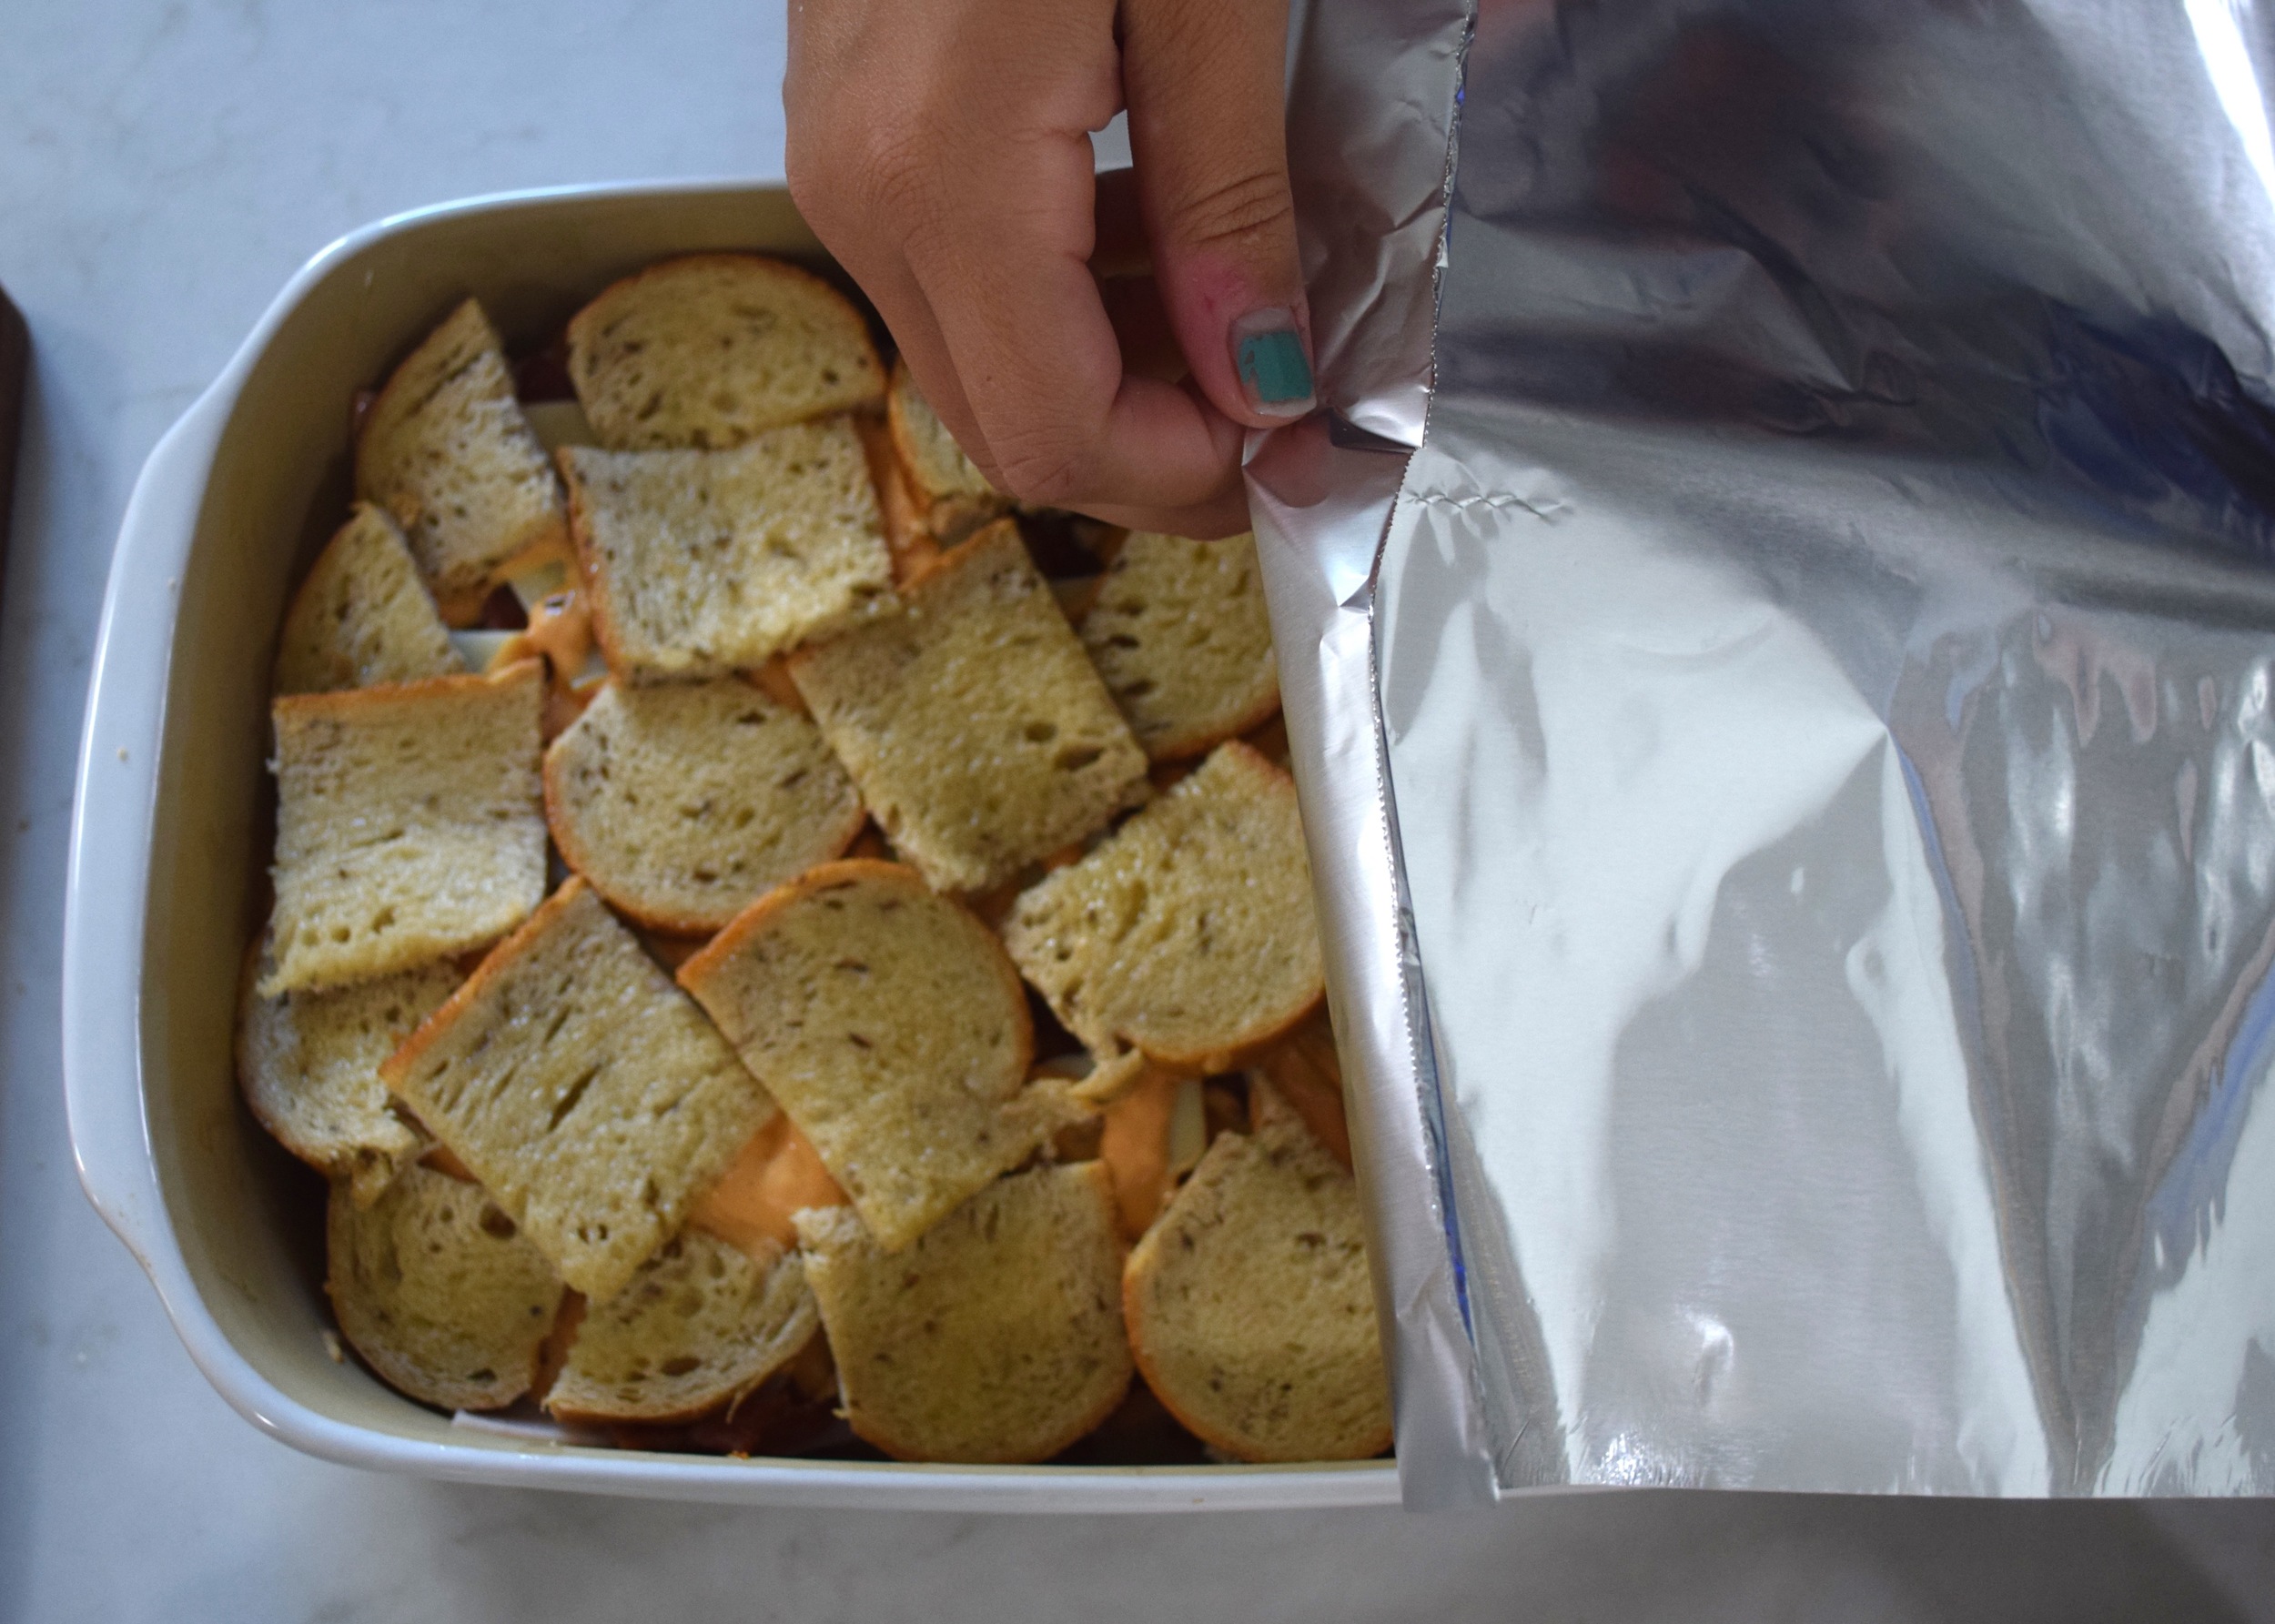
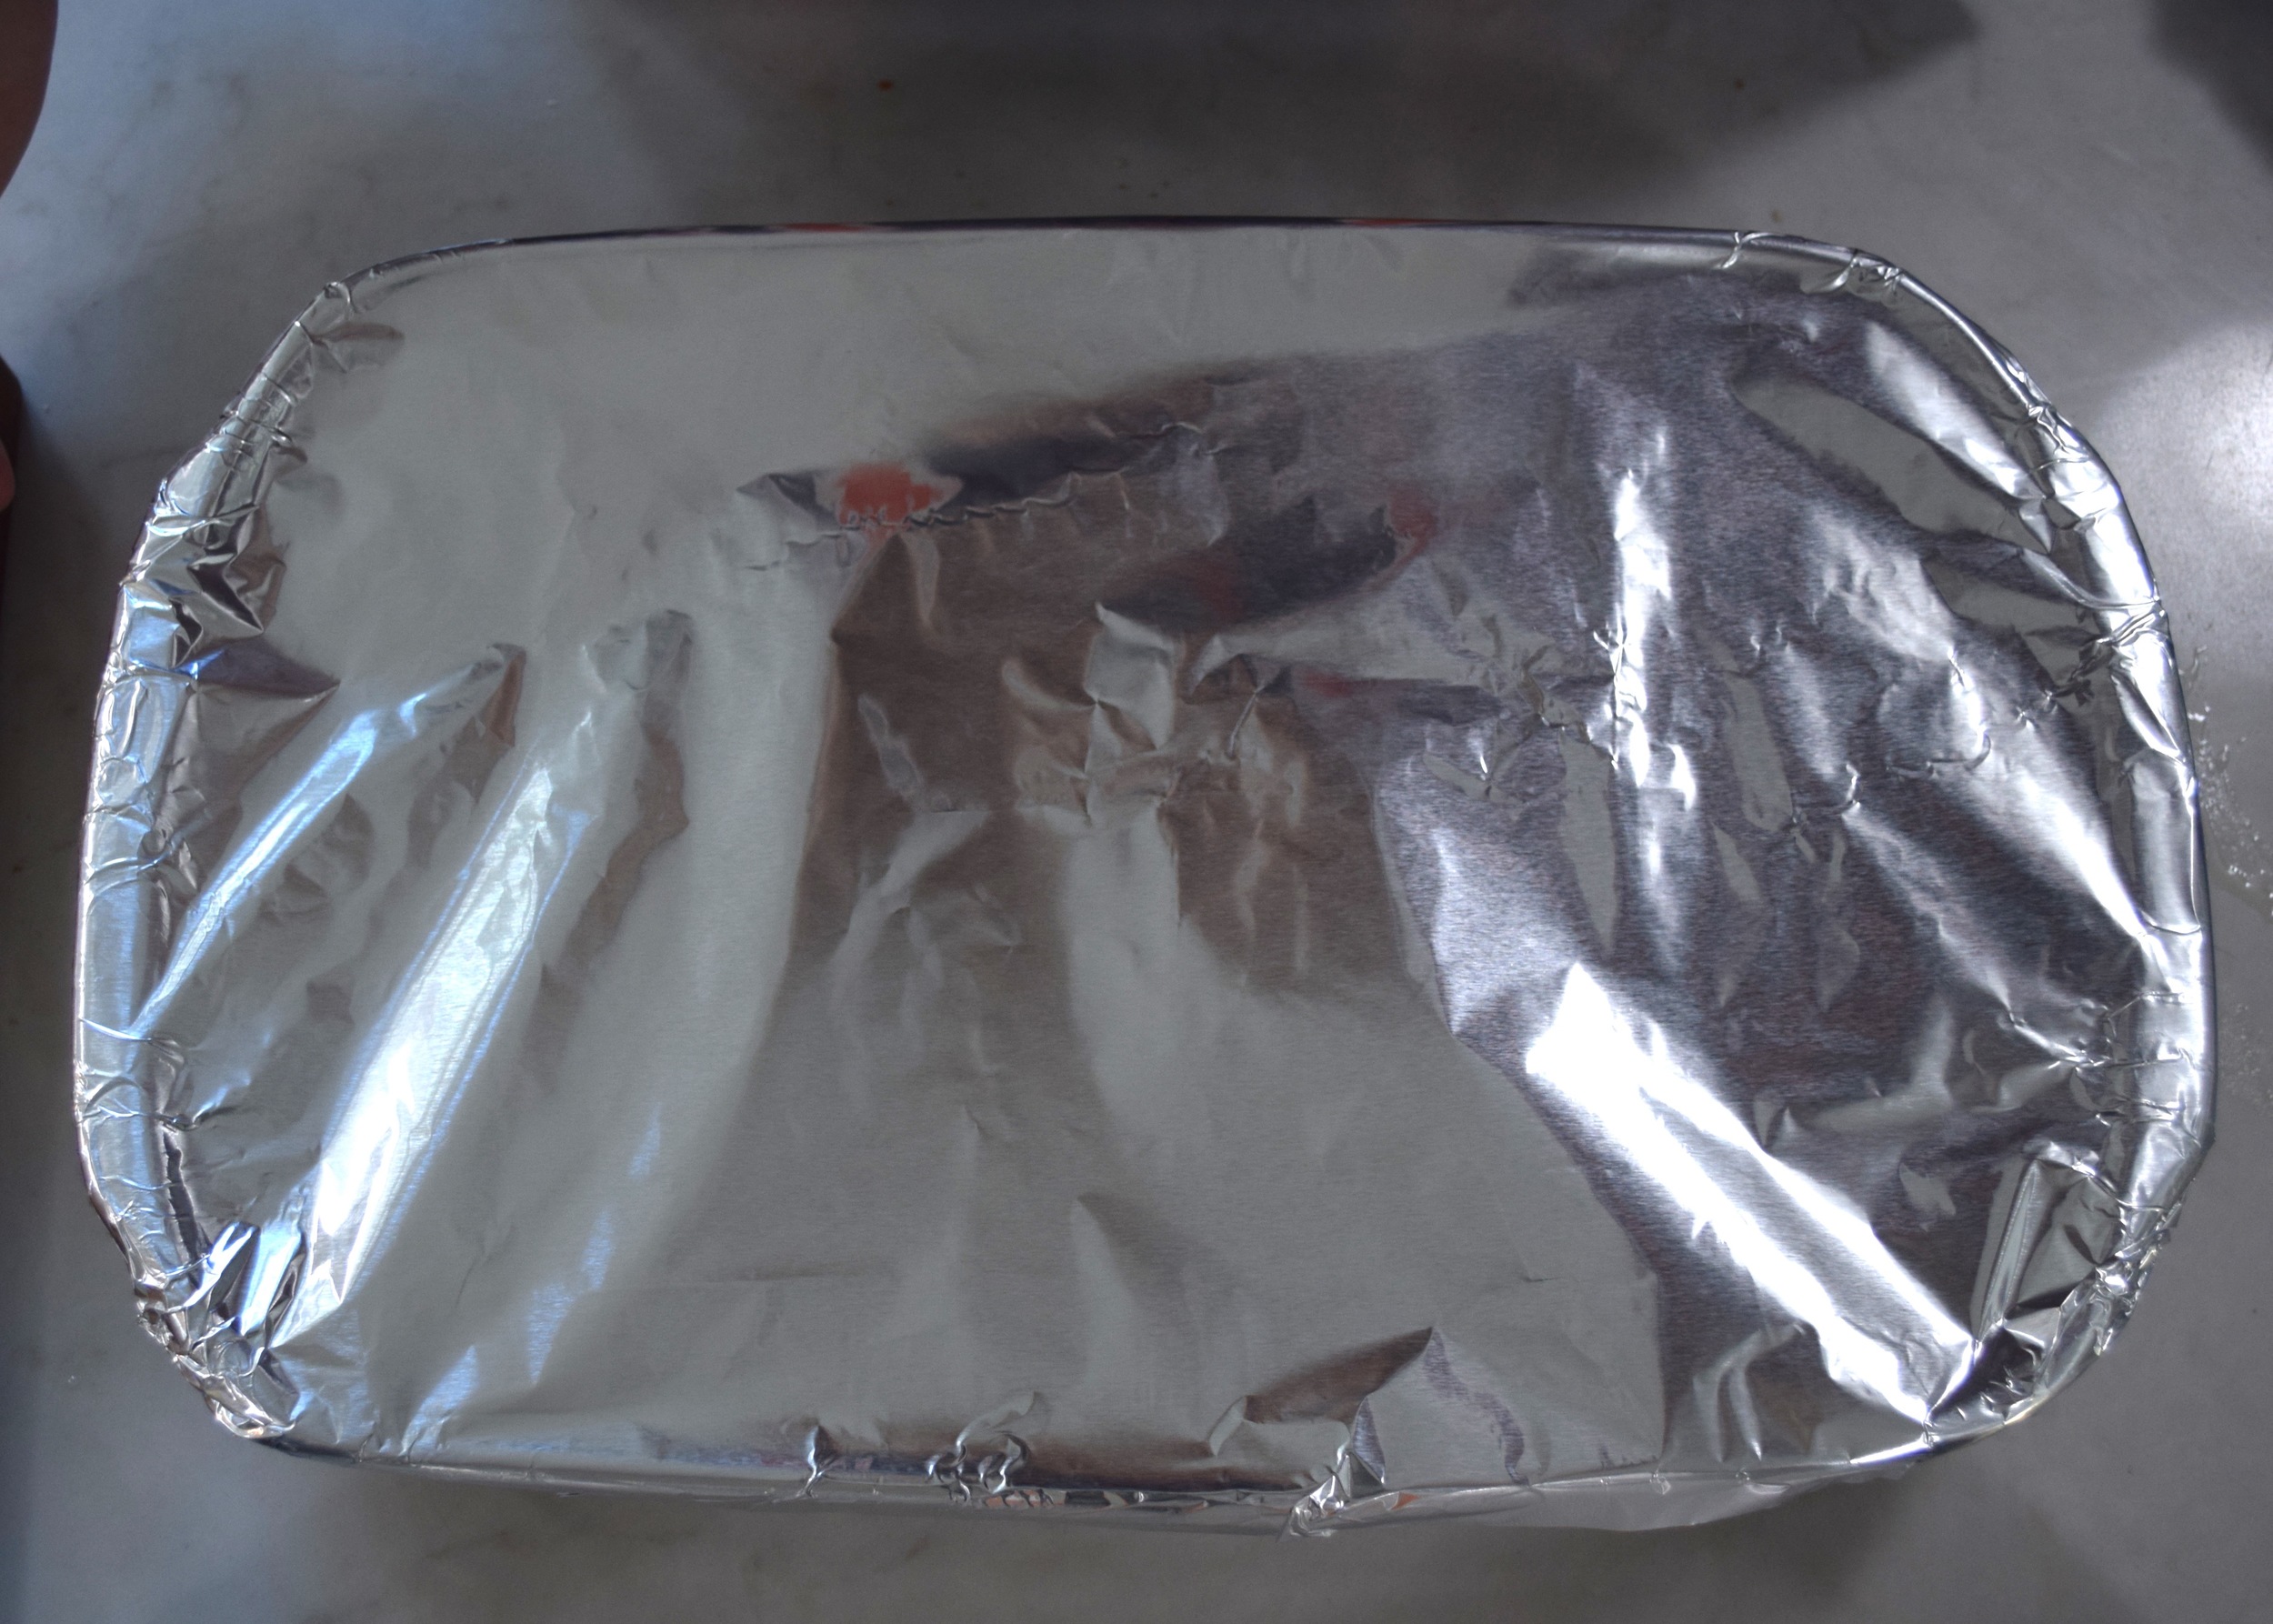
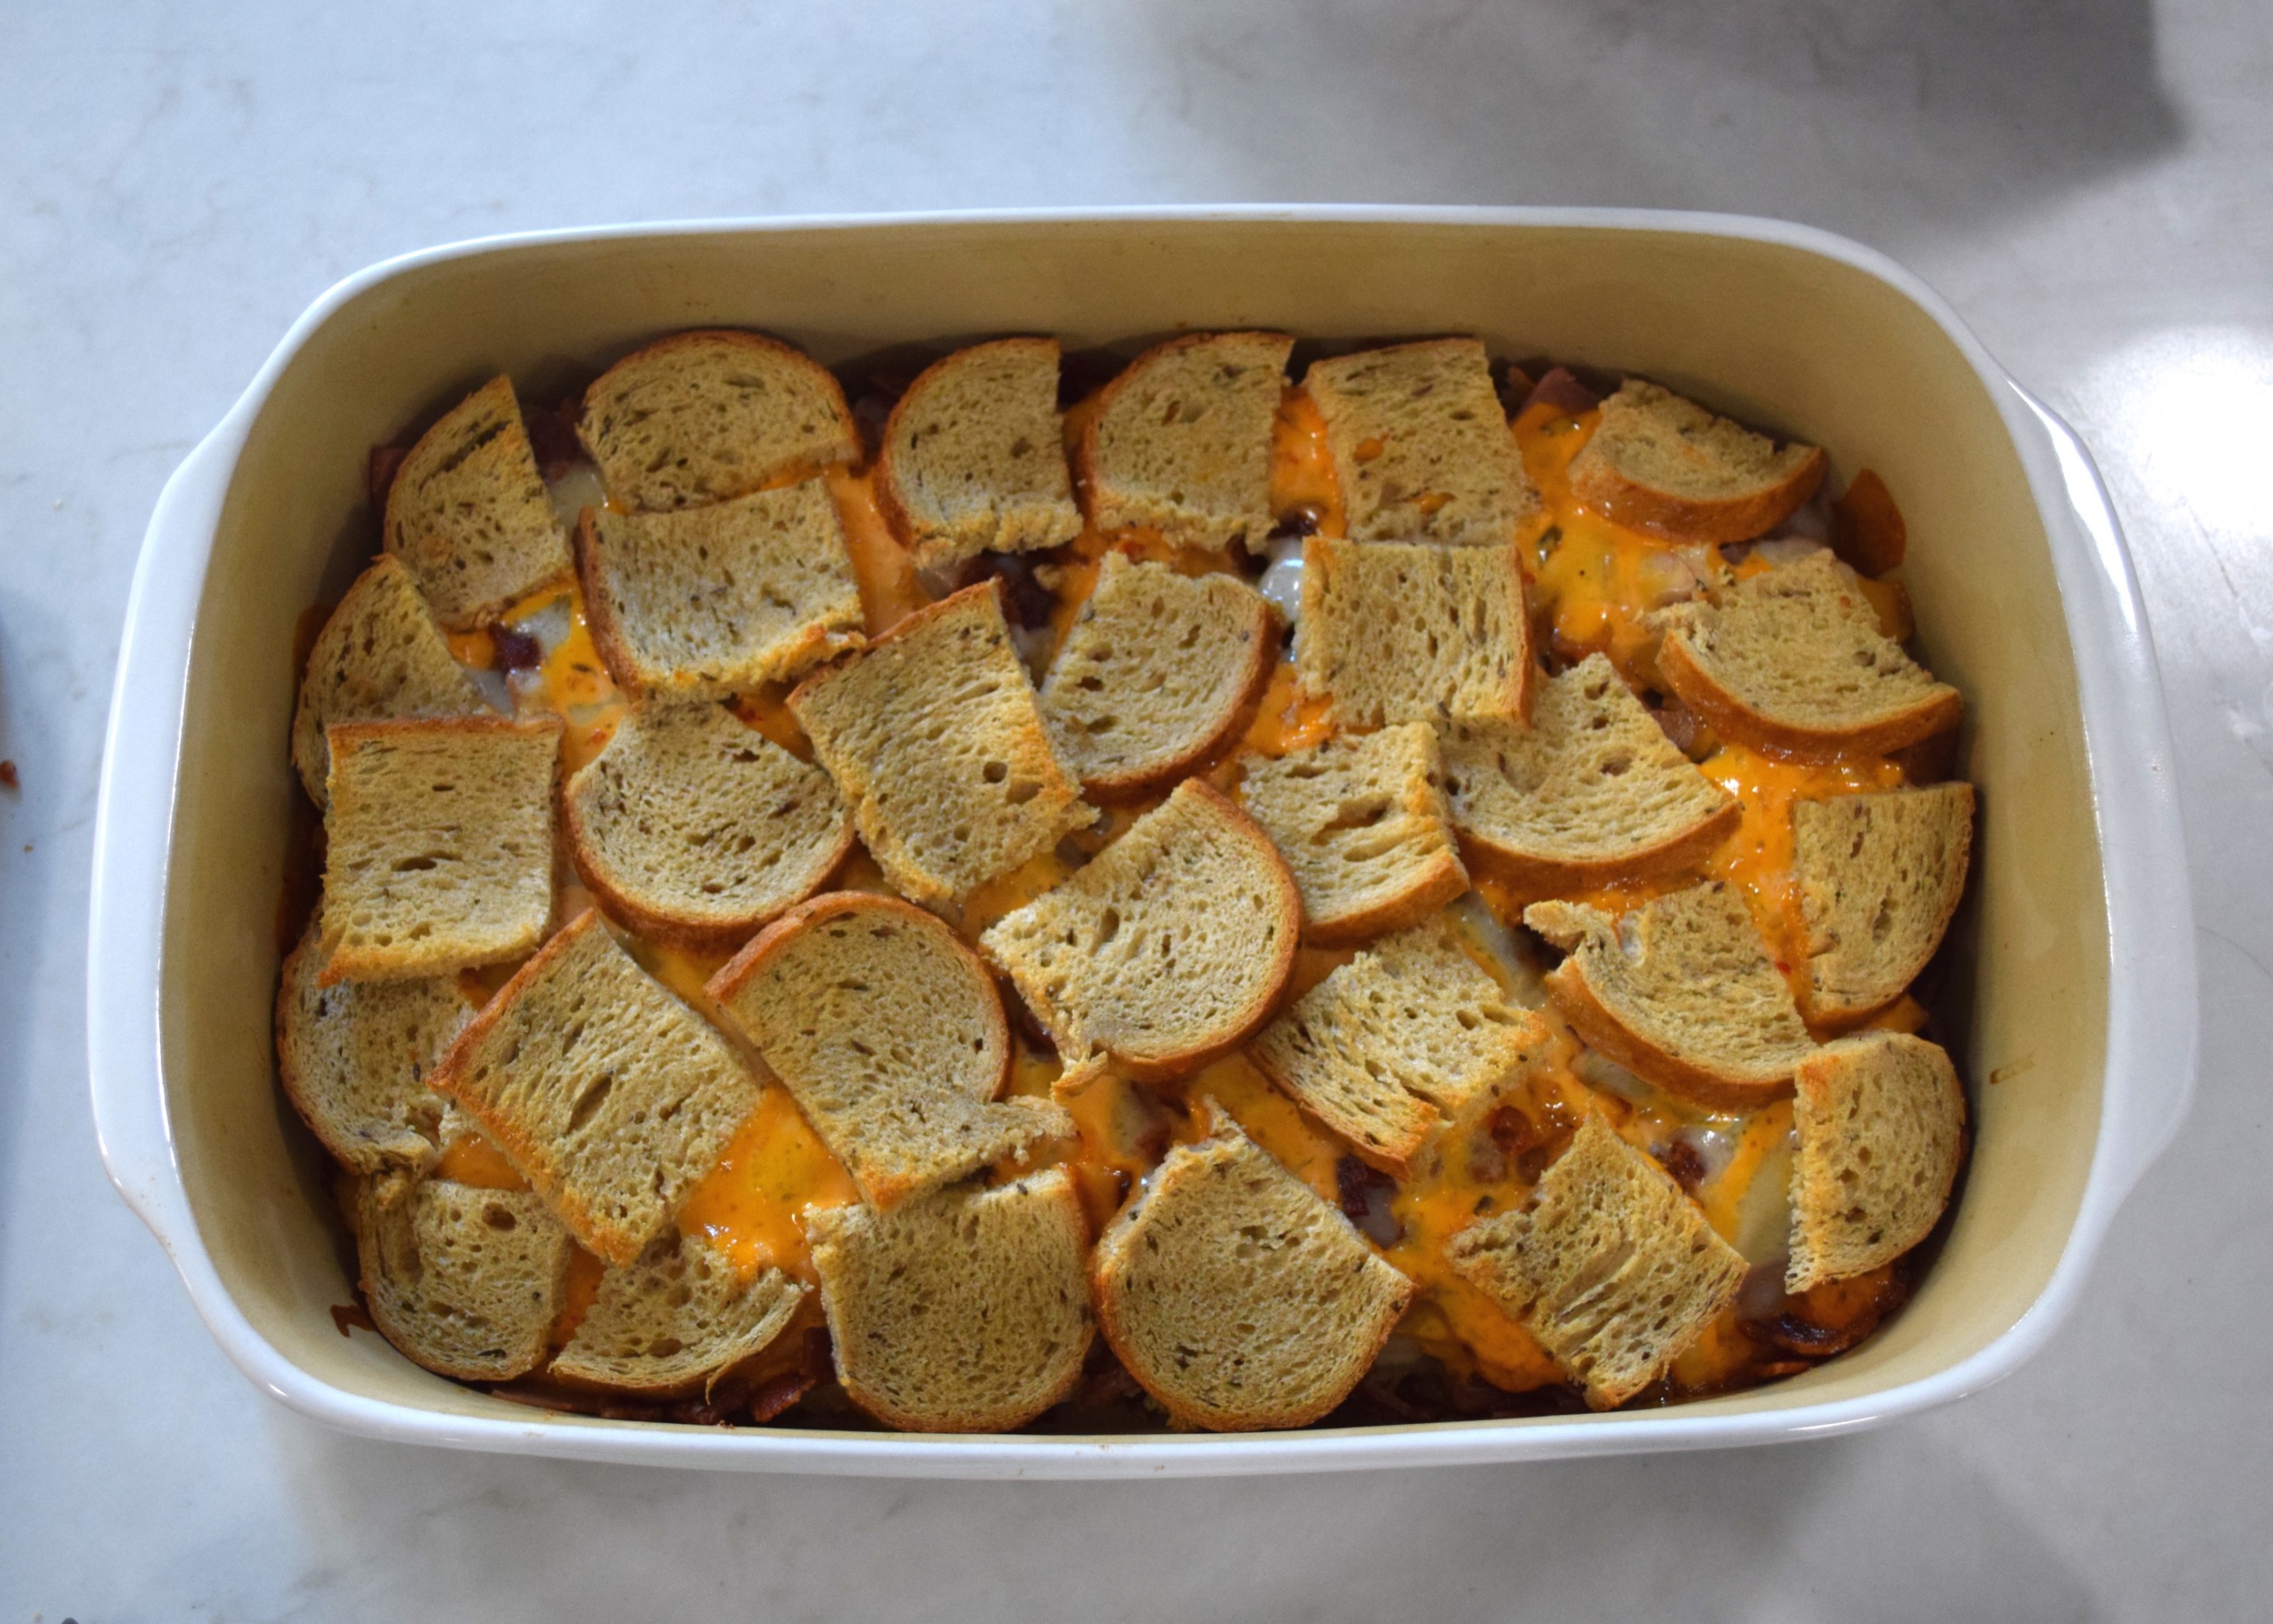
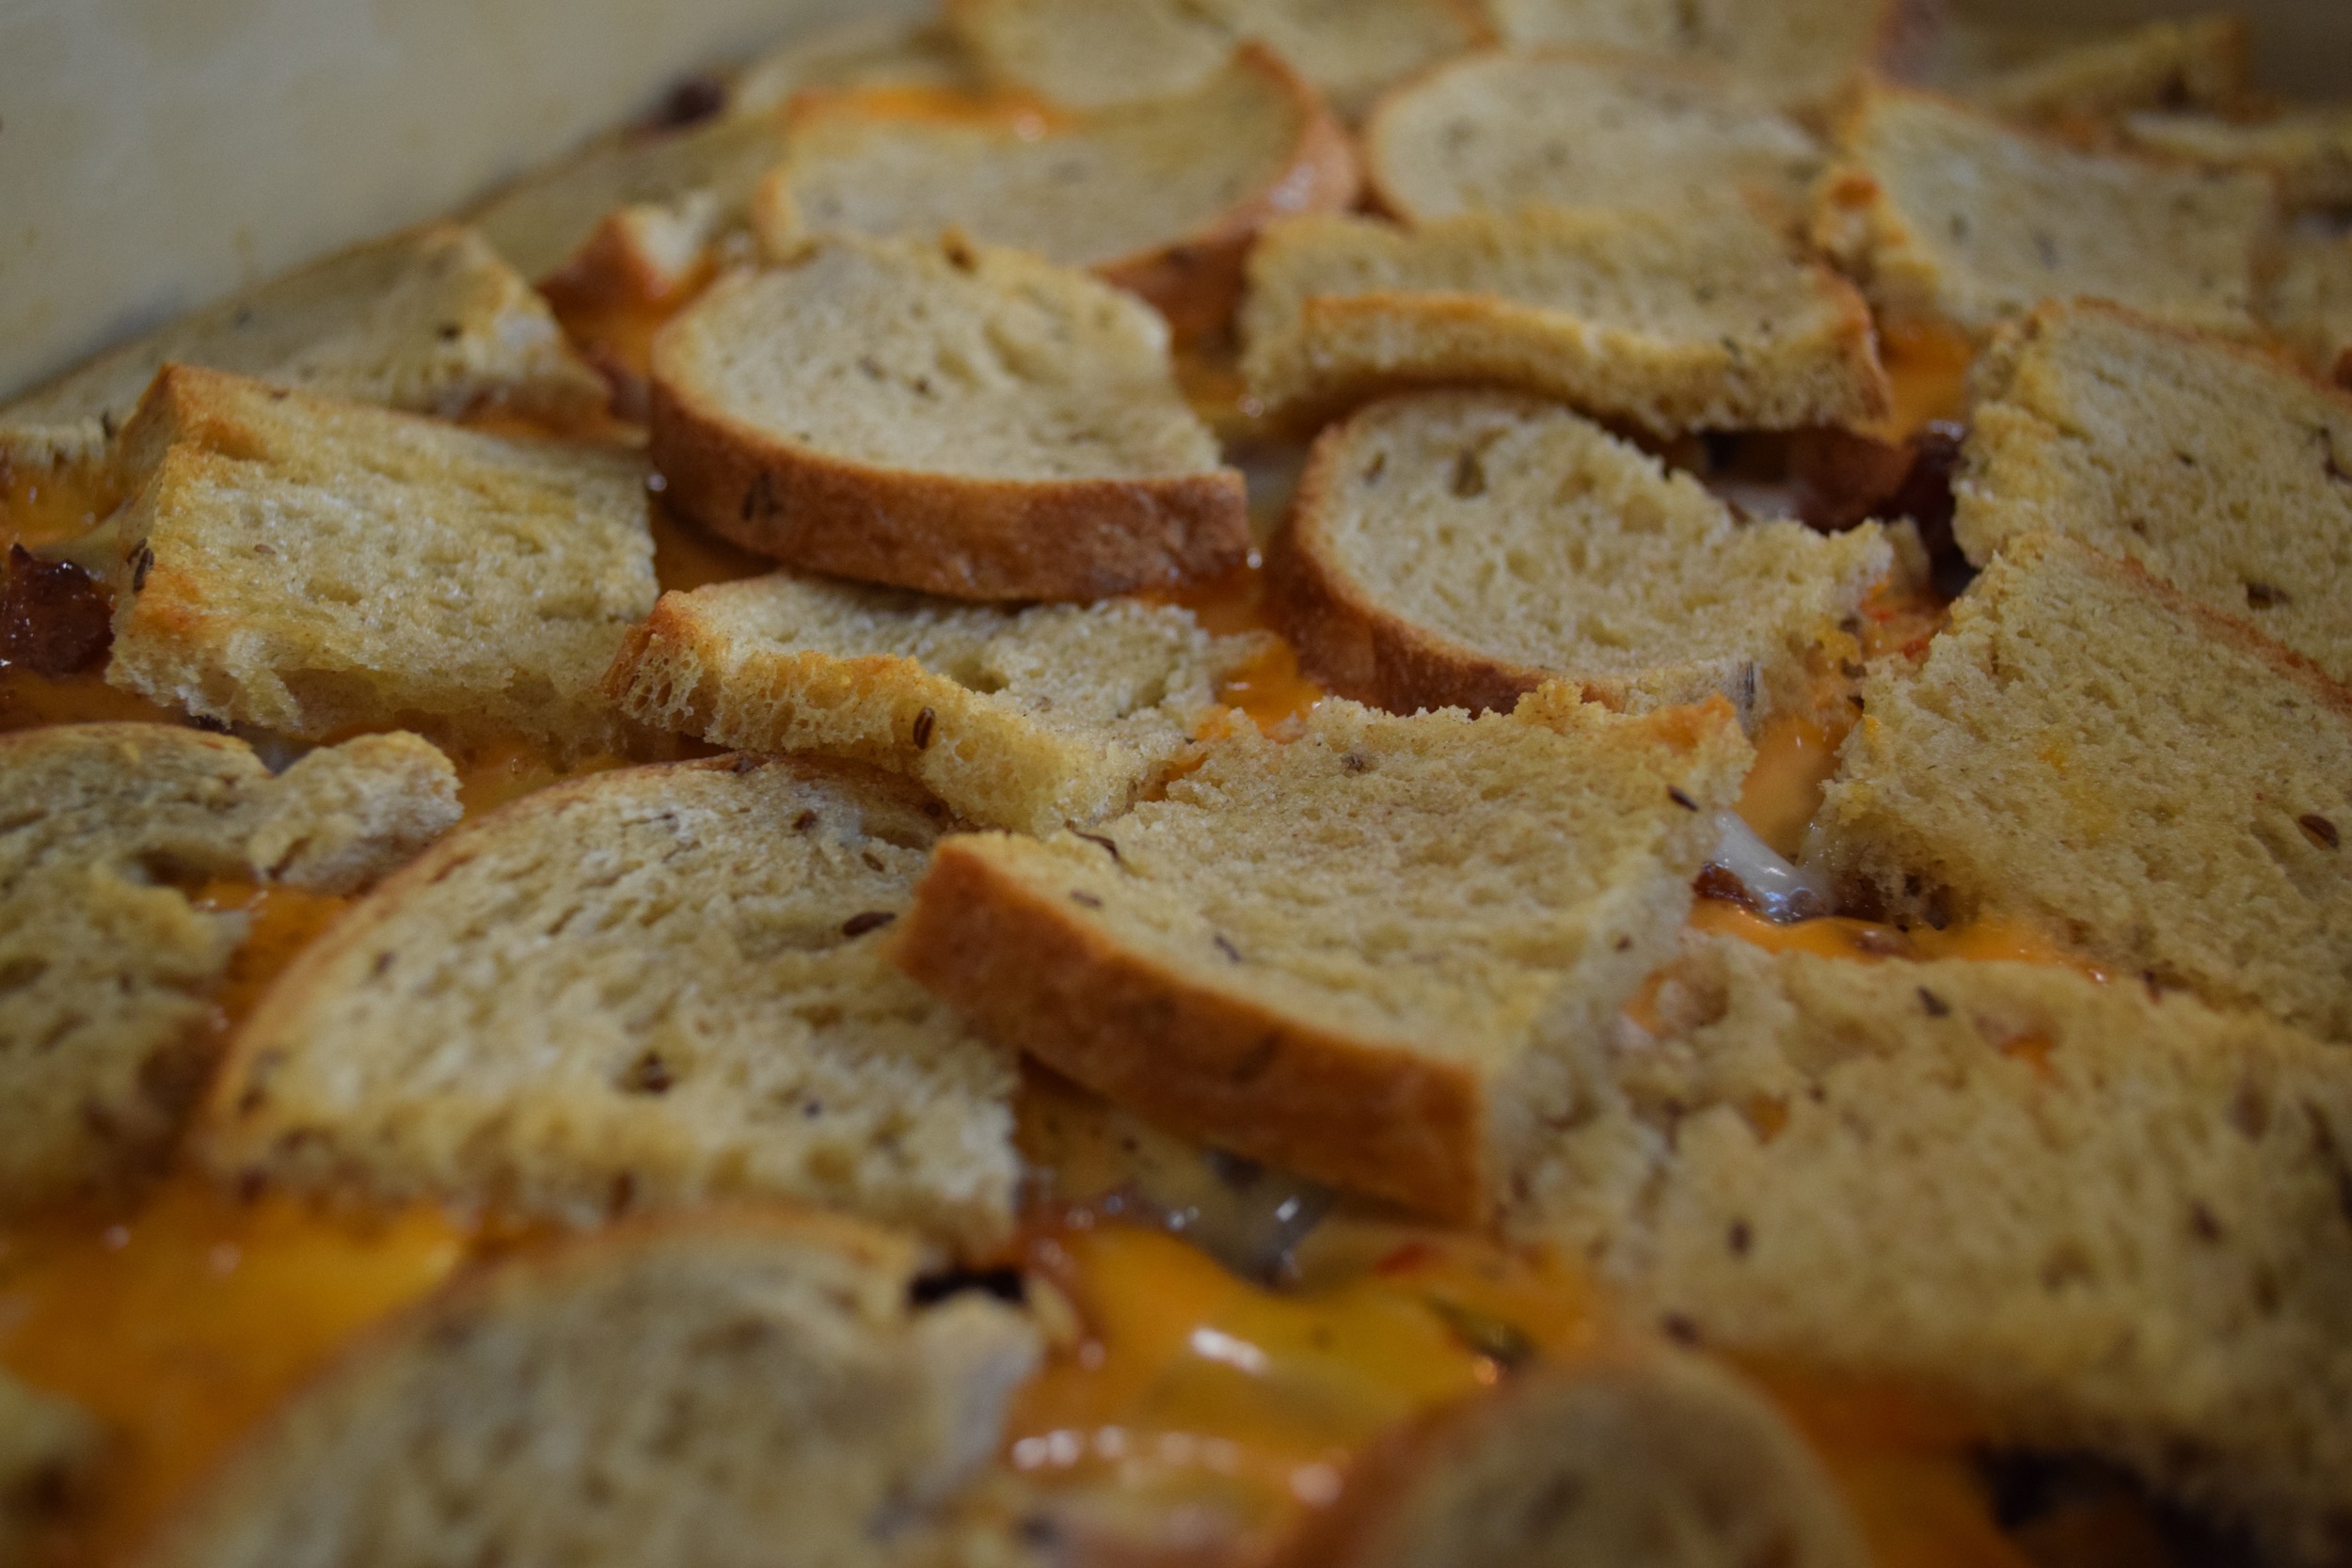
Anyway, back to making it.  You butter the bottom of your dish, then layer like a sandwich: rye bread (topped with a little butter), provolone cheese, ham, turkey, bacon, Swiss cheese, Russian dressing, rye bread (a just a bit more butter).  Cover it with some foil so it doesn't burn while the cheese melts, bake it for 20 minutes at 400 degrees.  Uncover it and bake for 5 more minutes to toast up the bread on top. It's that easy! Enjoy!

White Russian Casserole

Serves 6-8

Ingredients:

  • 6 tbs. butter, melted
  • 10 slices of Rye bread, cut in 1-inch squares
  • 4-6 slices of Provolone Cheese, cut in 1-inch squares
  • 8 oz. deli sliced ham, cut in 1-inch squares
  • 8 oz. deli sliced turkey, cut in 1-inch squares
  • 1 lb. bacon, cooked, and diced
  • 4-6 slices of Swiss Cheese, cut in 1-inch squares
  • Russian dressing

Preheat your oven to 400 degrees.

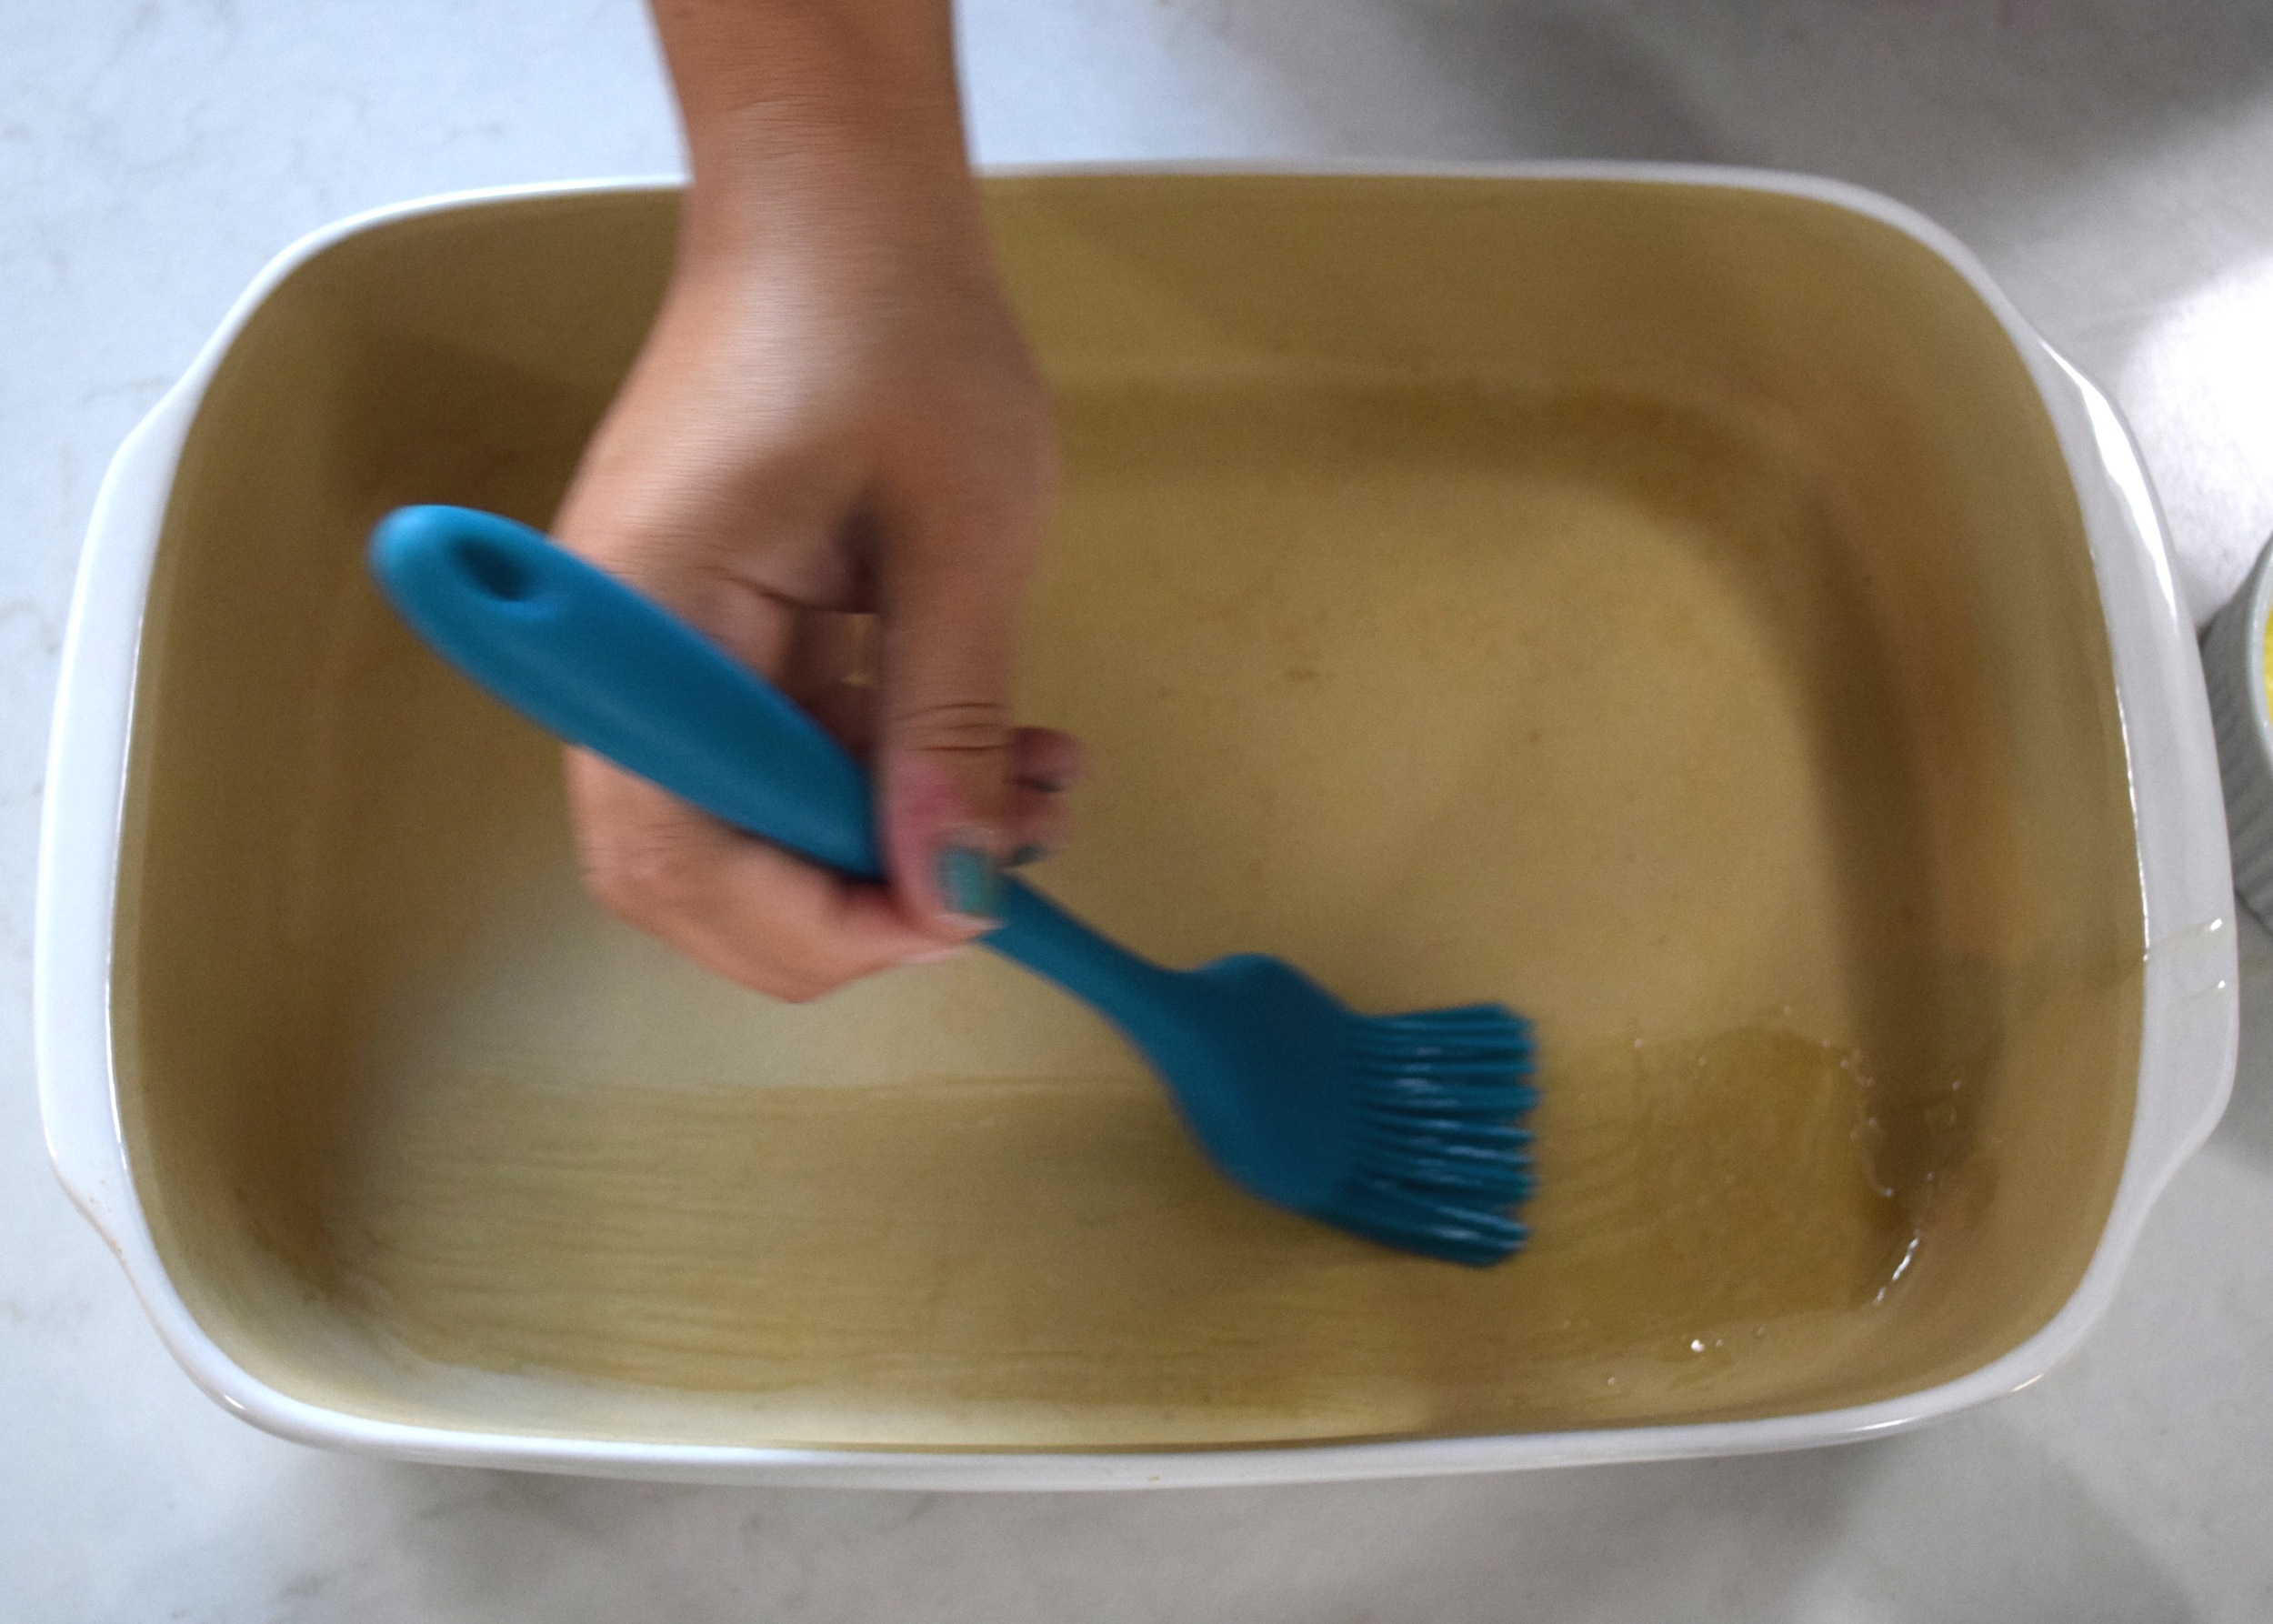
Brush the bottom of a 12x9 casserole dish with the melted butter.  Layer half the bread on the bottom of the dish, brush with butter.

Layer the Provolone cheese on top of the bread, followed by the ham, then turkey, bacon, and Swiss cheese. 

Drizzle Russian dressing over the entire casserole (amount to your preference).

Top with the remaining rye bread, brush with butter.  Cover the casserole with aluminum foil.

Bake, covered, for 20 minutes.  Remove the foil and bake for an additional 5-8 minutes, until top layer of bread is toasted golden.

The Perfect Bagels

I'm not even a little bit exaggerating when I say that.  When I made these and tasted them, I almost couldn't believe it. They tasted just like the bagels I grew up on in New York.  Then when I ate one the next day, just as good!  I even did you all a huge favor and ate one lightly toasted, medium toasted, heavily toasted.  I ate one fresh out of the oven un-toasted! I made breakfast sandwiches with them.  I made lunch sandwiches with them. 

New York Style Homemade Bagel

I wanted to be appropriately thorough before declaring victory on the homemade bagel.  It has been a thorn in my side ever since I moved out of NY when I was 18 and went to California.  The bagels there are okay, the bagels here in Texas are less-okay.   And trust me, we have plenty of "New York Style" bagel shops here.  I have tried them all (I like to be thorough).  It was disappointment after disappointment.

Chanel and I had even been making this recipe from The Sophisticated Gourmet for the last year, yielding pretty decent results.  But something was always off.  They were too light.  The next day they got sticky.  They were too dense.  They were still better than Einsteins, but.. not quite right.

Then last week I was listening to NPR and heard a story on the water-bagel connection that has long been the stuff of legend.  I knew the water was the perfect pH and softness (or hardness, whichever), but thought testing, filtering and treating my water might be pushing the limits of my dedication.  I knew I should be using high-gluten flour.  I knew I was supposed to boil them before baking to get the right crust.

Proofing.  That was what we had been missing.  I didn't know that bagel shops in NY proofed their bagels and then cold retarded them. It was the key.  I am telling you.  As soon as I heard that in the story, I got on the internet and started researching.  I found the two missing keys: I needed to make a sponge then add it to a dough.  THEN I needed to let the bagels rise the second time in the fridge (cold retarding).

Supposedly, the serious guys do this for 36 hours.  I don't have that kind of patience.  So I do it for like 4. I tried to even make it over night the first time, but I couldn't contain my excitement and I cooked them after 4 hours. I can only imagine the potential you could unlock by waiting overnight.  I even used the wine fridge instead of the regular fridge so that the temperature would stay as consistent as possible and food smells wouldn't seep into the dough.

When they were done I was so glad I had made these adjustments.  It was a total game changer. I highly recommend whipping up an everything bagel topping mix and using that (because its my favorite).  I also think these have tasted the best toasted, and trust me on this, just do it, with butter then cream cheese.  Just trust me, yes its decadent, but it's without a doubt, the best way to eat a bagel.  Aaron takes it up a notch and grills the bagel face-down on the griddle in butter, then tops with cream cheese. Trust me, do it.

New York Bagels

Makes 12 medium or 8 large bagels

Ingredients:

  • 2 packets of active dry yeast (4 1/2 tsp)
  • 3 tbs. granulated sugar
  • 4 cups warm water
  • 6 cups bread flour (high-gluten flour)
  • 3 tsp. salt
  • 1 tbs. baking soda
  • Corn meal
  • 1 egg
  • Everything Topping Mix: 1 tbs. each of poppy seeds, sesame seeds, dried minced onion, caraway seeds and 2 tsp. coarse salt

MAKE THE SPONGE

In a large mixing bowl, combine the yeast and sugar.  Stir together gently so they are evenly distributed.  Pour 1 cup of warm water (100+ degrees, in my opinion, hot) over the yeast and sugar.  Do not stir. 

Let the mix sit for 5 minutes, it should be foamy and frothy.  If its not, your yeast is bad.  Stop and start over.

Stir in 1 cup of bread flour.  Slowly add a second cup of flour, a little at a time, until it is the consistency of a thick batter, but not a dough.  You may not need the whole second cup (I only needed about 2/3).  Put the remaining flour into a separate, large mixing bowl.

MAKE THE DOUGH

In the bowl with the left over flour, add another 3 cups of bread flour and 3 tsp. salt.  Mix together and make a well in the middle.

Pour 1 cup of water into the well, pour the sponge on top and mix it all together with your hands.

When its combined, make another well in the middle of the dough, Add the remaining cup of flour and top with half a cup of water.

Mix it well with your hands. You want your dough to be smooth and elastic without being sticky (a tad bit tacky is okay, but you don't want it clinging to your fingers and coming apart).  You may need to add more flour if it's too sticky, or more water if its not elastic enough.

When smooth and elastic, form into a large ball and place it in a lightly oiled bowl, cover with a damp cloth and let it rise until doubled in size, about 90 minutes. This may take more or less time for you, depending on your room temperature and humidity.  Make sure its doubled in size, don't worry about the time.

THE COLD RISE

Once the dough is doubled in size, punch it down and knead it for just a few minutes.  Using a sharp knife, divide the dough into equal portions (8 or 12 depending on the desired size of bagels).  I roll it into a log, then cut it in half, and cut the halves in half, etc.

One at a time, form each portion into a smooth round ball.  Firmly push your finger down through the middle of the ball and then gently pull the dough into a ring with your ringers.  Stretch the ring as wide as you can without tearing the dough.  Place each shaped bagel onto a cookie sheet dusted with cornmeal (I needed two).

Cover the sheets lightly with plastic wrap (you don't want to apply pressure to the dough because it will still be rising, but you don't want it to dry out).  Put the cookie sheets into the refrigerator for at least 4 hours, or overnight.

THE BOIL

Fill a large pot 3/4 of the way full with water.  Add 1 tbs. salt and bring the water to a boil. 

While you wait for the water to boil, preheat your oven to 475 degrees.  Line two cookie sheets with parchment paper and then dust with cornmeal.  In a small bowl, whisk the egg with some water to make an egg wash.  Assemble your desired bagel toppings. Set all aside, close to the stove if you can.

Once its boiling, add the 1 tbs. baking soda. Gently drop two or three bagels, one at a time, into the boiling water.  Don't over crowd or they can stick together.  Boil for 2 minutes, then using a spoon, flip them over and boil for another 2 minutes on that side. 

Remove from the boiling water with a slotted spoon or strainer.  Place onto a prepared baking sheet, brush with egg wash and top with your desired toppings. Repeat with remaining bagels.

THE FINISH

Bake for 10 minutes in the middle of the oven, or until golden.  I rotated mine halfway to make sure they browned evenly, but every oven is different.

Remove from oven and cool on wire racks.