Broccoli and Cheese Pasta

This pasta dish is a straight indulgence.  I'm not even going to try to pretend otherwise just because there is something green in here, this is thick, dreamy, cheesy indulgence.  If you grew up a fan of Velveeta shells and cheese, this is right up your alley.

I was having a craving the other day for something cheesy and filling and comforting.  It was cold and I was the kind of exhausted that makes you want to get in bed and stay there until spring.  All I could think of was bacon cheeseburgers and Velveeta shells and cheese. So I started thinking maybe I should make the kids broccoli, cheese and rice soup, but I couldn't quite convince myself of it because I wanted something richer, more decadent.  So I decided to make my version of Velveeta, but with some broccoli and chicken thrown in there, all over pasta instead of rice.

This cheese sauce is stick-to-your-ribs thick, but you can thin it out a little more if you want, and the cheese level is easy to adjust to your taste as well.  Once you master a sauce like this, the possibilities are endless. Next up, I am going to make a homemade version of the Annie's White Cheddar sauce.  Stay tuned for that!

Broccoli and Cheese Pasta

Serves 6 - 8

Ingredients:

  • 8 - 16 oz of pasta, cooked and rinsed (I made the whole box and then added until it was my desired cheese-pasta ratio)
  • 6 chicken tenders
  • 1 white onion, minced
  • 3 tbs. butter
  • 1 tbs. minced garlic
  • Salt and Pepper
  • 1/4 - 1/2 cup of flour
  • 2-3 cups chicken broth
  • 1 cup whole milk
  • 8 - 12 oz of sharp orange cheddar cheese, freshly shredded
  • 4 oz. (half a block) cream cheese
  • 2 cups frozen broccoli florets

In a dutch oven, over medium-high heat, melt 1 tbs. of butter.  Season one side of your chicken tenders with salt and pepper, then place seasoned-side down into the dutch oven and brown, about 3-5 minutes.  Season the uncooked side of the chicken and then turn it over, browning the other side.  After the outsides are browned, add enough chicken broth to cover half the depth of the chicken.  Flip the chicken and cover the pot, turn the heat to medium, and let the chicken simmer and steam in the broth until cooked through and tender.  Once the chicken is cooked, remove the chicken from the pot and set aside on a plate. 

Add the minced onion and garlic to the broth, saute and simmer in the broth until onions are soft.  Add the remaining 2 tbs. of butter and let it melt.  Sprinkle 1/4 cup of flour over the broth mix and whisk together.  There should be enough flour to absorb all the liquid, if you need to add more flour, do so a little at a time until all the broth is absorbed. 

Slowly add the milk, whisking until smooth. Turn heat down to medium-low. Add the shredded cheese, a handful at a time, and stir after each addition until cheese had completely melted and incorporated.  Add your desired amount of cheese, I recommend at least 8 oz, but go for more to your taste.  Stir in the cream cheese until incorporated. 

If the cheese sauce is too thick for your liking, slowly add chicken broth until it has thinned to your preference.

Add the pasta, a handful at a time, mixing to coat in the cheese sauce.  Add the broccoli florets and stir to incorporate.  While the broccoli heats through, chop the chicken tenders into bite sized pieces and add to the pot.  Season with salt and pepper, serve immediately.


White Russian Casserole

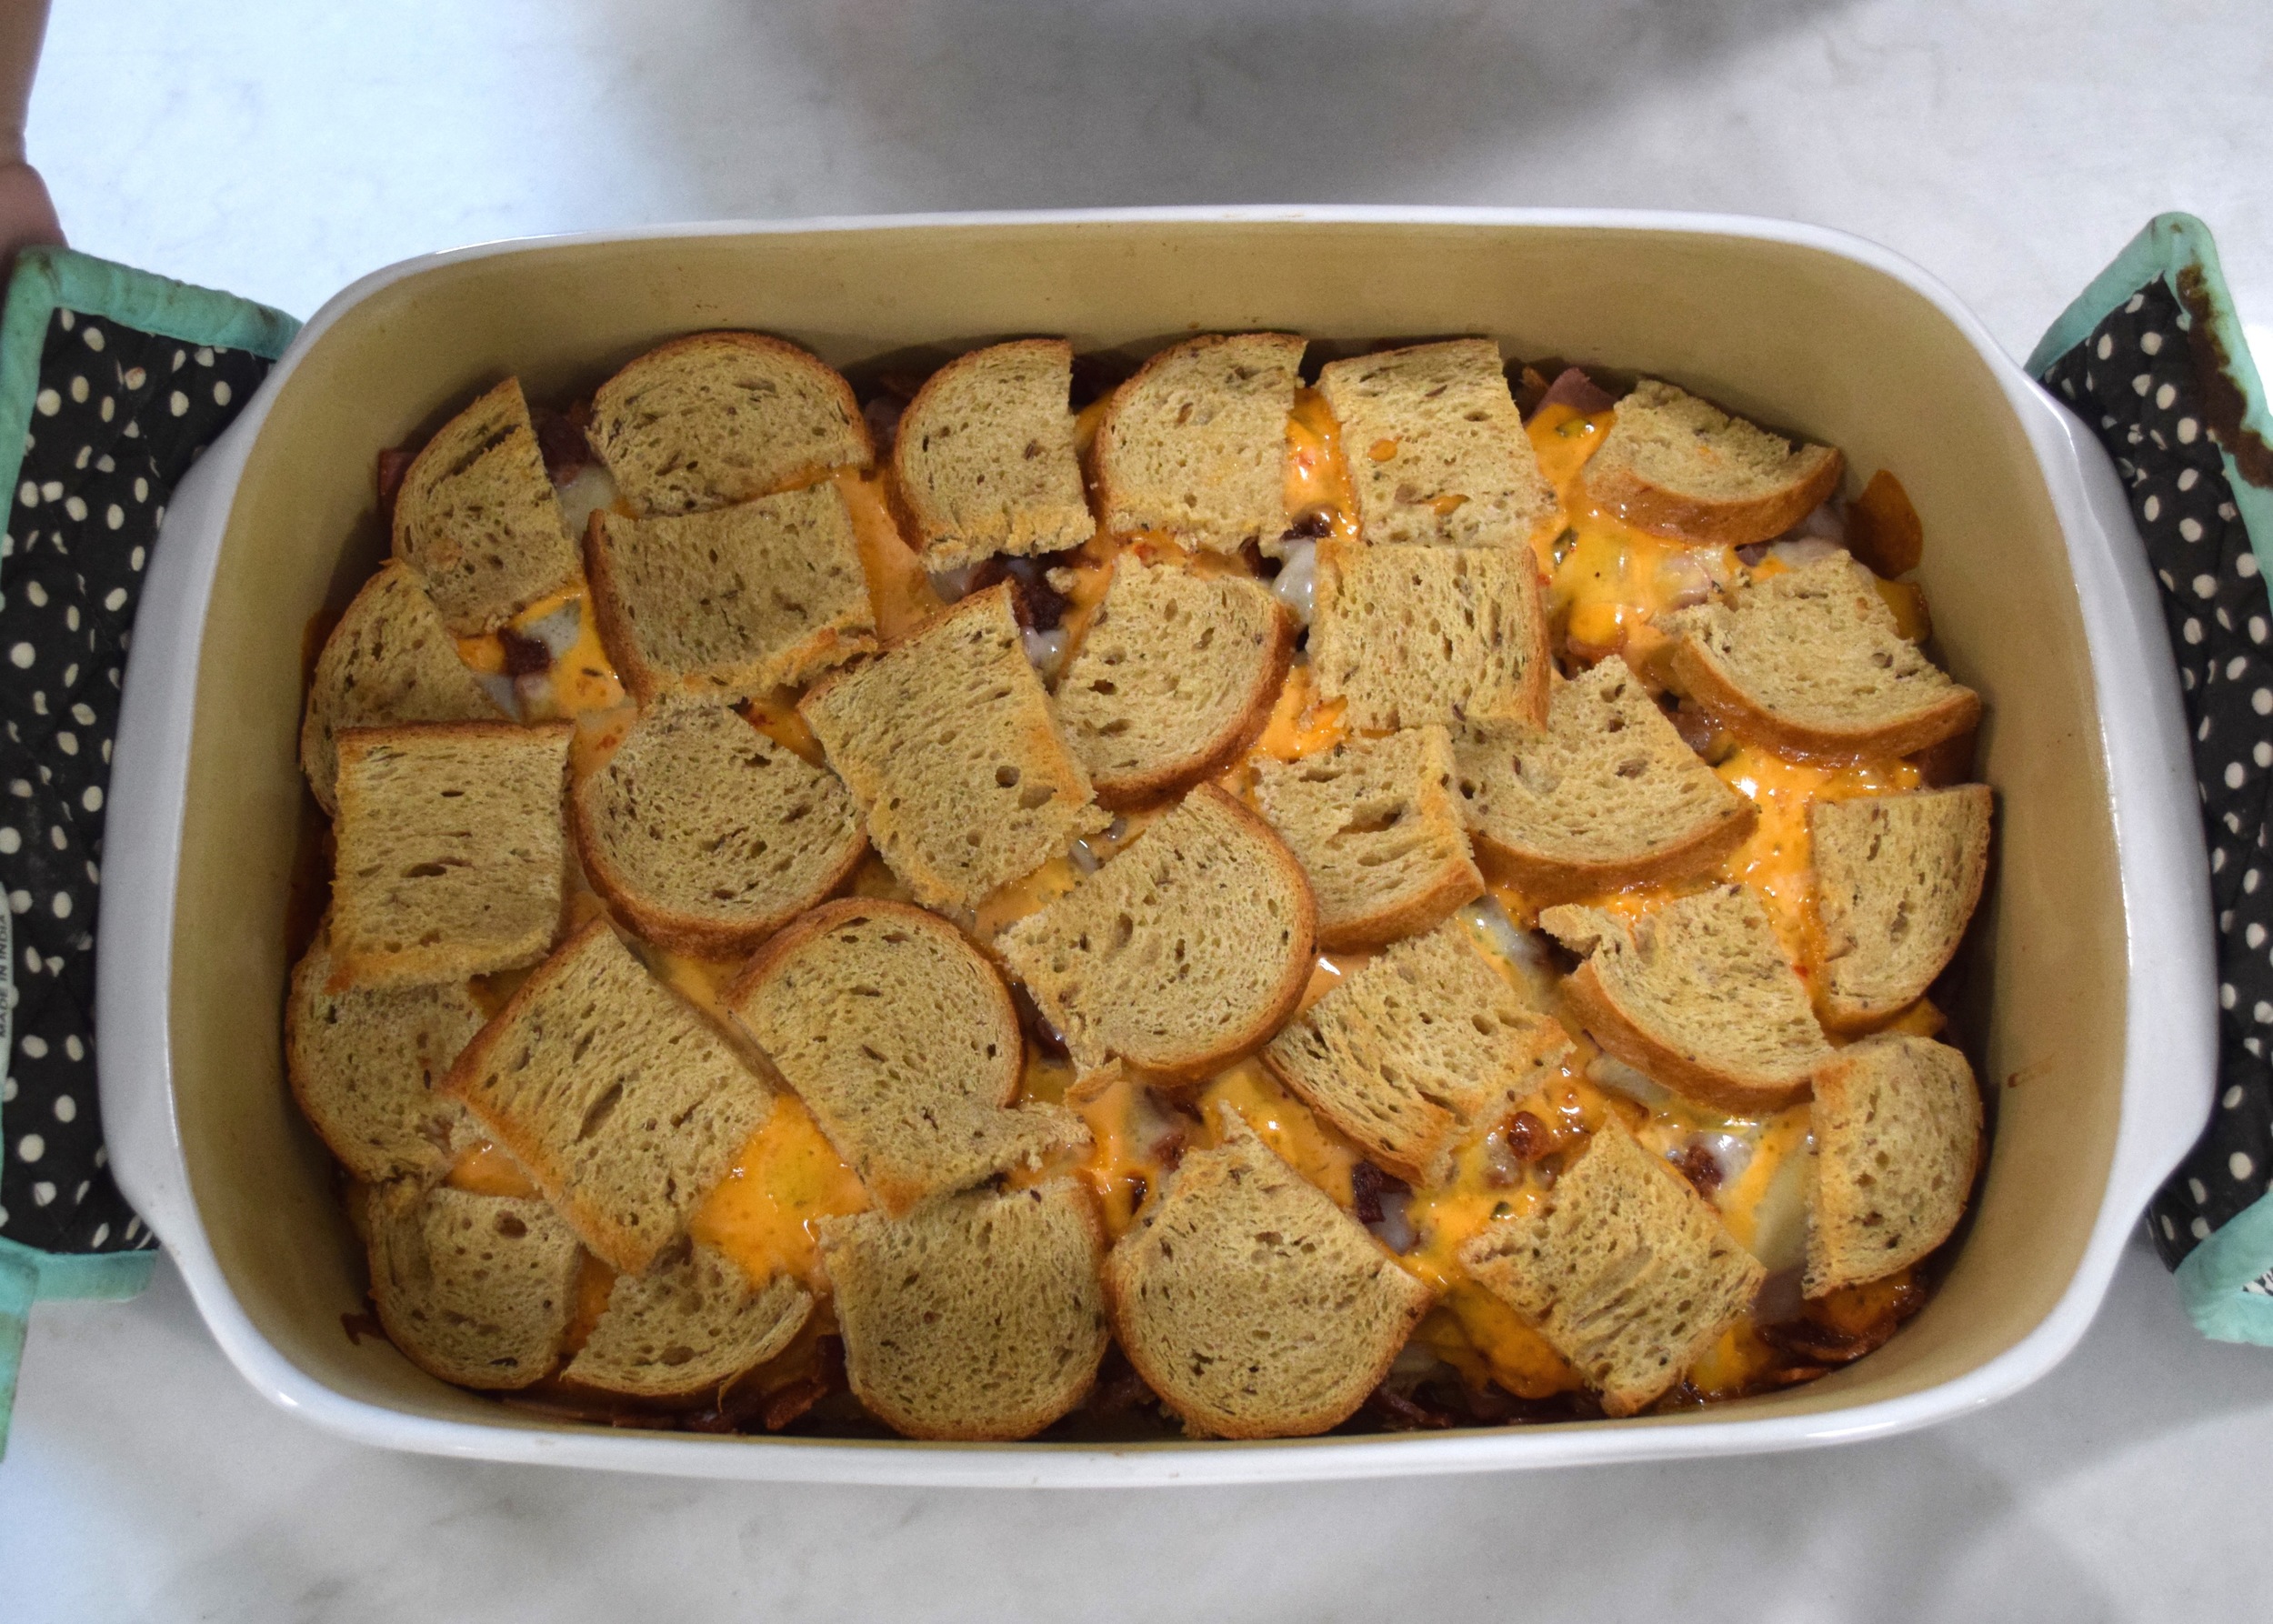
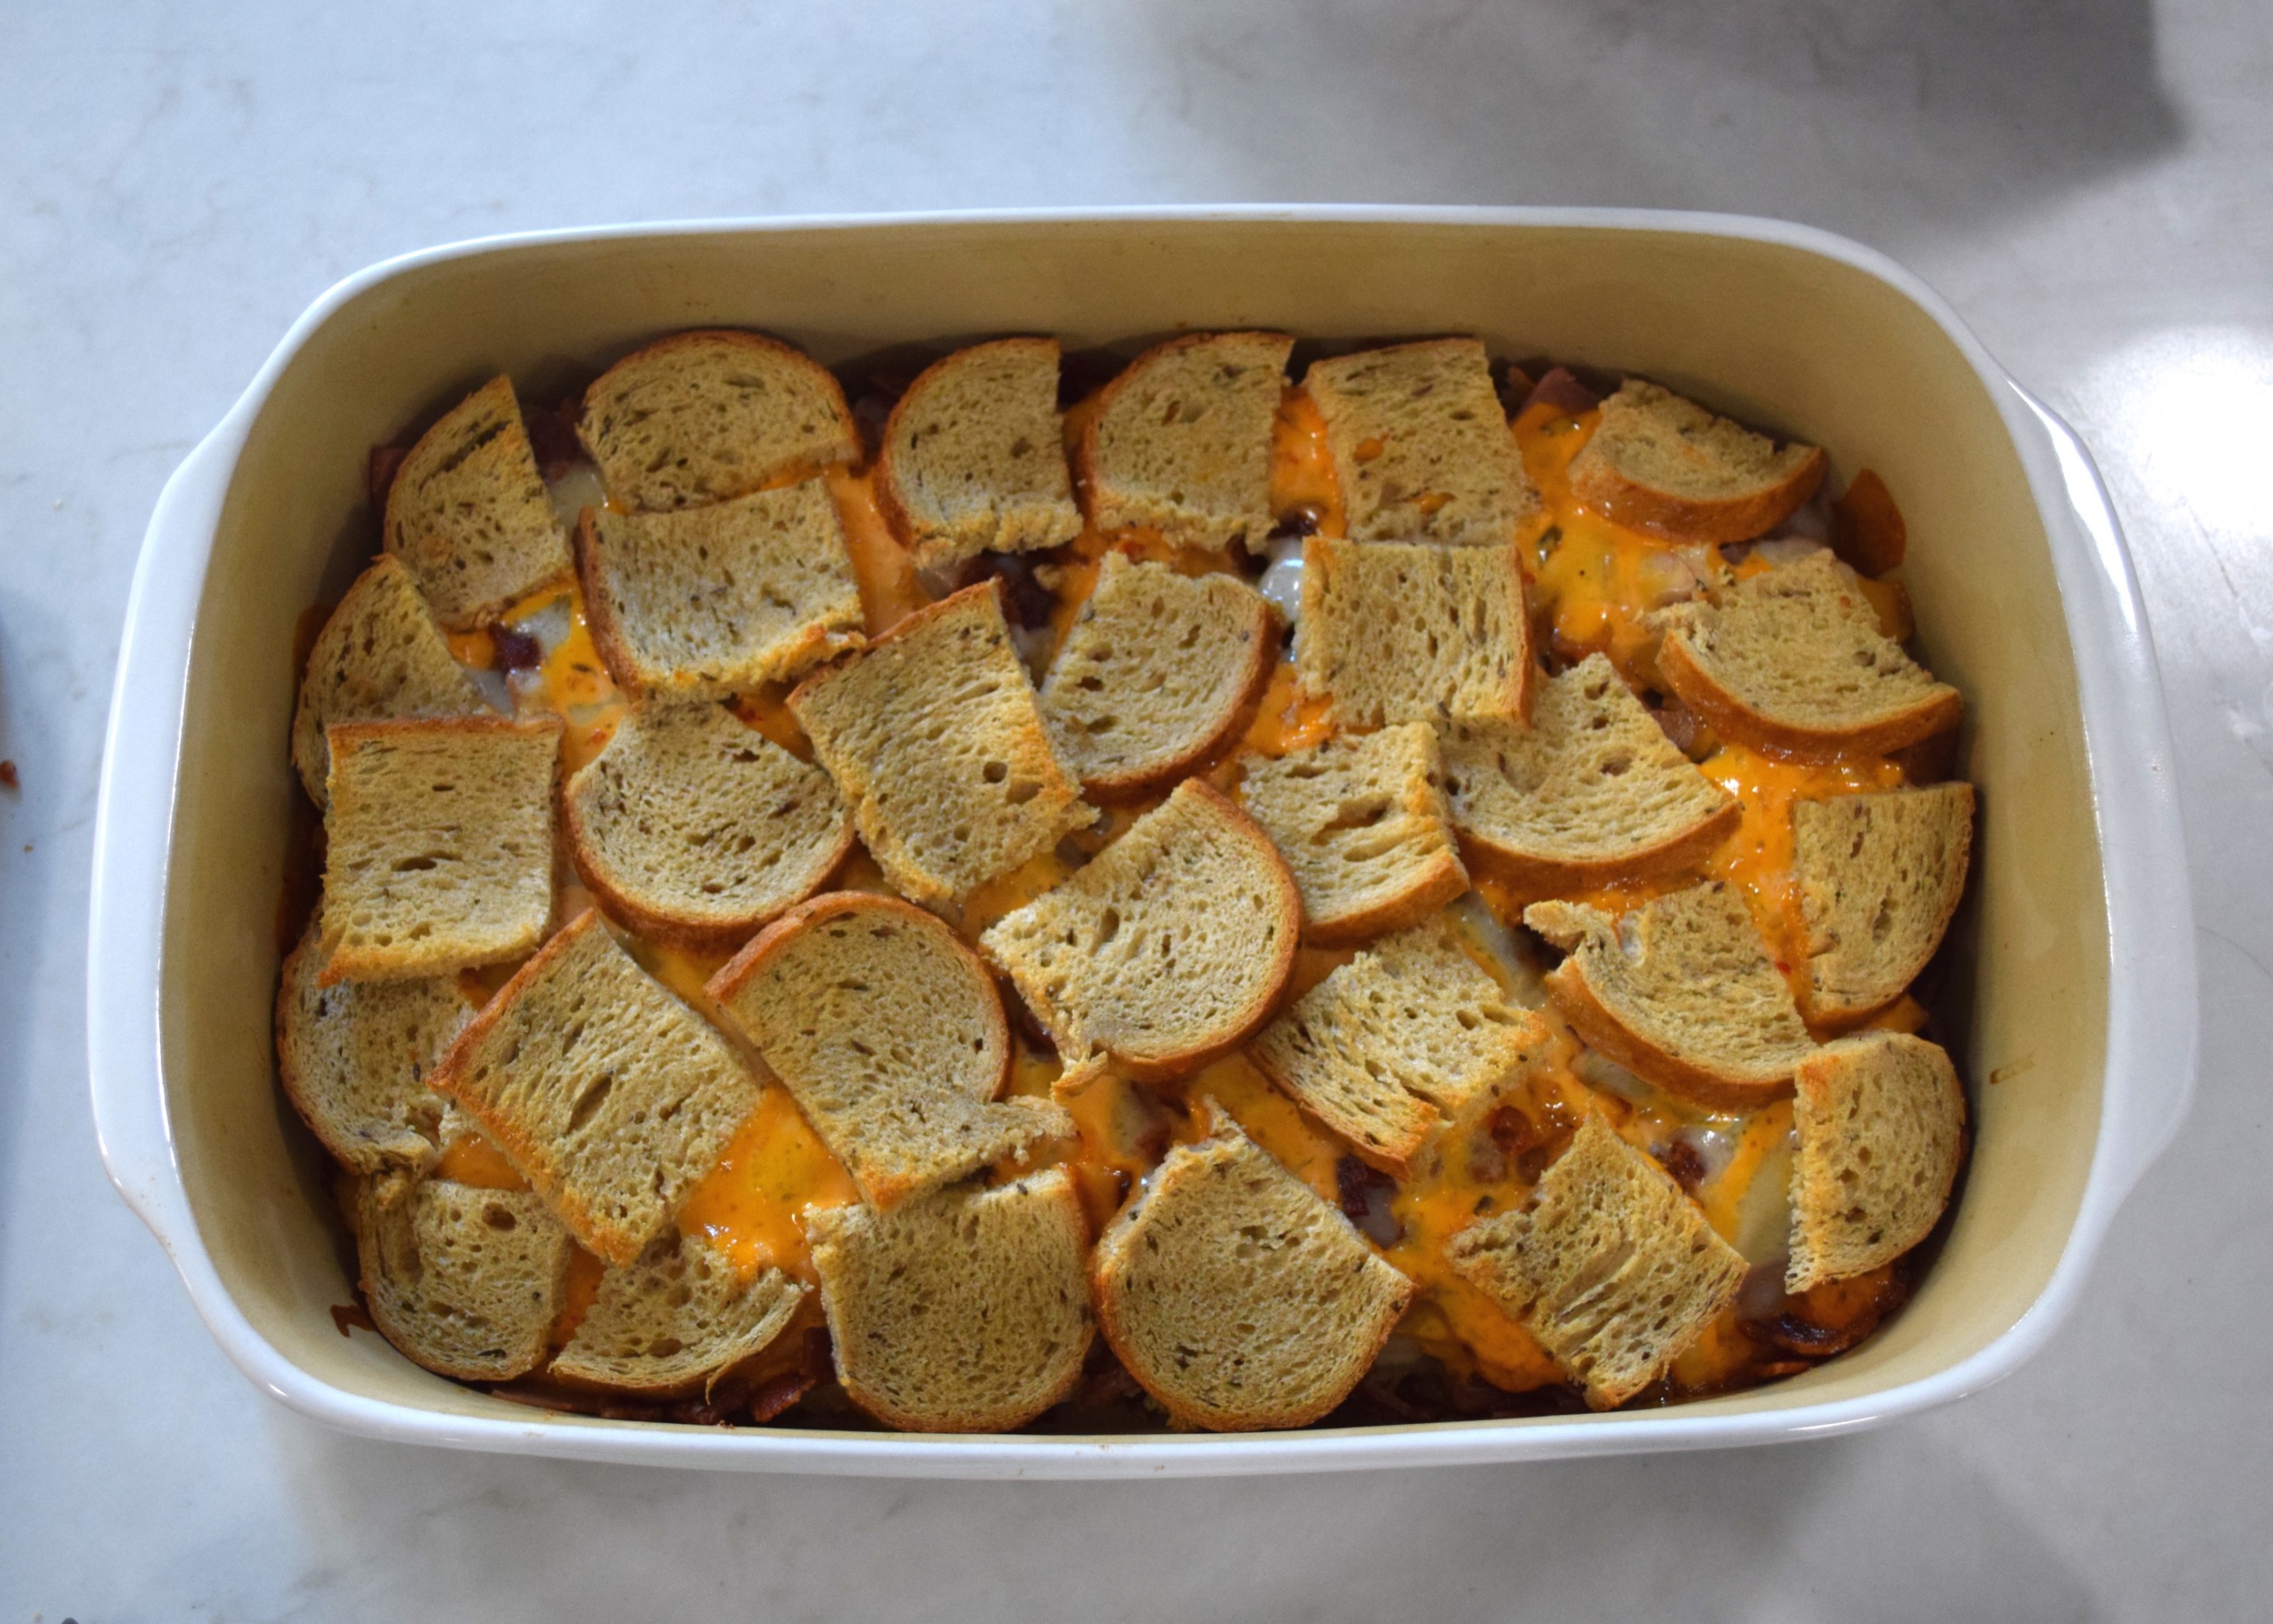
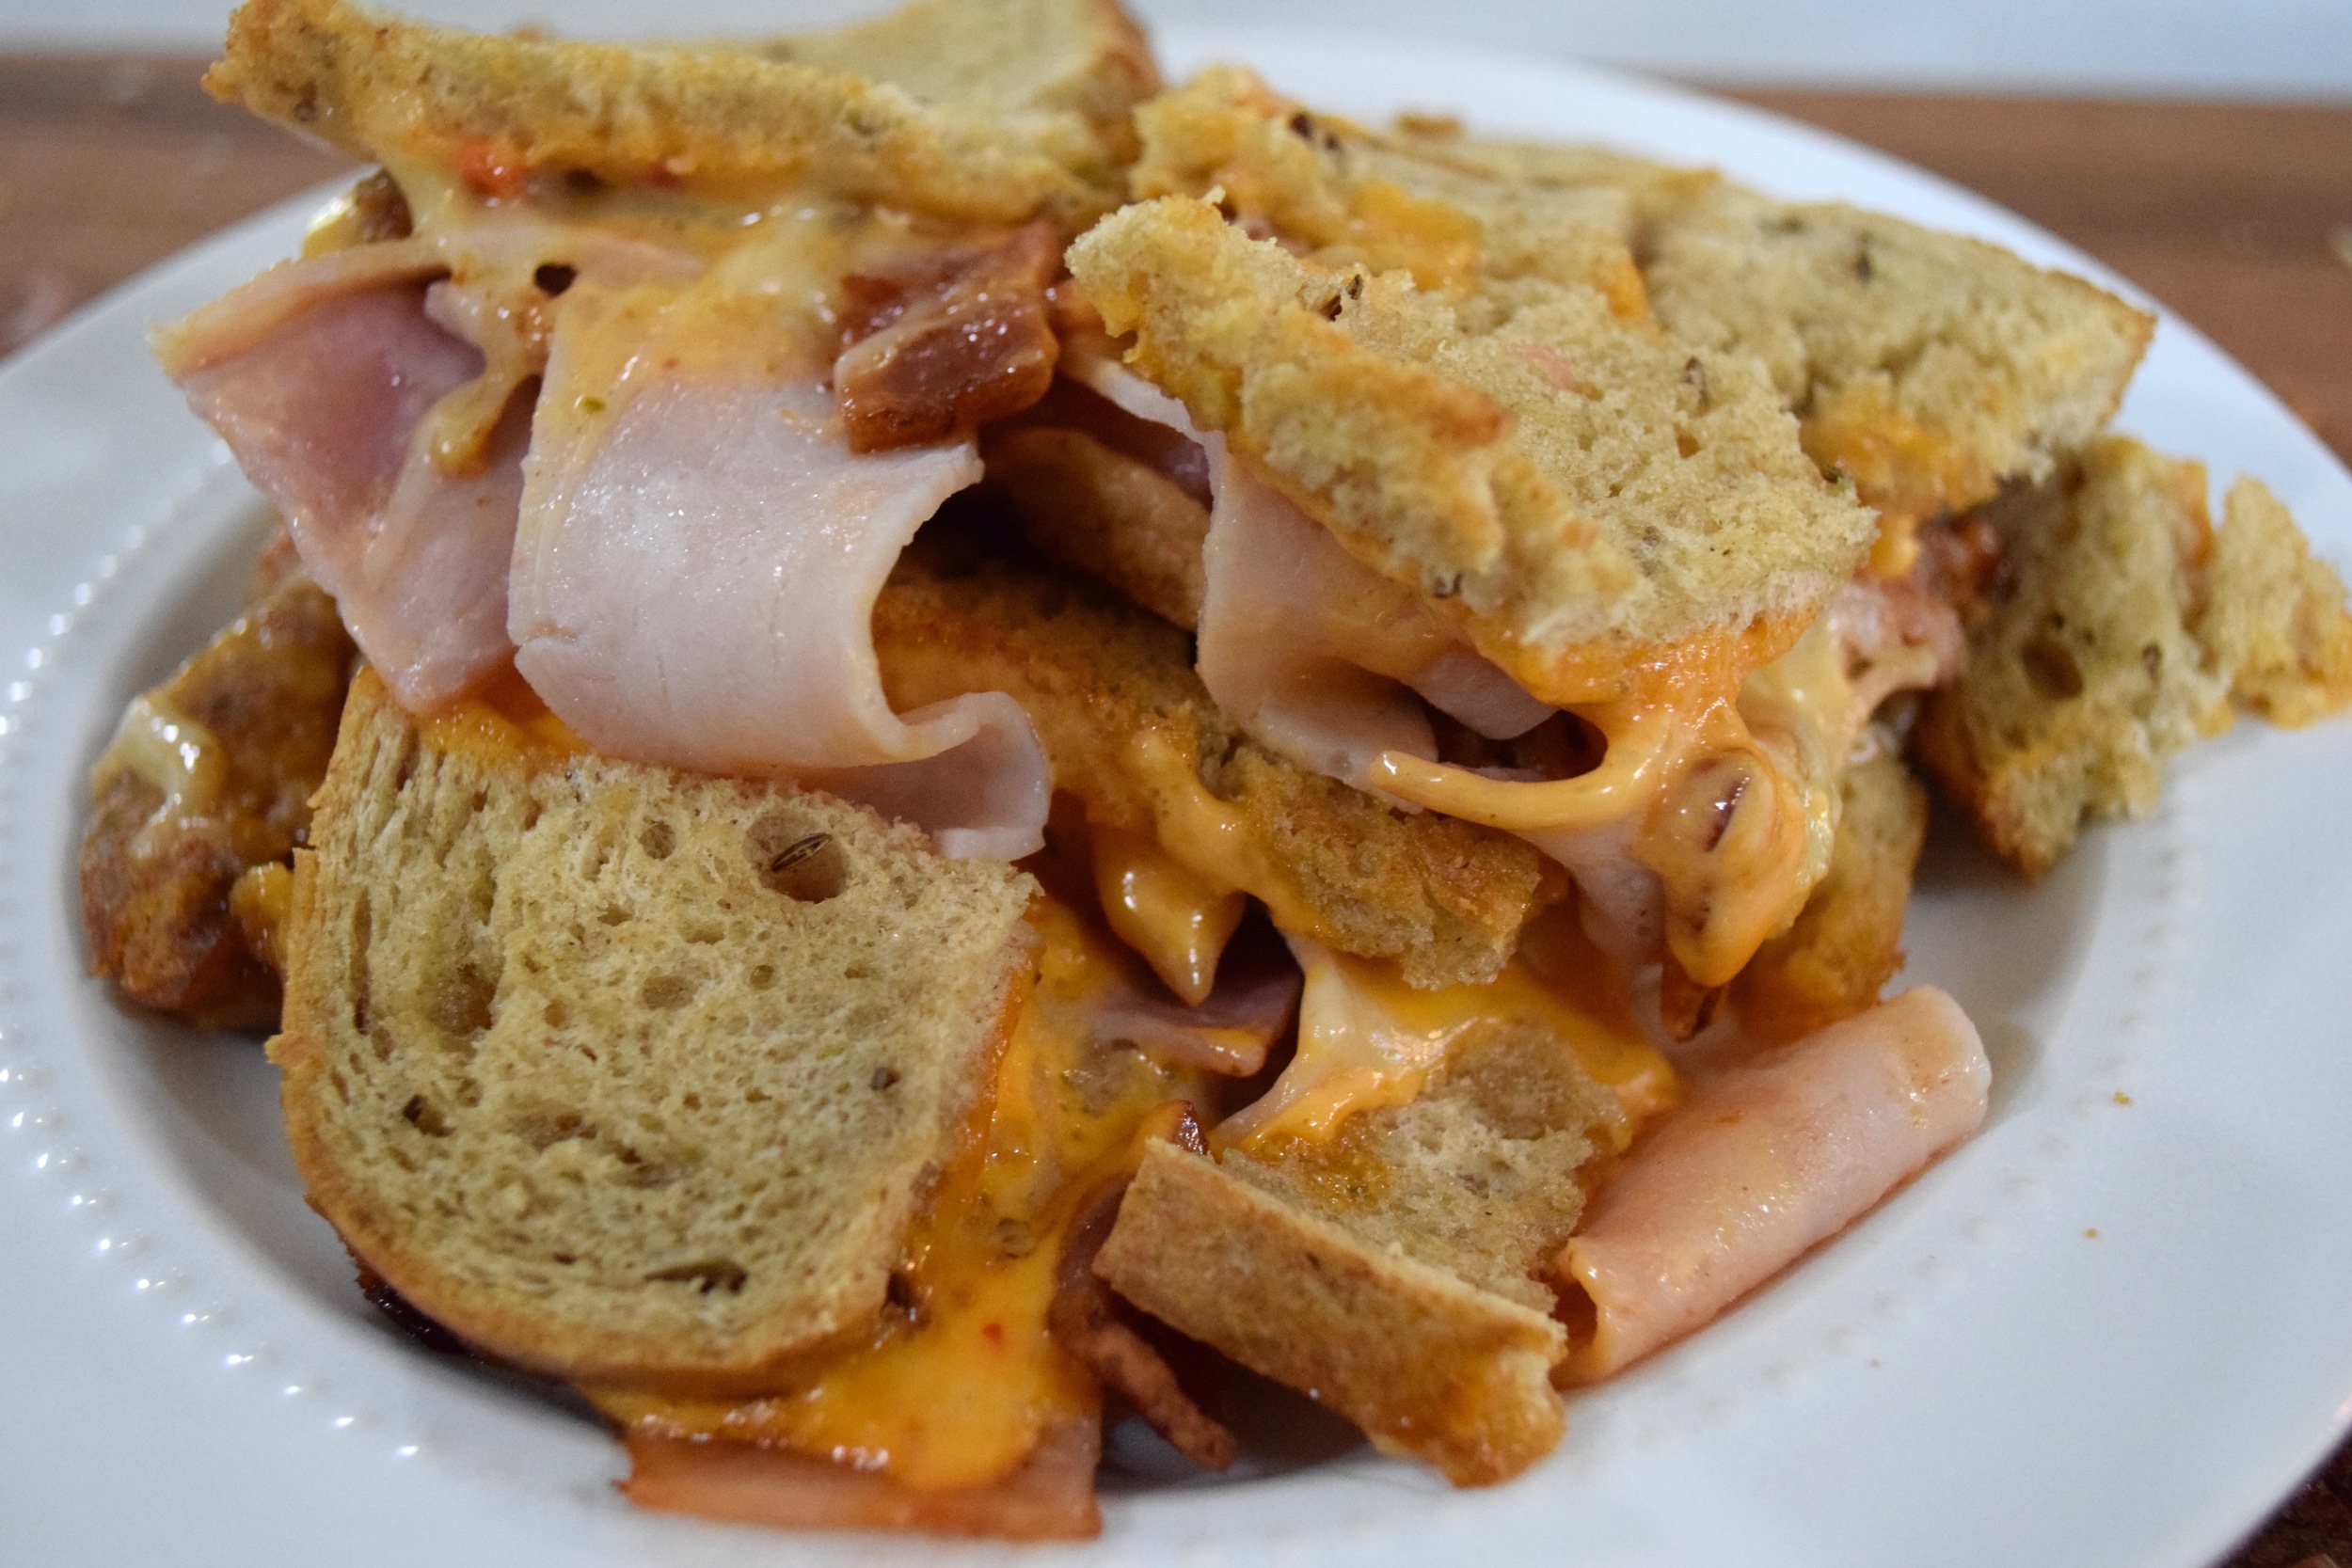
I don't know if this is a casserole as much as it is a family-sized sandwich.  You put it together like a sandwich but in a casserole dish and then you bake it to crispy, melty deliciousness. 

The Inspiration for this came from a sandwich I ate all the time in high school back home in New York.  There was a restaurant down the road from my mom's house, The Katonah Bar and Grill (which has since been renamed Oliver's and the menu is different), and they had a sandwich on the menu, the White Russian.  I'm not entirely sure why it was called that, but it was my favorite.

It was layers of turkey, ham, bacon, cheese and Russian dressing in between buttery-toasted rye bread.  They served it with beer battered french fries and a pickle.  I highly recommend the pairing - however, I didn't have any fries to go with this dinner.

This is honestly one of the easiest, cleanest meals I've ever put together.  With the exception of a bowl for melted butter and a cutting board, all you need is a knife and a casserole dish.  Woohoo! A meal that requires practically no clean-up!

This would also be a great dish for a winter potluck of sorts - a football party or something.  Its basically the epitome of a bar food casserole. 

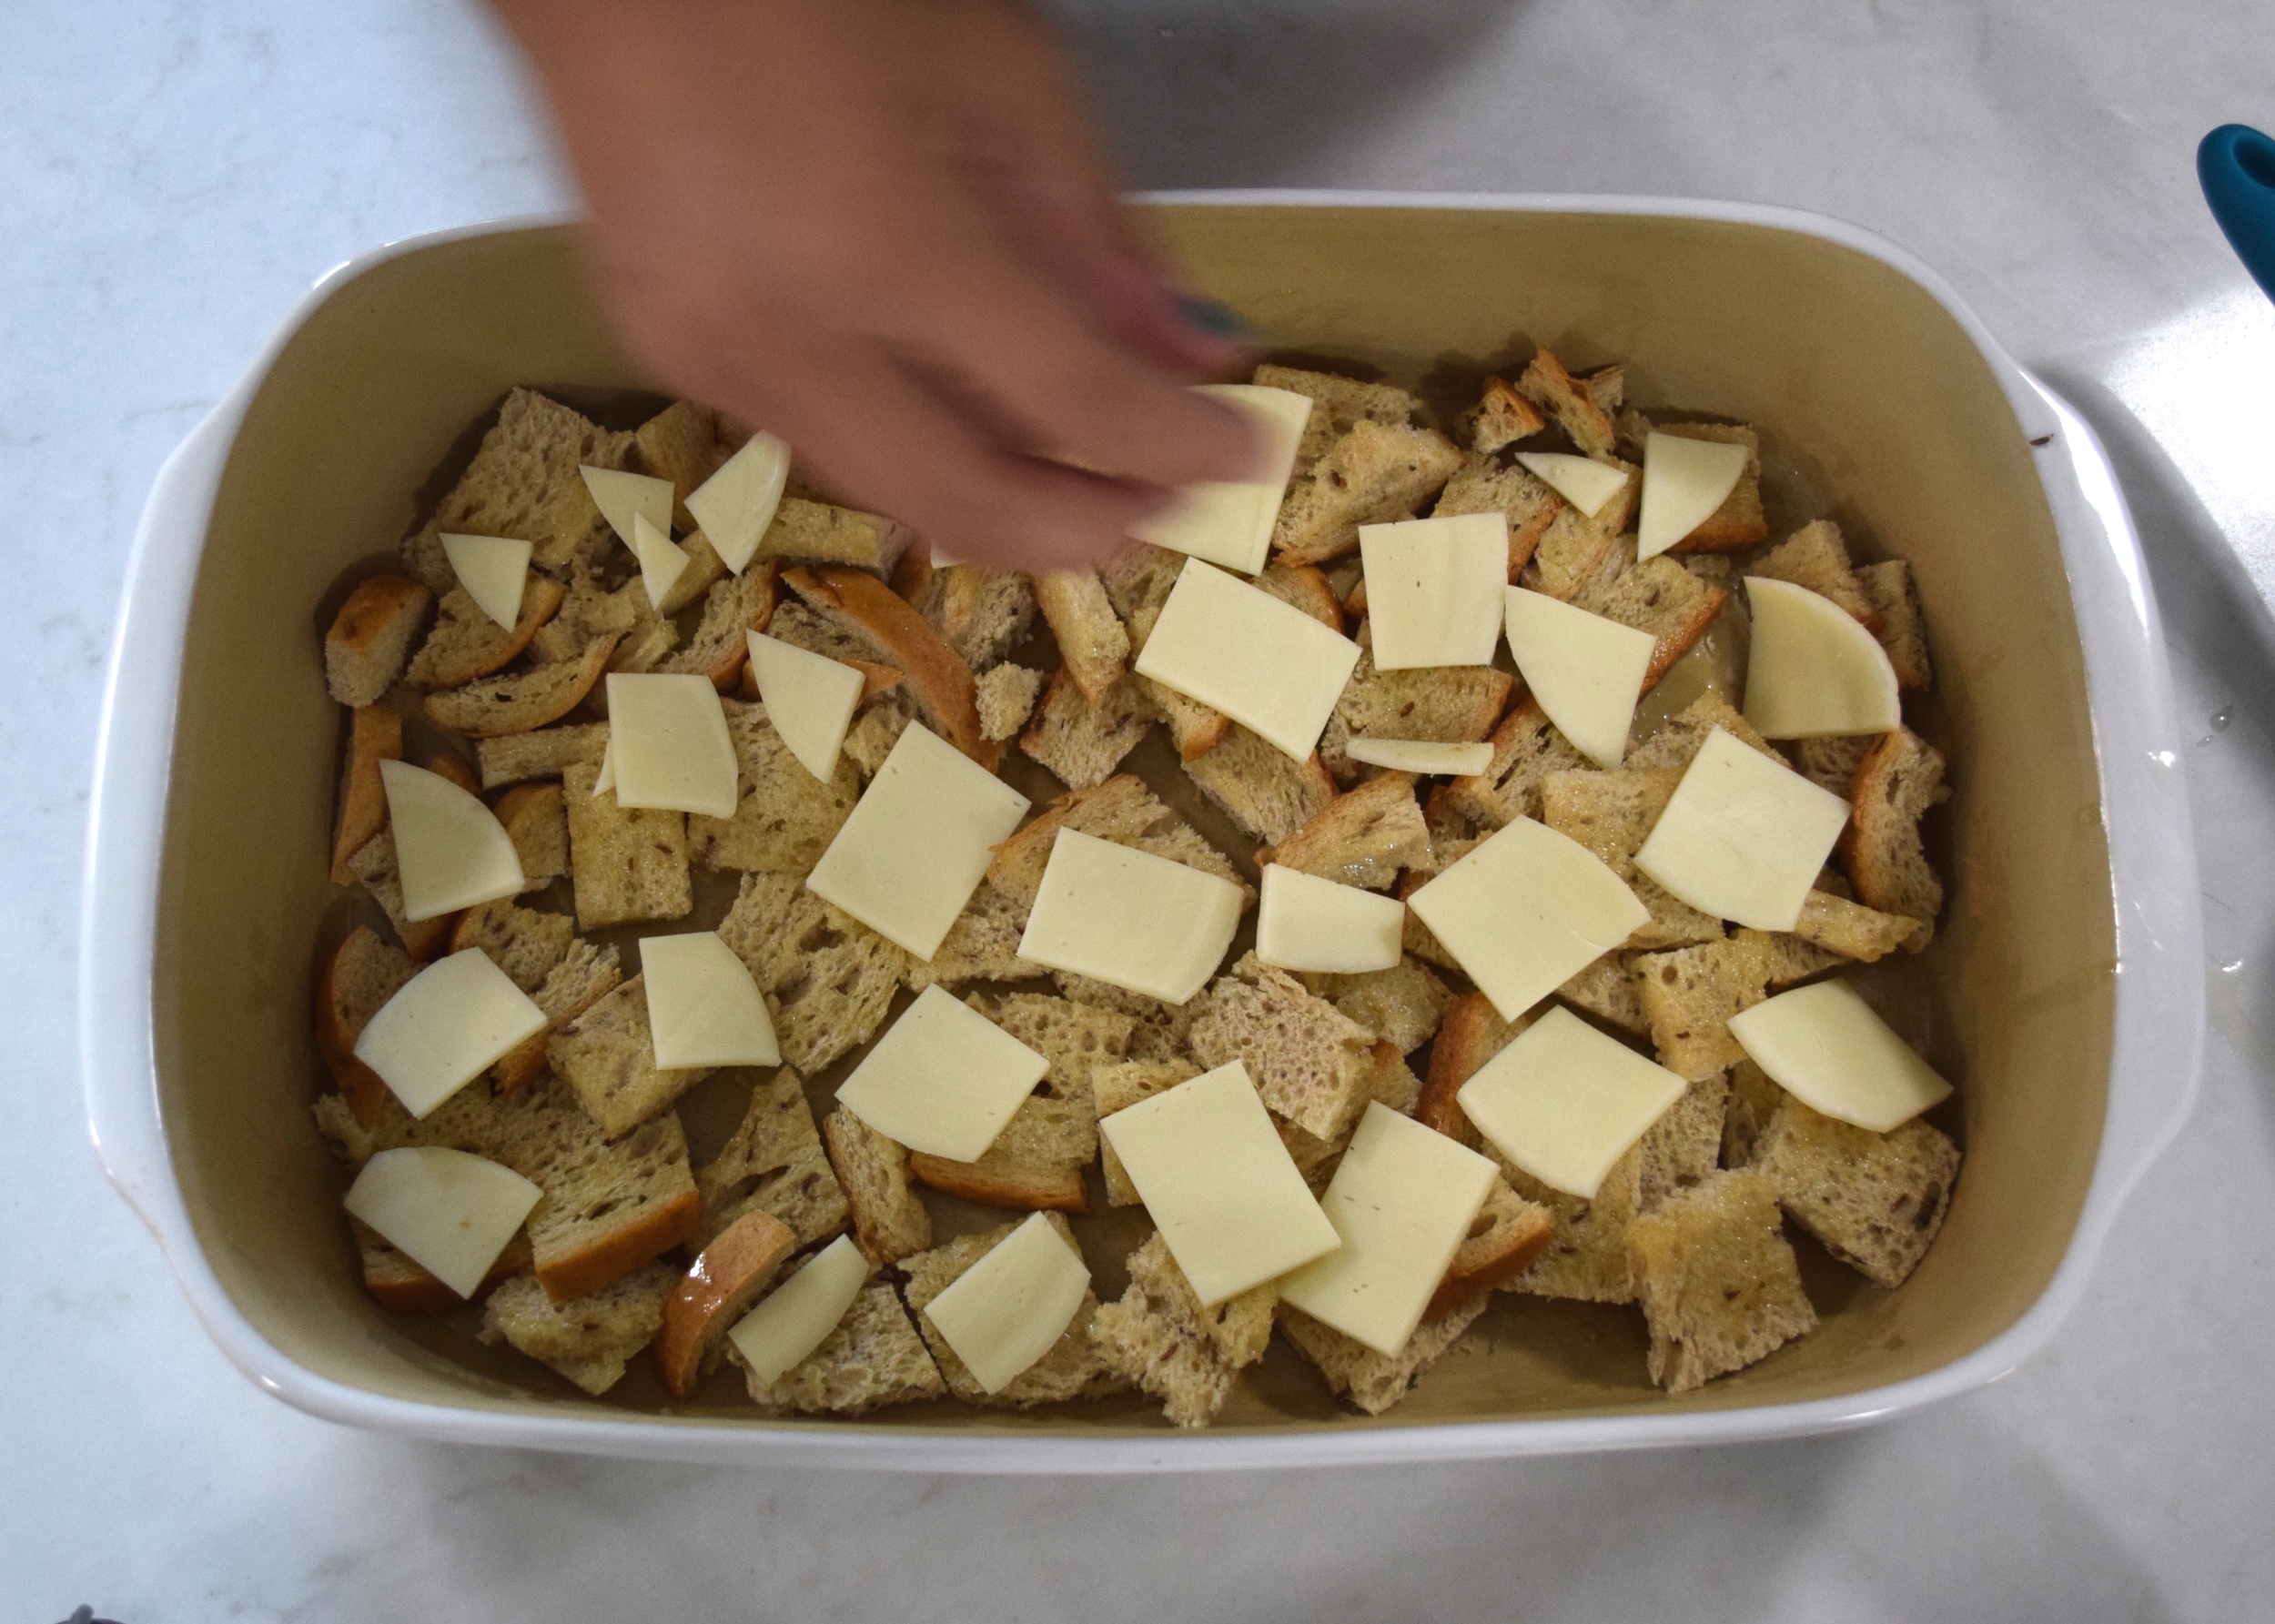
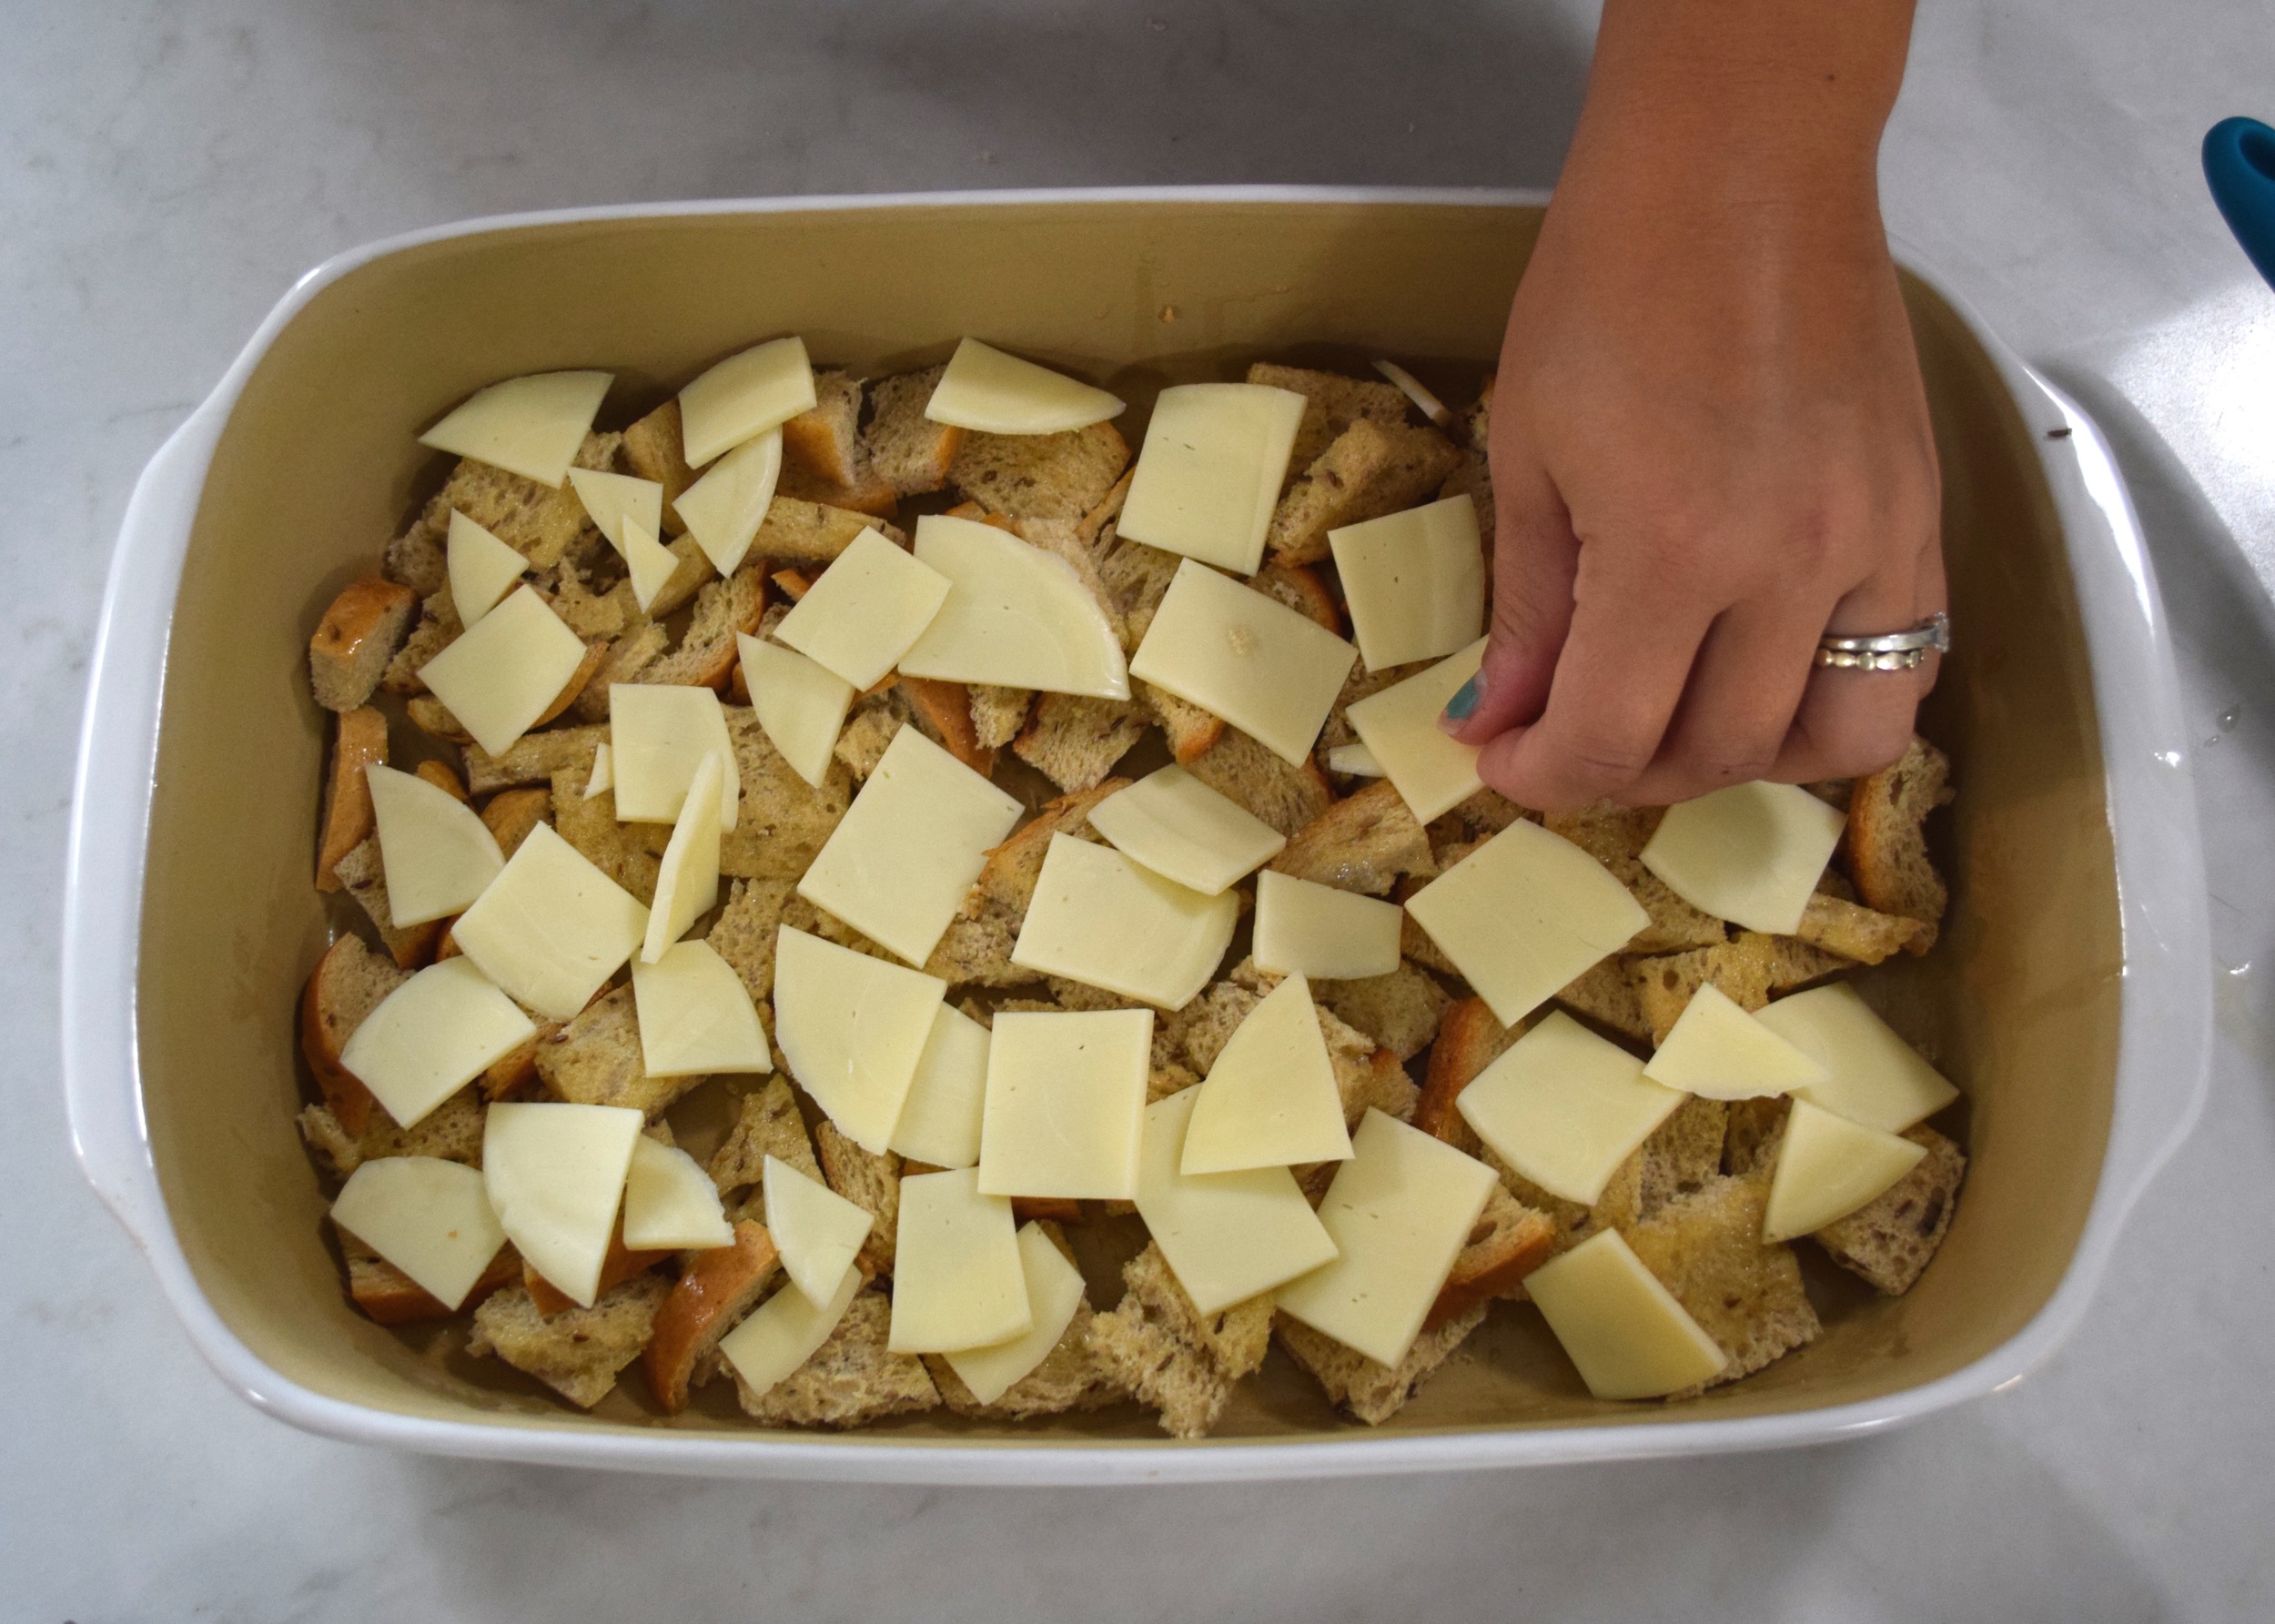
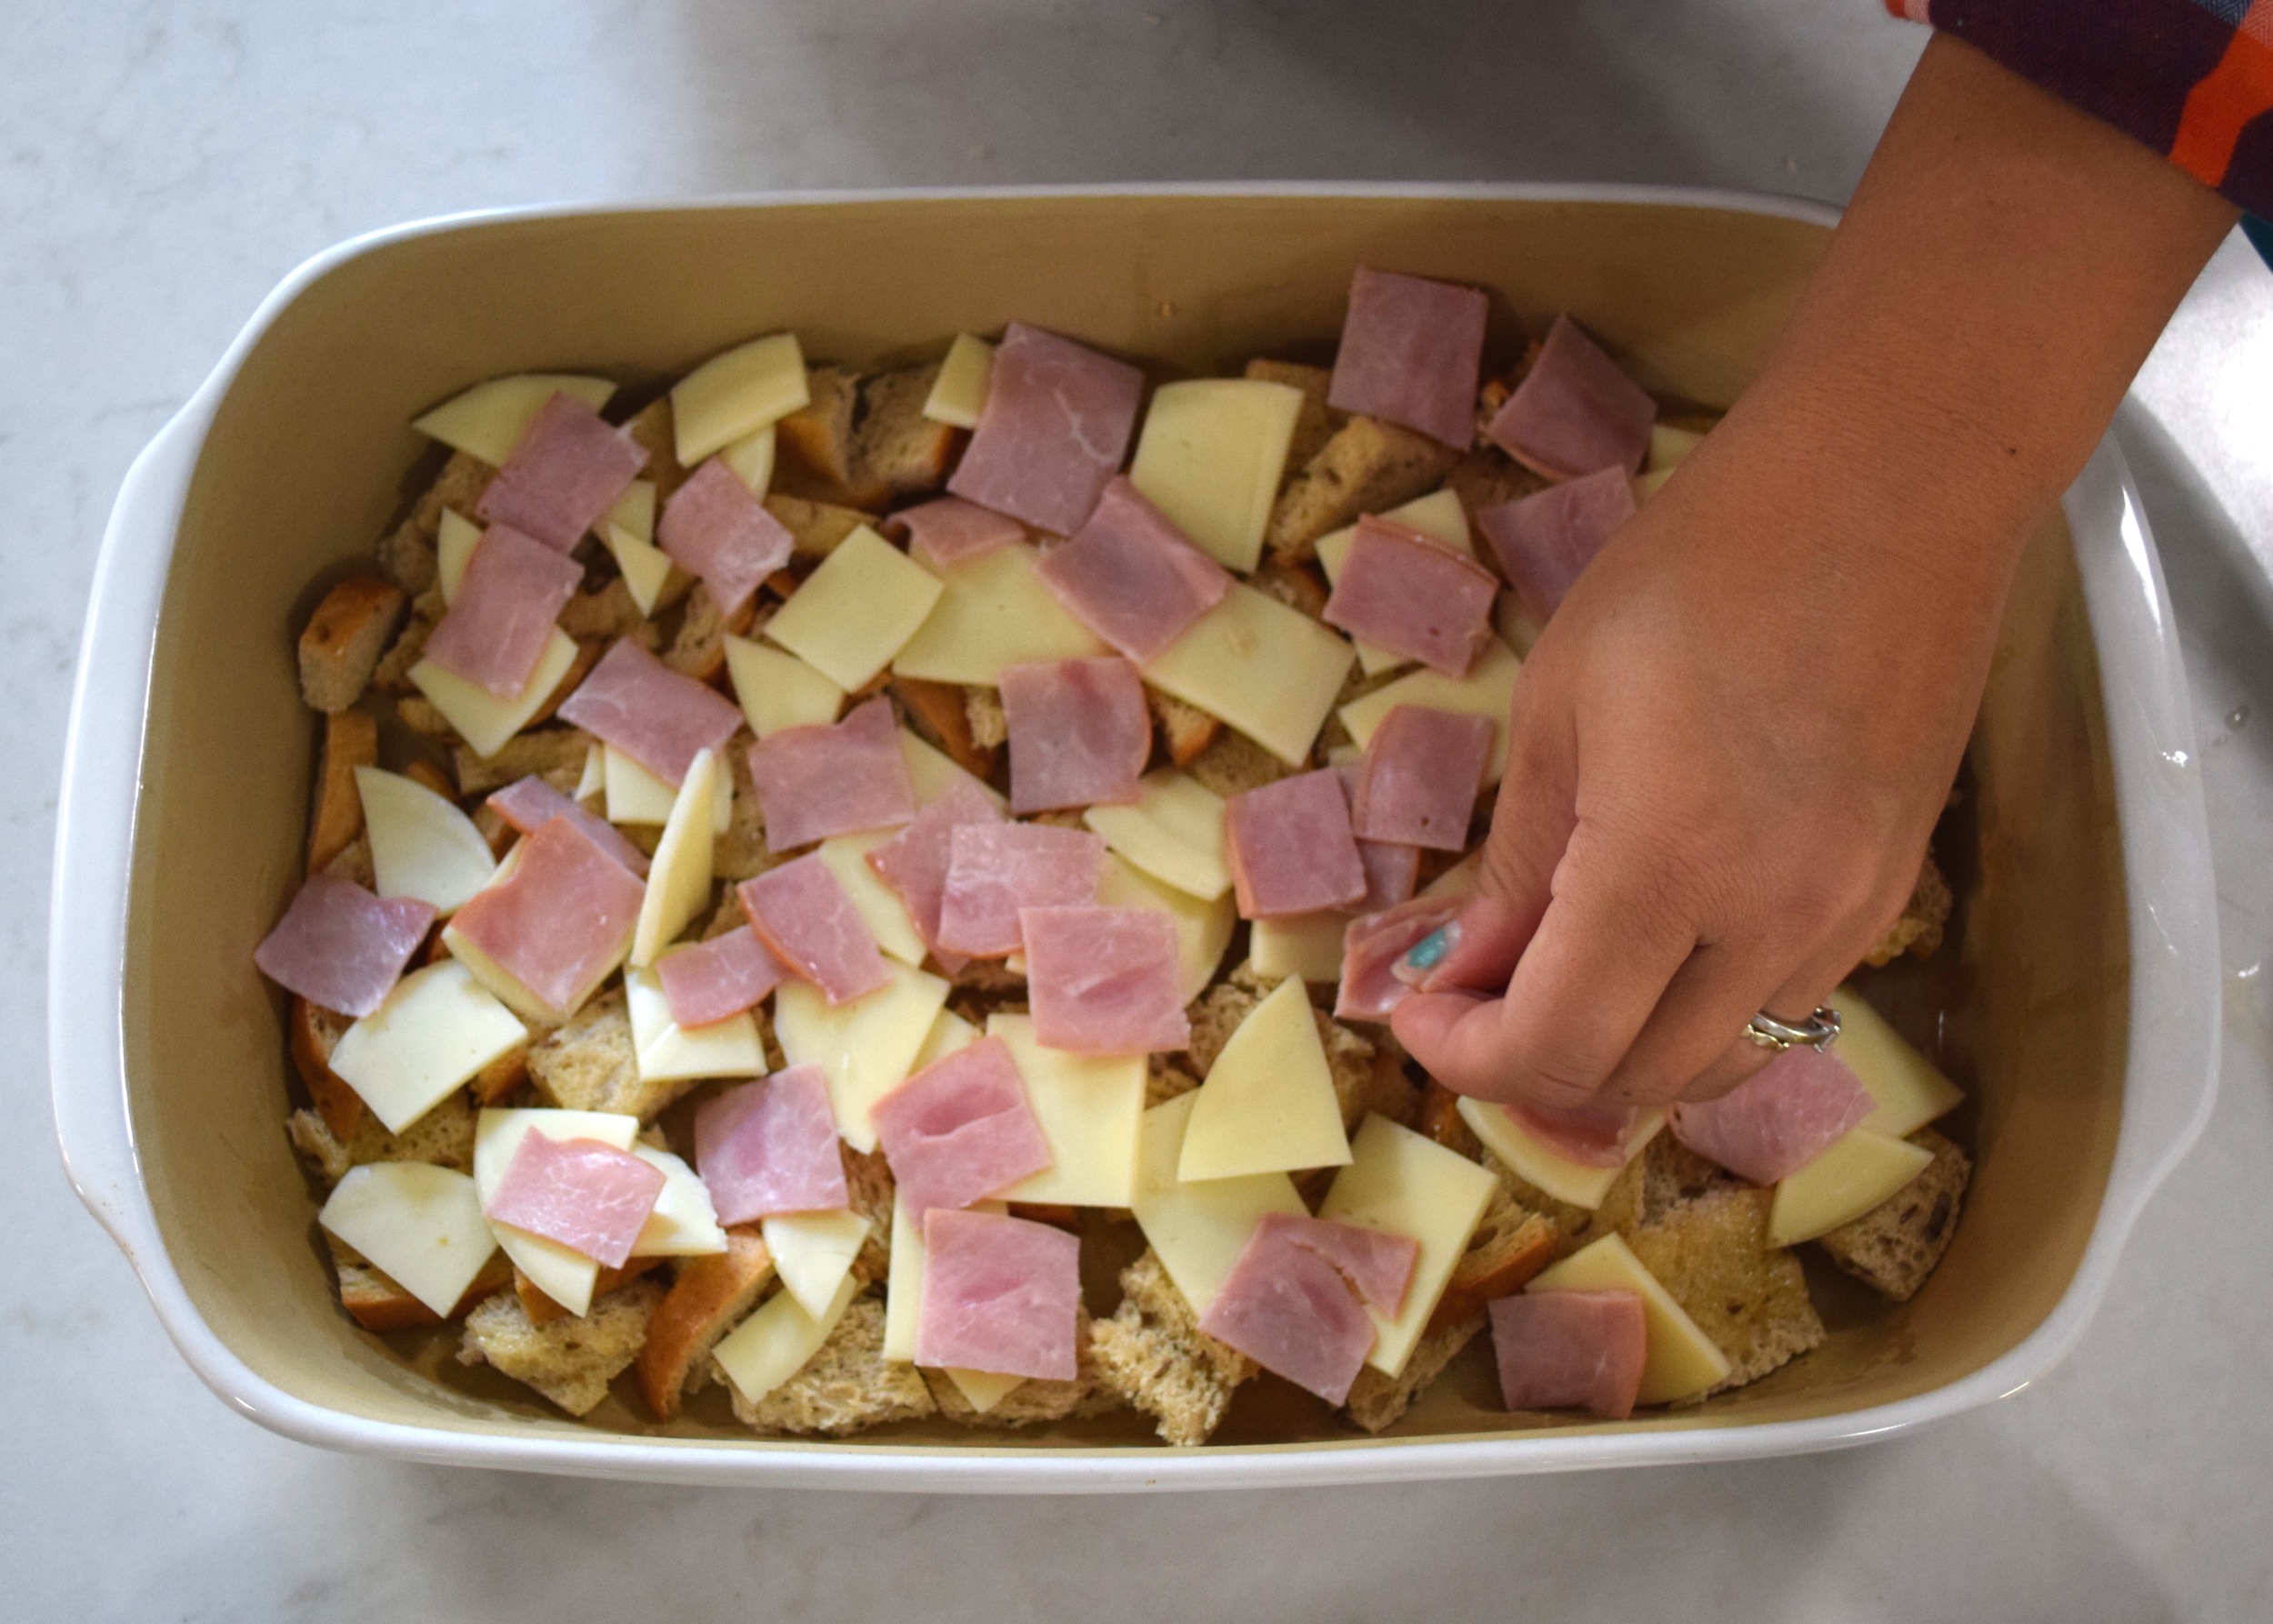
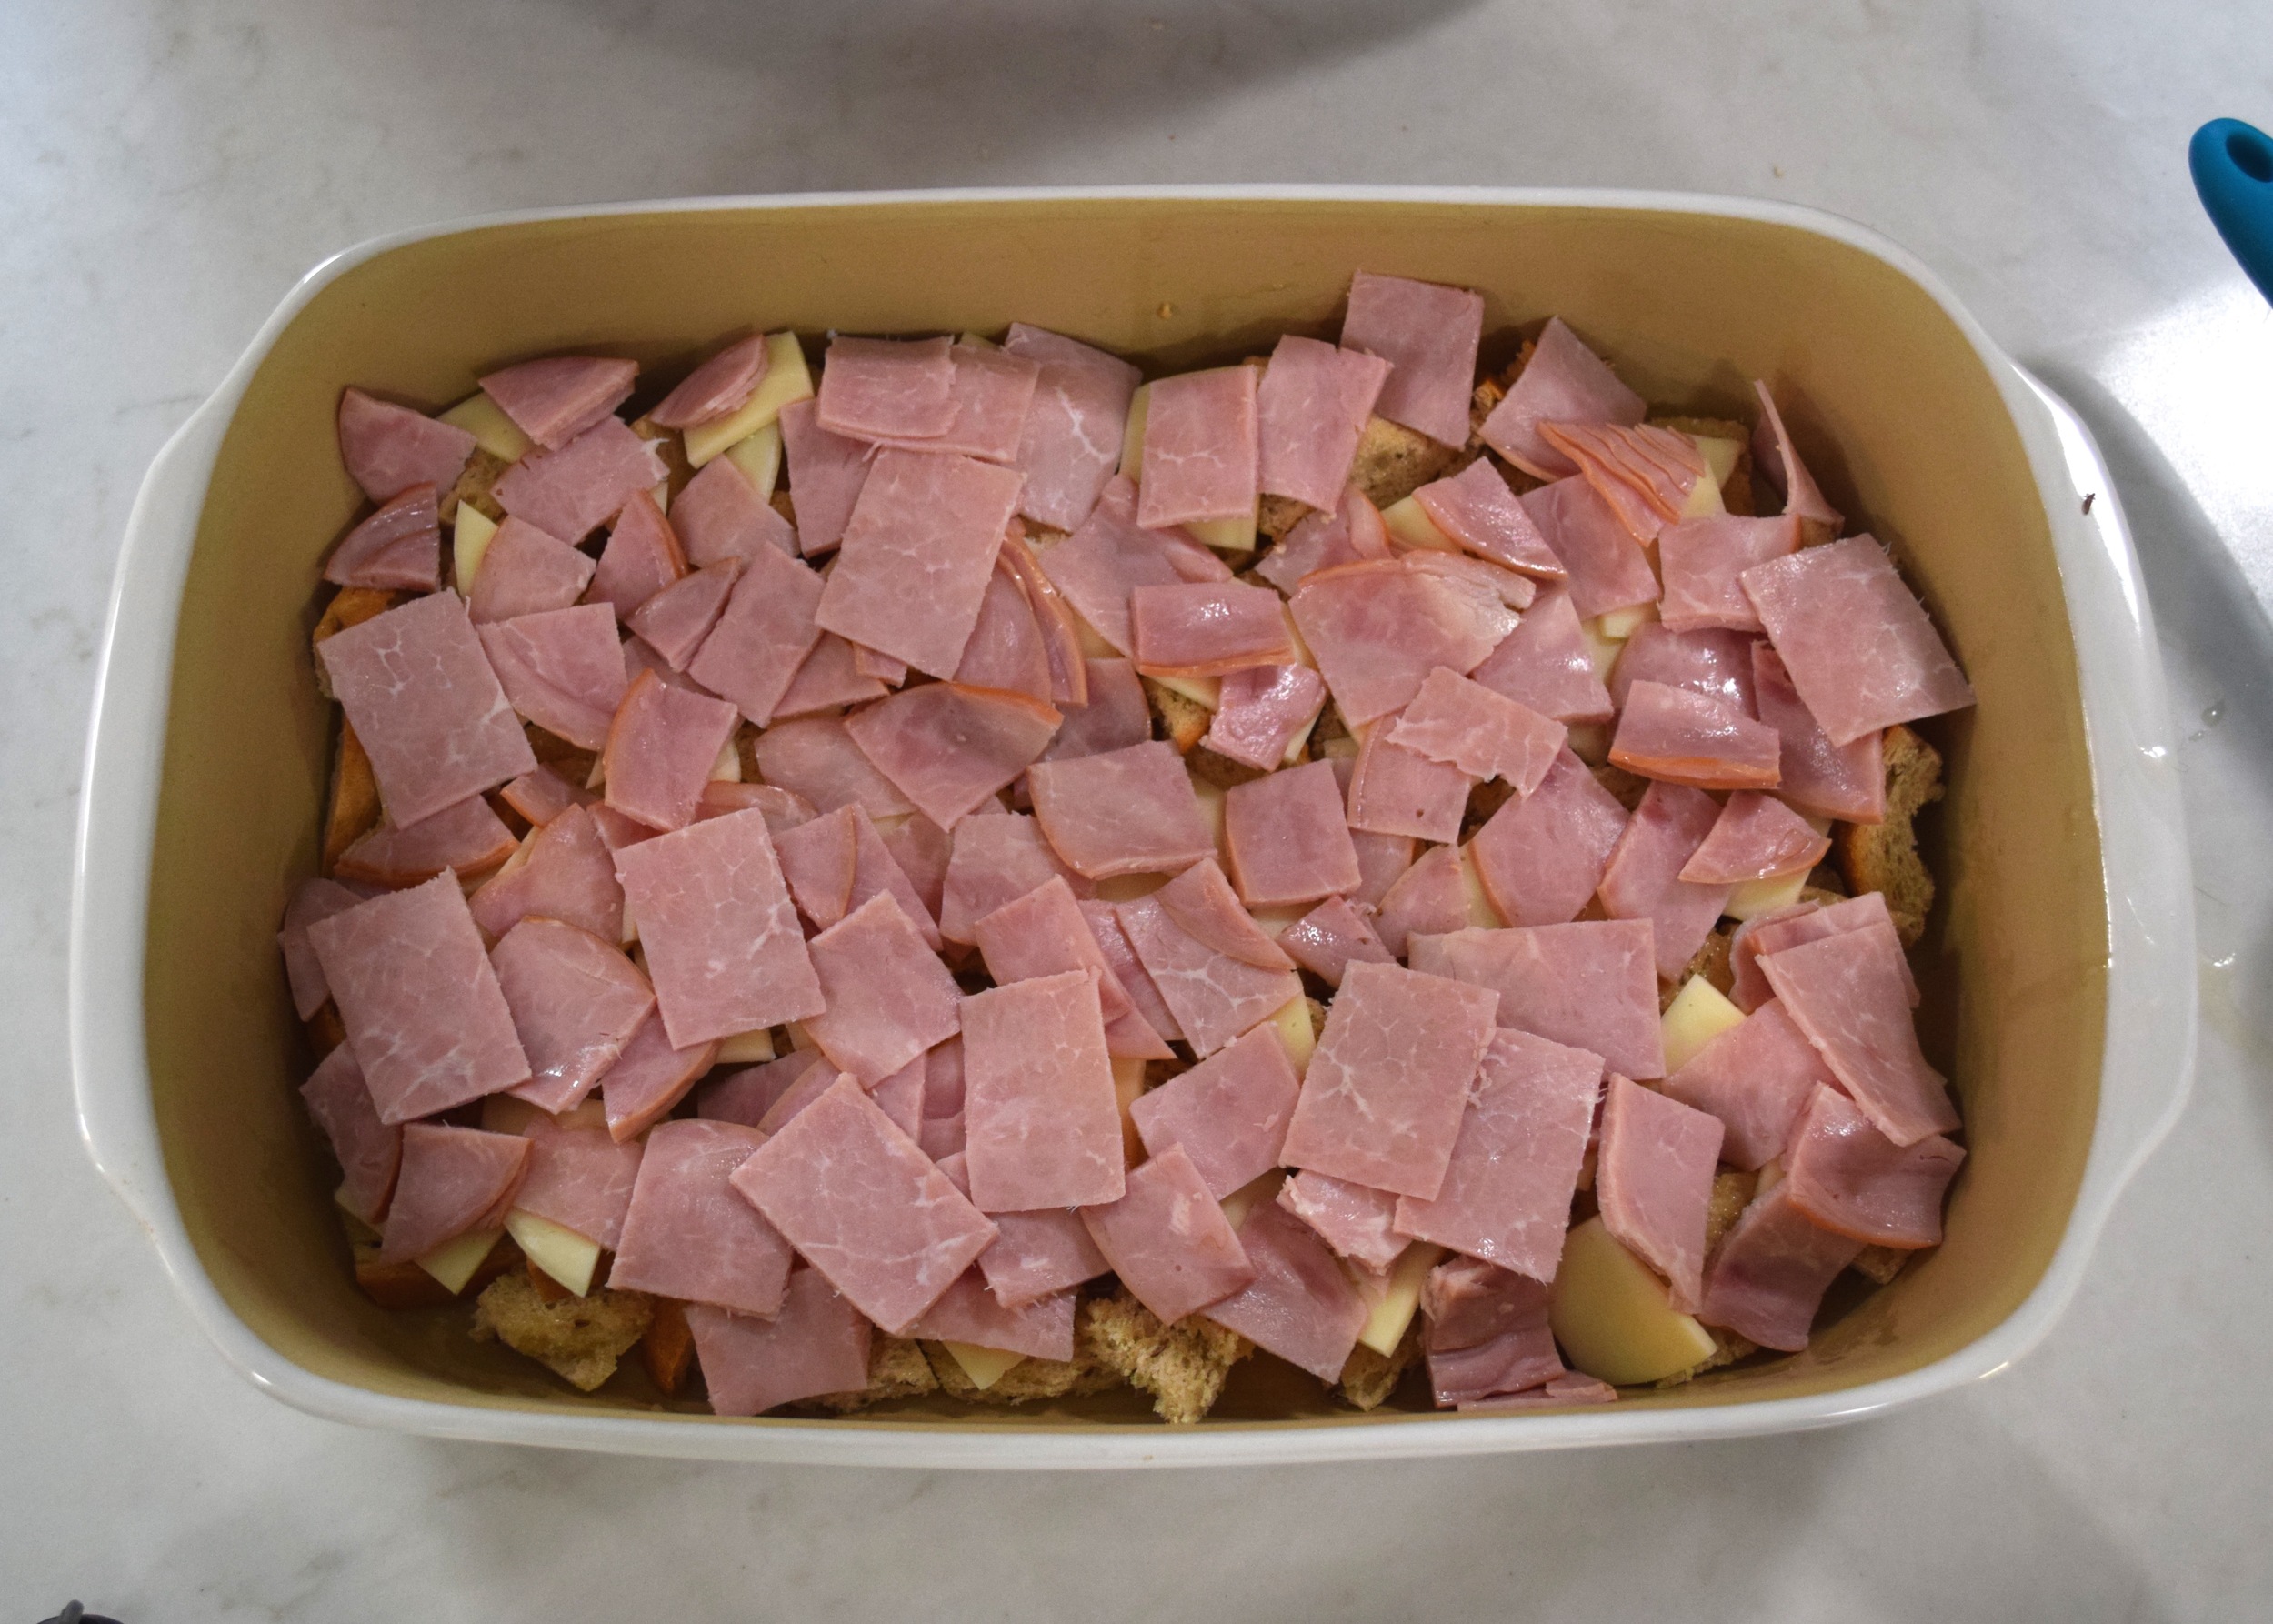
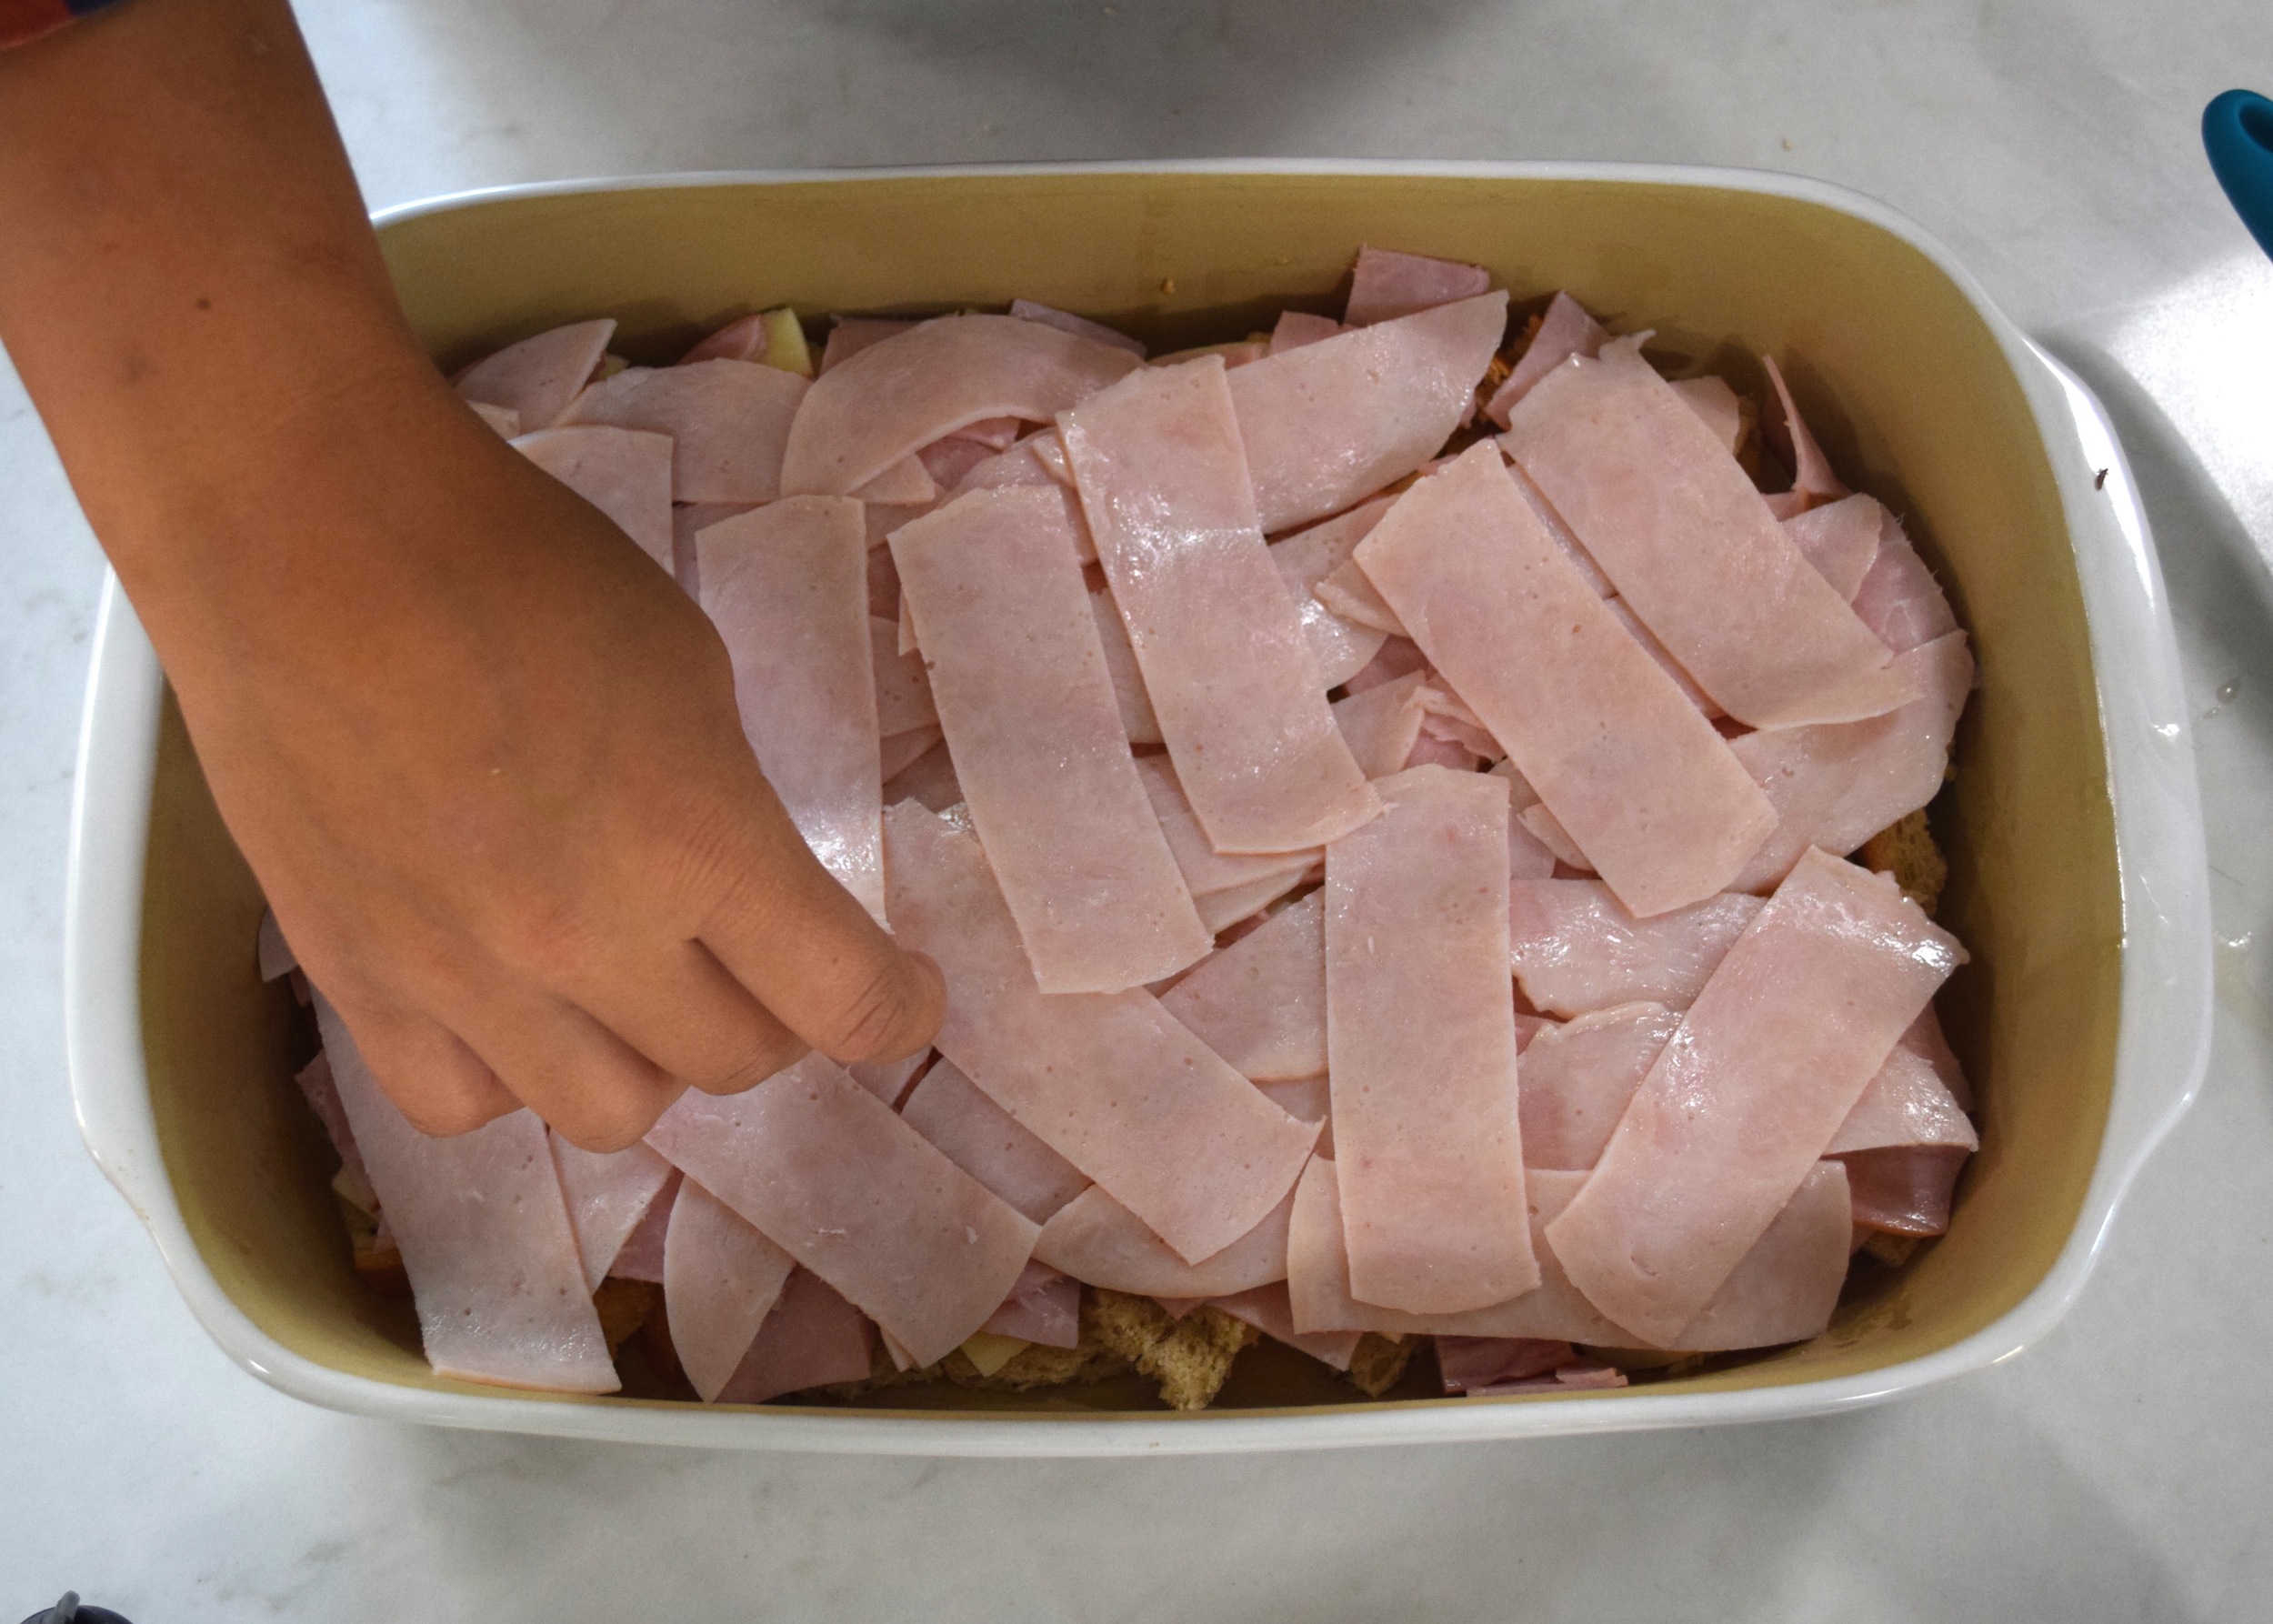
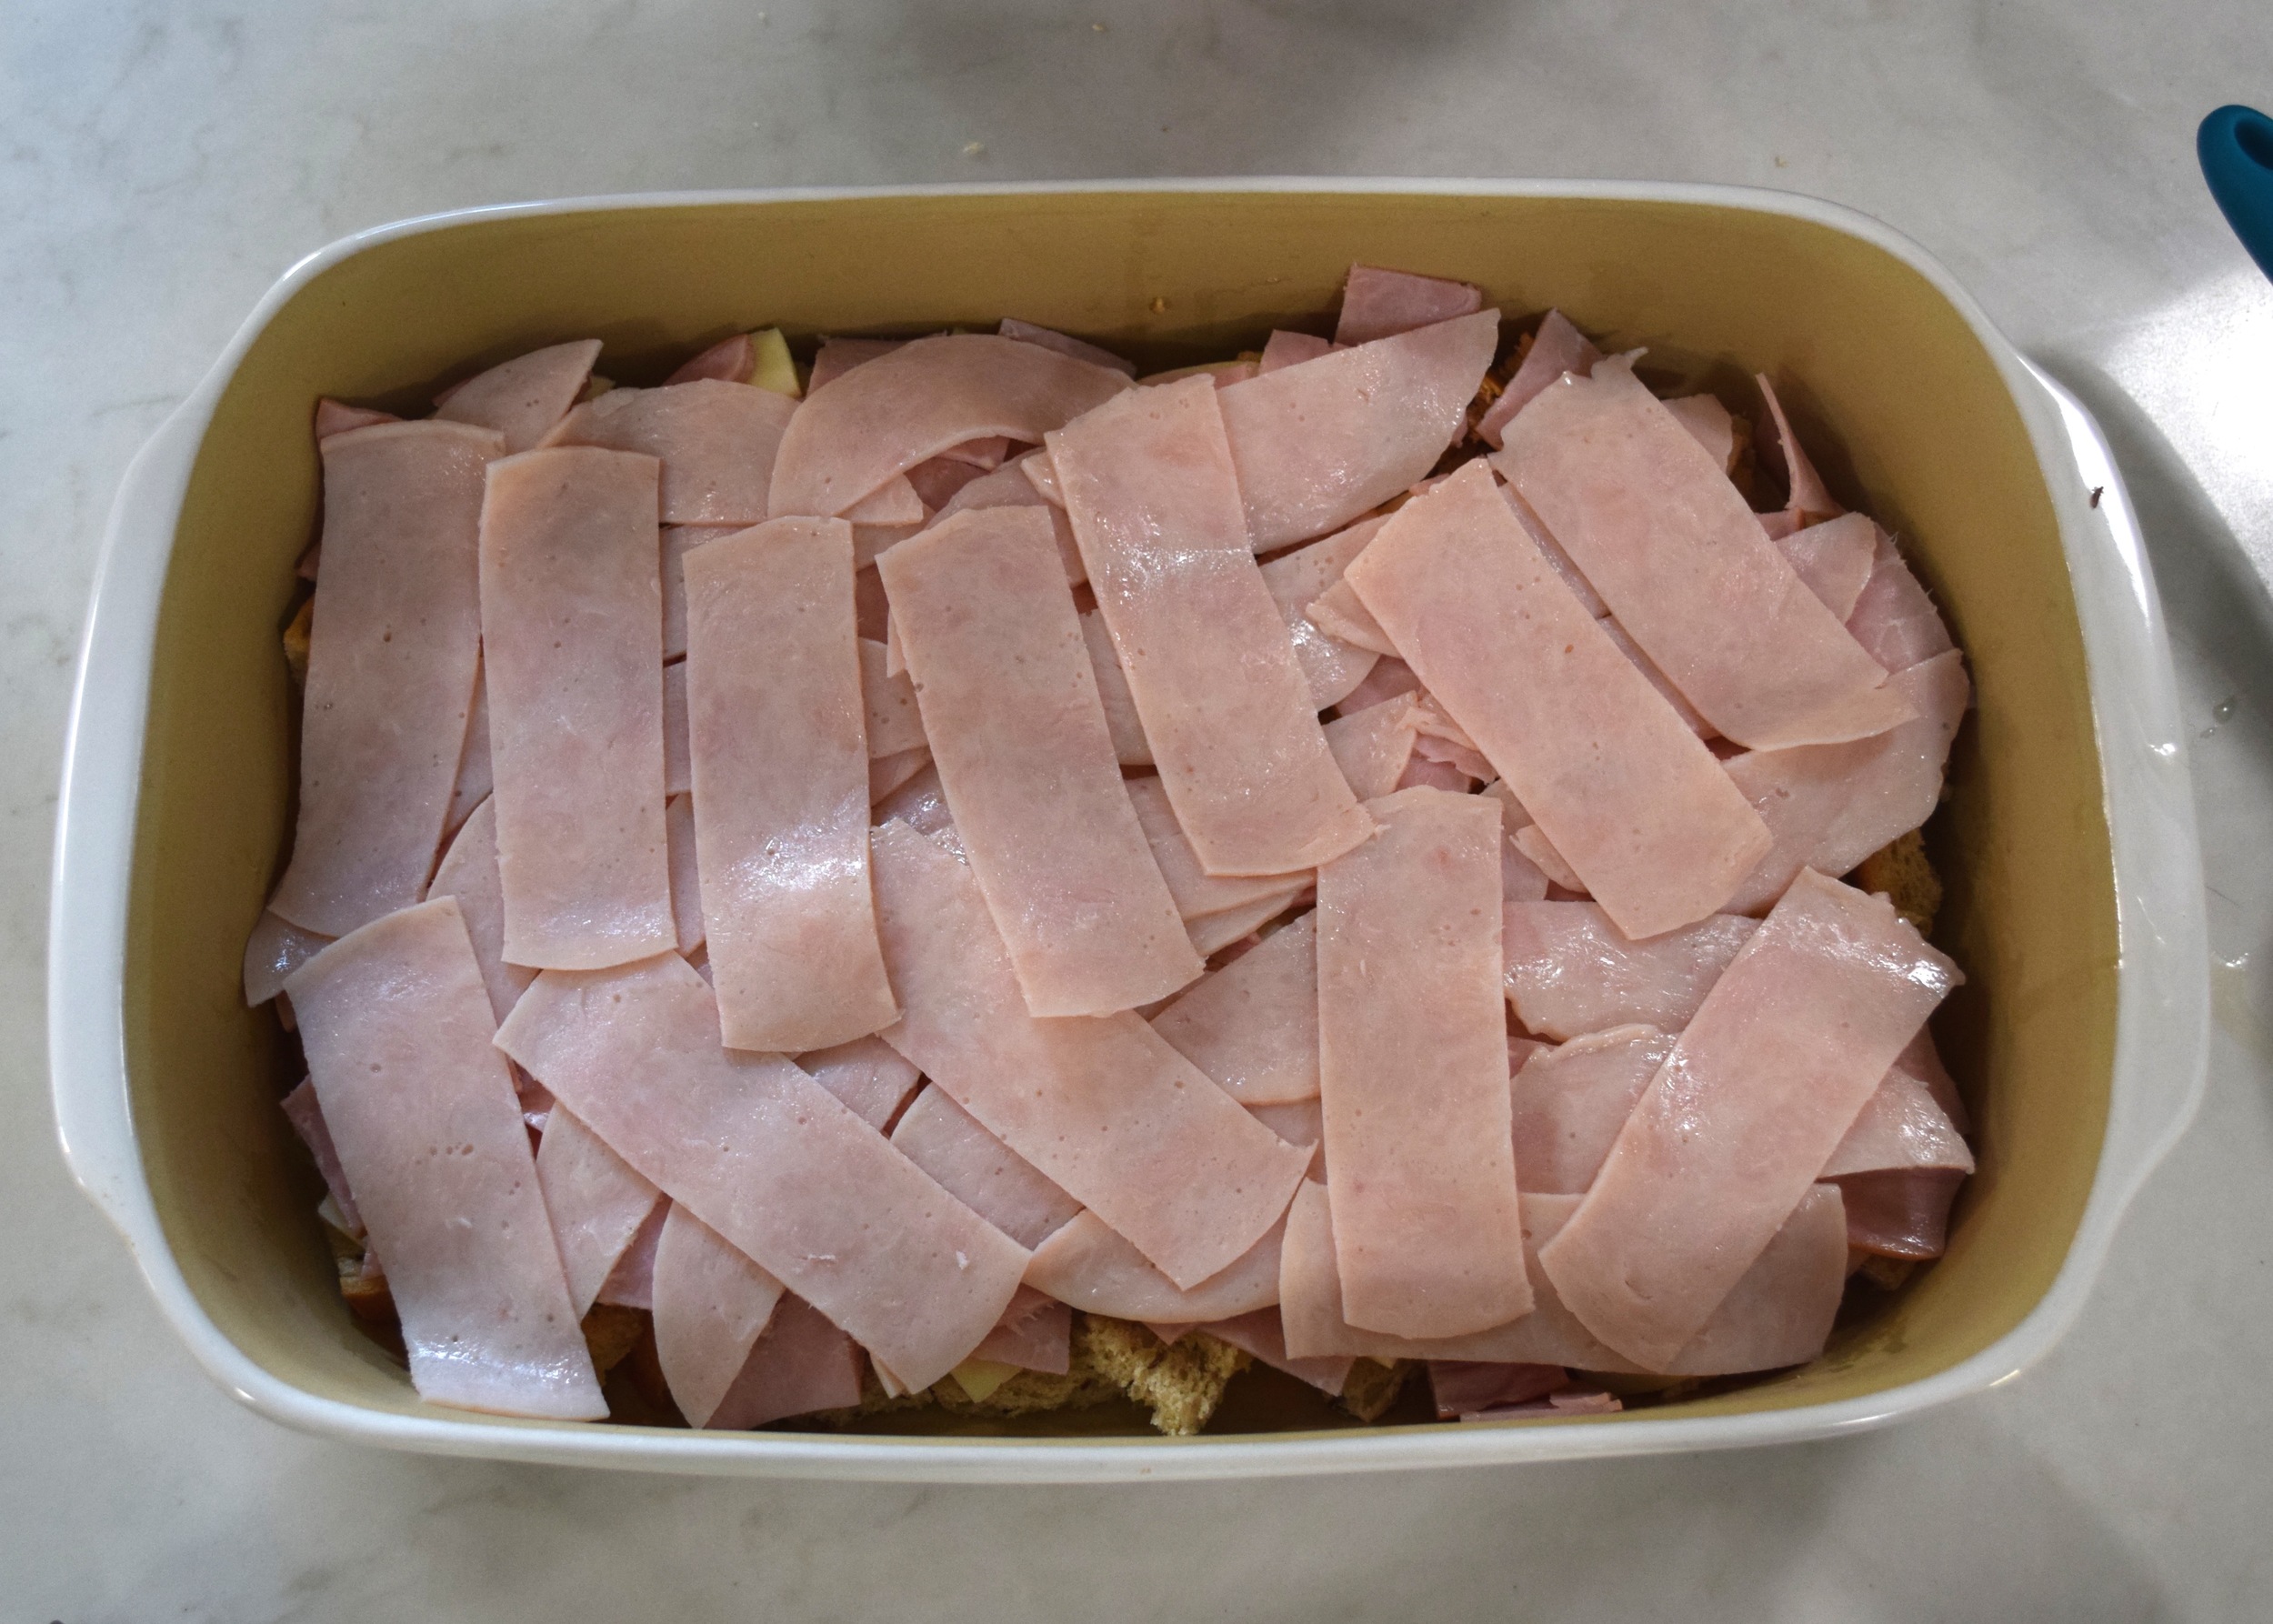
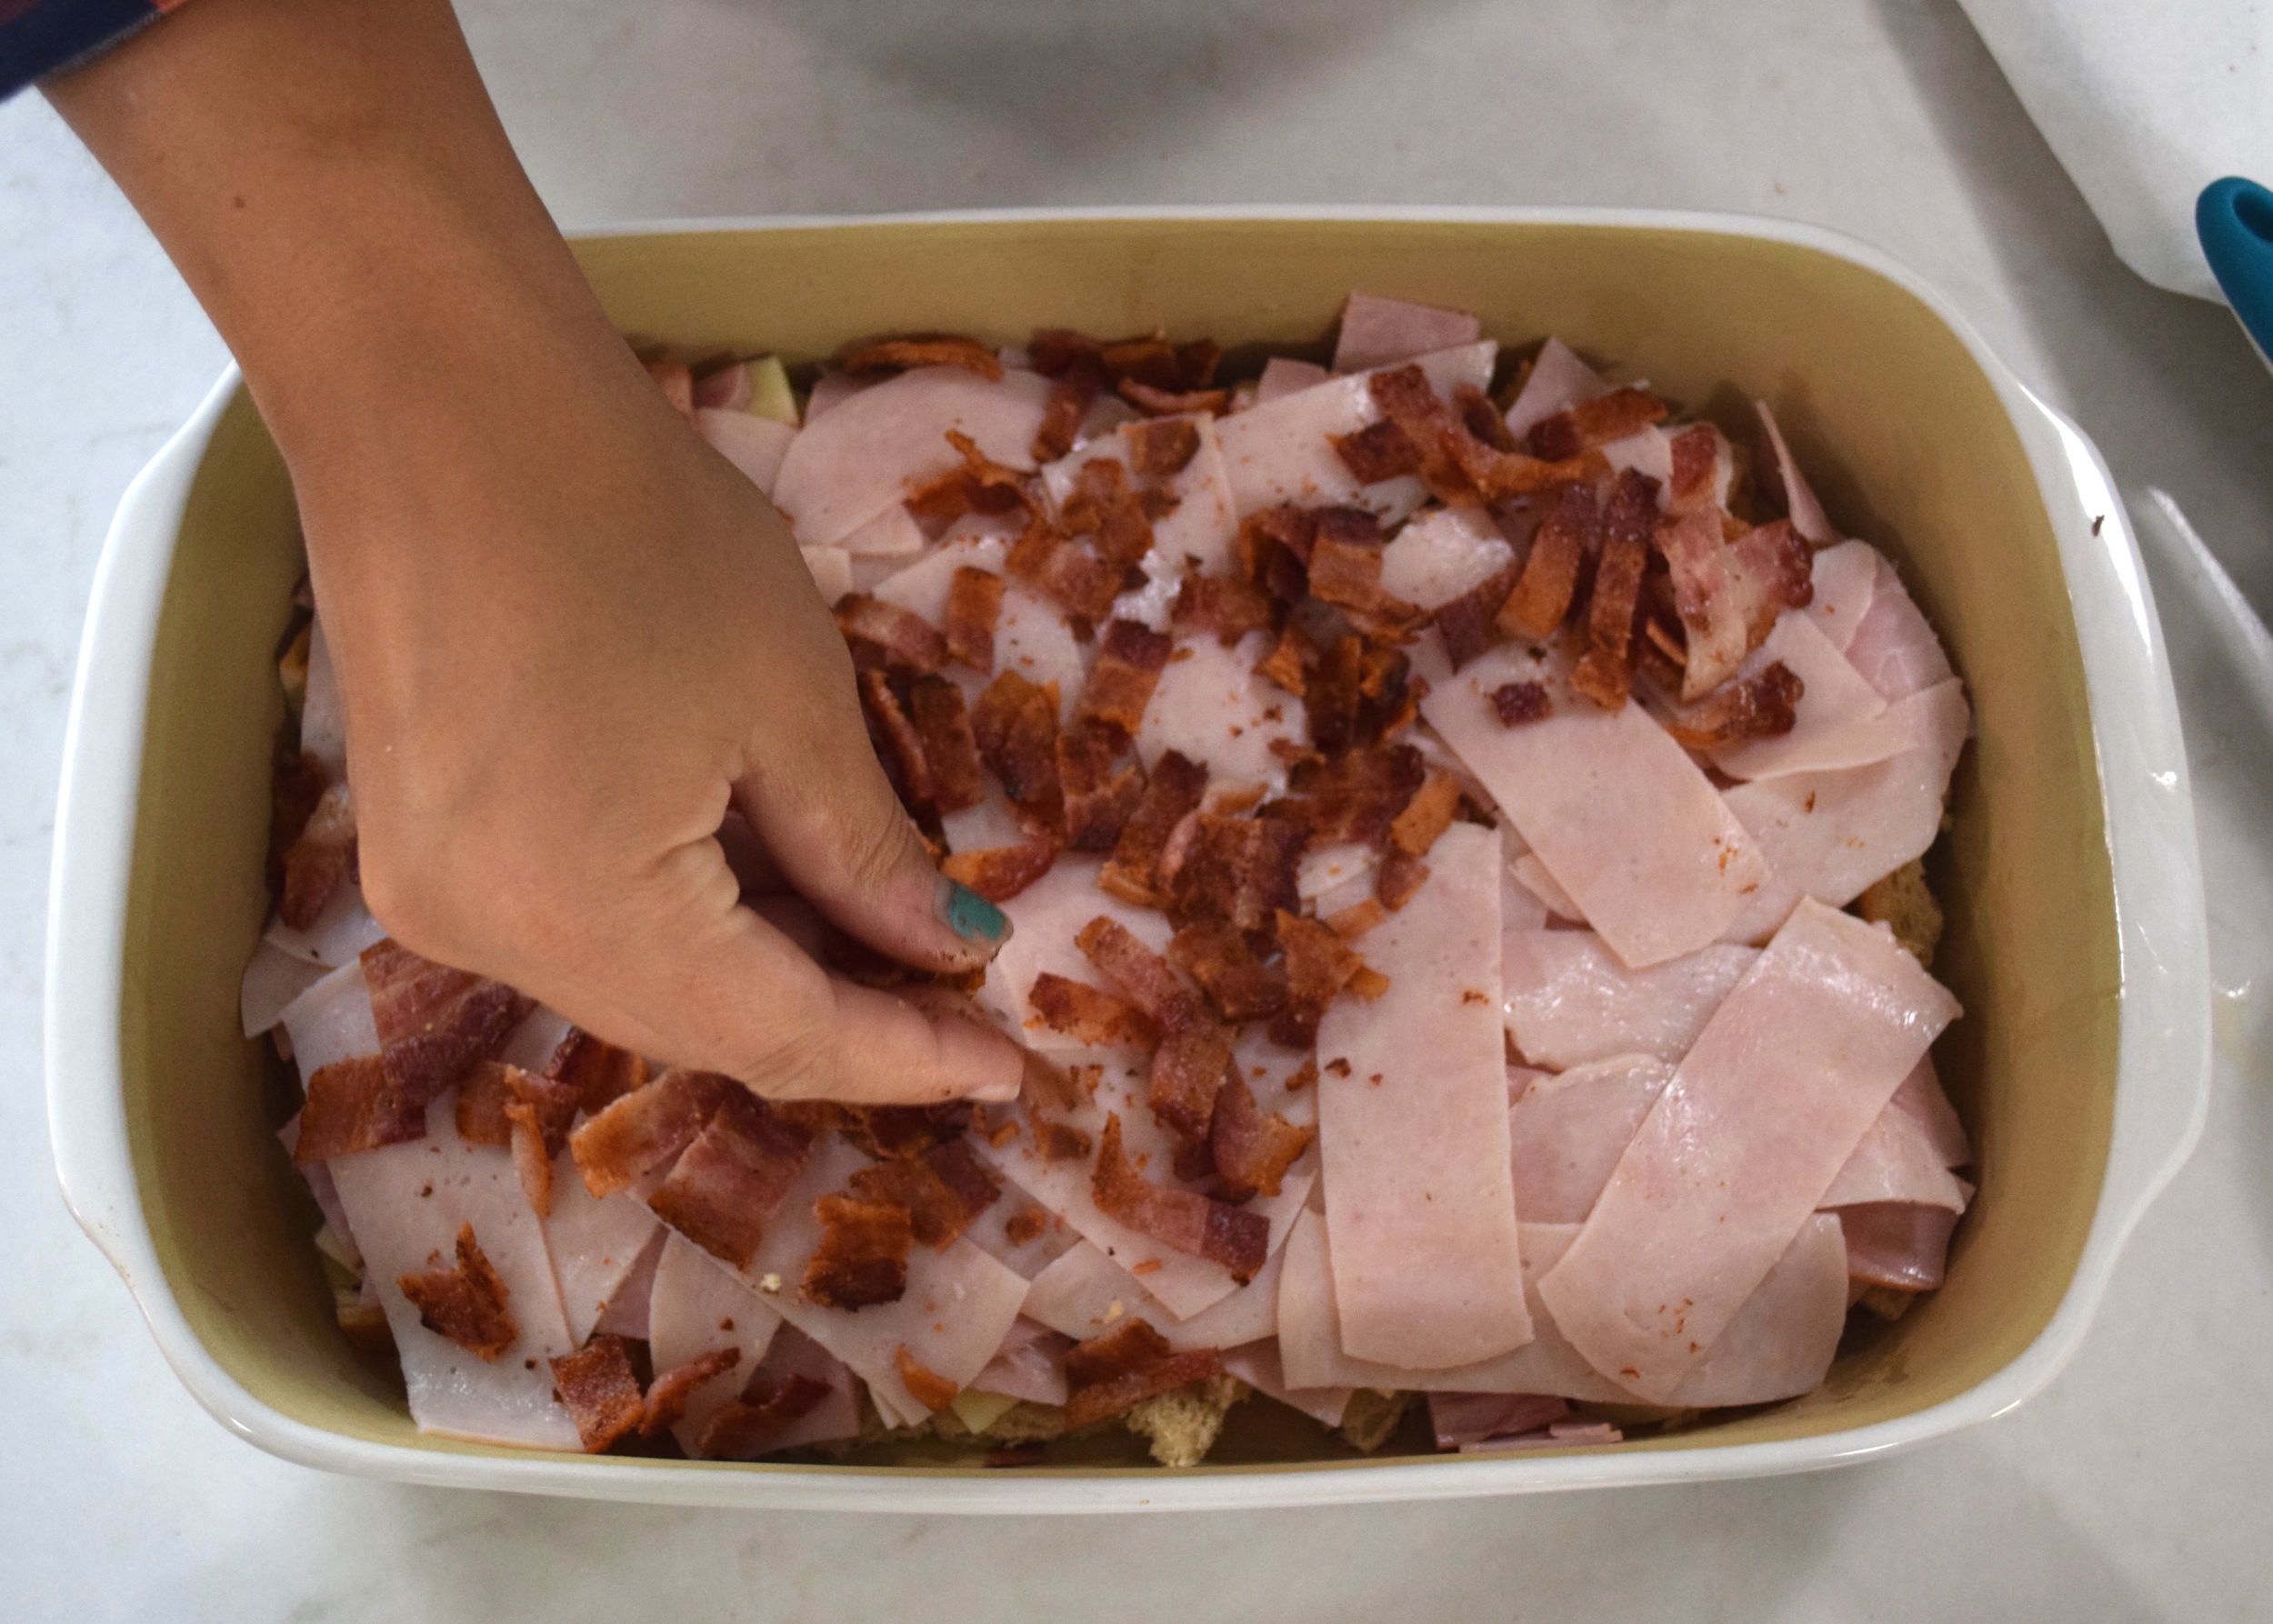
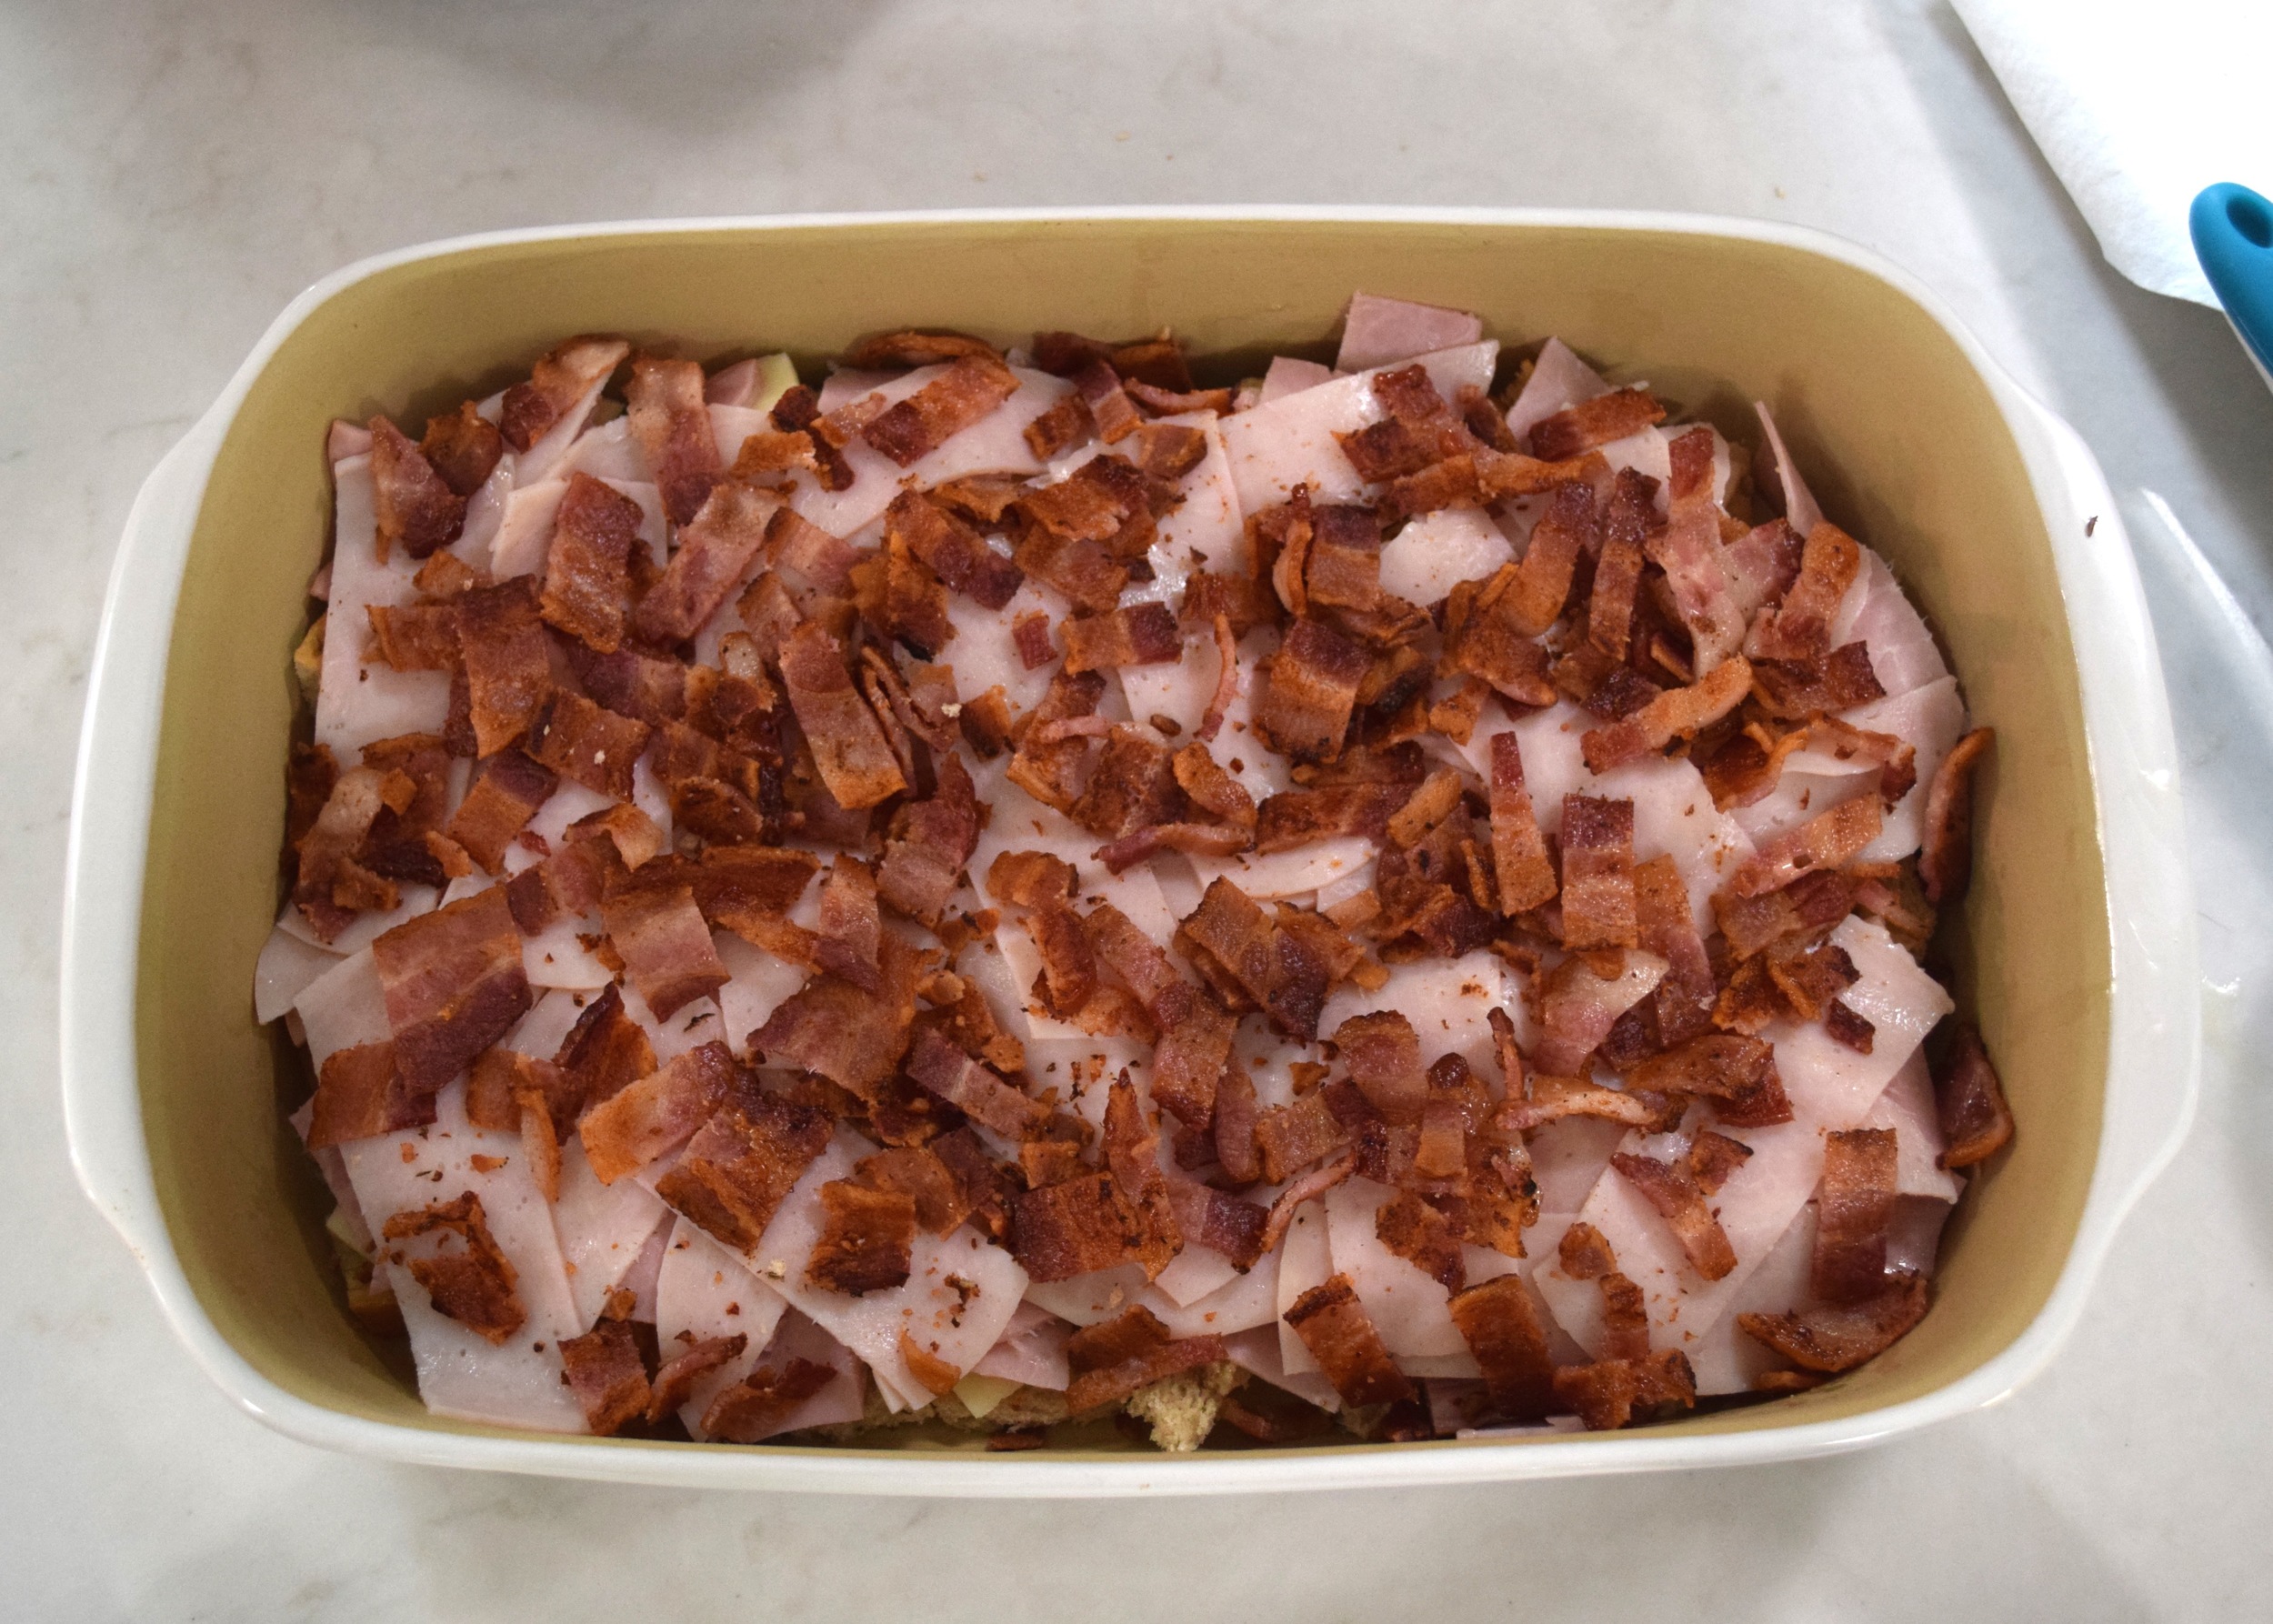
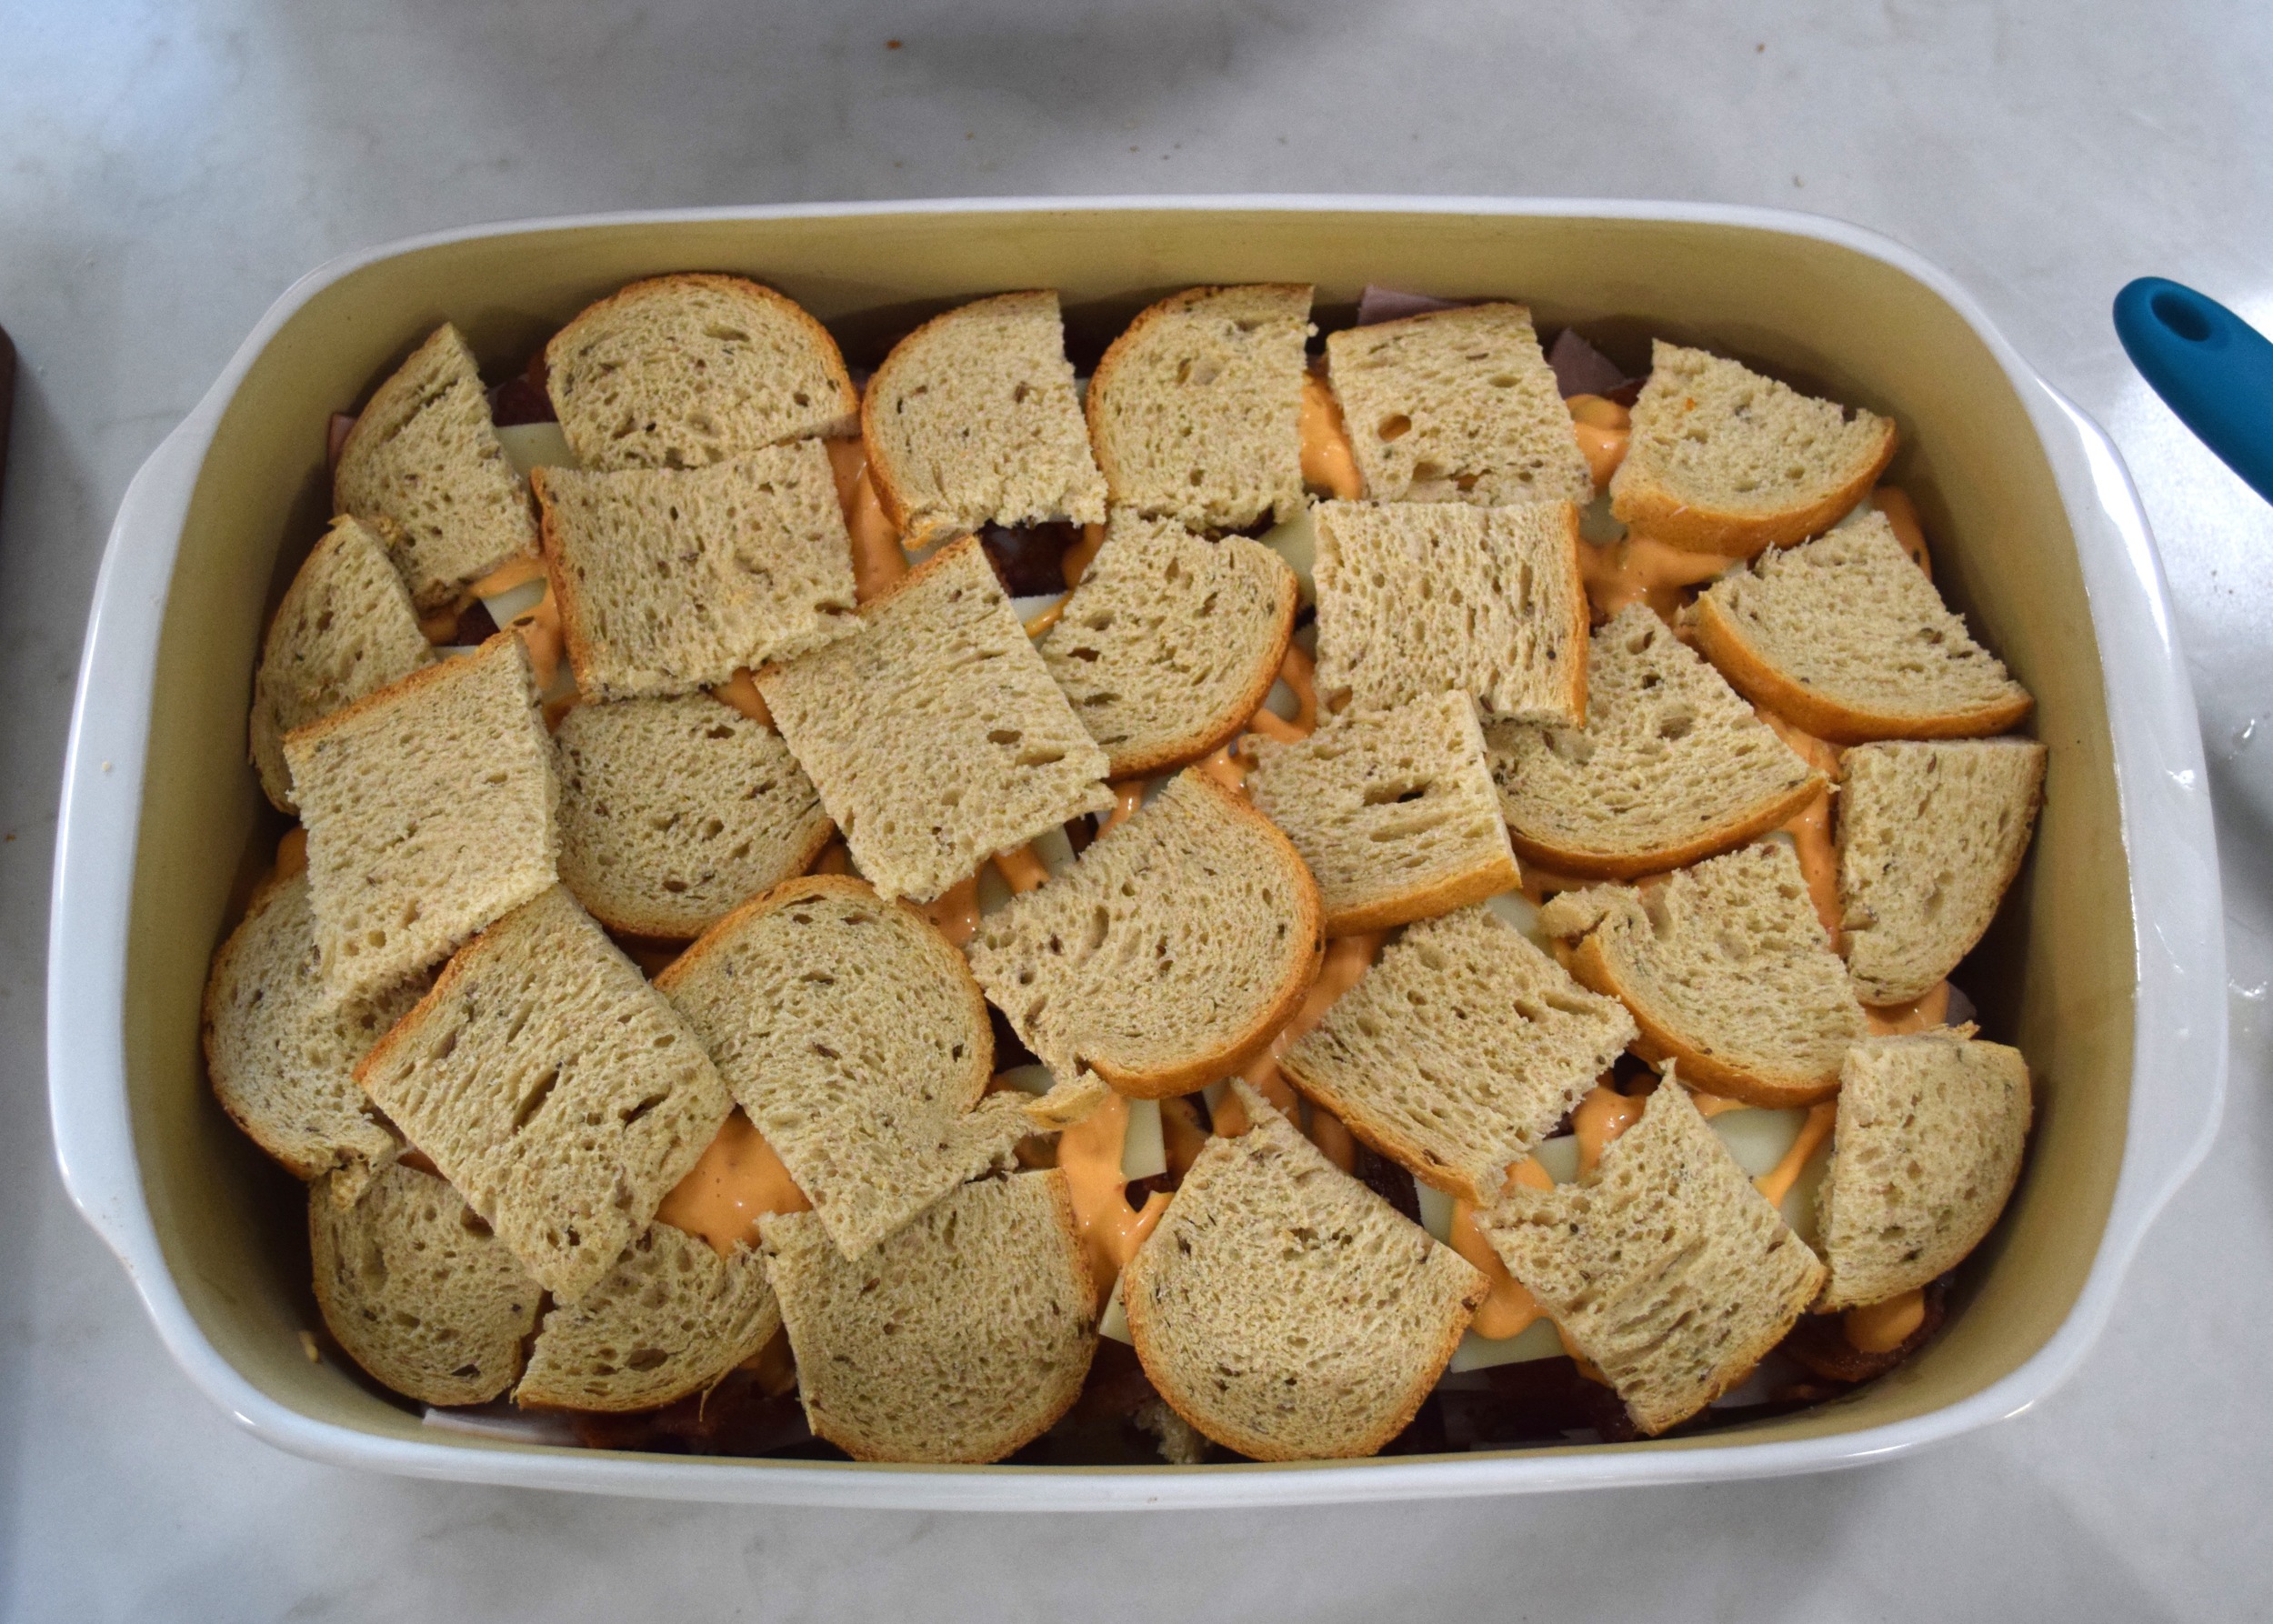
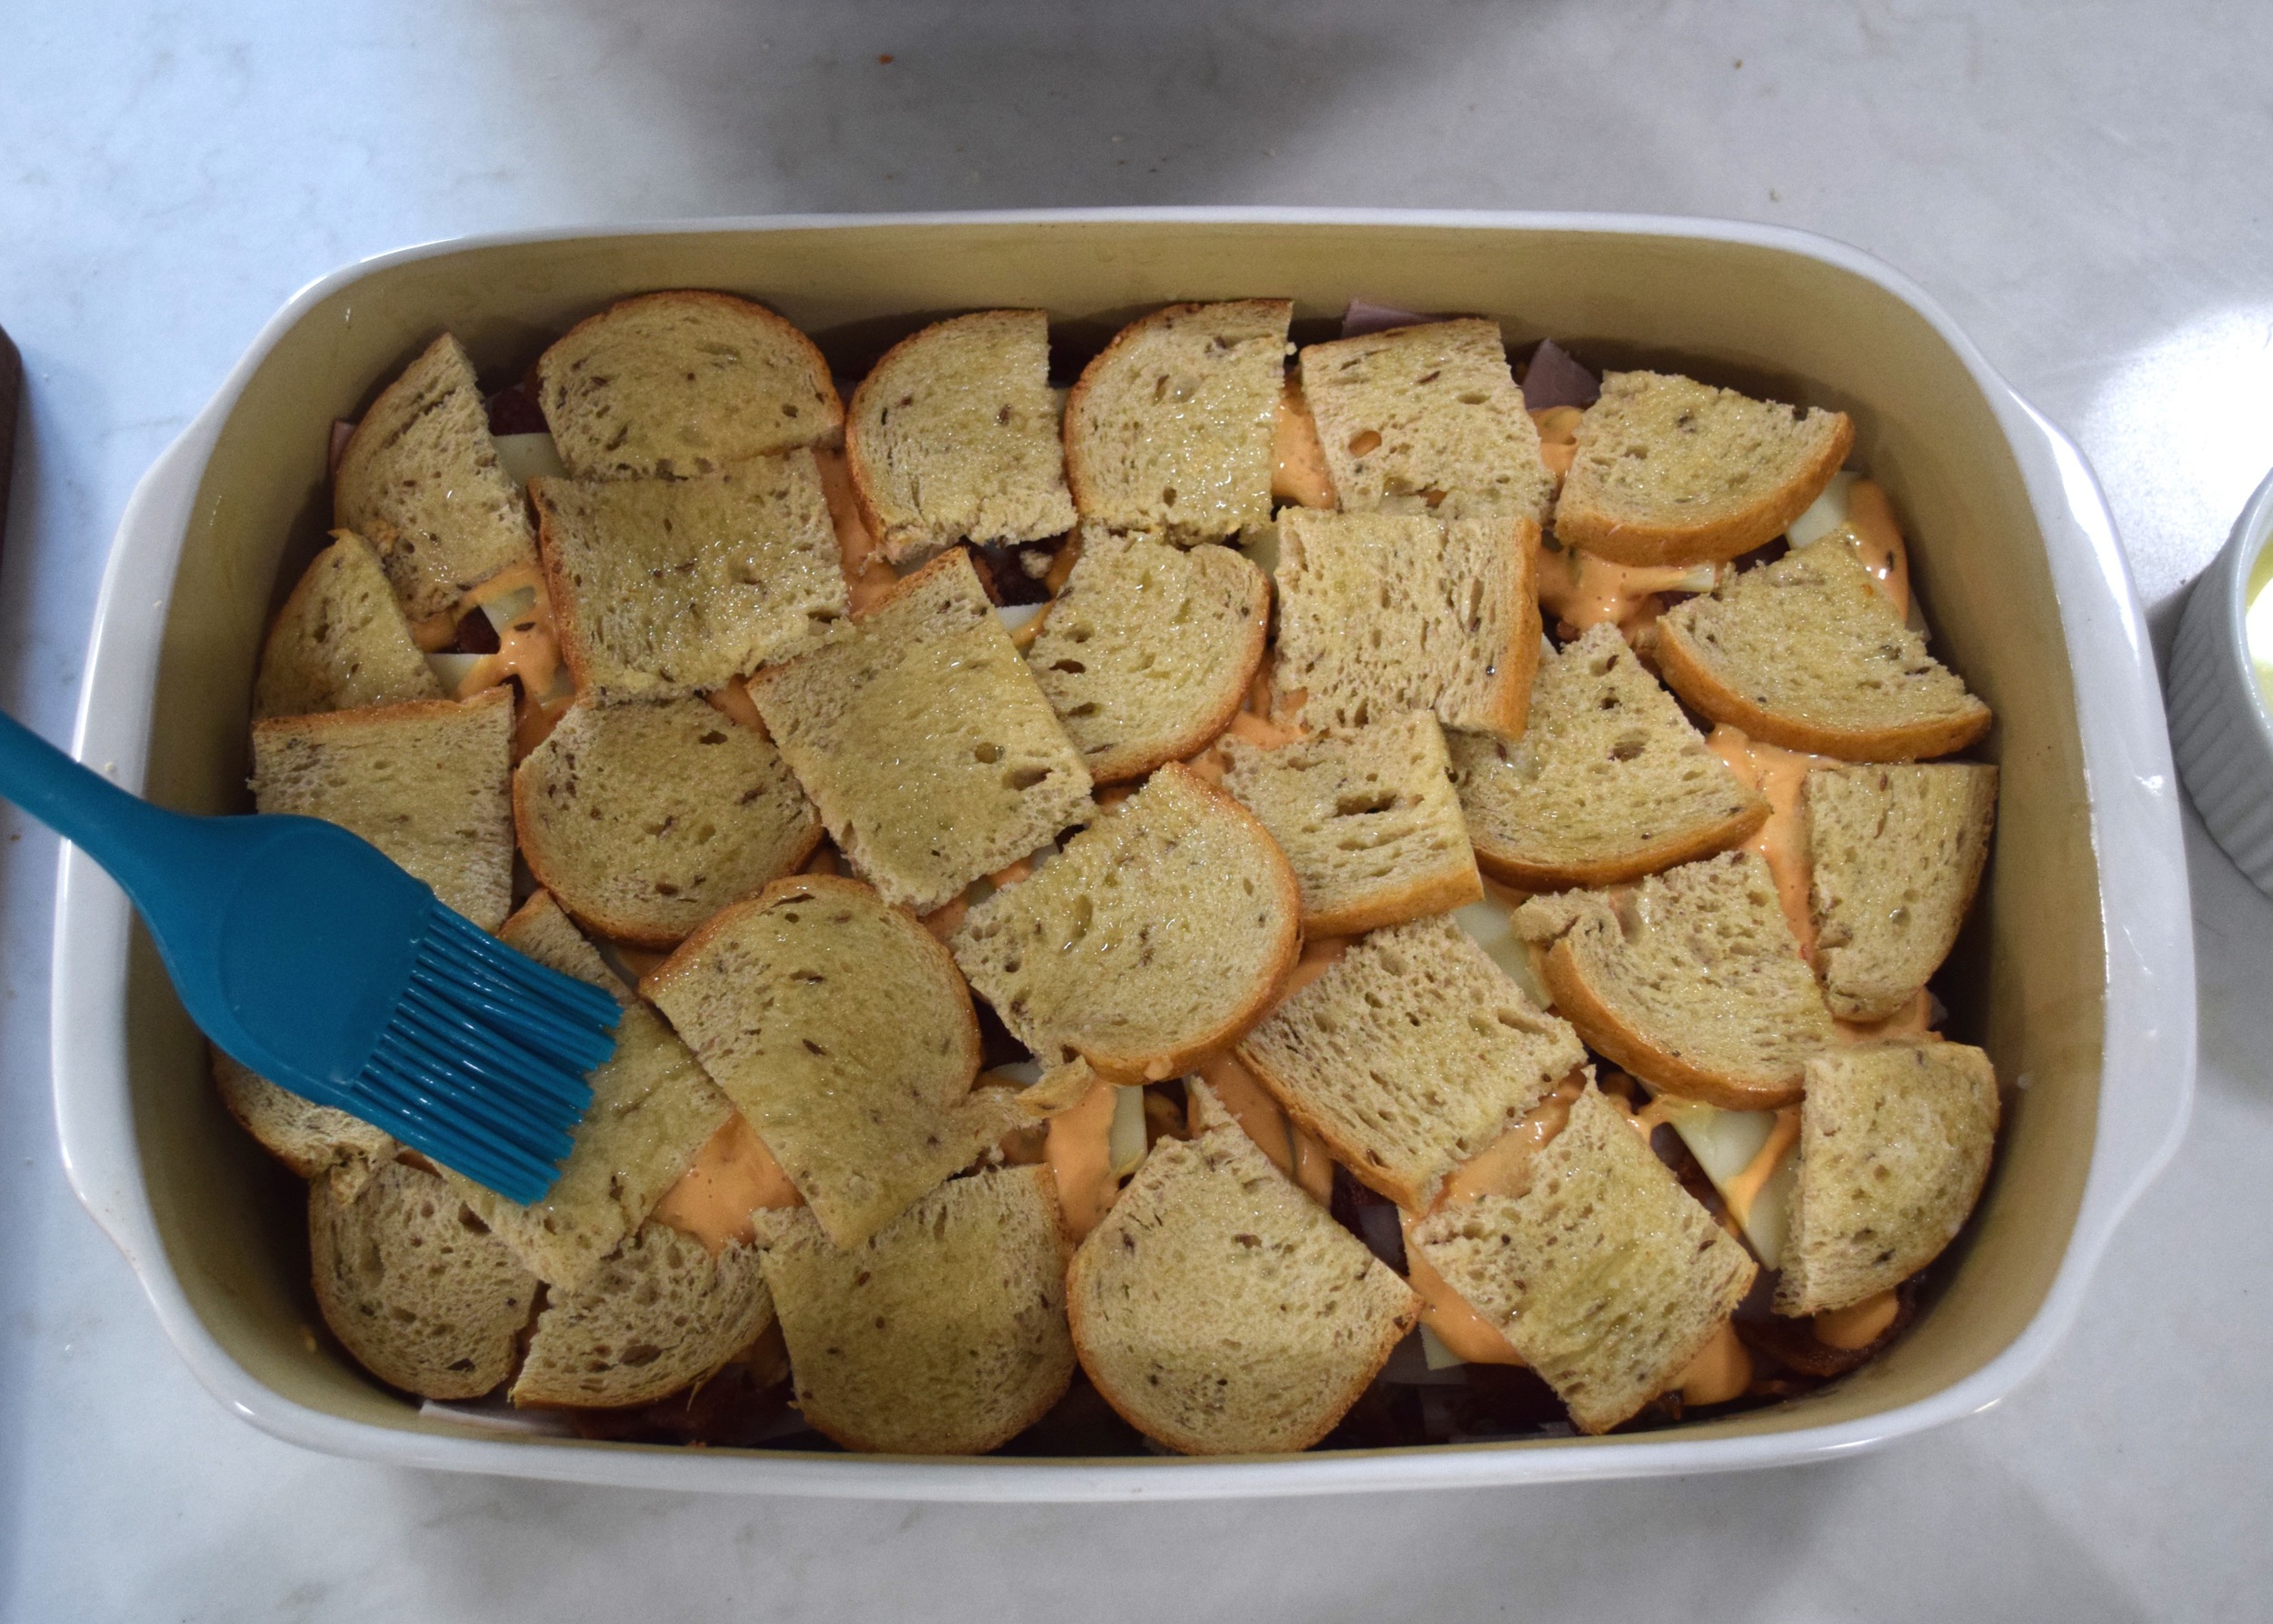
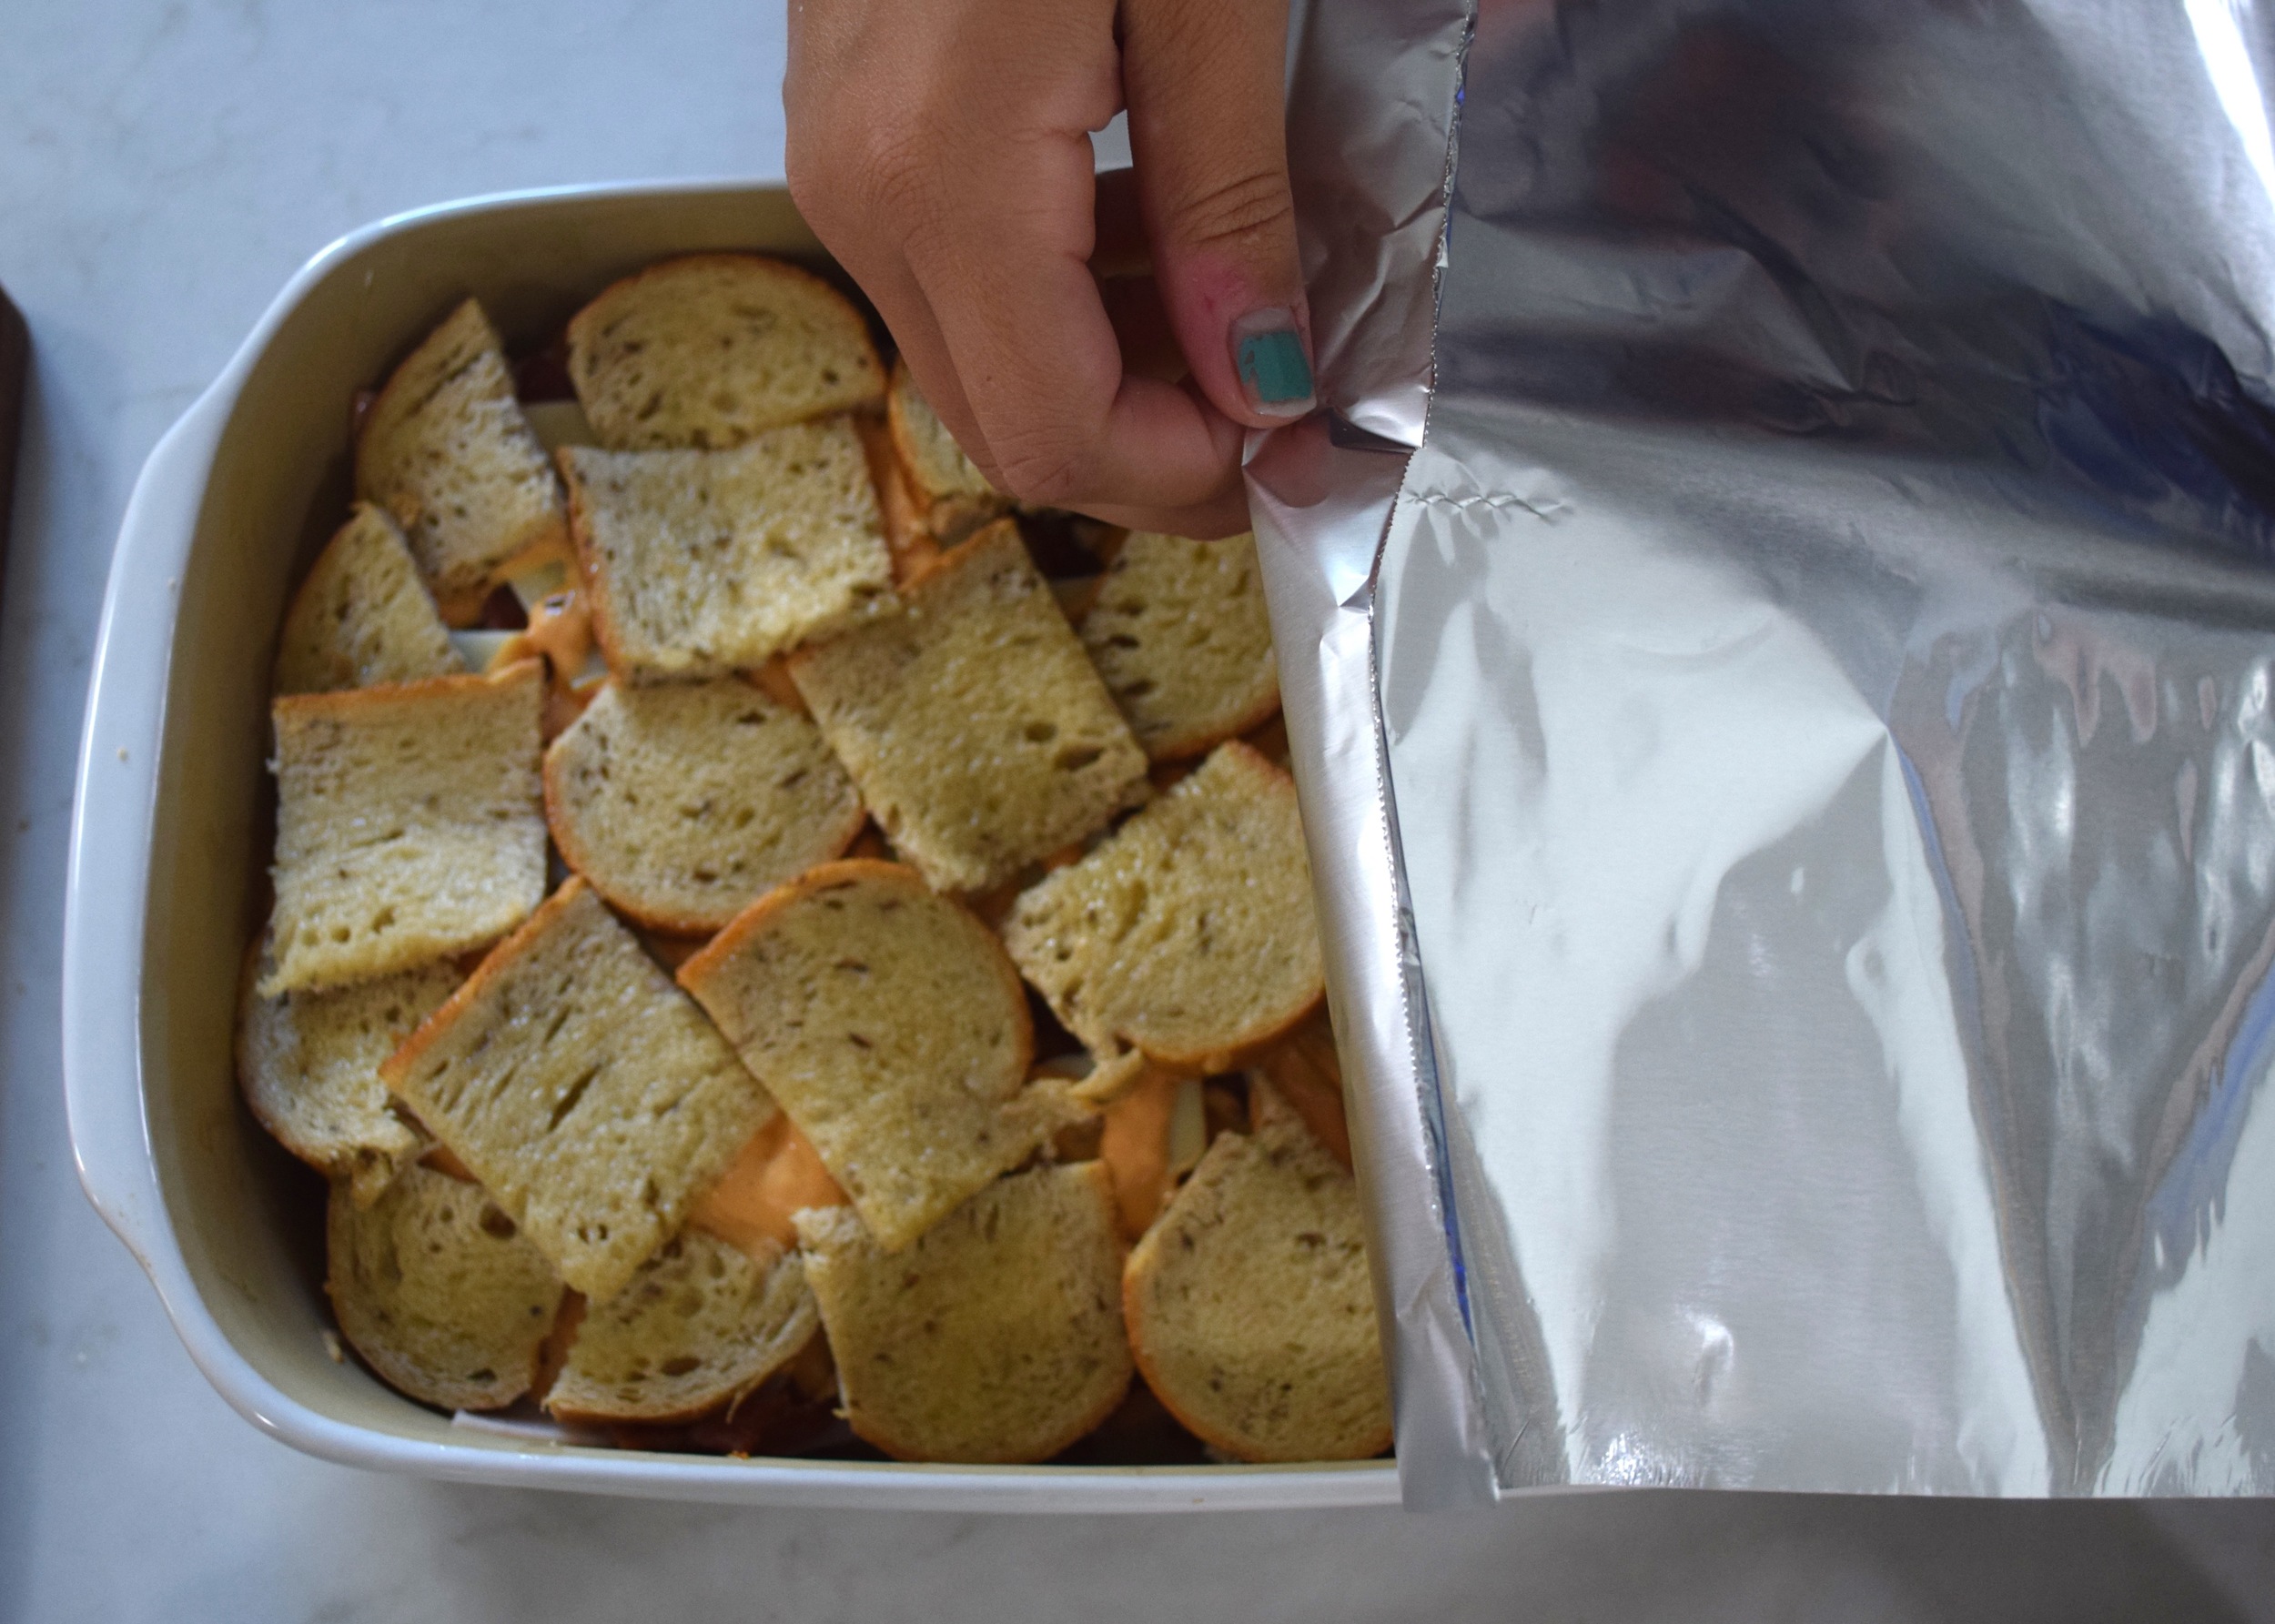
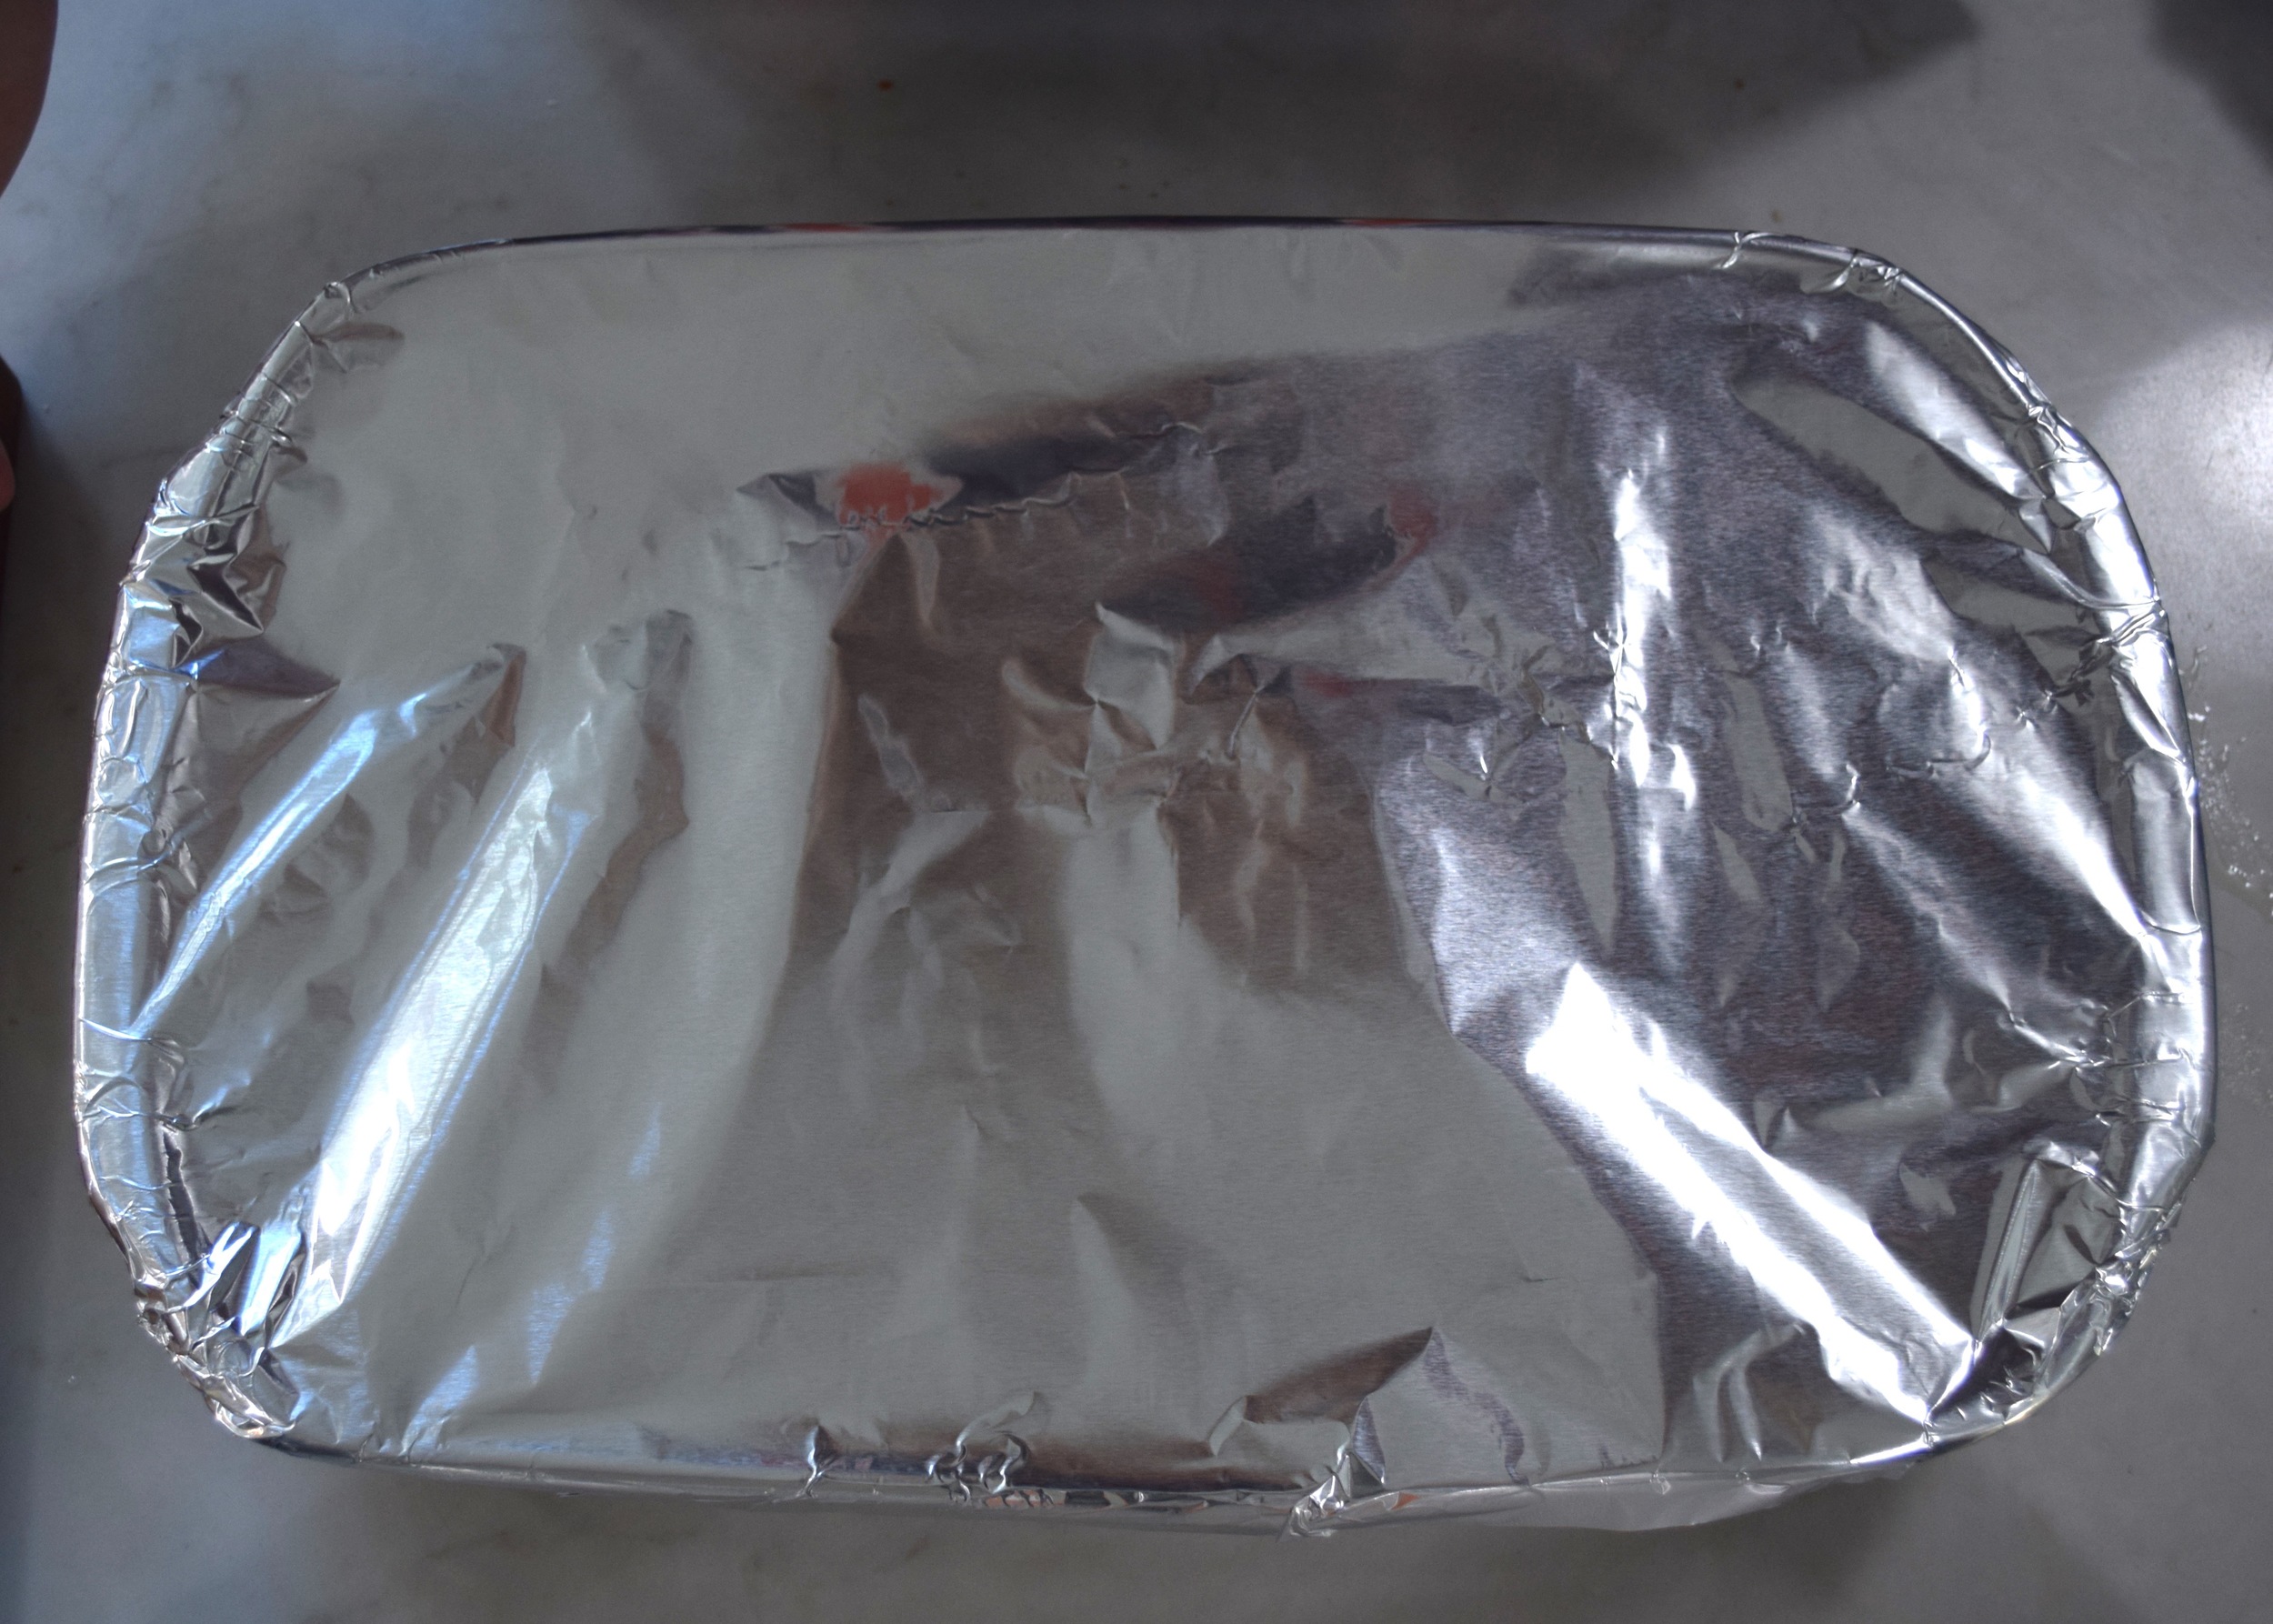
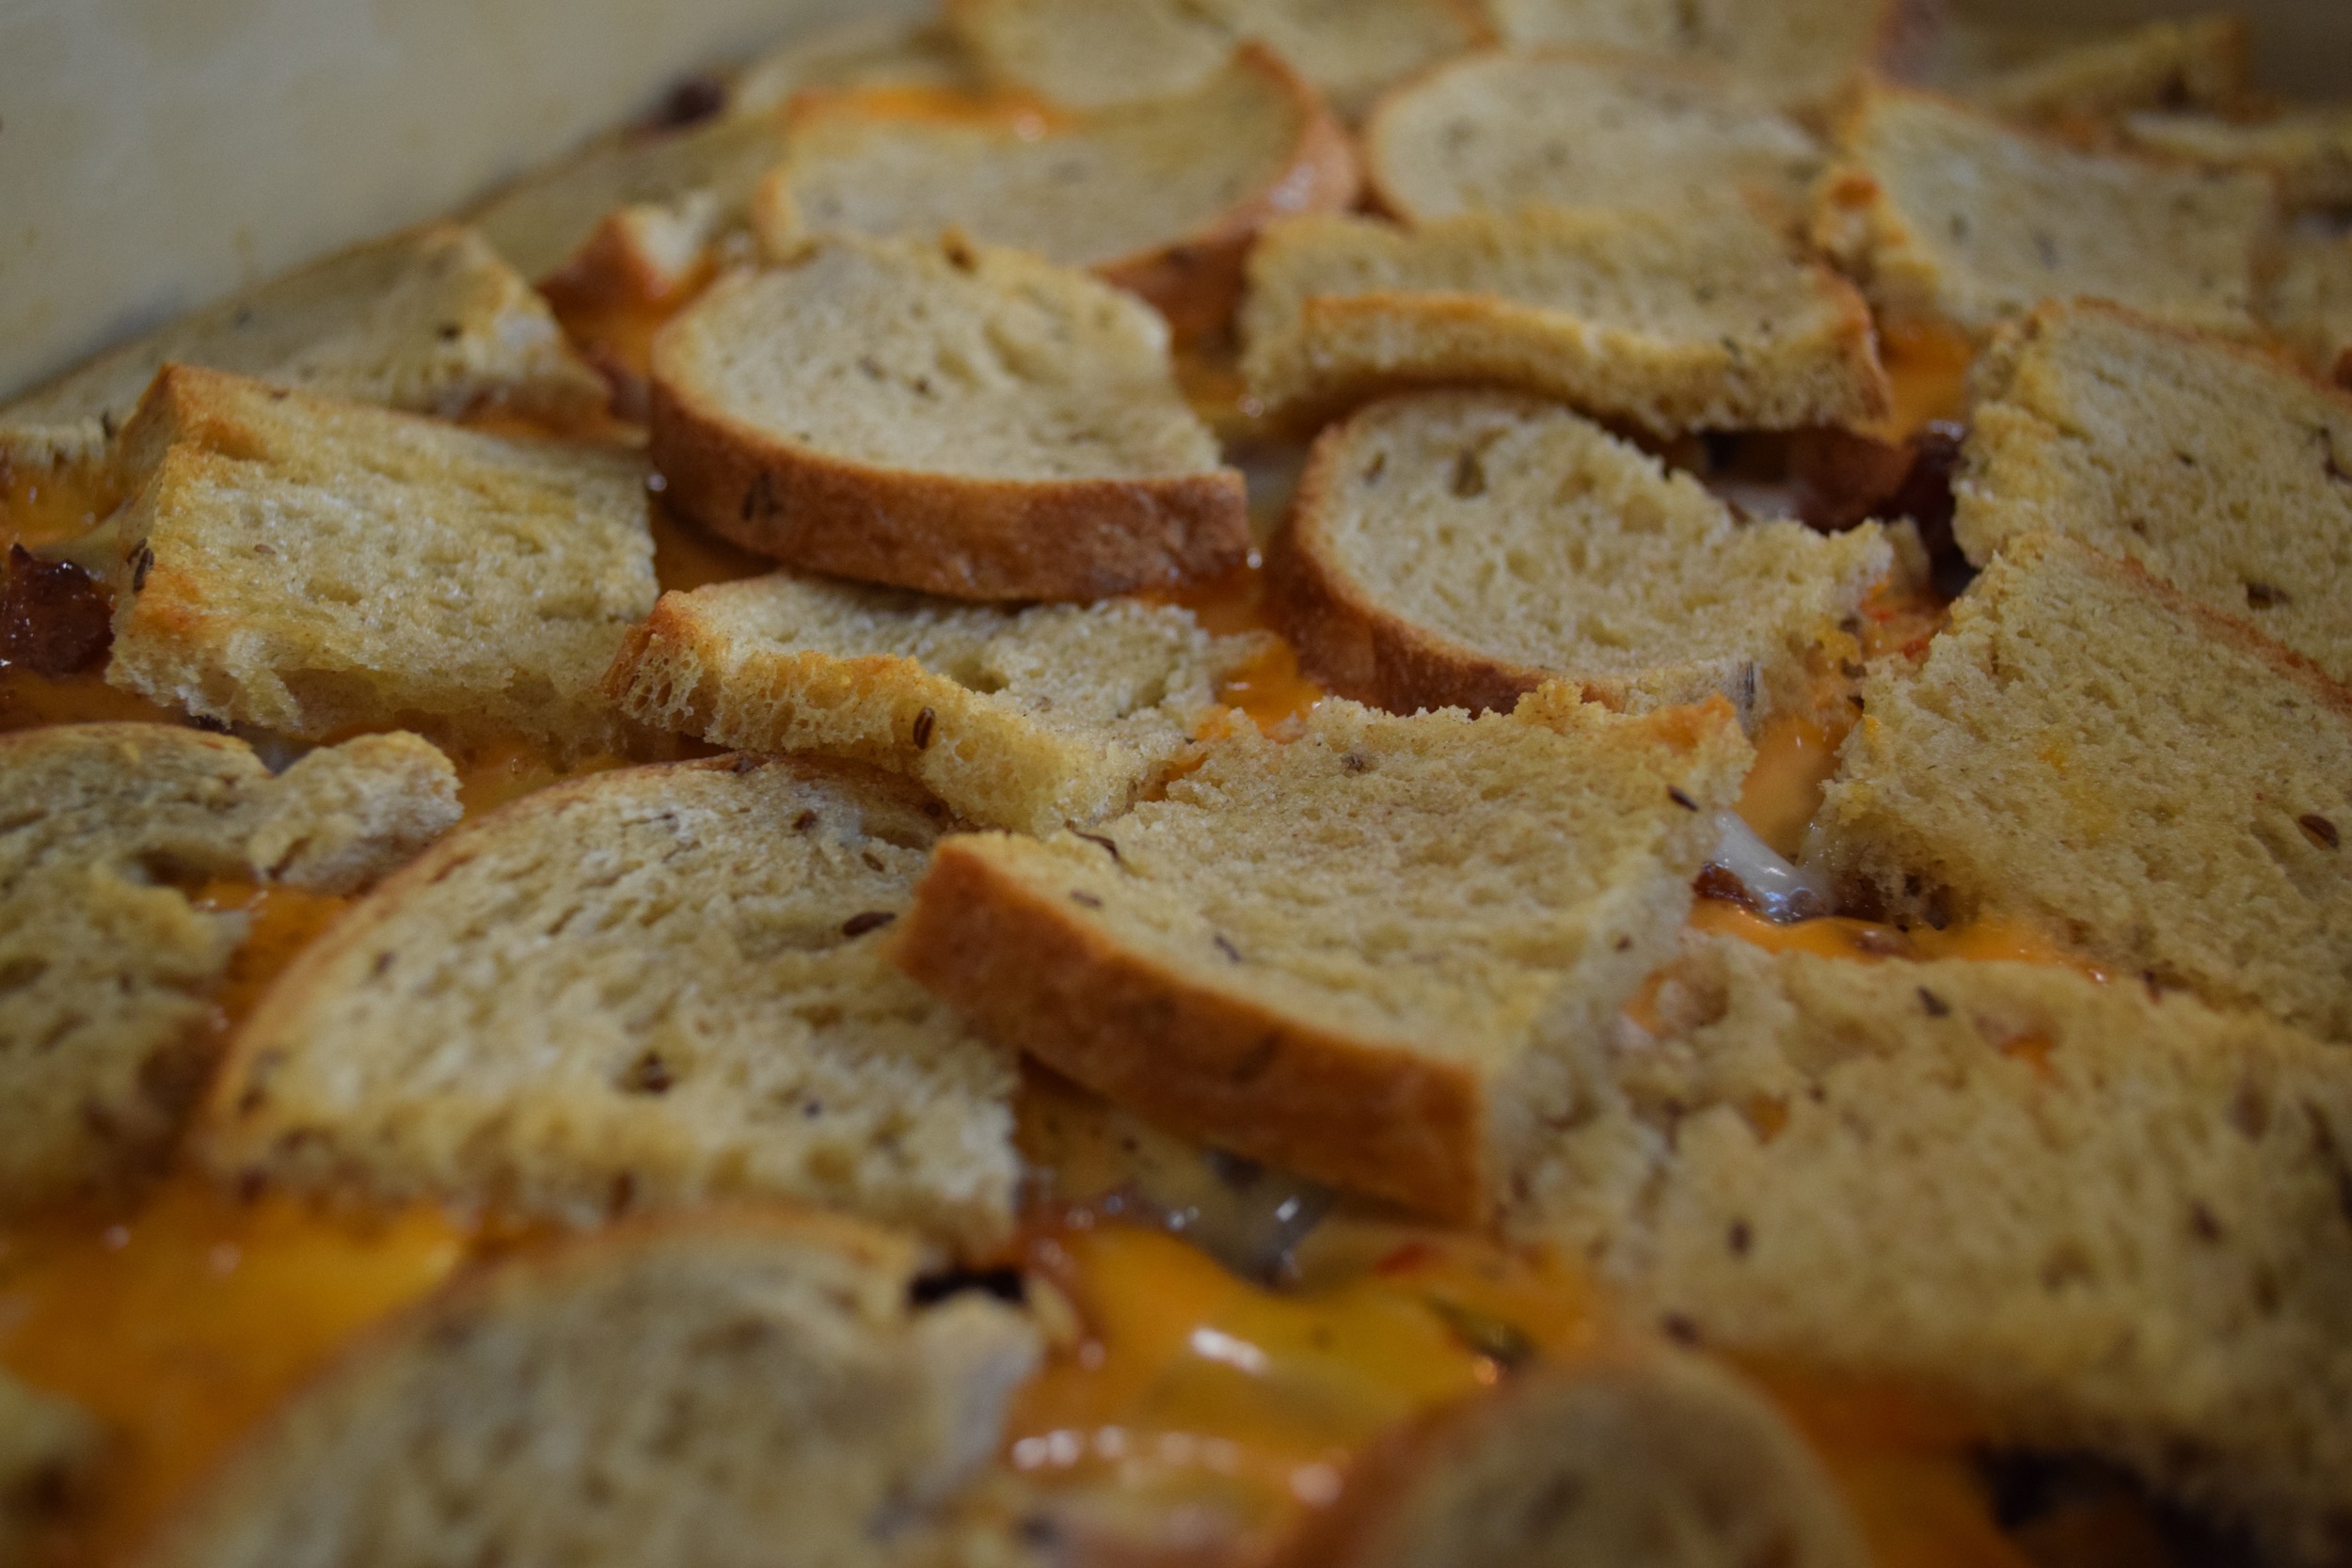
Anyway, back to making it.  You butter the bottom of your dish, then layer like a sandwich: rye bread (topped with a little butter), provolone cheese, ham, turkey, bacon, Swiss cheese, Russian dressing, rye bread (a just a bit more butter).  Cover it with some foil so it doesn't burn while the cheese melts, bake it for 20 minutes at 400 degrees.  Uncover it and bake for 5 more minutes to toast up the bread on top. It's that easy! Enjoy!

White Russian Casserole

Serves 6-8

Ingredients:

  • 6 tbs. butter, melted
  • 10 slices of Rye bread, cut in 1-inch squares
  • 4-6 slices of Provolone Cheese, cut in 1-inch squares
  • 8 oz. deli sliced ham, cut in 1-inch squares
  • 8 oz. deli sliced turkey, cut in 1-inch squares
  • 1 lb. bacon, cooked, and diced
  • 4-6 slices of Swiss Cheese, cut in 1-inch squares
  • Russian dressing

Preheat your oven to 400 degrees.

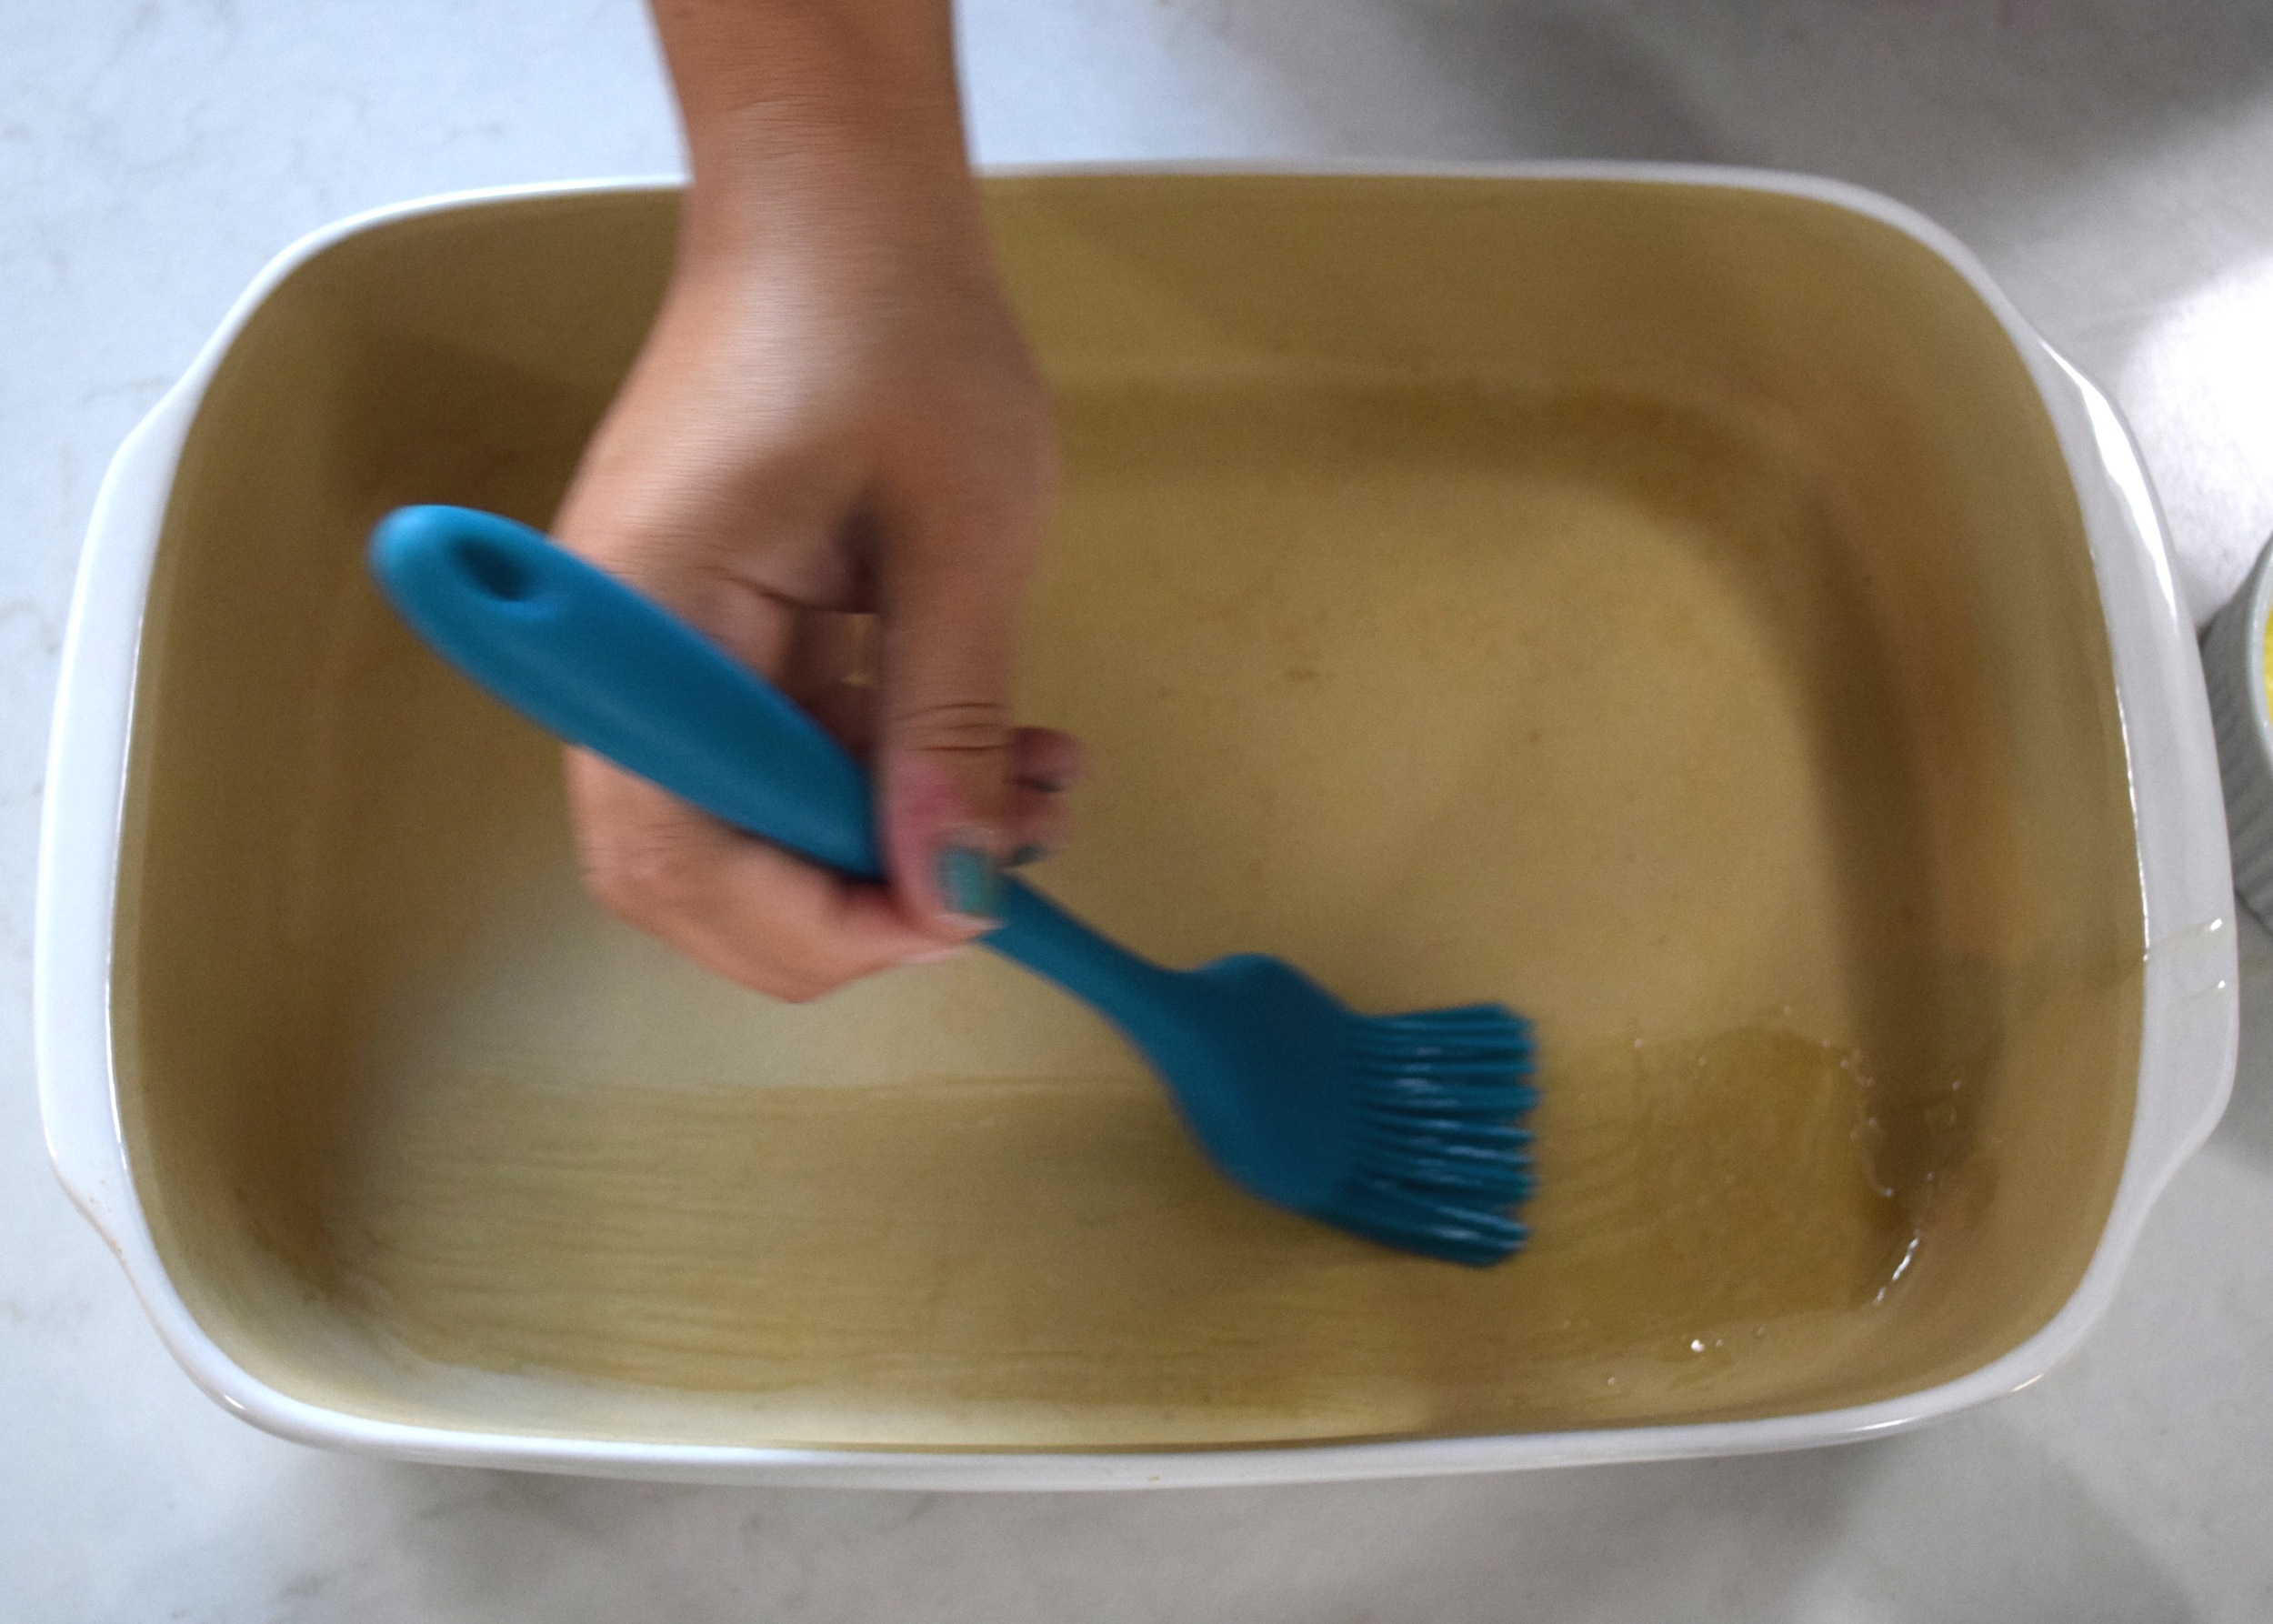
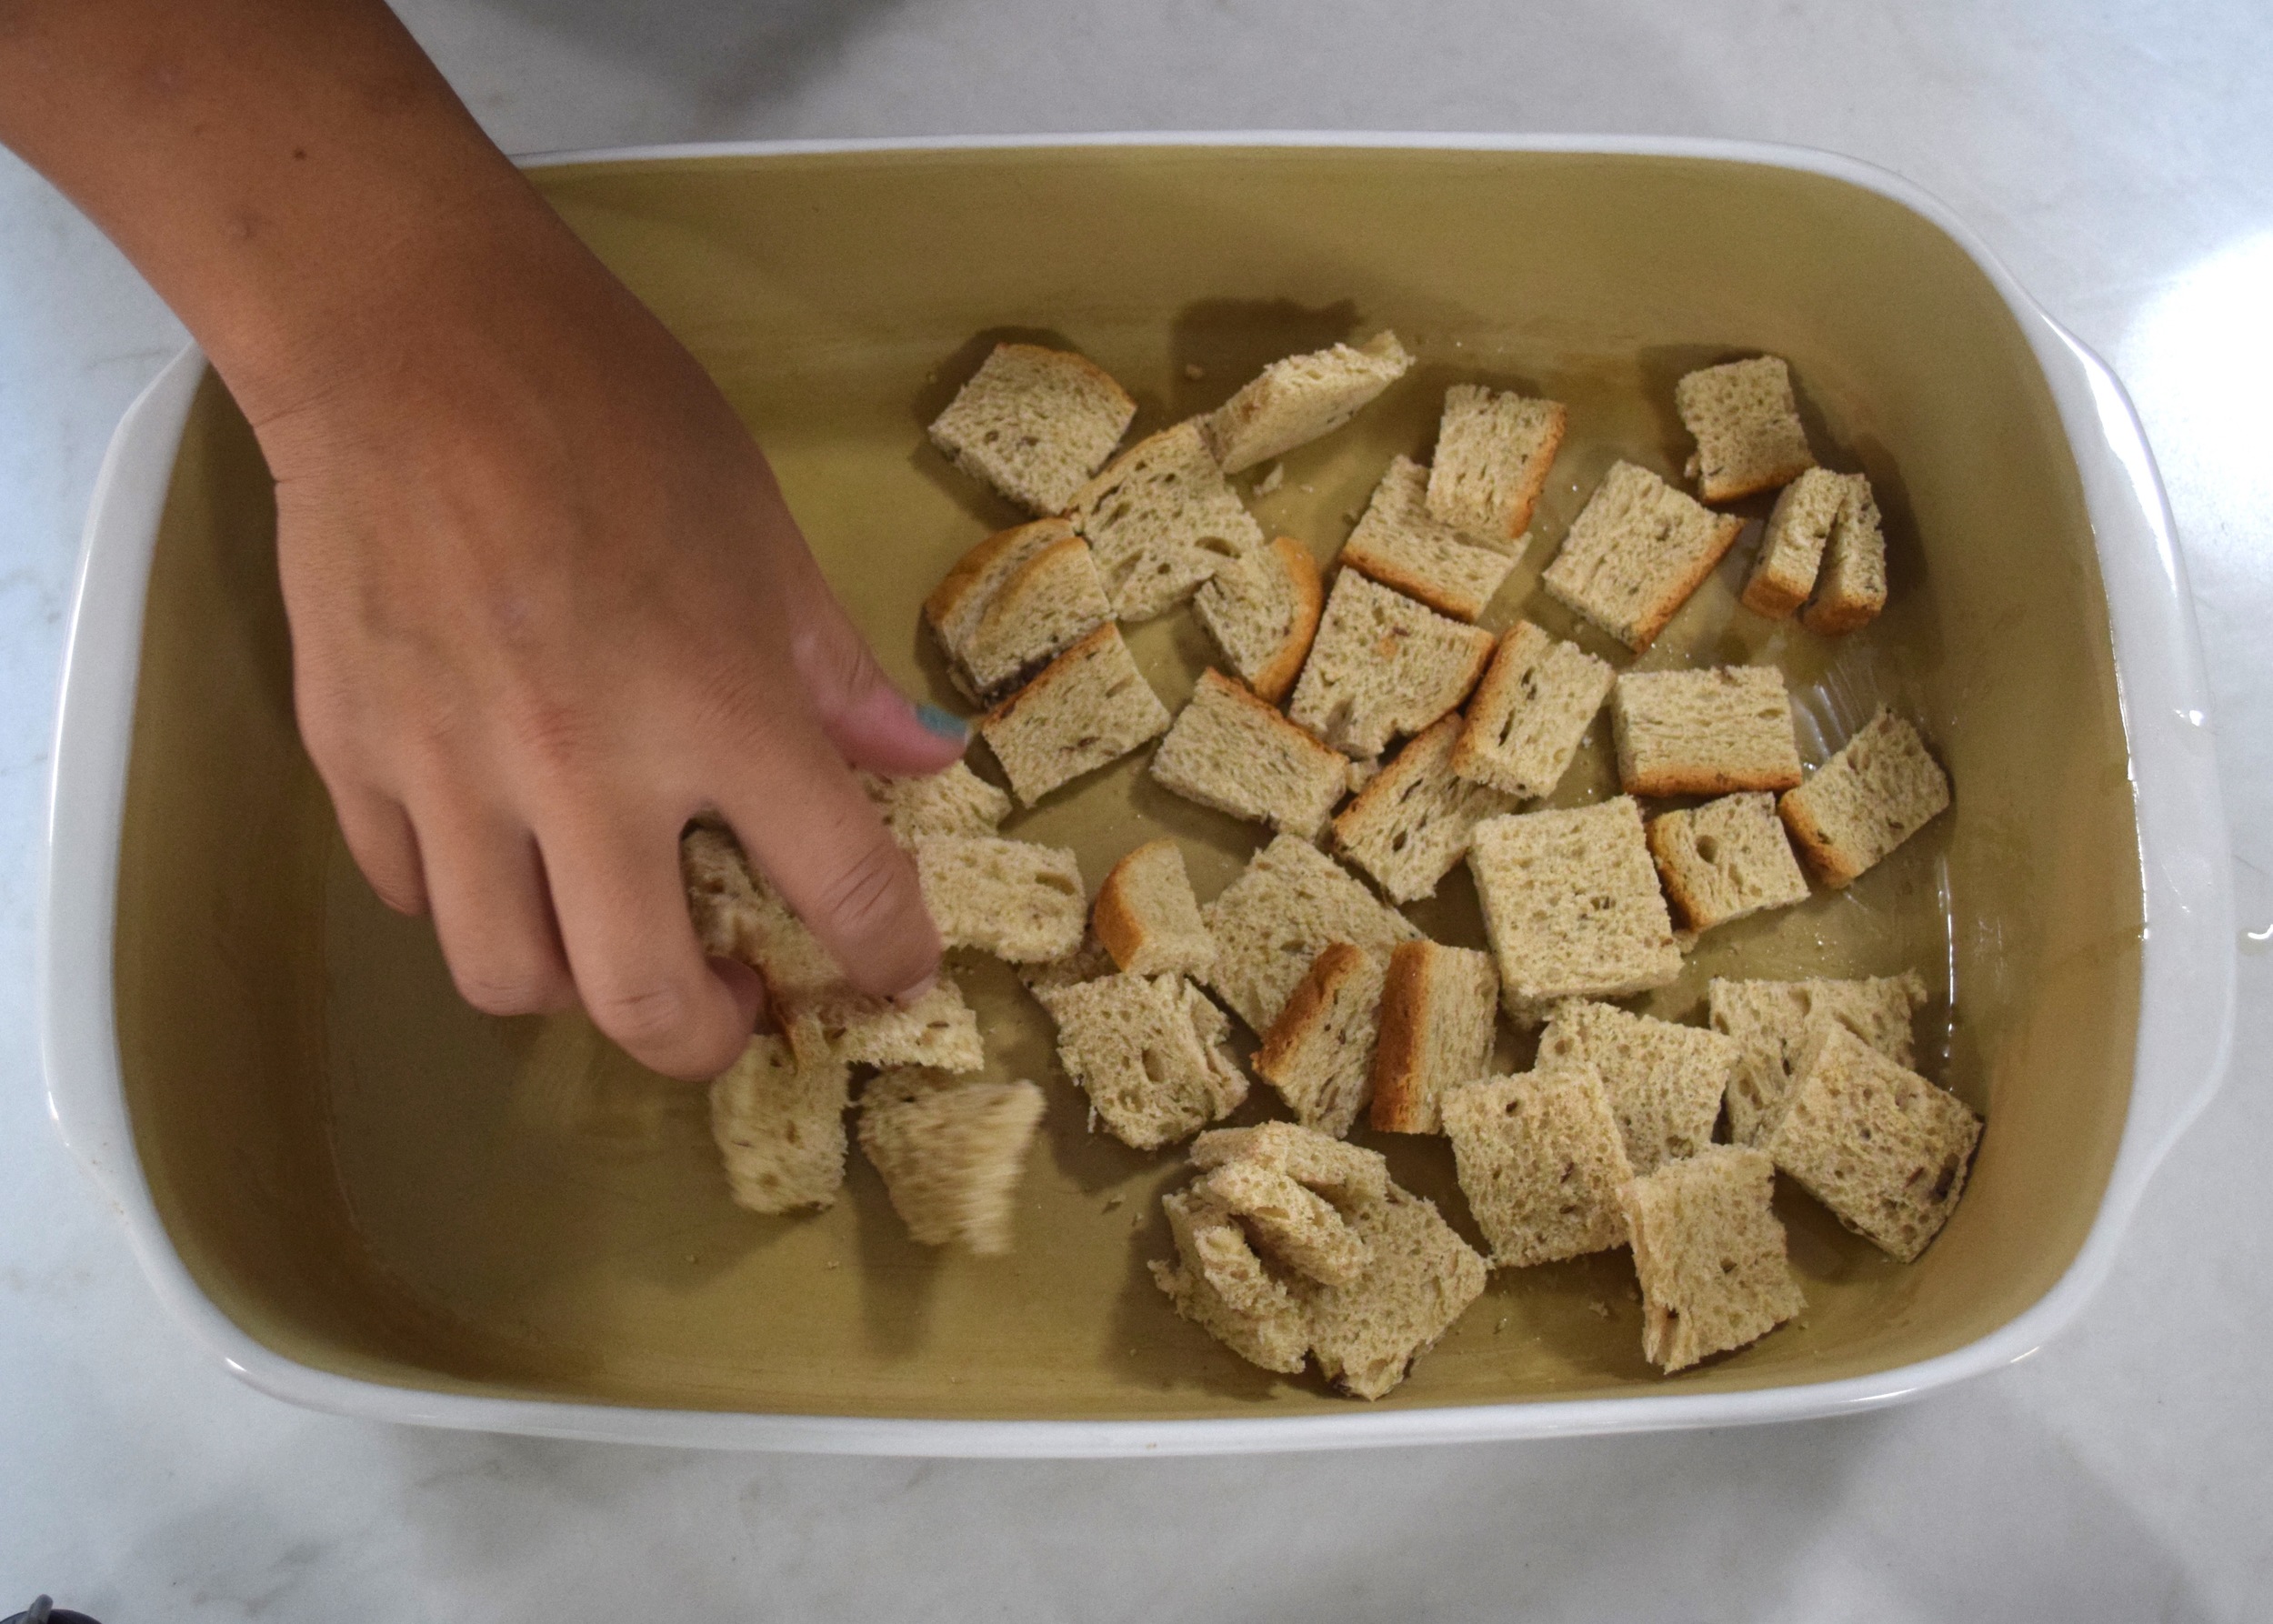
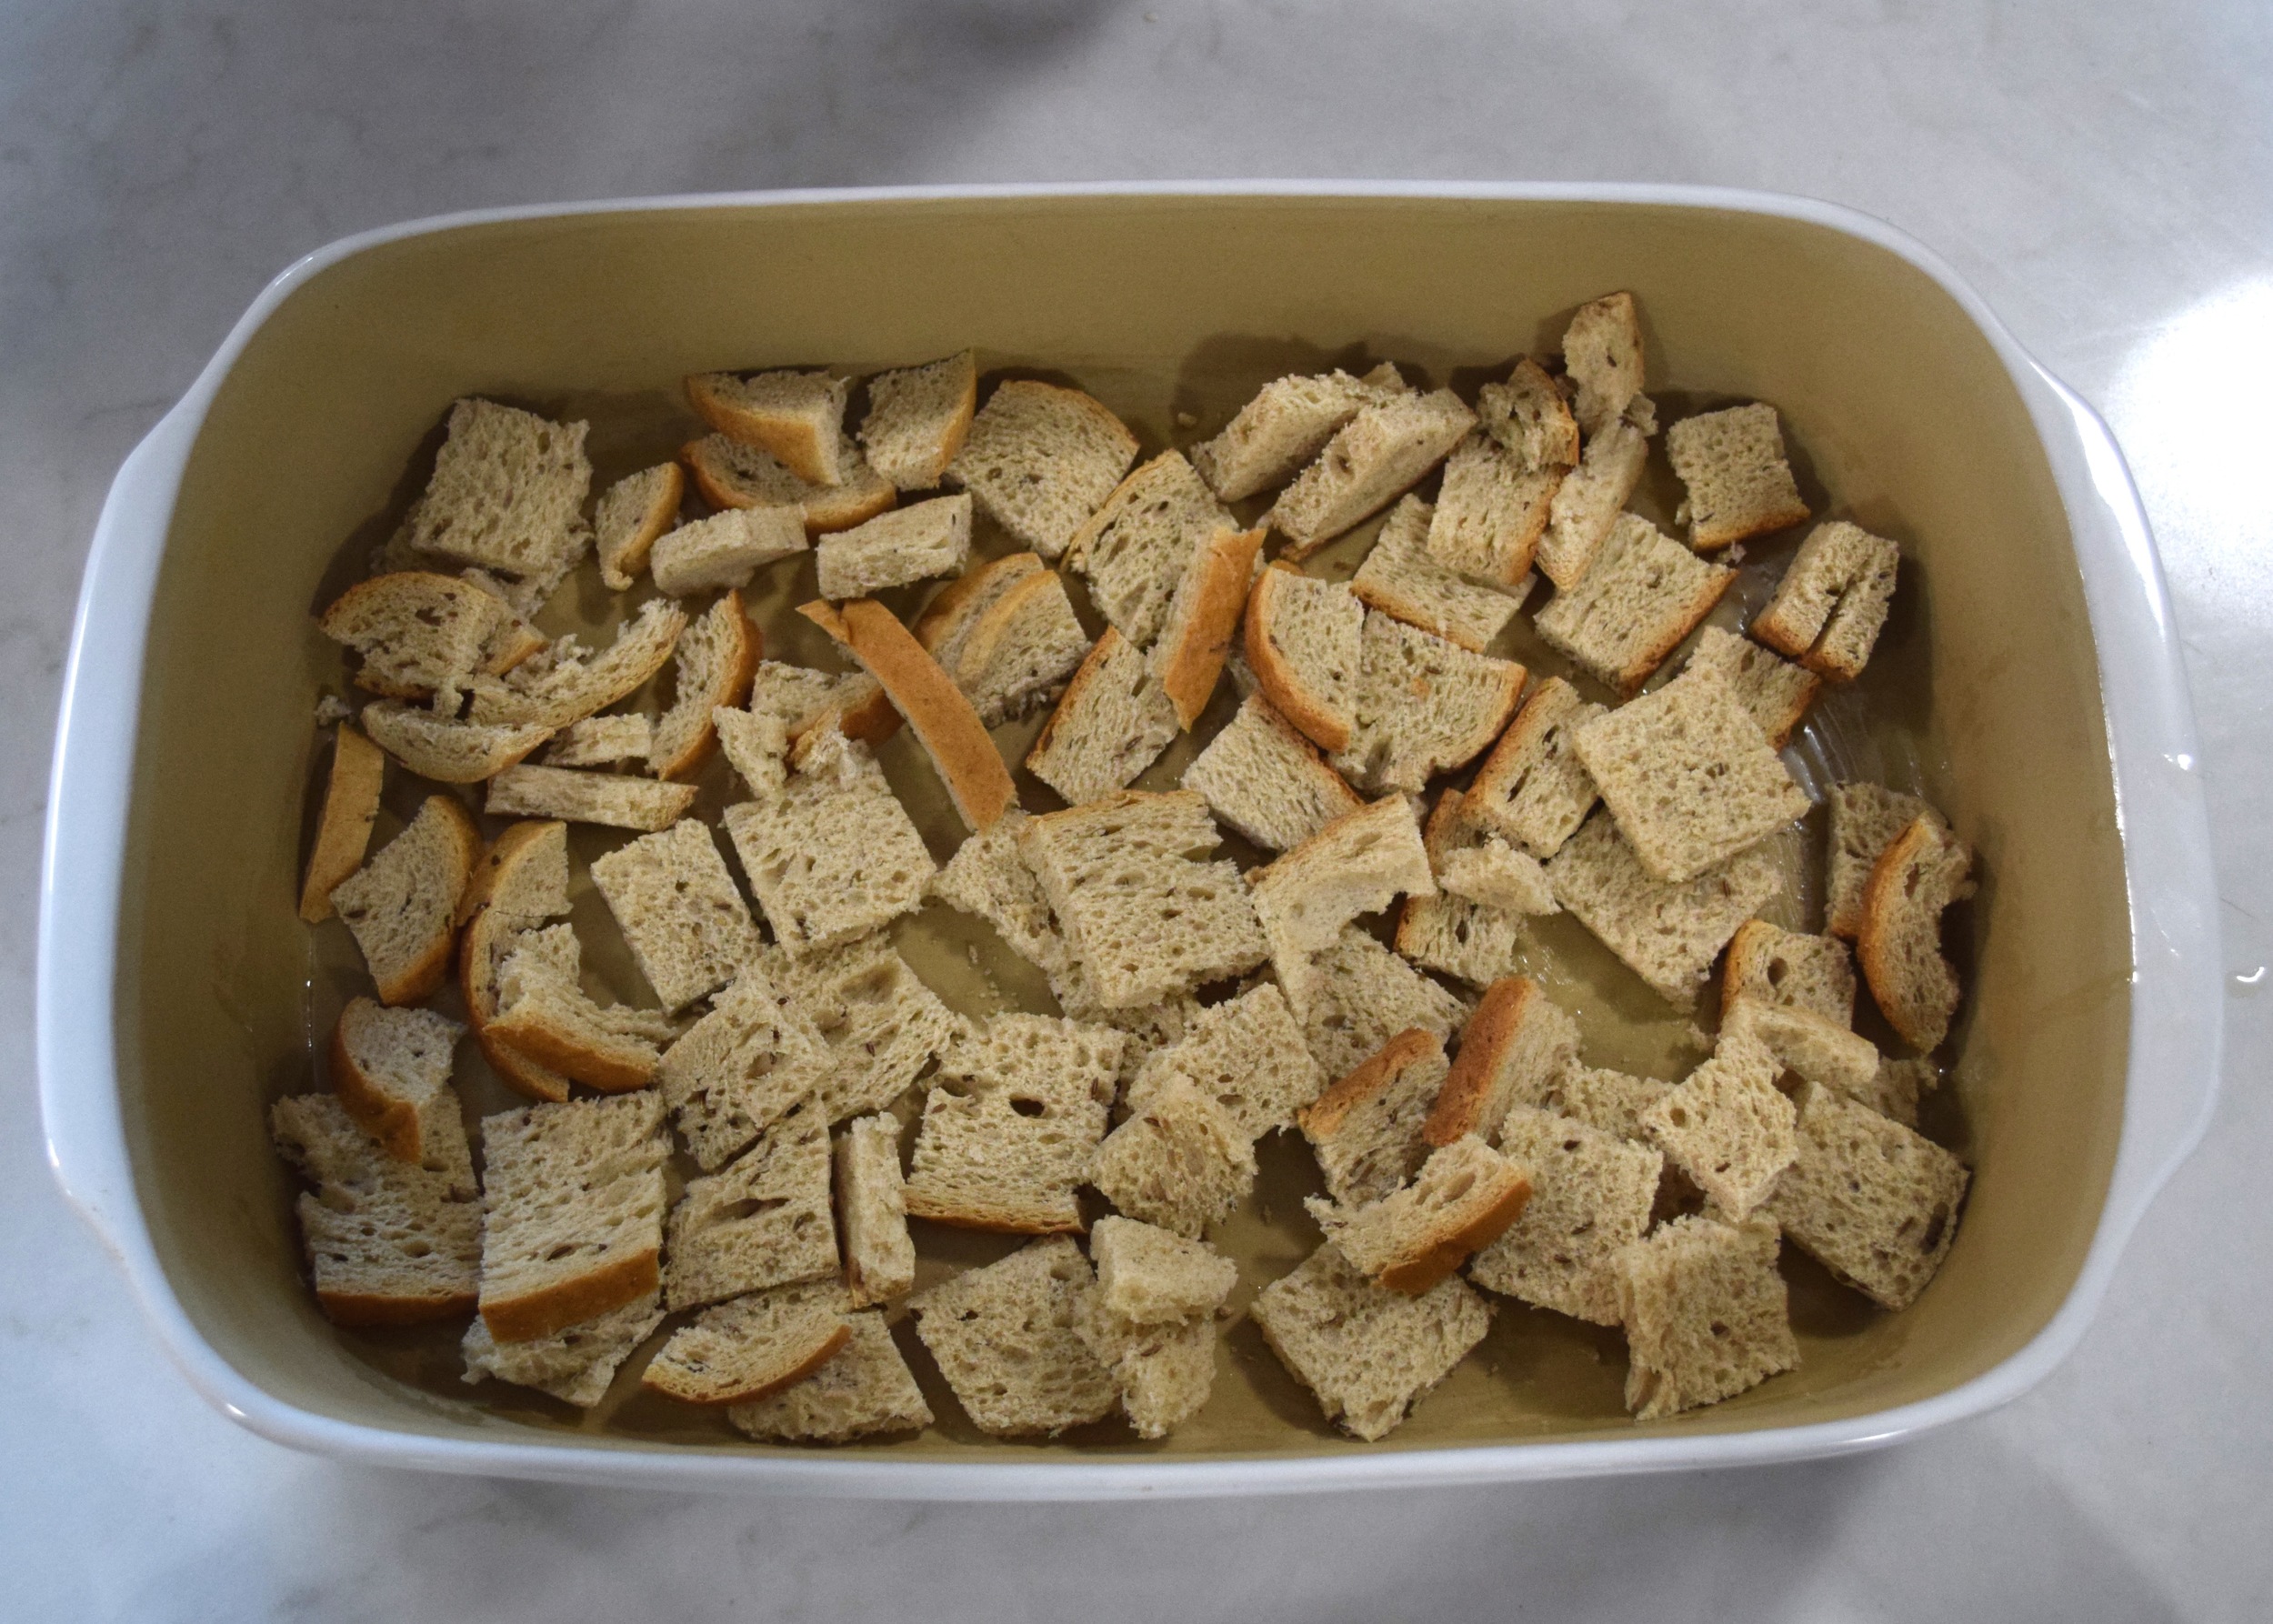
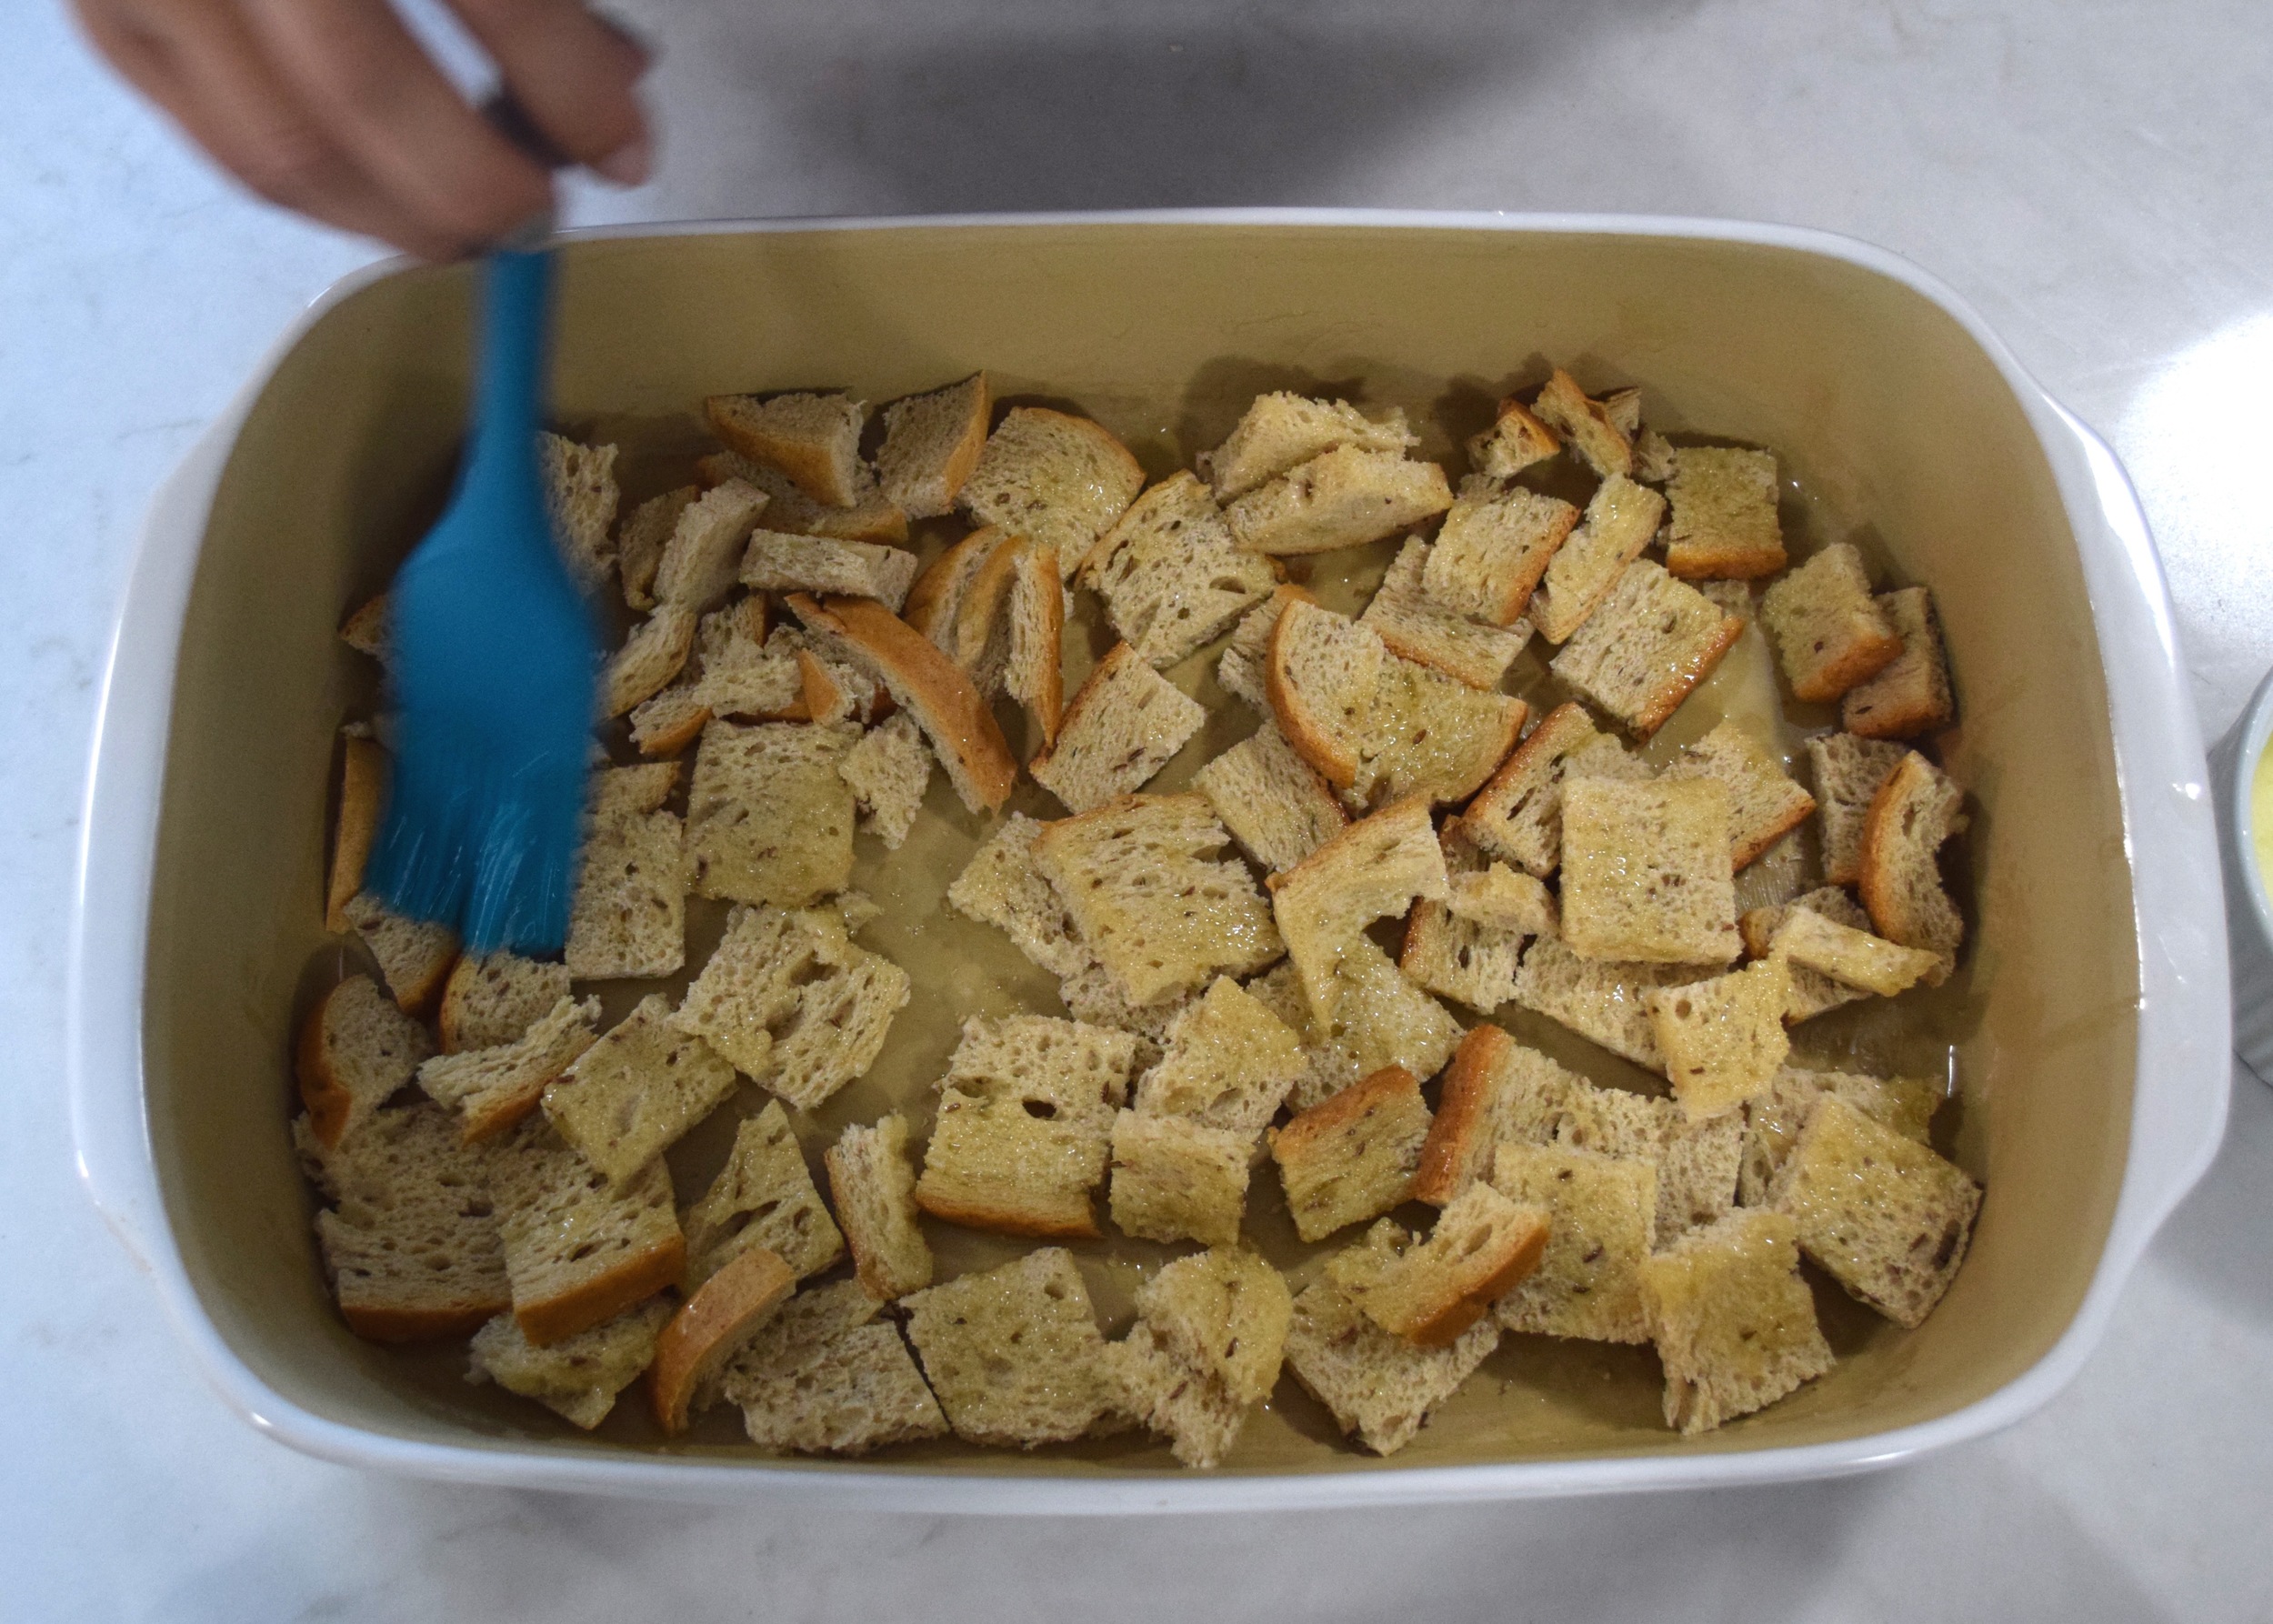
Brush the bottom of a 12x9 casserole dish with the melted butter.  Layer half the bread on the bottom of the dish, brush with butter.

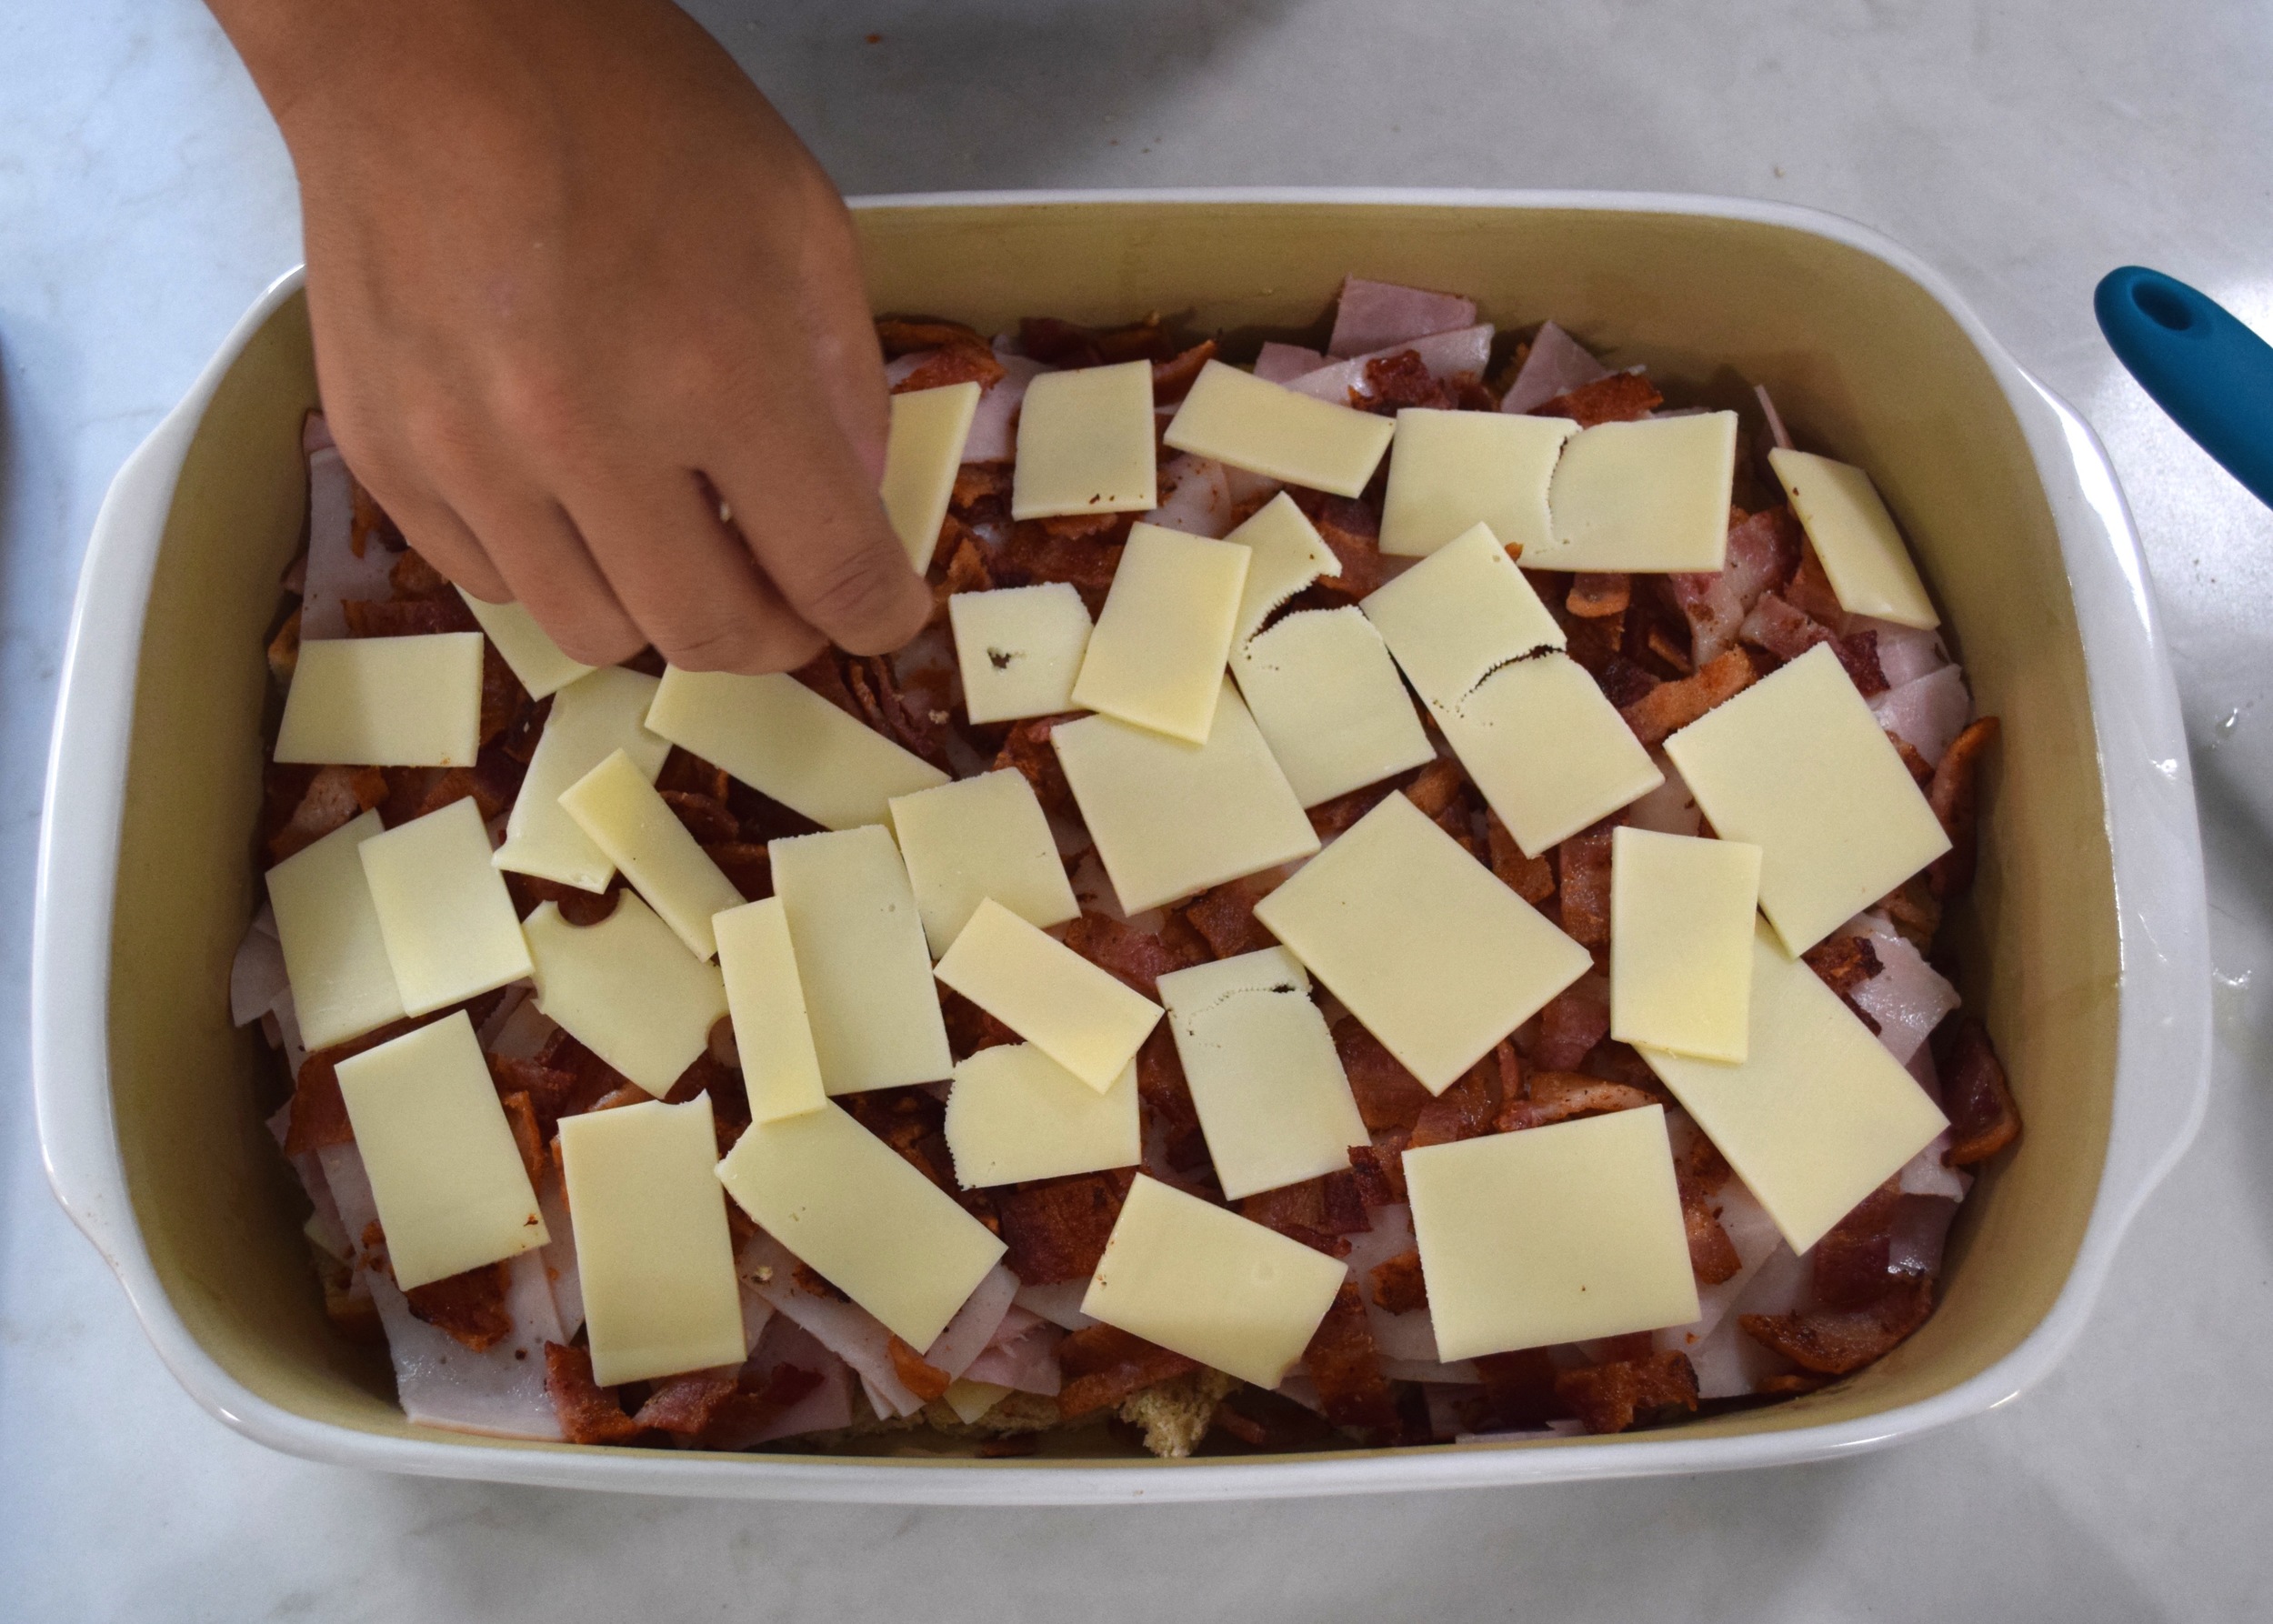
Layer the Provolone cheese on top of the bread, followed by the ham, then turkey, bacon, and Swiss cheese. 

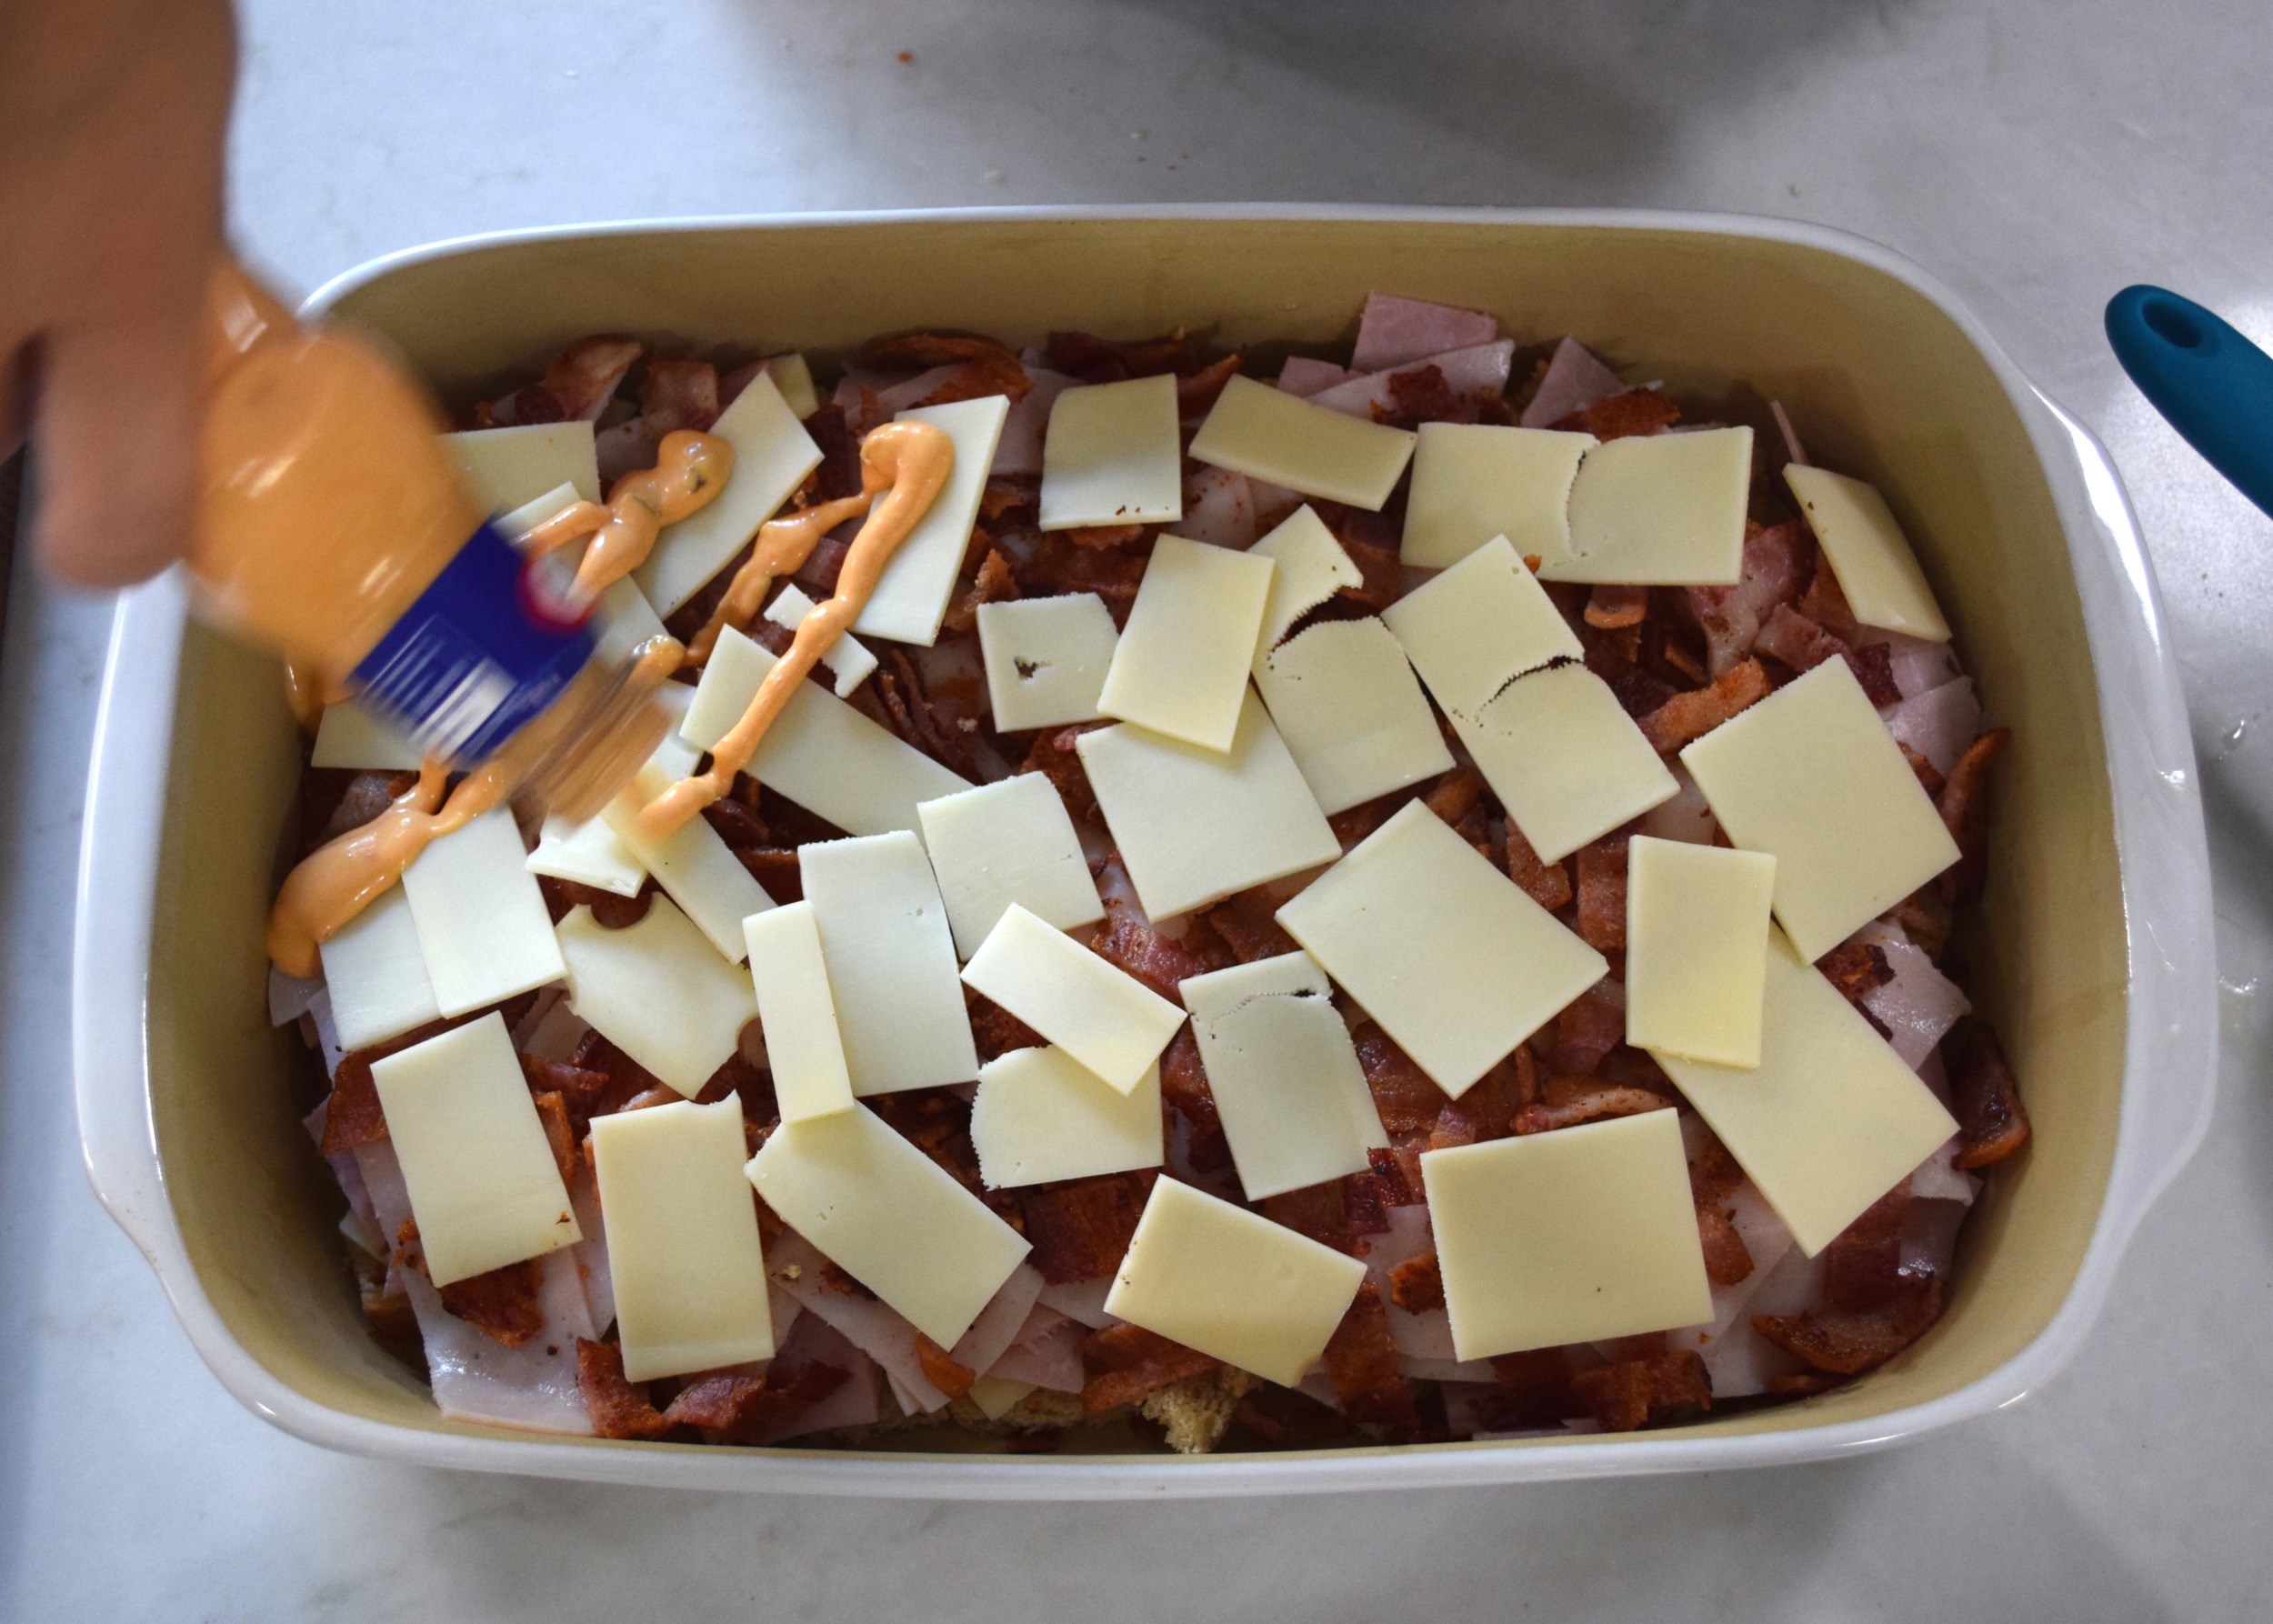
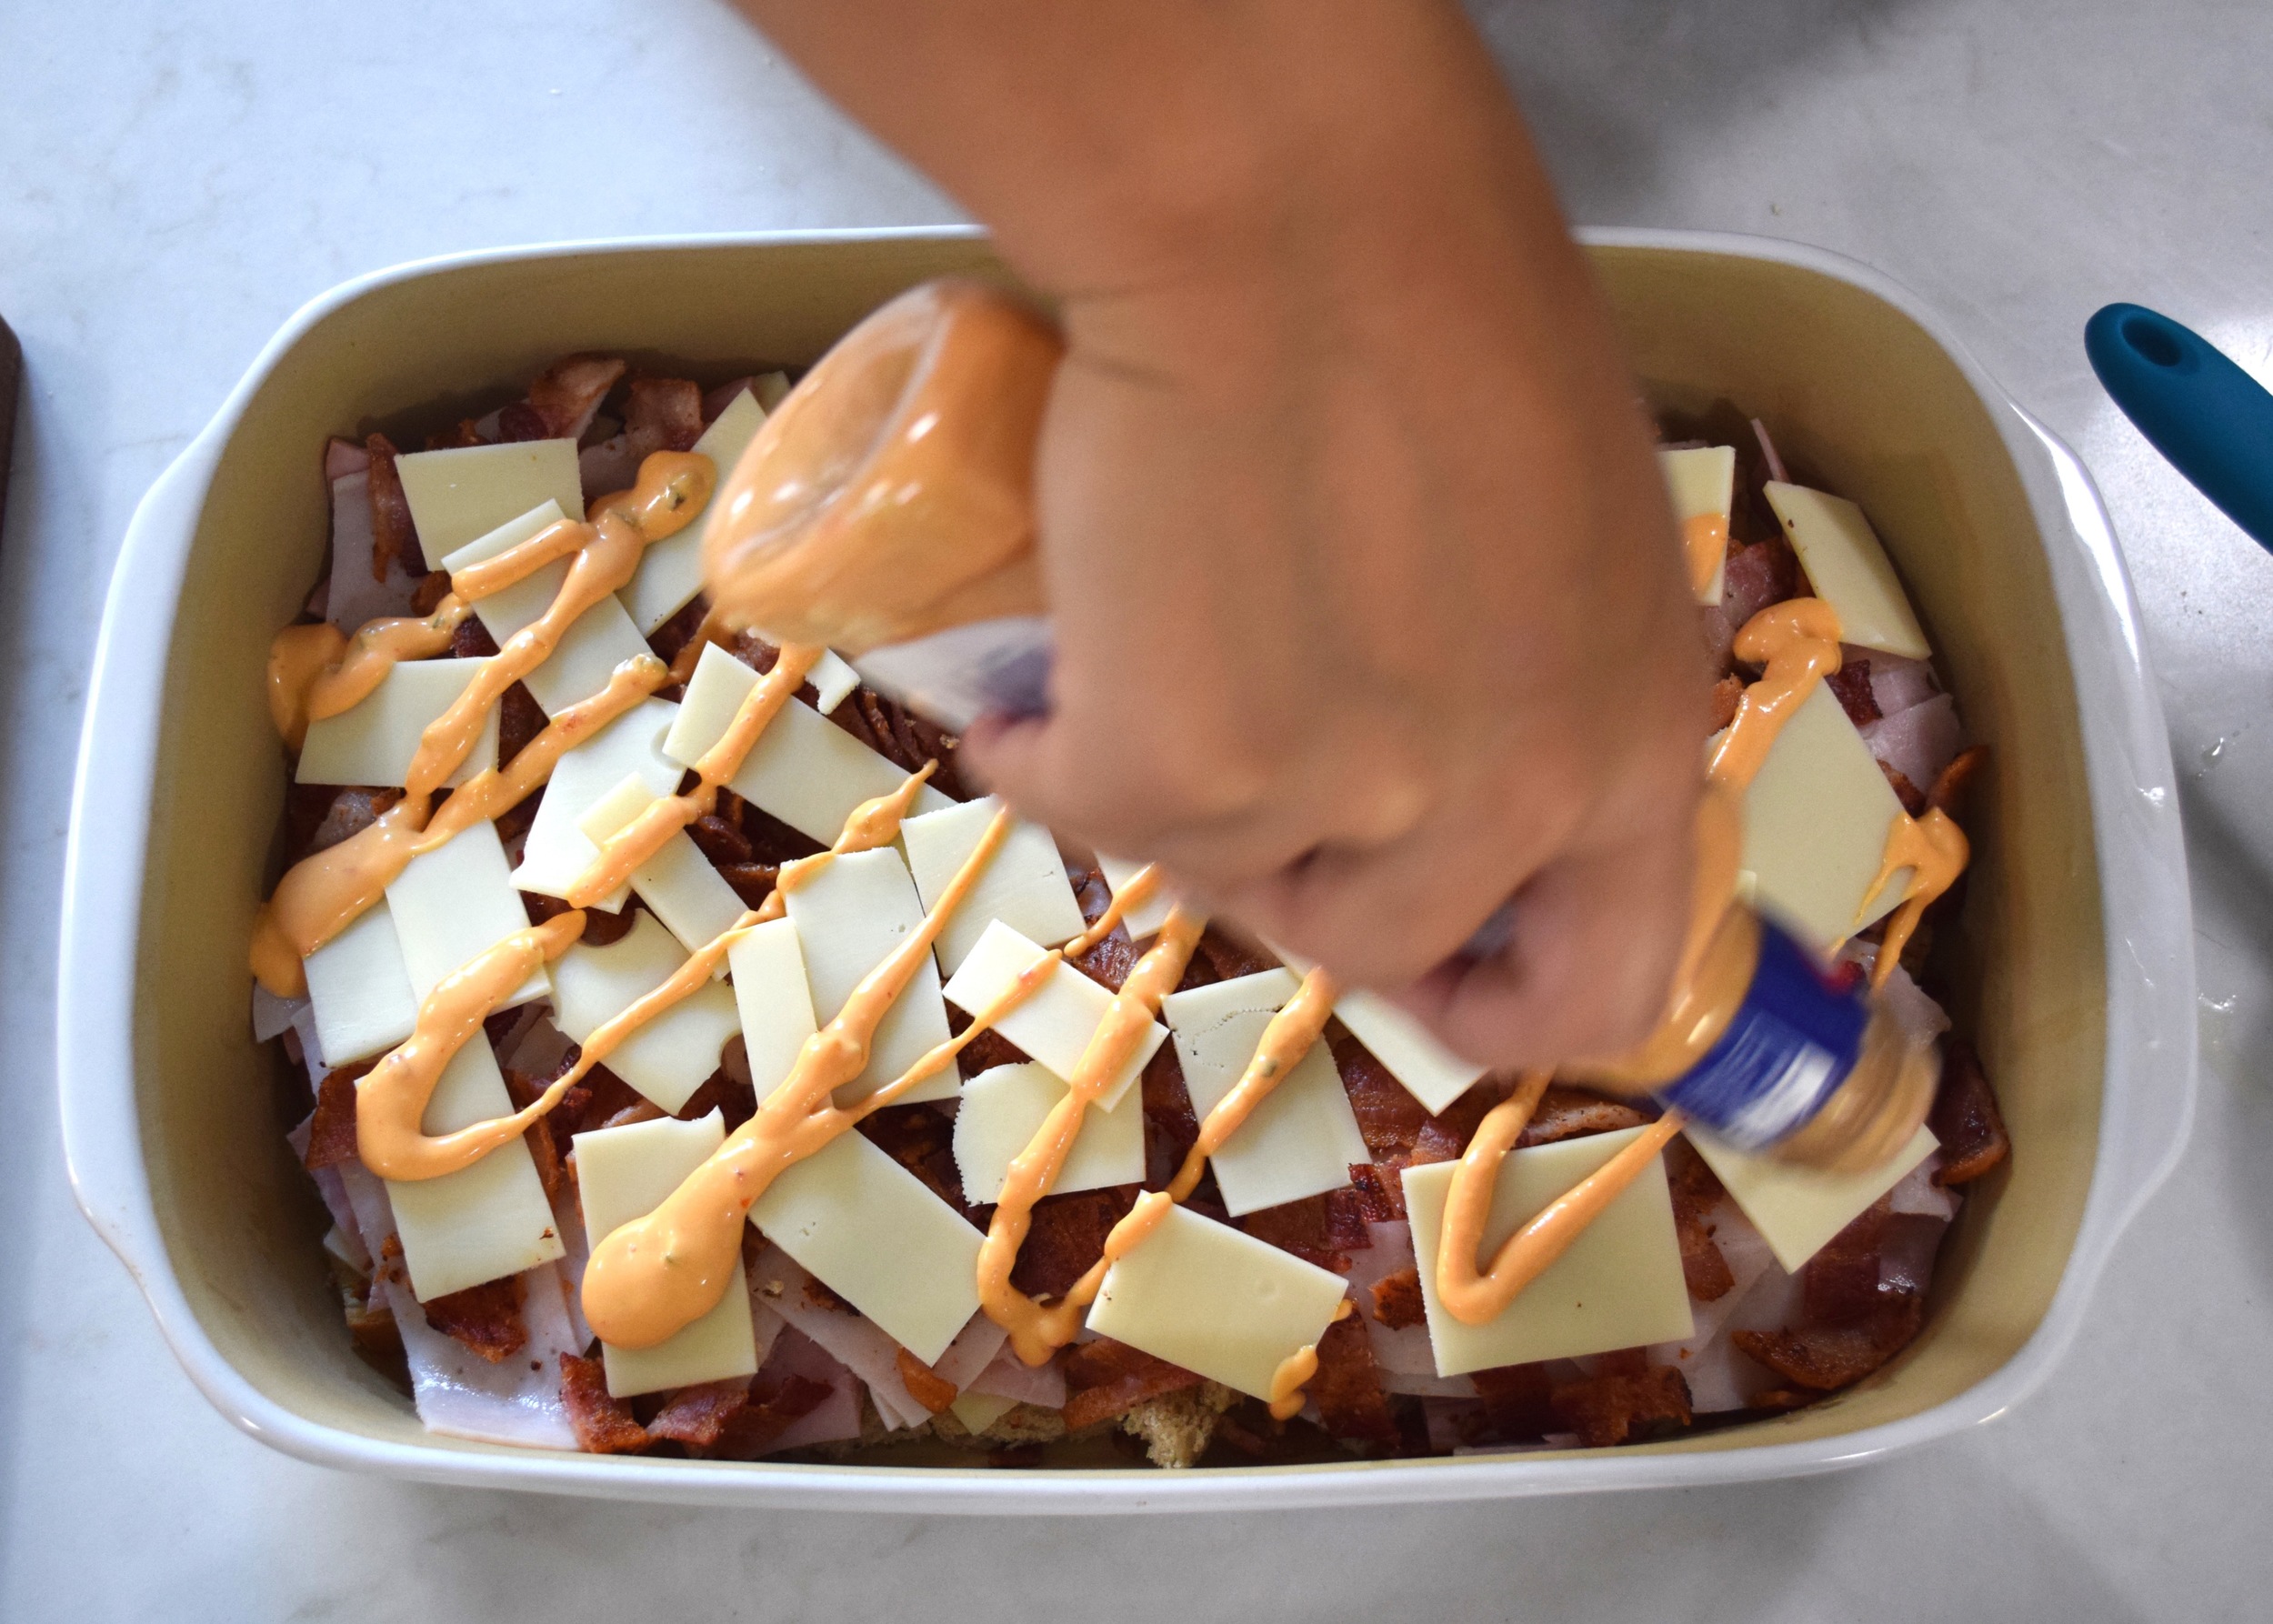
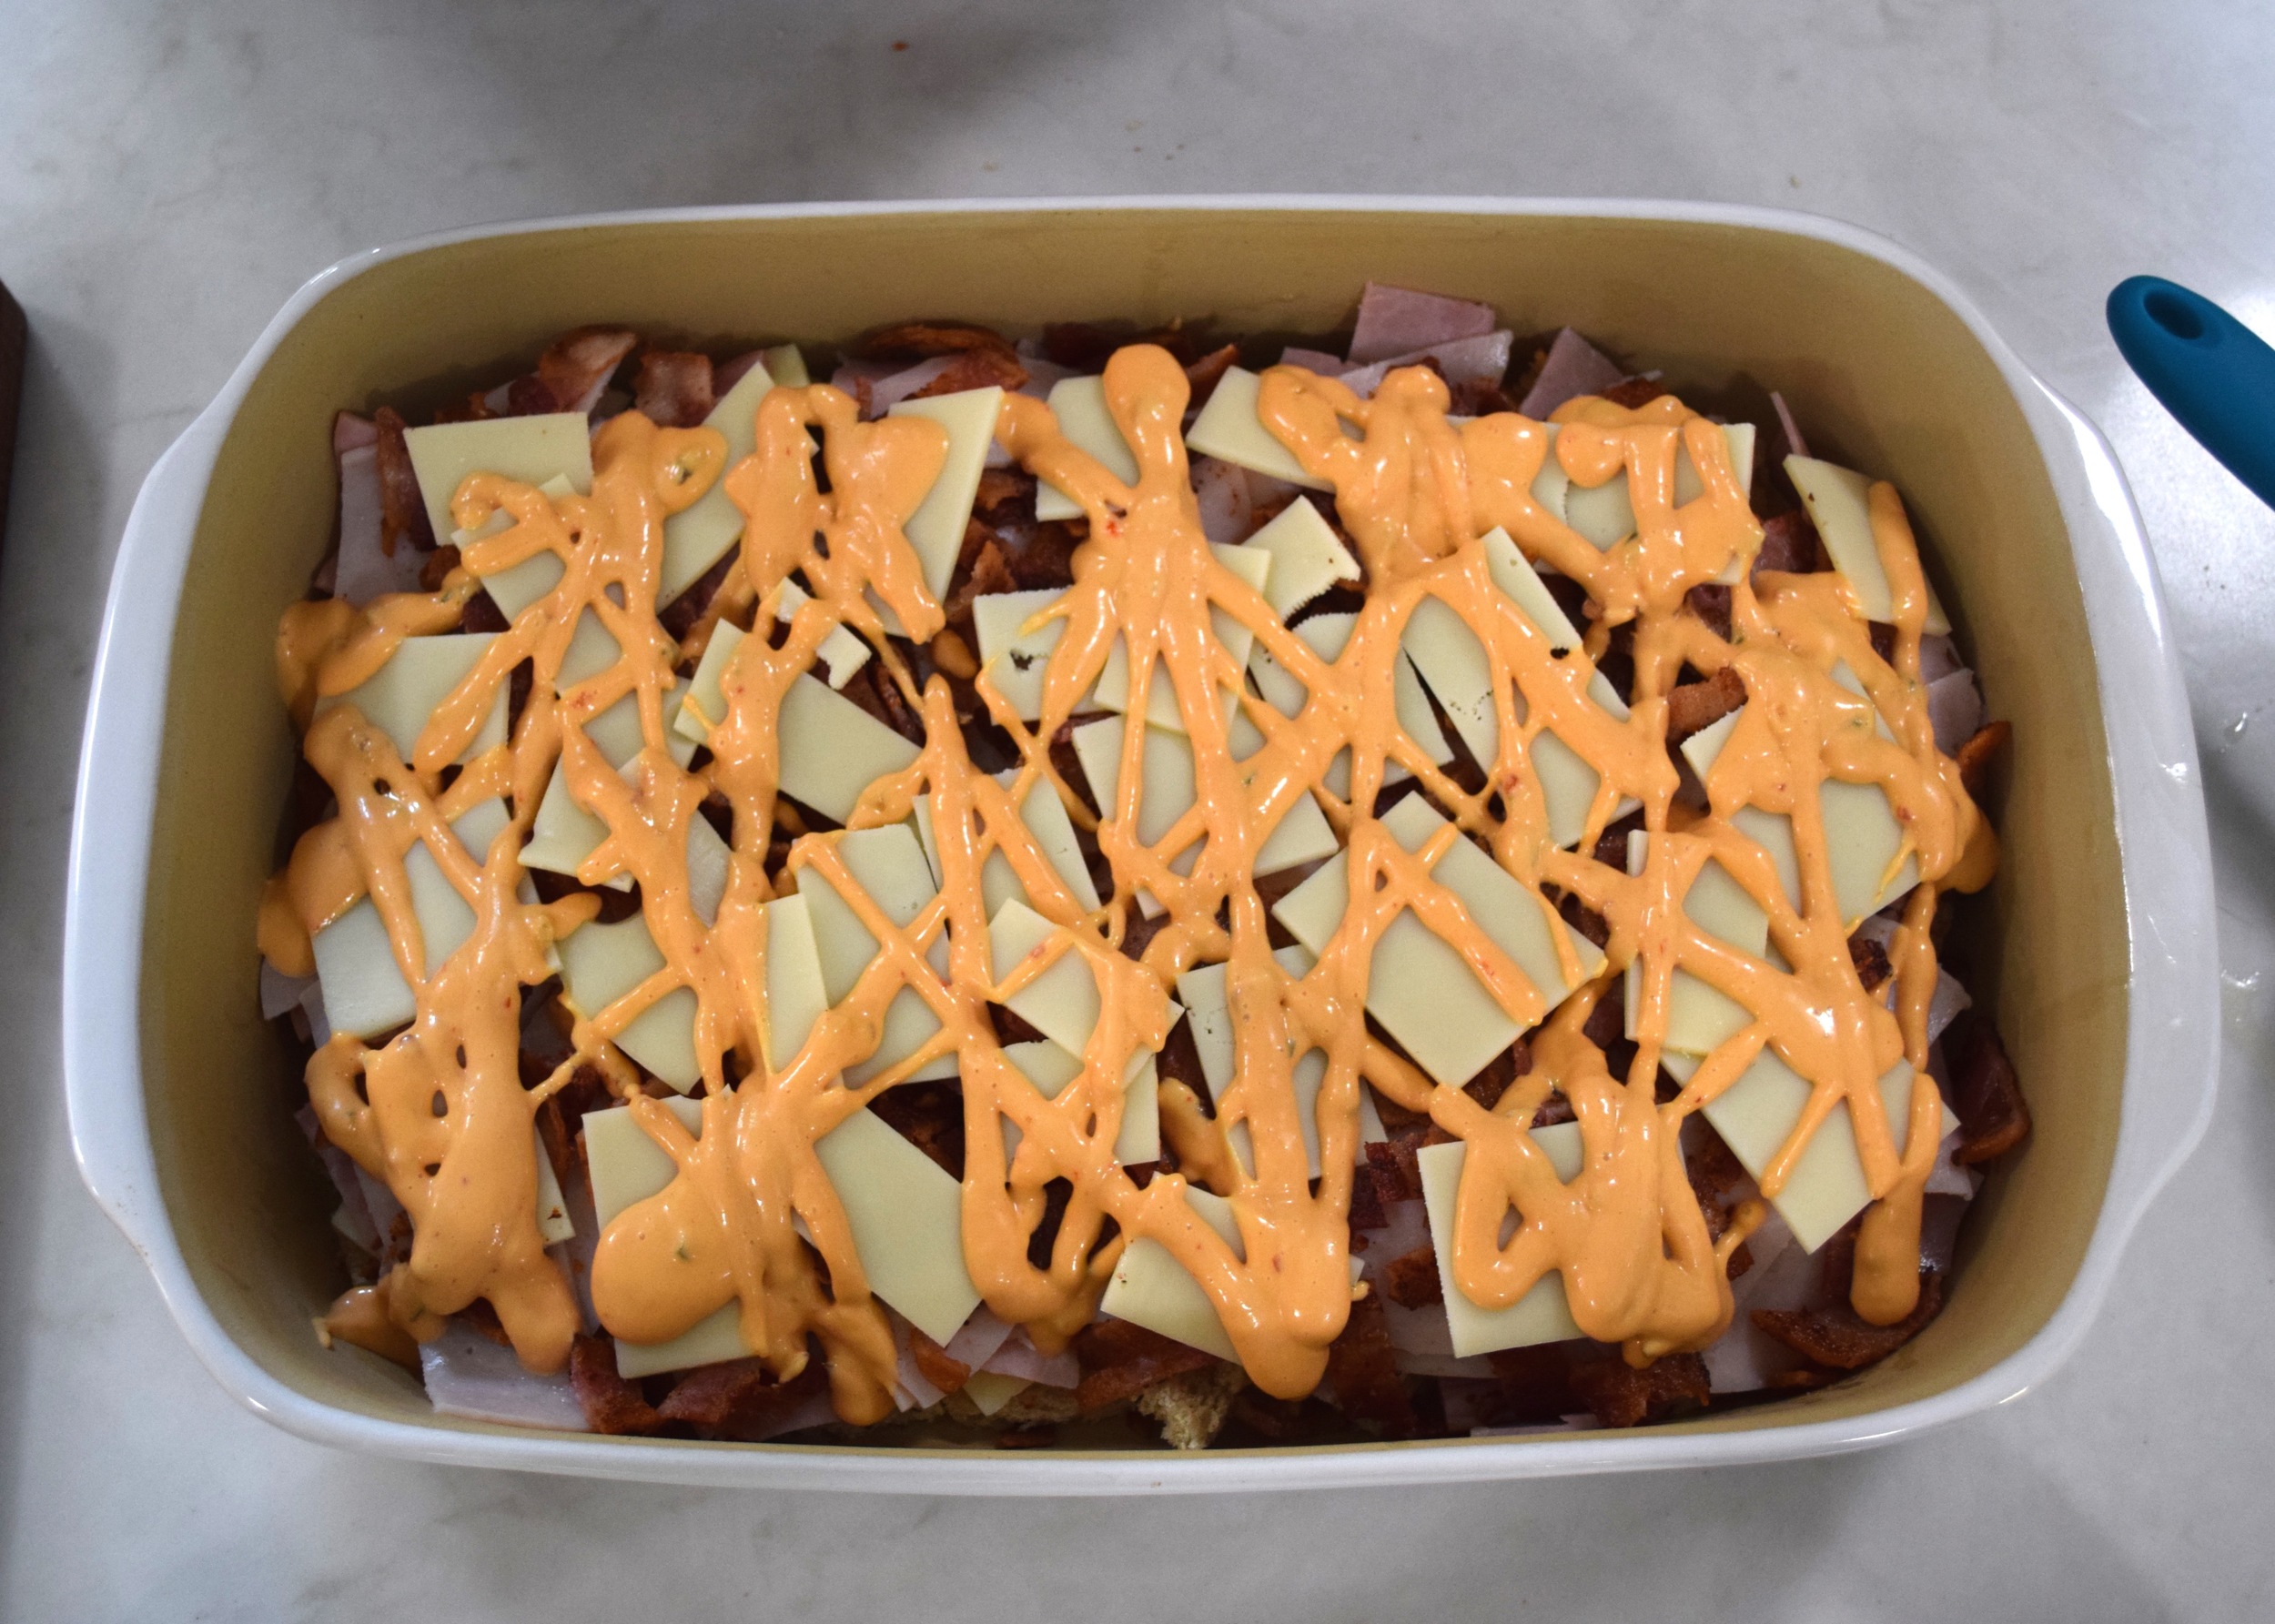
Drizzle Russian dressing over the entire casserole (amount to your preference).

Top with the remaining rye bread, brush with butter.  Cover the casserole with aluminum foil.

Bake, covered, for 20 minutes.  Remove the foil and bake for an additional 5-8 minutes, until top layer of bread is toasted golden.

Picnic Sandwiches

Its the end of summer, beginning of fall: the perfect time to get outside.  You still have enough light to enjoy summer activities like BBQ, and picnics, and events at the park.  Certainly here in Austin, I feel like we are finally getting back outside as the heat of summer eases up.  With that in mind its the perfect time of year to have a few people over for casual get-togethers over the weekend.  Easy, simple, but tasty foods are great to have in your back pocket for things like this.

The pulled pork sandwiches and chicken salad I made for Katie's Shower are exactly those type of things.  It was a cinch to put them together for a crowd without breaking my back and slaving in the kitchen.  You can prep both meats in the crock pot, or do the pork in the smoker (like Aaron likes to).

Pulled Pork Sandwiches


The pulled pork sandwiches are probably some of my favorite.  It's a really simple flavor concept that I think is always a win: sweet, spicy and savory.  Aaron does the pulled pork in the smoker (a 8-10 lb pork shoulder or butt), he puts a brown sugar rub on it.  Or you can put the pork in the slow cooker with your favorite BBQ sauce, a sprinkle of brown sugar, salt and pepper, and a splash of root beer and soda.  As long as the pork gets cooked so tender it falls apart - you are good to go.

Put your pork in a bowl and shred it with two forks, your hands, or Chanel's secret weapon (the hand mixer!).  Then prepare the sauce: I like to simmer Stubb's BBQ sauce with 2/3 cup of pineapple juice, 1/4 cup of brown sugar, and a 1/2 cup of hot sauce.  Its a tangy, sweet Hawaiian flavor with a bite.  Simmer it until its thick then pour it into your pork, a little at a time, until its the right consistency for you.  Some people love LOTS of sauce, others less - do you.  I like to serve them on King's Hawaiian slider rolls with coleslaw. 

Classic Coleslaw


The slaw is pretty easy to make also.  Chop 3/4 head of red cabbage, 1/2 head of green cabbage, and 1 1/2 cups grated or shredded carrots.  Whisk together 1 cup of mayo, 1 tbs. white wine vinegar, 1 tbs. apple cider vinegar, 2 tsp. sugar, 1 tsp celery salt, 1/2 tsp. dry mustard, salt and pepper. Taste and re-season as needed - pour the dressing over the cabbage and carrots and combine well, make sure its evenly coated.  I like to make sure it sets in the refrigerator for at least 2 or 3 hours before serving - it lets all the flavors blend and grow.

Chicken Salad Sandwiches


The chicken salad is seriously one of the easiest and most flavorful I have ever had.  You put four or six chicken breasts into the crock pot, cover with chicken broth, season with salt, pepper, sage, poultry seasoning, basil, garlic and dill.  Cook until falling apart with a fork.  Then Chanel used her secret trick (which I will totally tell you), which is to use the hand mixer to shred the chicken.  Its practically magical.

Once its shredded, you add mayo until its the moistness you like, add diced celery and re-season with the original seasonings. For the shower, I served the chicken salad on sliced croissants (thanks, Pillsbury) and it was great.  One of the best things about shredding the chicken (instead of dicing it) is that it tends to hold together better, so when you have lots of little sandwiches, it doesn't fall out the sides and into people's hands when they pick them up.

Back to School Time: Pimento Cheese Sandwiches

It is completely crazy that summer is already over! Well, its not, we are still going to suffer through weeks more of insane heat, long days, and sad, dry lawns.  Yet, back to school the kiddos go next week.  I can't believe it.  Townes has been in school for a year now, so for him, I'm so excited to get him back and just let him have a great time and watch him grow.  For Hondo though, I am struggling a little bit with my sweet baby leaving me already.  

I'm being a little dramatic.  They don't even go to school for a full day.  Or a full week.  They go twice a week for four hours.  But still, he's my sweet little baby and I just can't believe its already been a year since he was born and he is going off to school.  He, on the other hand, is probably super excited (if he had any idea what was going on) because he loves other kids.

While I am stressing out a little that in just seven days my babies will be leaving me, the silver lining is that I got to go pick out a cute new backpack for Hondo to tote his lunch in, Townes gets a new lunch box (because one year was enough for the last one), and I will be more motivated to actually make dinner every night.  Why?  Because last night's dinner is almost always what my kids eat for lunch.

I have a pretty simple formula for packing lunch: 1) a protein, a.k.a. last nights chicken, 2) a fruit, 3) a little something crunchy, like pretzels or granola.  Sometimes I get crazy and toss in a cheese stick.  I almost always include a vegetable, but thats often encased in the category of last night's dinner too.

However, there are a couple of staples that I try to keep on hand in case we did something like actually finish the entire meal I cooked the night before, or went out to eat.  It's always great to have the fixings for a simple PB&J or grilled cheese, a carton of yogurt, and our family favorite: pimento cheese.

Aaron has always made the Pimento cheese around here and its so simple and easy.  The recipe makes a lot and it keeps very well.  I often make it on a Sunday during the school year, and just keep it in the fridge all week.  Townes will eat it on bread, out of bowl with pretzels for dipping (his favorite), or even fancied up in a grilled cheese.  I even have used it for entertaining and whipped some up with hard-boiled egg yolks and a little mayo and made Pimento Cheese Deviled Eggs, like I did for Alice's Baby Shower last July.  They were a HUGE hit.

It doesn't take many ingredients: cream cheese, cheddar cheese, pimentos, jalapenos, and a little cayenne.  Literally, just throw them into the bowl of stand mixer and whip it up.  Spread some onto some home-made sandwich bread, put mayo on the outside, grill, and enjoy!

Aaron's pimento Cheese

Yields about 3 cups

ingredients:

  • 16 oz (2, 8-oz blocks) of cream cheese, room temp
  • 16 oz block of cheddar cheese, freshly grated*
  • 4 oz diced pimentos, drained
  • 4 oz diced jalapenos, drained (or more, to taste)
  • Salt & Pepper
  • 1/2 tsp. Cayenne pepper (or more, to taste)

*I think its important for a recipe like this to use freshly grated cheese rather than a bag of pre-shredded if you can.  Pre-shredded cheese has a coating of powder that prevents the shreds from sticking together and clumping in the bag and it helps the shreds keep their shape.  This makes the cheese rather dry, in comparison to a freshly shredded block.  This moisture is important because it helps the cheese blend into the cream cheese well and makes for a smoother final product.*

In the bowl of a stand mixer combine the cream cheese and cheddar cheese.  Mix on medium speed until well blended.  Add the remaining ingredients, mix until combined.


Homemade White Sandwich Bread

Lunch is probably my worst meal.  I love breakfast, and it inspires me, I could wax poetic about breakfast foods.  Dinner is my best friend, the world is your oyster for options.  But lunch?  Meh.  I stall out. No one really eats lunch in this house for that reason - we don't have things to eat for lunch.  Lunch is really more of a makeshift snack.

So when I go over to my friend Ashley's house and she just whips up a gorgeous turkey sandwich or pops out hummus and pita chips and veggies, I sit in awe.  Lunch is my nemesis.  If someone came over to my house at lunch and expected something other than a cheese stick and some Pirate's Booty they would be disappointed. 

The last time I was over at Ashley's, our kiddos were playing and she offered them sandwiches and then casually said, "I need to make more bread this week."  What? Her family gets to eat lunch and its on homemade bread. I know where I'm gonna be finding my kids in a few years...

In any case, it got me thinking that I can make a lot of things, like a lot.  I shouldn't be defeated by plain old white Wonder bread.  We never have any because whenever I buy it, we use a third of the loaf and it gets moldy and thrown away.  So I decided to take a stab at it, fell back on trusty Julia Child for a recipe and voila! 

This bread is seriously so tasty.  I keep thinking of ways to feed my kids and husband things on bread because its so good.  Hell, I ate like three slices when it came out of the oven with just melted butter on it.  Who knew fresh baked sandwich bread smelled so good and tasted like heaven (okay, probably anyone with a nose, but whatever)?

I've now made it a couple times and tried mixing things up a little: I tried it with a full-on wheat flour substitution and it was a bit dense, I tried adding 50% more yeast and halving the wheat/white ratio and that was more successful, but the fluffiest, tastiest variation is just how it is.  No adjustments needed.

A quick couple of notes for bread beginners though:

1. A packet of yeast is apparently not 1 tablespoon, despite me dumping it into the measuring spoon and saying, eh close enough.  It's only 2 and 1/4 teaspoons, which leaves you 3/4 teaspoons short of a full tablespoon.  Don't make this mistake.  Open a second packet and measure out the missing 3/4 tsp.  

2. Make sure not to add the salt until after you have added flour and mixed it well into the yeast.  Salt directly mixing into your frothy yeast will kill it and ruin everything.

3. The rise time is less important than the size of the dough.  This means, as explained to me by my Noni, that if the recipe says for your dough to rise 30 minutes until doubled in size, if its not twice as big in 30 minutes, wait until it is.  If it's twice as big in 15 minutes, proceed to your next step because it will rise, crest and then fall.  The rate at which bread will rise has to do with three main things, the activity of your yeast, the temperature of the air and the humidity of the air.  So regardless of what the recipe says, its a guideline, not a rule.  In this case, its size that matters.

4. I have dark, non-stick loaf pans and in the past, the bottom of my breads have burned.  So now, to prevent that from happening, if the recipe says to butter or grease the pans (like this recipe does), I do that, but then I also cut a piece of parchment paper to line just the bottom of the pan, then grease or butter on top of that.  Burns no more.

5. Warm water really means hot. Okay, not boiling, but like turn the tap all the way to hot, let it run until its really going and then use it.  These recipes do not mean lukewarm or just not cold.

6. Lastly, if your yeast doesn't froth (like pictured below) its not live anymore and you need to toss it and start over.

Julia Child's White Sandwich Bread

Makes 2 loaves

Ingredients:

  • 1 tablespoon active dry yeast
  • 1 tablespoon granulated sugar
  • 2 1/2 cups warm water
  • 6 cups all purpose flour
  • 2 tsp. salt
  • 1/4 cup (1/2 stick) butter, softened

In a large bowl, or the bowl of a stand mixer fitted with a dough hook, combine the sugar and yeast. Add 1/2 cup of the warm water (reserving the remaining two cups), let it sit for a full five minutes until frothy.

Add half the flour and the remaining water to the yeast and mix until combined.  Add the remaining flour, salt and butter.  Mix well with a dough hook or by hand.  In the stand mixer, it should be mixed smooth after about 7-8 minutes.

The dough should be tacky but smooth.  Remove from the bowl and turn out on the counter to knead with your hands for a minute or two.  Shape into a ball and return to the bowl.  Cover with a tea towel and let it rise for about an hour and a half, until doubled in size.

Meanwhile, butter two loaf pans.  Once the dough has doubled in size, punch it down, remove from the bowl and turn out onto the counter to knead again for a minute or two.  Divide the dough into two, evenly.  

Pat each half into a rectangle about the size of a sheet of paper.  Then fold it into third like a letter, it should now be about the size of the loaf pan.  Put it into the loaf pan, seam side down.  Set the loaf pans aside, cover with a tea towel and let it rise for another hour, until doubled in size, above the sides of the pan.

Pre-heat an oven to 375 degrees and bake the loaves for 20-30 minutes until golden brown.  Remove immediately from the pans and allow to cool on a wire rack.