Sweet Brunettes

The night we got home from two long weeks on the road, I needed some junk food to settle down on the couch with, put up my feet and binge on all the trashy TV I had missed.  So we ordered in, put the kids to sleep and I got ready to chill.  Then the sweet craving kicked in.

As all of our friends know, there is always some kind of baked deliciousness in the cake stand on the kitchen island.  Since my first pregnancy, I've been a sucker for my sweet tooth and need to have something around for a nibble when it kicks in.

In any case, because we had been gone for two weeks, my cake stand was woefully empty.  I didn't want to walk to the grocery store because it was legitimately 100 degrees outside and I was exhausted.  So I had to work with what I had around.  I had seen recipes for "Junk Drawer" cookies and brownies before, but never made them.  This was my interpretation of a similar recipe from Averie Cooks, but with substitutions based on what was around in the pantry. Anyone could easily do the same.  Work with what you've got - this recipe isn't really trailblazing, but definitely sweet.

I decided to call my creation Brunettes because I used dark brown sugar instead of light.  Light brown sugar is typically the base for blondies because it will produce a fluffier, lighter brownie because it has less syrup in the sugar (granulated sugar is the driest of the three, light brown is a nice medium and dark brown practically oozes).  Due to my lack of light brown sugar (since I didn't heed Chanel's warning that we were out before we left on the trip), I just used what I had and they came out, not surprisingly, much darker than blondies - hence, Brunettes.

Have fun mixing it up - This whole thing won't take you more then 30 minutes!

Sweet Brunettes

Makes about 16 squares

INGREDIENTS:

  • 1/2 cup unsalted butter (1 stick), melted
  • 1 large egg
  • 1 cup dark brown sugar (or light if you prefer)
  • 1 tablespoon vanilla extract
  • 1 cup all-purpose flour
  • 1/2 teaspoon salt
  • 8 Oreos, chopped
  • 10 Mini Twix, refrigerated and chopped
  • M&Ms (about 1 cup)

In a microwave safe bowl, melt the butter.  Set aside and allow to cool.

Pre-heat your oven to 350 degrees.  Line a square baking pan (8x8 for thicker bars, 9x9 for thinner) with parchment paper and set aside.

Add the egg to the melted butter, whisk until smooth.  Whisk in the brown sugar and vanilla.

Stir in the flour and salt until combined.

Add the Oreos and Twix (or whatever you decided to try, I bet Reese's cups or pretzels would taste fantastic) and stir together.

Spread the batter/dough into your pan.  Sprinkle your M&Ms (or topping of choice) on top and press them into the dough lightly.

Bake for 22-26 minutes, or until done.  They are done when a toothpick comes out clean.

Allow to cool in the pan.  Cooling completely is IMPORTANT with these before cutting, be patient!  Once they are cool, lift the parchment paper from your pan and cut into squares.


New England Clam Chower

We just got back from the most magical, wonderful, fulfilling (I could go on and on) trip to Cape Cod that I could have imagined.  Having grown up spending every summer there with my family, and my grandmother being born and raised there, it is a place with such a deep meaning and permanent place in my heart.  Chanel grew up just a few hours from there and frequented the beaches on the bay in the summer.  Aaron even spent his summers on the Cape, sent up all the way from Houston to spend time with his grandparents.  We could not have been more excited to share this place with the boys for the first time.

So we embarked on a two-day long road trip in the Suburban to drive up to my mom's in New York, then on to the Cape.  All five of us piled into the car, drove to Nashville as our halfway point, and then pushed on to NY.  It went surprisingly well, perhaps another post another time on surviving road trips with babies and toddlers.

We could not have been happier to make it to the Cape on day 4 of the journey.  Everything was perfect.  I felt completely at peace, my heart was happy and full, and so was my stomach.  The food was incredible.  I will often talk about missing food from NY, but missing the fresh seafood from Massachusetts is a whole different ball-game.

Pretty much my first meal once we got there was some amazing Clam Chowder.  And then it turns out, it was pretty much part of my lunch every day we were there.  So naturally, as soon as we got back to Texas I was doing two things: 1) Searching for real estate on the Cape so we can move back immediately and 2) craving chowder with a passion.

As with any craving I have, I gave in immediately and started cooking. This was my first foray into making my own Clam Chowder and it was totally worth it.  I added a bit of a Texas flair to the classic soup by flavoring it heavily with smoked bacon fat.  If you want a flavor that is more true to a classic New England Chowder - leave out the bacon entirely, skip the first step, and start your soup with butter instead.  Either way, don't forget to get some oyster crackers to crumble on top, its just not the same without it.  I also suggest setting the mood by staring at these photos while you are eating.

New England Clam Chowder

Serves 4 - 6

Ingredients:

  • 1 lb bacon, diced
  • 2 tbs. butter
  • 4 garlic cloves, minced
  • 1/2 white onion, diced
  • 1 tsp. ground sage
  • 1 tsp. ground thyme
  • 1/2 tsp. celery salt
  • Salt and Pepper
  • 3 tbs. flour
  • 2-3 cups half and half*
  • 2 cups vegetable stock
  • 2 (6.5 oz) cans of chopped clams, juices separated and reserved
  • 1 bay leaf
  • 2-3 russet potatoes, peeled and diced
  • Chopped fresh parsley or dried, for garnish
  • Oyster crackers, for garnish

Dice your entire 1-lb package of bacon.  Heat a large stock pot or Dutch oven over medium-high heat.  Add bacon to the pot and cook until the bacon is crispy.  Remove the bacon from the pot, onto a plate lined with paper towels.  Pour the bacon fat from the pot into a bowl and set aside (you don't need it for this recipe, but it can be useful for pie crust making or other recipes, so hang on to it in a covered container in your fridge if you might use it).  DO NOT SCRAPE THE REMAINING FAT FROM THE POT.  Leave all those drippings and bacon crumbs in the pot.

Add 1 tbs. of butter to your pot, melt, add garlic and onion and cook until onions are translucent.  Stir in seasonings (sage, thyme, celery salt, and some salt and pepper). 

With you half and half, vegetable broth, and clam juice ready and on hand, whisk in the flour until lightly brown. Immediately whisk in 1 cup of broth, 1 cup of half and half, and the clam juice.

Using and immersion blender, blend the mixture carefully so that the onions and garlic cloves are blended smoothly into the broth.

Bring to a boil, and stir in the potatoes and add the bay leaf.  Reduce the heat and let it simmer as it begins to thicken and the potatoes are tender and cooked.

Once the potatoes are cooked, stir in the clams and another 1 cup of half and half (or however much you prefer to achieve a consistency you like - you can even add heavy cream instead for a very thick soup, or vegetable broth for a thinner soup).

Simmer until your desired consistency is reached, remove the bay leaf and serve immediately.  Garnish with bacon, parsley and oyster crackers.


The Perfect Ice Cream Sandwich

We are kicking off June with some summer favorites.  We both grew up on classic ice cream sandwiches after a hot day at camp and couldn't think of a better way to end the first day without rain in Austin in a long time.  It finally feels like summer is here and we are ready to jump right in.  I'm sure we will be eating our words in August when it is 102 degrees outside, but for now, the sun feels amazing.

After finishing a 5.5 mile walk in the sun and scarfing down salads for lunch, we were craving something sweet and it just struck me that the perfect snack for a day like this was straight from our childhood: ice cream sandwiches.

The key to those perfect ice cream sandwiches from camp was that the chocolate cookie was soft.  You could bite into it and it wasn't tough to break through the cookie, it just broke apart perfectly with the ice cream.  So for us to have the same experience, we needed a cookie recipe that was going to produce a soft, almost spongy cookie.

I found this recipe for Oreo jello cookies and modified it a bit.  We left out the Oreo's and white chocolate chips and replaced them with mini semi-sweet chocolate chips. And for the ice cream we used good ol' Breyer's vanilla bean.

Once you have baked your cookies and allowed them to cool completely, putting them together is pretty simple.  One thing to remember though, is when working with ice cream, speed is critical so make sure to get everything you need ready and set out before you get the ice cream from the freezer and begin.

You will need:

  • 1 batch of cookies of your choosing (but we recommend a variation of this recipe)
  • 1 gallon of your ice cream of choice
  • A serrated bread knife
  • A cookie cutter (we used a round biscuit cutter)
  • A tray or containers to store and re-freeze your assembled sandwiches in
  • Sprinkles for decoration (optional)
  • Plastic wrap

Once you have assembled all your supplies, make sure you have cleared out a space in your freezer that will fit your sandwiches once they are assembled.  You will need to put them directly back into the freezer to refreeze for at least an hour before wrapping them individually. Then you are ready to go!

  1. Using your cookie cutter, cut an even number of cookies, discard the left over edges (we used a biscuit cutter because our cookies were round and it was the closest size so we wasted the least amount of cookie).
  2. Take your gallon container of ice cream from the fridge and place it on your cutting board on its side (so the bottom of the container is perpendicular to the board).  Using your bread knife, slice off the bottom inch of ice cream evenly (yes, cut right through the container!).
  3. You should now have an inch-thick slab of ice cream on your cutting board.  Remove the cardboard from the ice cream, moving quickly because the ice cream will begin to melt, and use your cookie cutter to cut pieces of ice cream to put between two cookies.
  4. Once you have assembled one sandwich, place it on a tray and directly back into the freezer. If the ice cream starts to melt while between the cookies the pieces will slide around and they will not set evenly.
  5. Repeat this process for each cookie sandwich.
  6. After they have set in the freezer (about an hour minimum) you can remove them, wrap each sandwich in plastic wrap and then stack back in the freezer.

For a touch of color we rolled them in sprinkles. Perfect to enjoy on a nice hot day. Hope you enjoy!

Coco's Chimichangas with Roasted Poblano Cream Sauce

Sunday nights are really fun in this house in the Spring: Game of Thrones is on and our favorite couple comes over to hang out with us, eat dinner, and watch the show.  Clay has known Aaron since they were just kiddos and his wife Katie and I hit it off without missing a beat four years ago. Its become a weekly occurrence this spring that they come over every Sunday afternoon and hang through dinner and Game of Thrones.

Well this week I made the mistake of asking them what they felt like eating for dinner: I got "Chicken Fajitas" and "that Shrimp Garlic Cream Pasta stuff" - couldn't be farther apart on the spectrum of food.

Well I spent some time thinking on those foods and what I came up with was these chicken and veggie burritos, pan-fried to crispy and then covered in a creamy Poblano sauce and Monterrey Jack Cheese.  I served them with sliced avocado and a Mexican rice-quinoa pilaf.  Based on the feedback - the diners were pleased.  Since then, these have become an absolute favorite for Chanel at lunch time (our boy's lovingly call her Coco).

Townes even liked it so much that I used my leftover chicken the next morning to make breakfast tacos for him (more on that later).

The chicken mix was inspired by an enchilada plate that I love to get at our local Tex-Mex place.  Maudie's has the Kimberly's favorite enchiladas which are vegetarian, filled with mushrooms, carrots and spinach in a queso blanco sauce.  I decided to use those same veggies (ran through the food processor to disguise them from the boys) sauteed into the ground chicken for the filling.

I assembled each burrito with filling, topped it with cheese, rolled them up and popped them into the oven to bake while I whipped up the sauce.  The sauce was an attempted copycat of Torchy's Poblano Ranch.  It didn't quite hit that mark, it ended up more like Chuy's Creamy Jalapeno Sauce - but really you can't go wrong either way.

Coco's Chimichangas

Makes 6 Burritos

Ingredients:

  • 2 lbs. ground chicken
  • 4 oz. baby portabella mushrooms
  • 3 medium carrots, shredded
  • 1 - 1 1/2 cups spinach
  • 1/2 medium white onion
  • 4 - 6 cloves of garlic
  • 2 tsp. dried basil
  • 2 tsp. dried oregano
  • 2 tsp. dried chipotle powder
  • Salt and pepper to taste
  • 2 tbs. butter
  • 1 small can of black beans (14 - 16 oz), drained
  • 6 large flour tortillas
  • 4 cups shredded pepper jack cheese
  • Avocado, sliced (optional)
  • Tapatio or other hot sauce (optional)
  • Fresh Cilantro (optional)

Give your vegetables (mushrooms, spinach and onion) a rough chop into about 1-inch chunks.  Toss these into the bowl of a food processor with the garlic cloves, basil, oregano, chipotle and salt and pepper.  Pulse until they are a fine mince,* put into a bowl and set aside.

*I mince my veggies like this when I can because I am feeding a toddler and a man who hates vegetables.  When I can "hide" them this way, they can't get missed or picked around.  If you are a veggie lover like I am, you can definitely chop them into whatever size you desire and follow the directions all the same - which is pictured above from another time Chanel and I made them for lunch and weren't planning on sharing with any of the veggie-averse in our lives.

Melt the butter in a large sauce-pan over medium-high heat and add the veggie mix. Saute until fragrant and bubbly, just a couple minutes.  Add the ground chicken directly to the pot and saute until chicken is cooked through - you will want to break up the chicken with your spoon or spatula as it cooks and mix it into the veggies. I even go so far as to use a potato masher to really get it mixed well and broken into small even bits.  Once the chicken mix is cooked through and mixed, stir in the black beans and cook over medium heat until warmed.  Remove the pan from the heat, put chicken mix into a paper-towel lined bowl and set aside.

Heat a large frying pan or griddle to medium-high heat, and melt 1 tbs. of butter.

Making an assembly line on your table or counter, line up your bowl of chicken, shredded cheese, sliced avocado, and burrito tortillas.  Lay out one tortilla and spoon four large spoonfuls (about 3/4 cup) of filling in a line down the middle of the tortilla.  Sprinkle some cheese on top of the filling (however much you like).  Using both hands, fold up the side of the tortilla over the ends of the line of filling.  While holding those sides down, roll the tortilla up into a burrito.  Fold side down, place the sealed burrito onto the hot pan.  Repeat with the remaining burritos.

Let the burritos fry until the bottoms are golden brown and crispy, using a spatula, gently turn them over to fry the top.  While the burritos are cooking, make the Poblano Sauce (below).  Remove the burritos from the pan and top with Poblano sauce, a bit more cheese, avocado, cilantro and hot sauce.  Serve with Mexican rice.

Poblano Cream Sauce

Makes about 1 cup

Ingredients:

  • 1 large poblano pepper
  • 4 garlic cloves
  • 1/3 cup sour cream
  • 2 tsp. dill
  • 2 tsp. celery salt
  • 1 tsp. garlic powder
  • Salt and Pepper
  • 1/2 tsp. of Worcestershire sauce
  • 1/4 cup of buttermilk (recommended) or half and half

Preheat your oven to 400 degrees. Line a baking sheet with parchment paper or a silicon baking mat, set aside.

Seed and slice the poblano pepper into four slices.  Place the four pieces, skin side up, onto the prepared baking sheet, and roast in the oven for about 10 minutes, long enough for the skin to blister a bit, but not burn.  Remove from the oven and allow to cool before using them.

Chop the roasted peppers into 1-inch chunks.  Combine with the garlic cloves in a food processor and pulse until minced.  Add the sour cream and spices to the food processor and blend until smooth.

A little at a time, add the buttermilk and blend until desired consistency. Serve immediately.


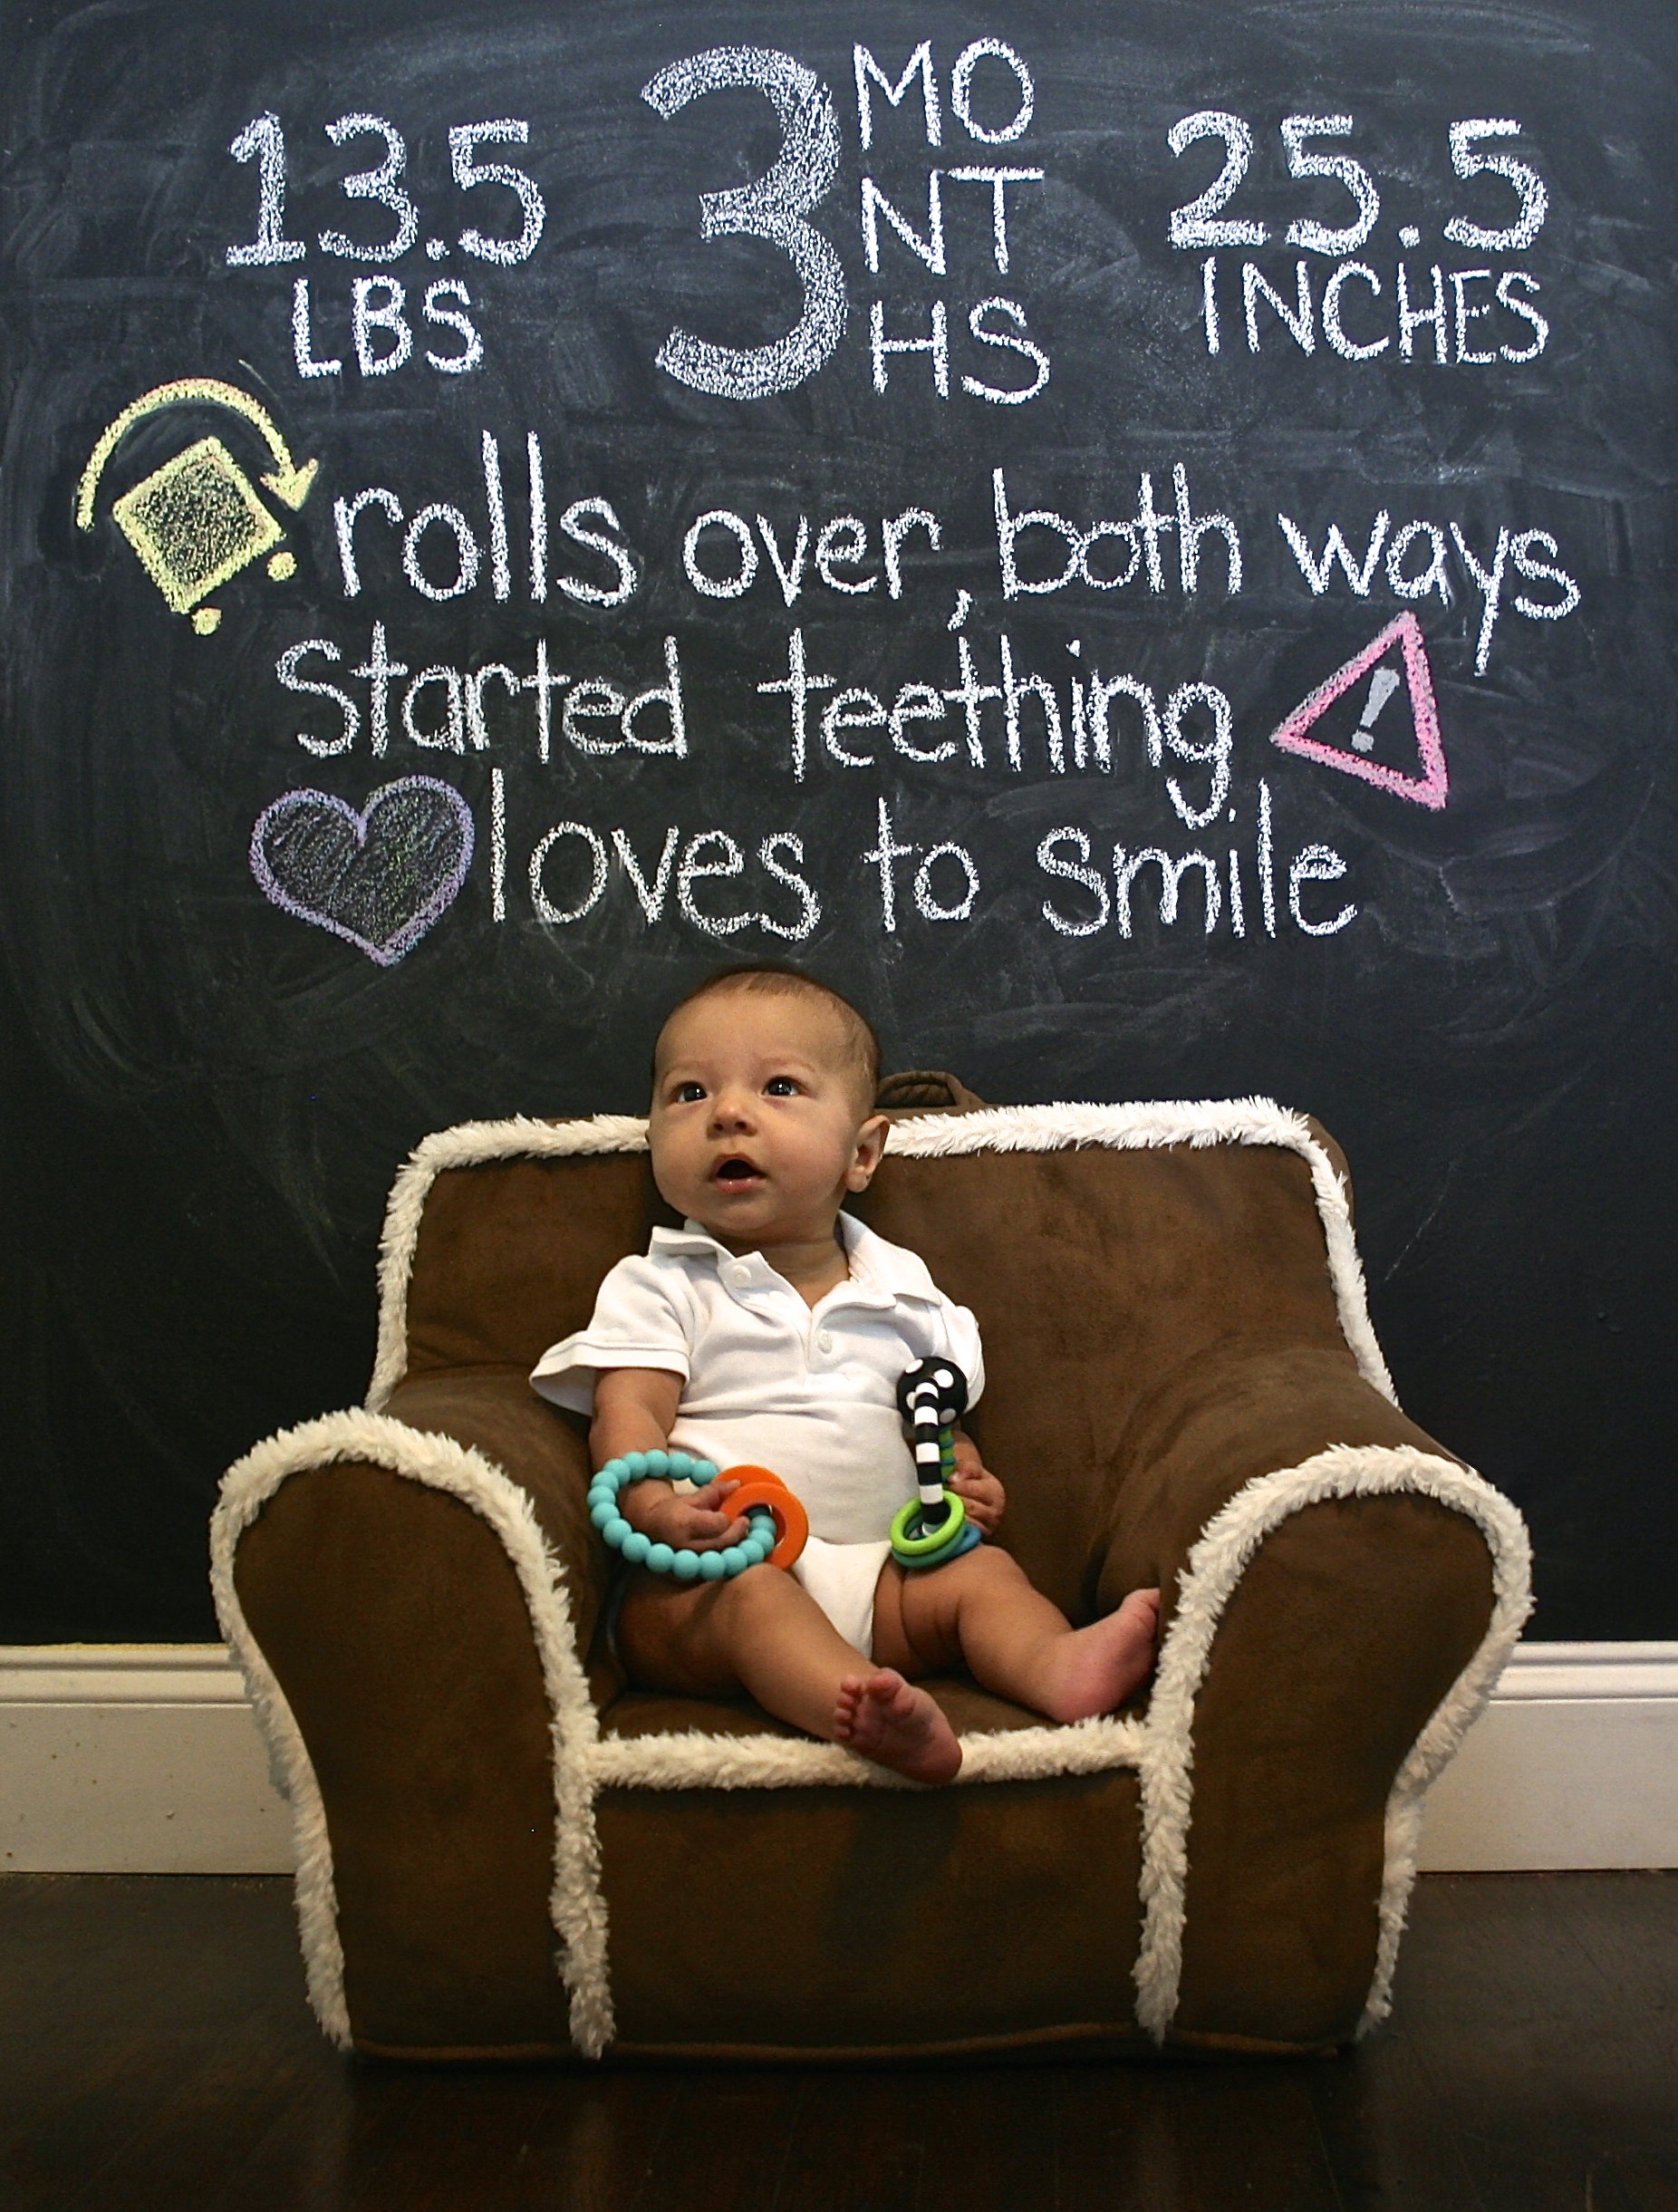
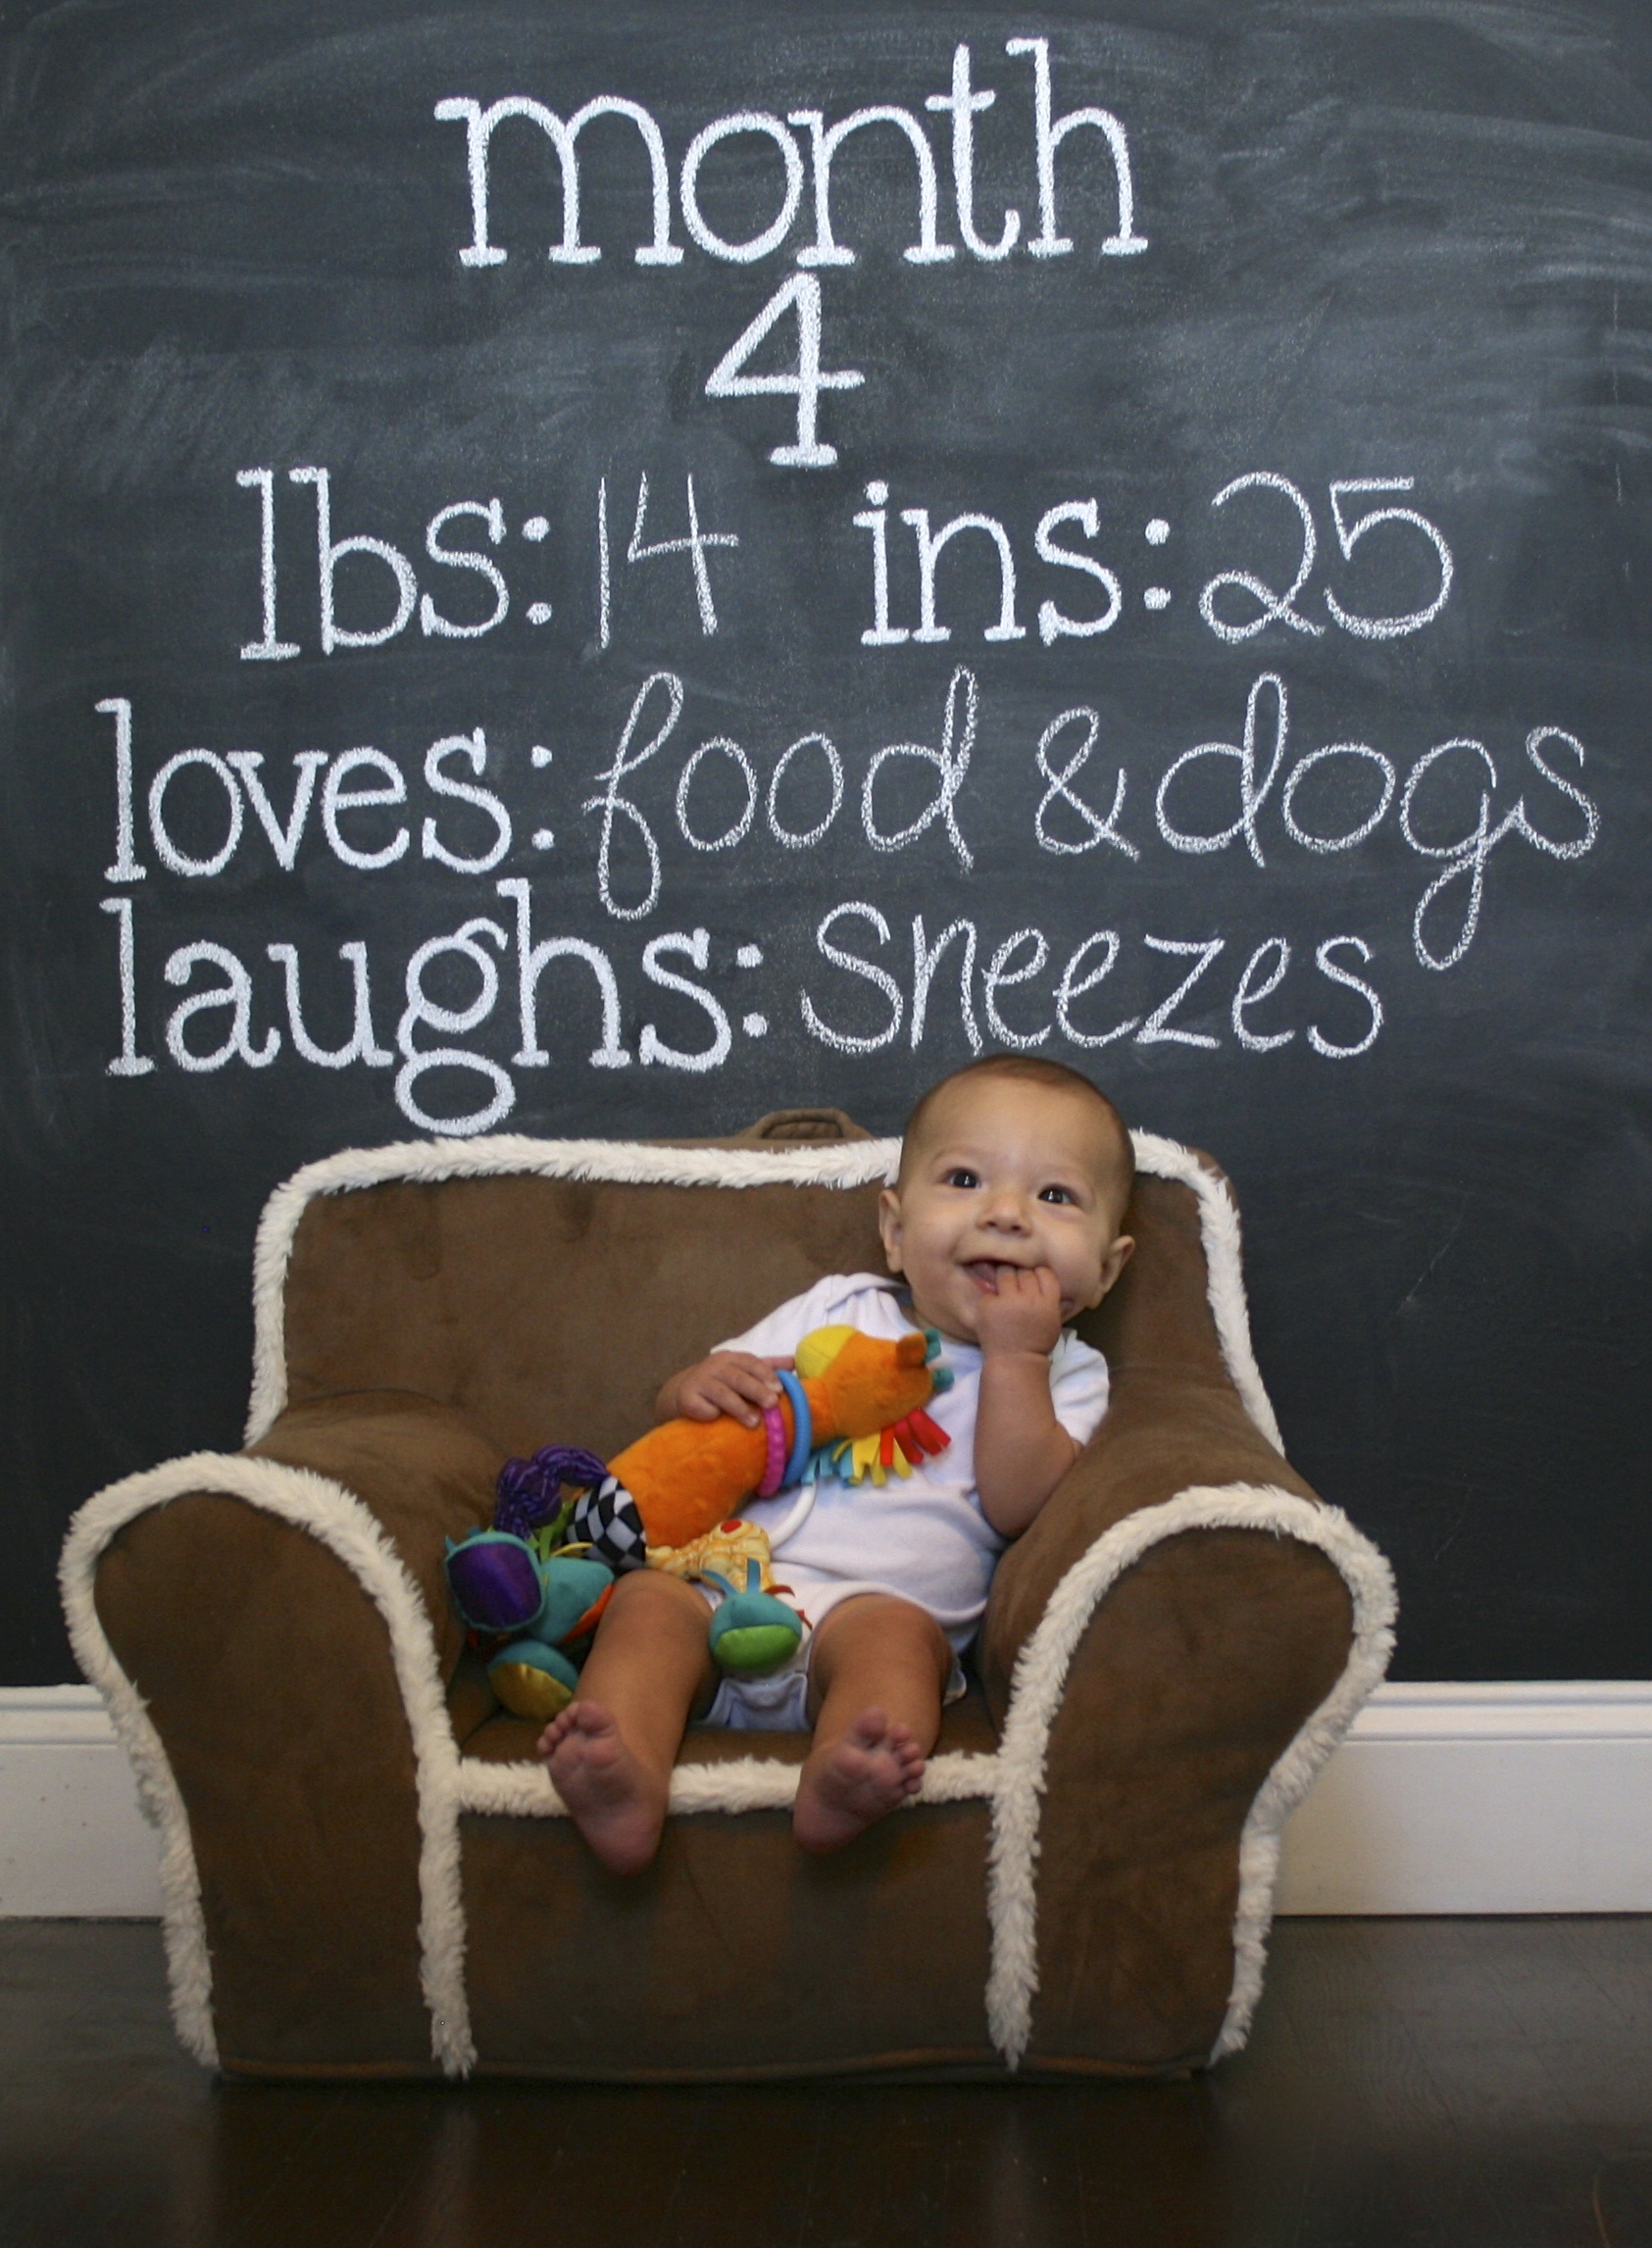
Baby Chalkboard Updates: Round 1

I started this tradition two years ago when my first son, Townes, was born.  We were living in our tiny house back then (sometimes I really miss it) and I had painted a half wall in his nursery with chalkboard paint.  Note: I LOVE chalkboard paint.

I had gotten a bunch of Pinspiration from others who had done similar things and this was my version of the chalkboard updates.  I'm not the best about sending photos or taking videos, so posting these on Facebook for my friends and family was an awesome way to share his milestones.  Plus, I knew there was no way I was actually going to fill out his baby book.

Being that I only had one baby and this was a fun creative outlet, I did monthly milestones and holidays.  I changed up the regular pattern on his birthday when I had everyone who attended his birthday party sign his chalkboard, I thought that would make for a special memory (and helped with thank you notes haha). You can also see a progression of my chalk art, approach, and photo editing as time went on.  Sometimes I look back at the early ones and wish I could re-do them, but perfection is pointless. 

One thing I am happy I did was choosing a particular item to photograph him with that was a favorite at the time.  Babies jump from one favorite thing to another so quickly its easy to forget what they were into or a milestone like using their first sippy cup.  Putting those things in the pictures with him will always serve as a reminder of what he loved, even if it was fleeting.

You also might notice that sometime in the summer, the floor magically changes colors.  Not magic.  What happened was, we decided to remodel our tiny 780 sq ft. bungalow into a 2400 sq ft. dream home.  However, part of the collateral damage was Townes' actual wall in his first bedroom (which became Aaron's office). Also, we had to move out of our house and live in a rental for almost a year, and I had to figure out a solution to my continuity issue.

I couldn't very well paint a wall in the rental house with chalkboard paint, landlords tend to frown upon those types of things.  So I did the only logical thing.  I measured the wall exactly, took a picture of the baseboard molding and headed out to Home Depot.  I'm pretty sure every guy there thought I had lost my mind, but I asked that they cut me a piece of MDF to the exact size, and found matching baseboard and had them cut that for me too. 

Back at home, I painted my new "wall" with two coats of Rust-Oleum Liquid Chalkboard Paint (its better than the spray can) and then attached the baseboard to the bottom with wood glue.  All I had to do now was lean it on the wall and plop his Pottery Barn Baby Chair in front of it and no one would know the difference (unless they compared the stain color on the hardwood floors). 

Here are some of the pre-edit photos so you can get an idea of what a difference good photo editing can do.  Nowadays I use my favorite app on my phone, Aviary, but at the time I was just using what tools were available to me in iPhoto.  When taking the photo here are a few tips to make sure they turn out great.

  • Keep it straight and level: I used to place my camera on an board book on an ottoman away from Townes and used a remote to shoot the photos (I used this really simple one from Precision). You want the camera to be straight on to your little ones face, make sure you aren't shooting from higher up; that may mean your camera only needs to be 18 inches off the ground, so use a little tripod or a stool. Before even bringing your baby in, you can make sure the camera is set to capture the whole space you need and that the floor is straight and level in the photo, this will give you the most to work with when cropping later.  It will also keep the camera steady and makes the photos look more consistent month to month.
  • Shoot, shoot, shoot: Set your camera to a rapid shooting setting.  This will allow you to just keep clicking the shutter button on your remote and gives you the most options to choose from (see photo to the right).  Make sure your camera is on auto-focus so they aren't blurry (though if your kiddo is making crazy moves that can't be helped) and it will focus before shooting.
  • Focus on your baby: Don't worry about trying to get a perfect picture.  Once your camera is set, bring in your baby and don't worry about the camera.  Kids will give you laughs and giggles if you just set them where you need them and keep eye contact with them and make funny faces, play their favorite songs, etc.  If you try to goad them into saying cheese or looking at the camera you may both end up frustrated.  Stay out of the frame, but just worry about your little one, I promise you will have a photo you love.
  • Edit: Once you have your photos, pick the one you feel makes you the happiest.  The one that embodies your kiddo at the time. Then let the magic of digital editing take it to the next level.  Crop it to the same size every month, and then adjust your brightness, color, saturation and tint, or add a filter - the more your experiment with your editing tools the better you will get and you will find what you like. Almost every photo editor should have a "straighten" or "align" option - make sure your baseboard or floor is level to the bottom of your photo!  I was even able to edit out the power outlet on the wall with the "blemish" tool.