White Russian Casserole

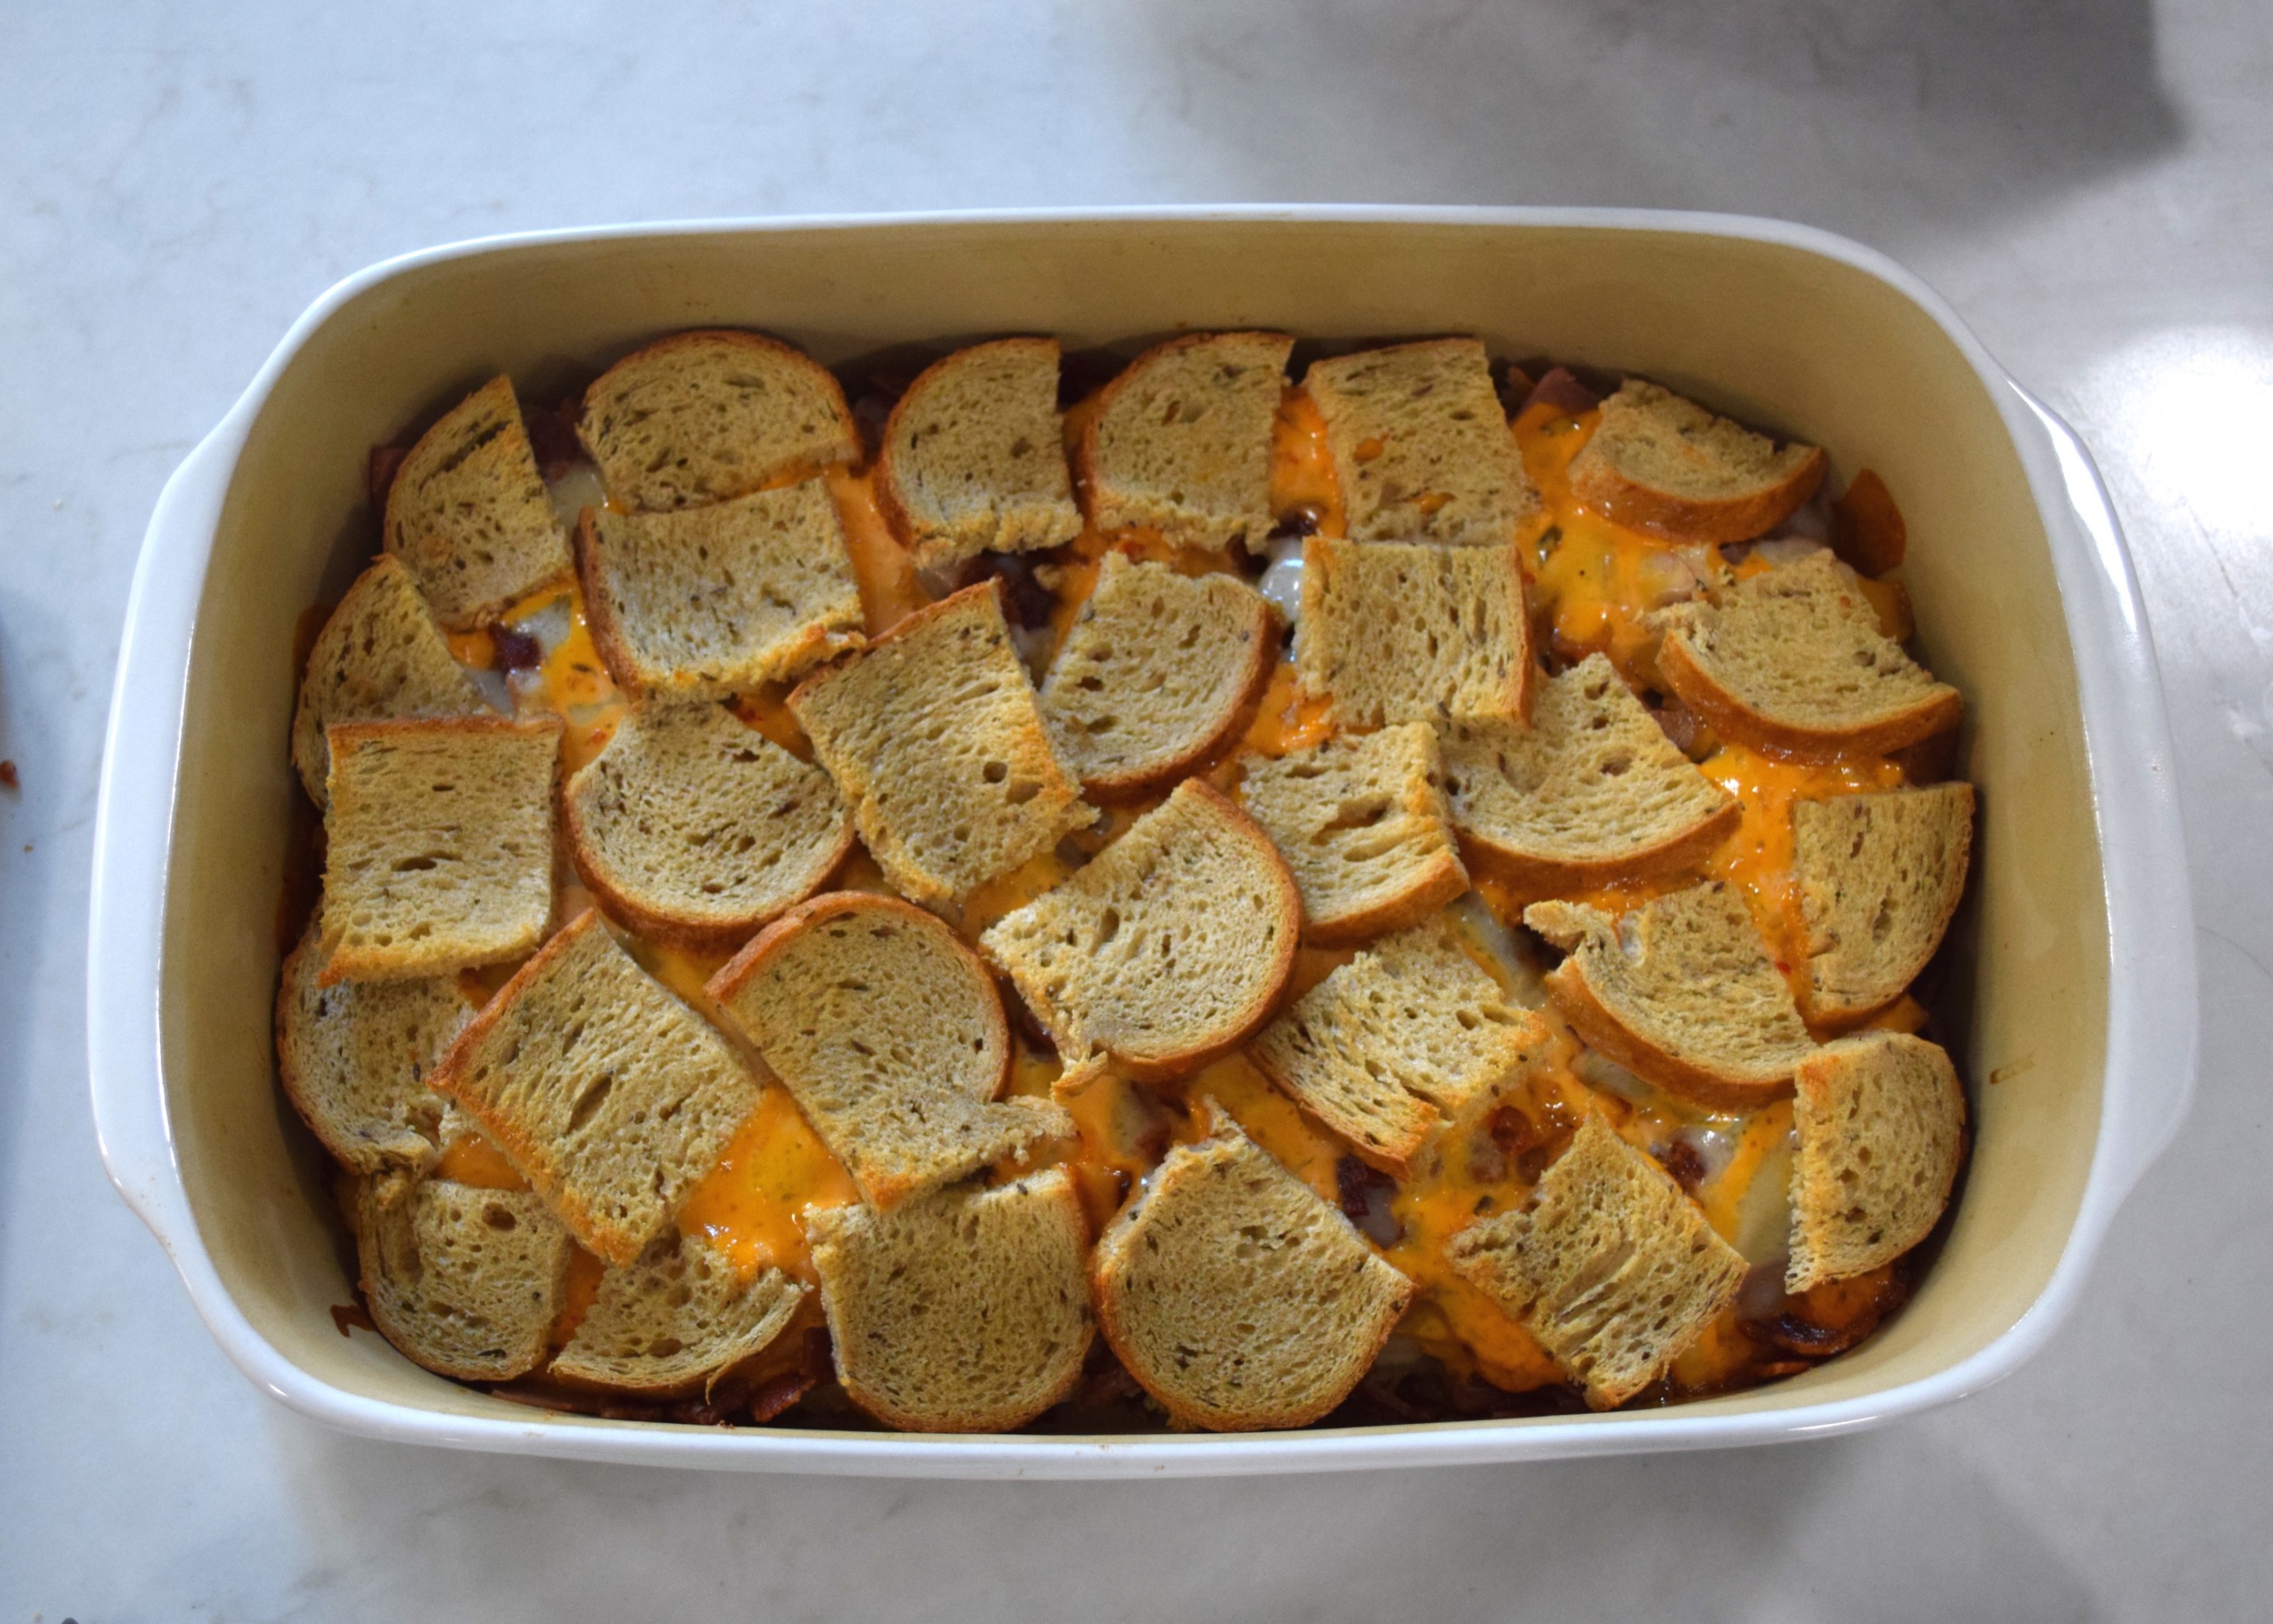
I don't know if this is a casserole as much as it is a family-sized sandwich.  You put it together like a sandwich but in a casserole dish and then you bake it to crispy, melty deliciousness. 

The Inspiration for this came from a sandwich I ate all the time in high school back home in New York.  There was a restaurant down the road from my mom's house, The Katonah Bar and Grill (which has since been renamed Oliver's and the menu is different), and they had a sandwich on the menu, the White Russian.  I'm not entirely sure why it was called that, but it was my favorite.

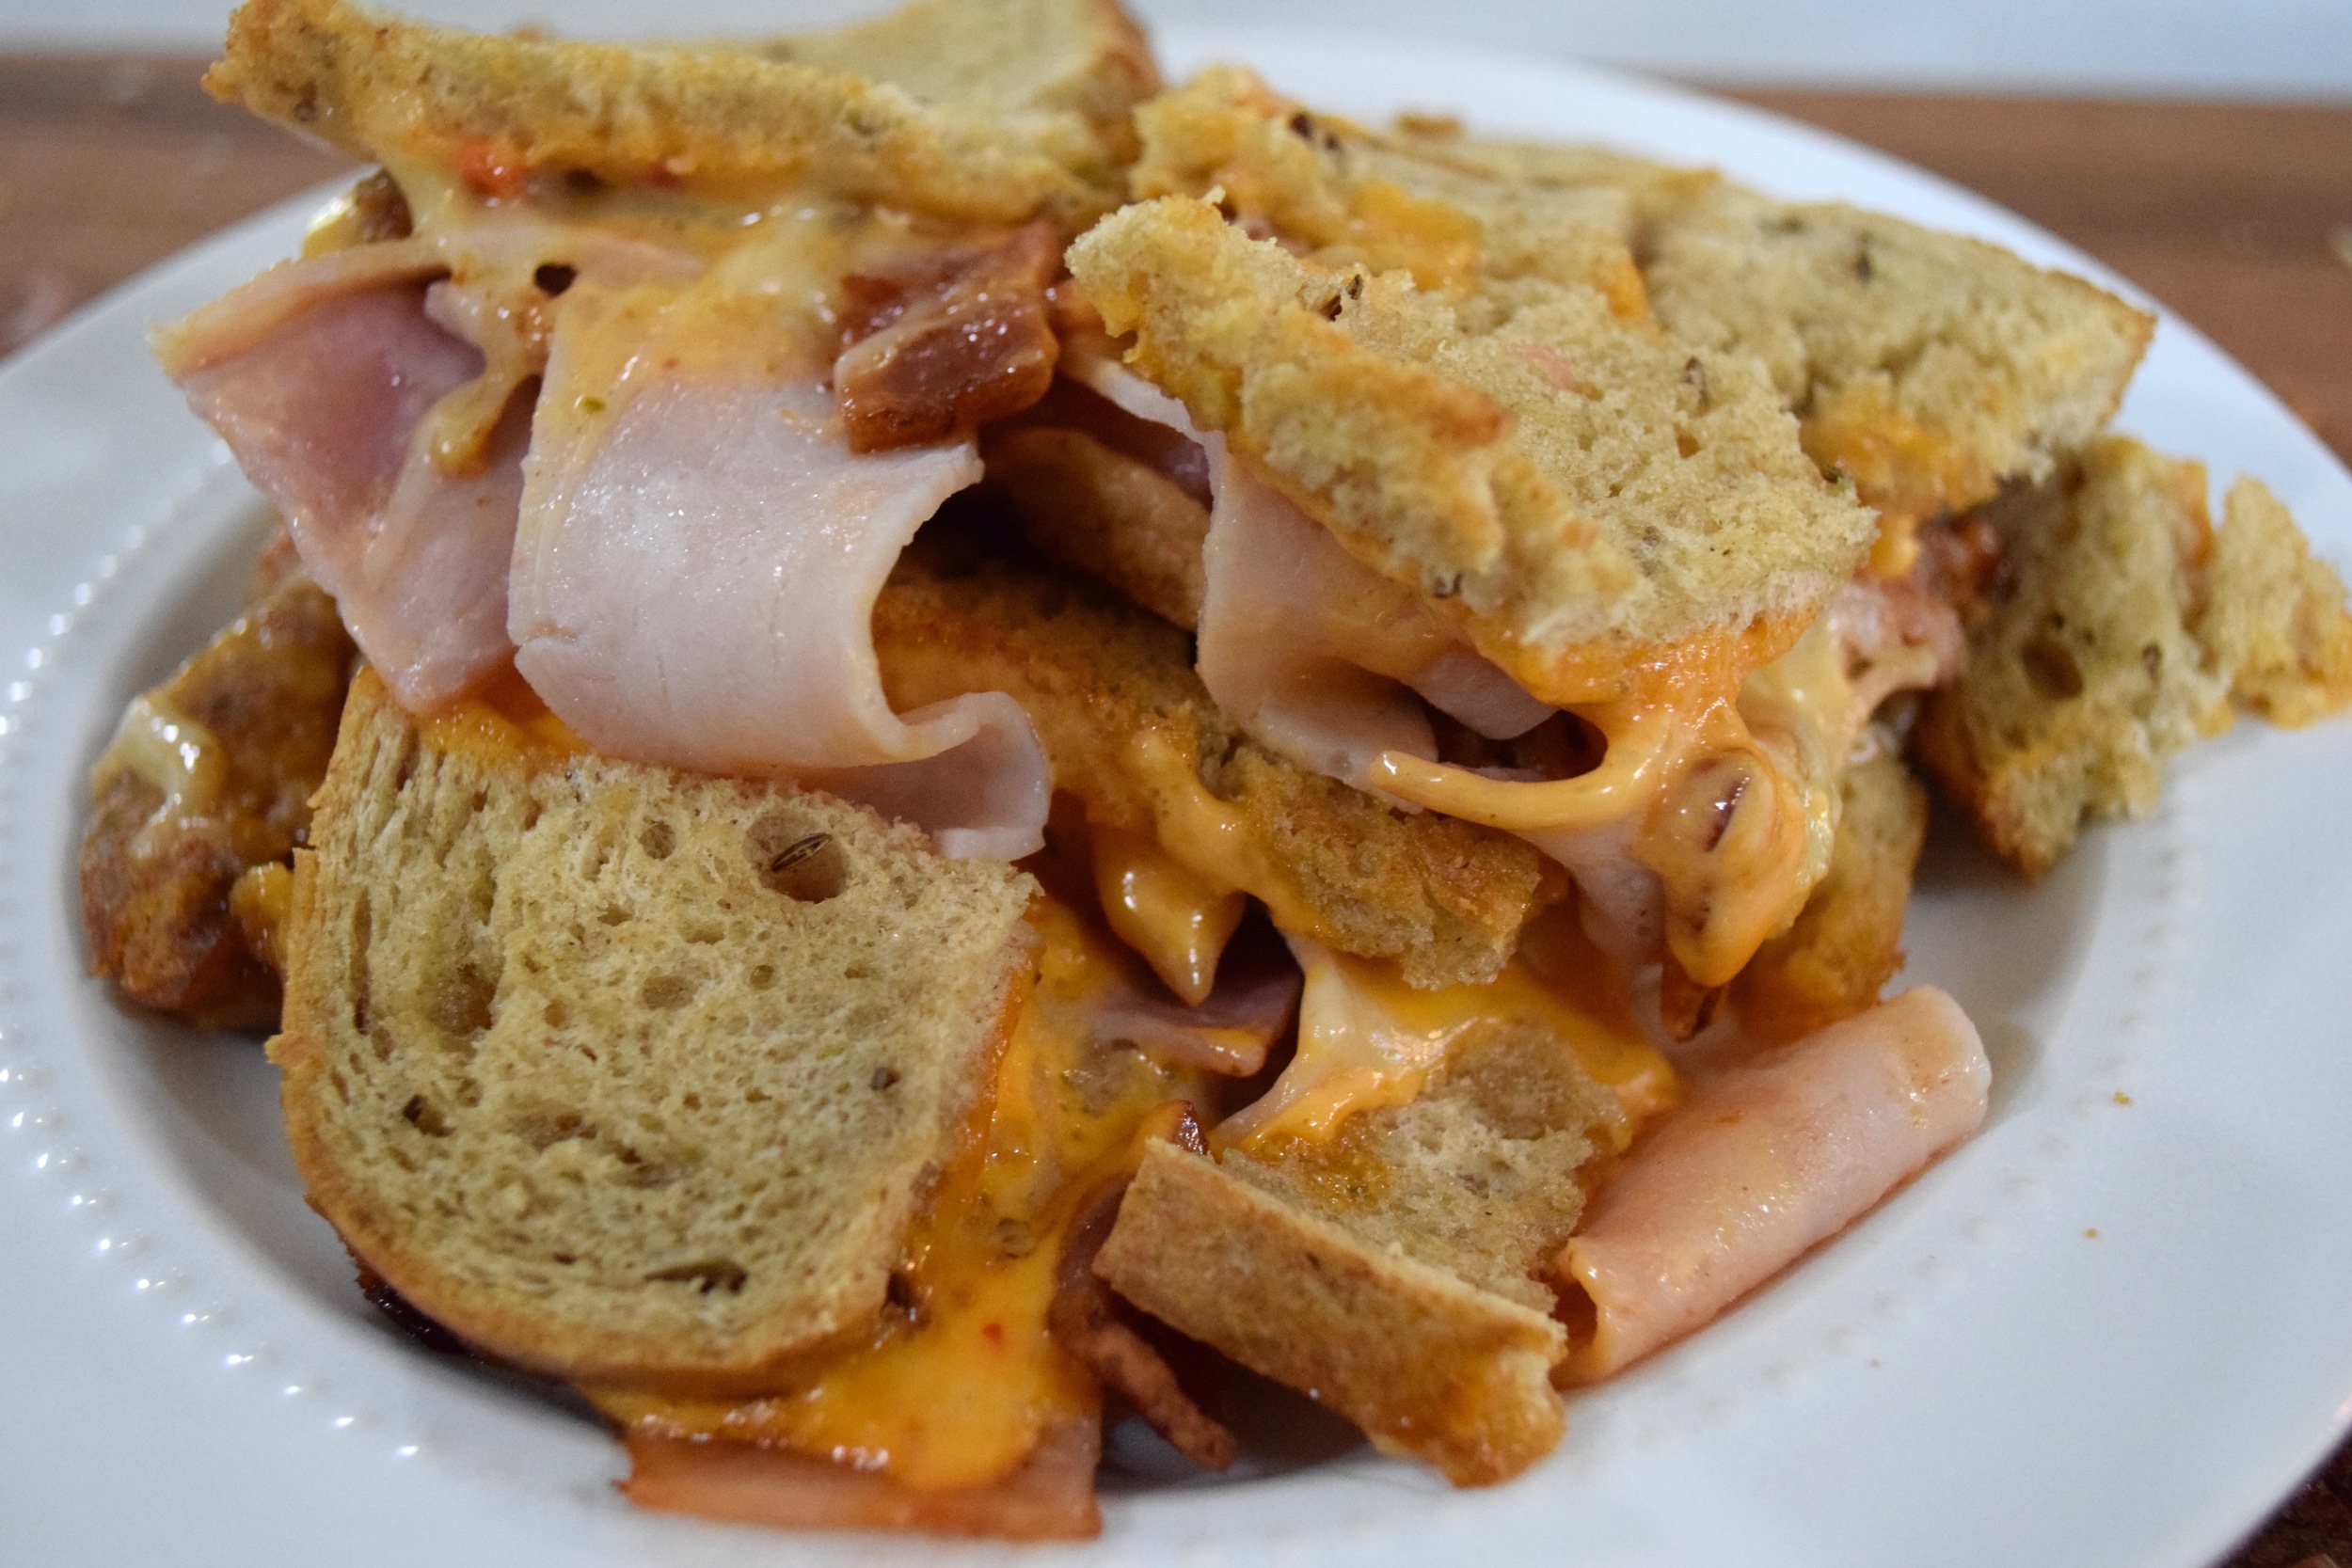
It was layers of turkey, ham, bacon, cheese and Russian dressing in between buttery-toasted rye bread.  They served it with beer battered french fries and a pickle.  I highly recommend the pairing - however, I didn't have any fries to go with this dinner.

This is honestly one of the easiest, cleanest meals I've ever put together.  With the exception of a bowl for melted butter and a cutting board, all you need is a knife and a casserole dish.  Woohoo! A meal that requires practically no clean-up!

This would also be a great dish for a winter potluck of sorts - a football party or something.  Its basically the epitome of a bar food casserole. 

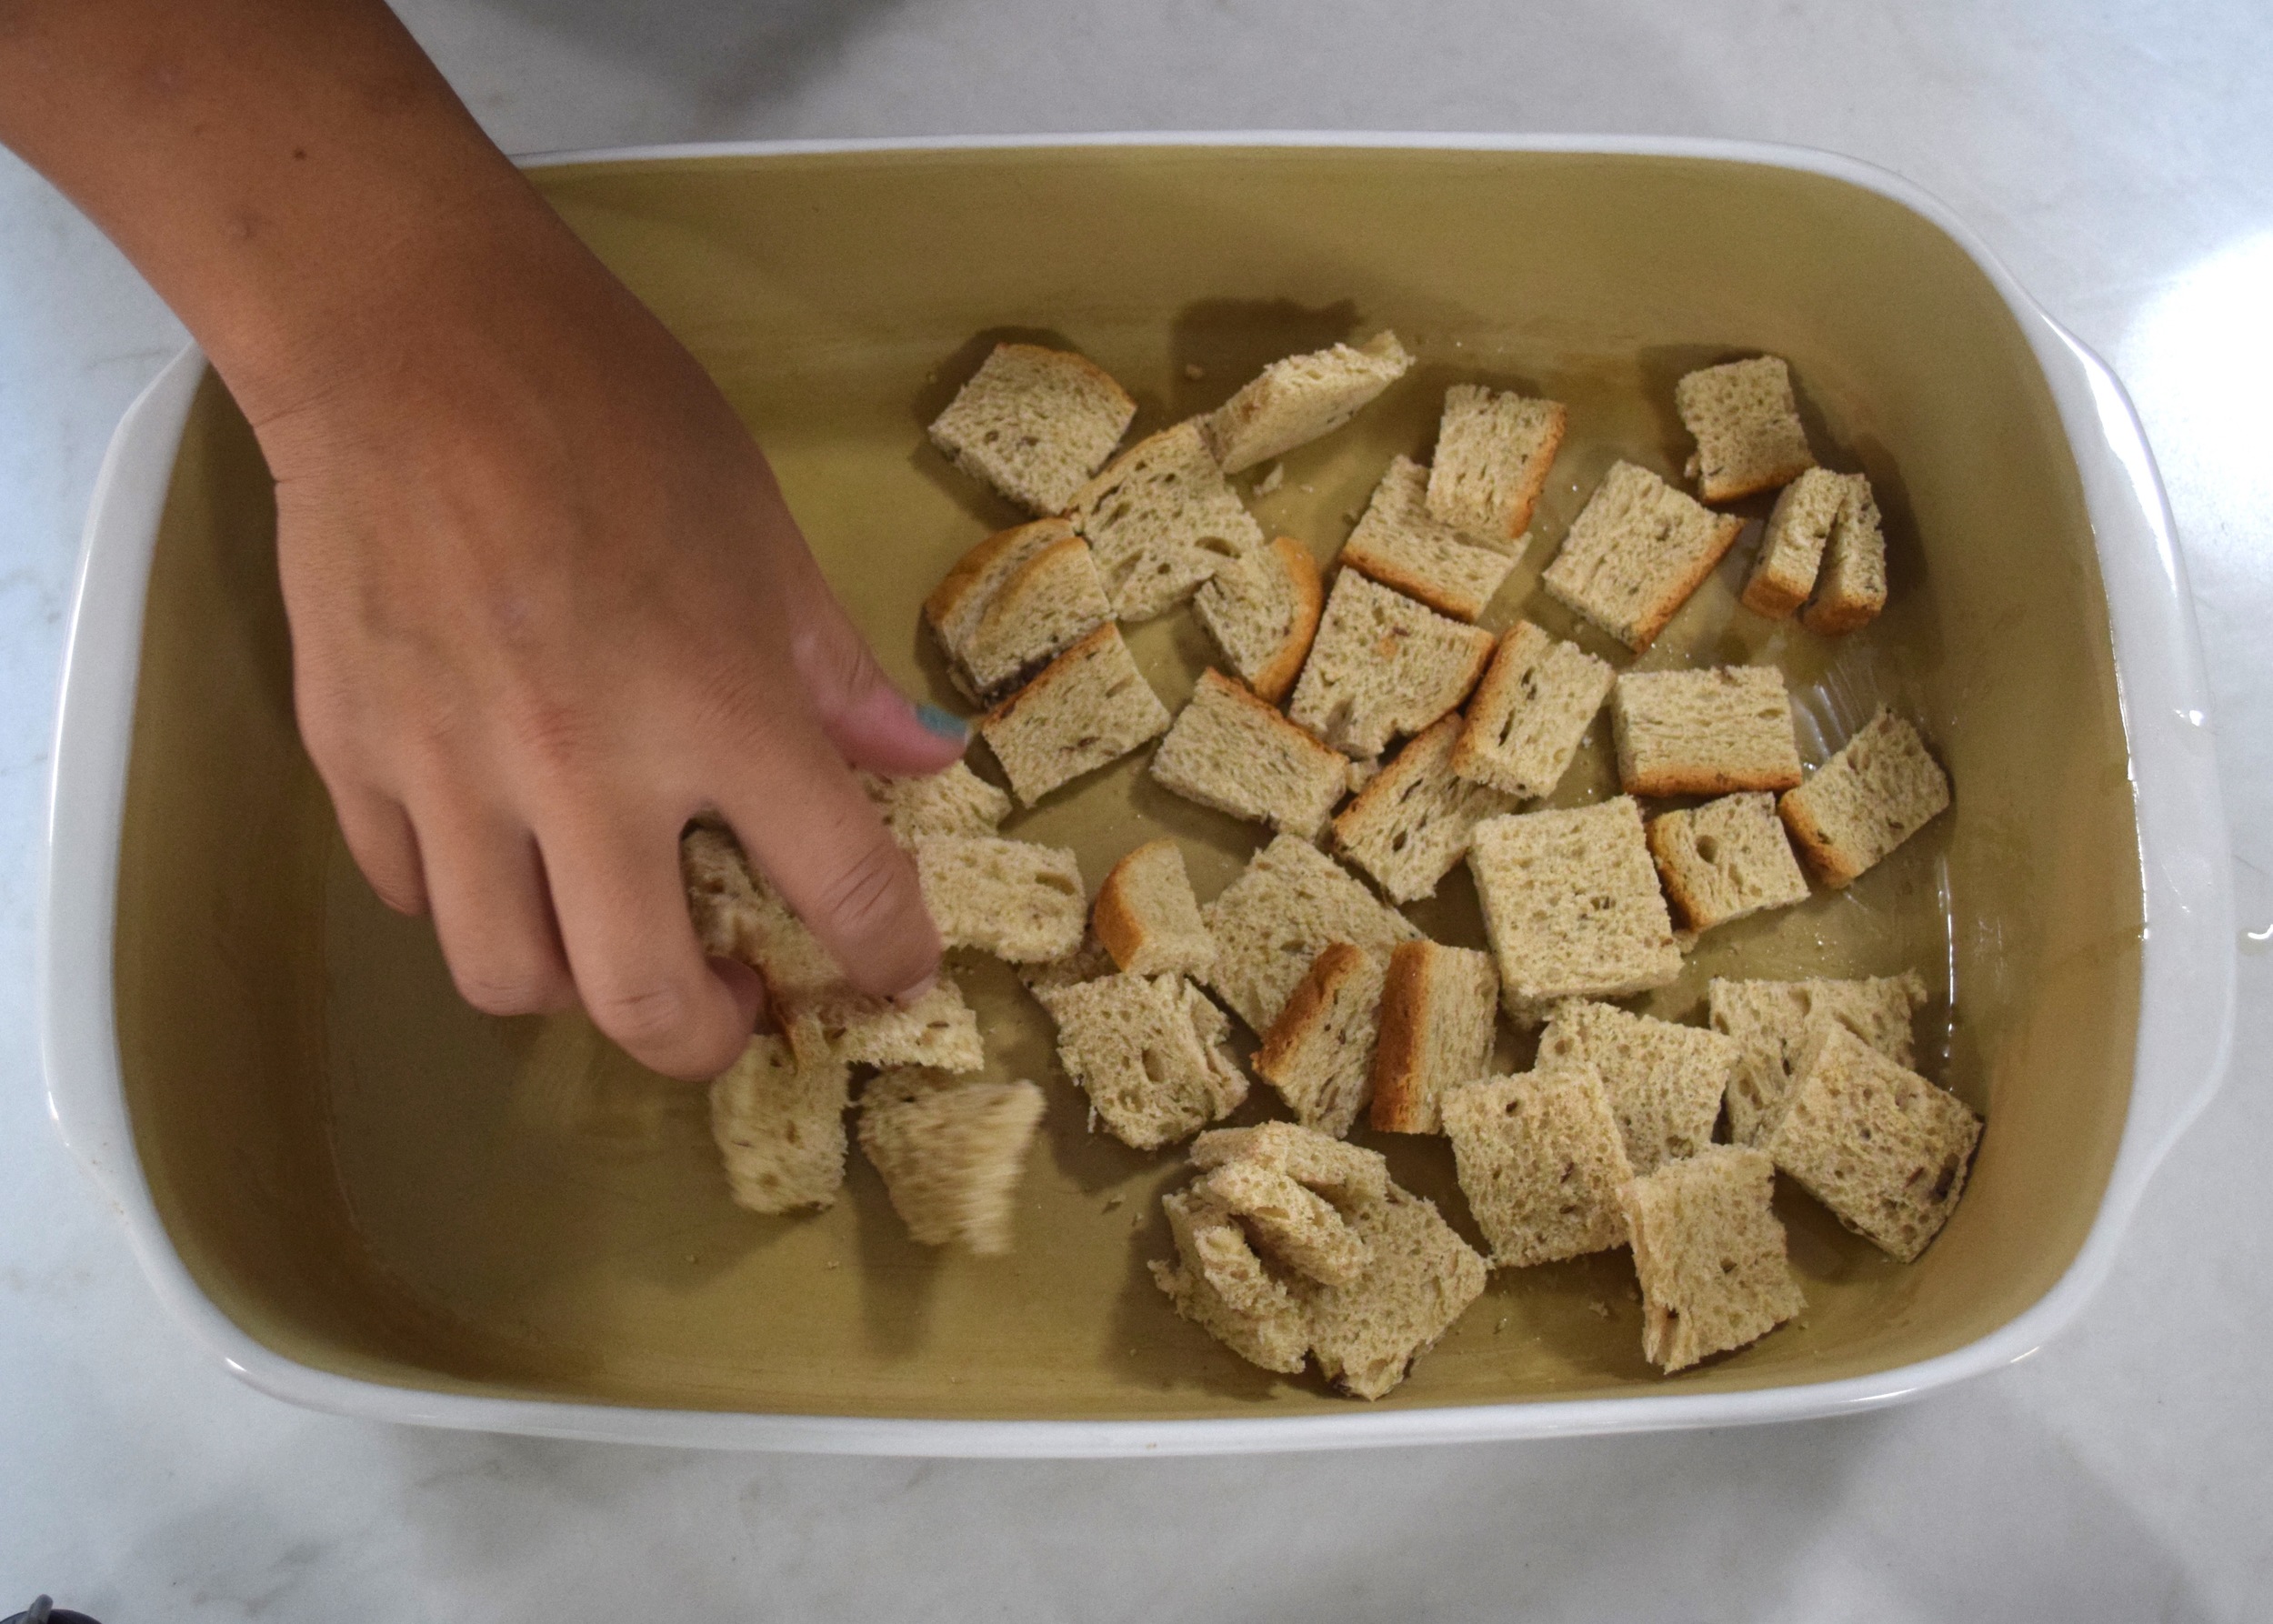
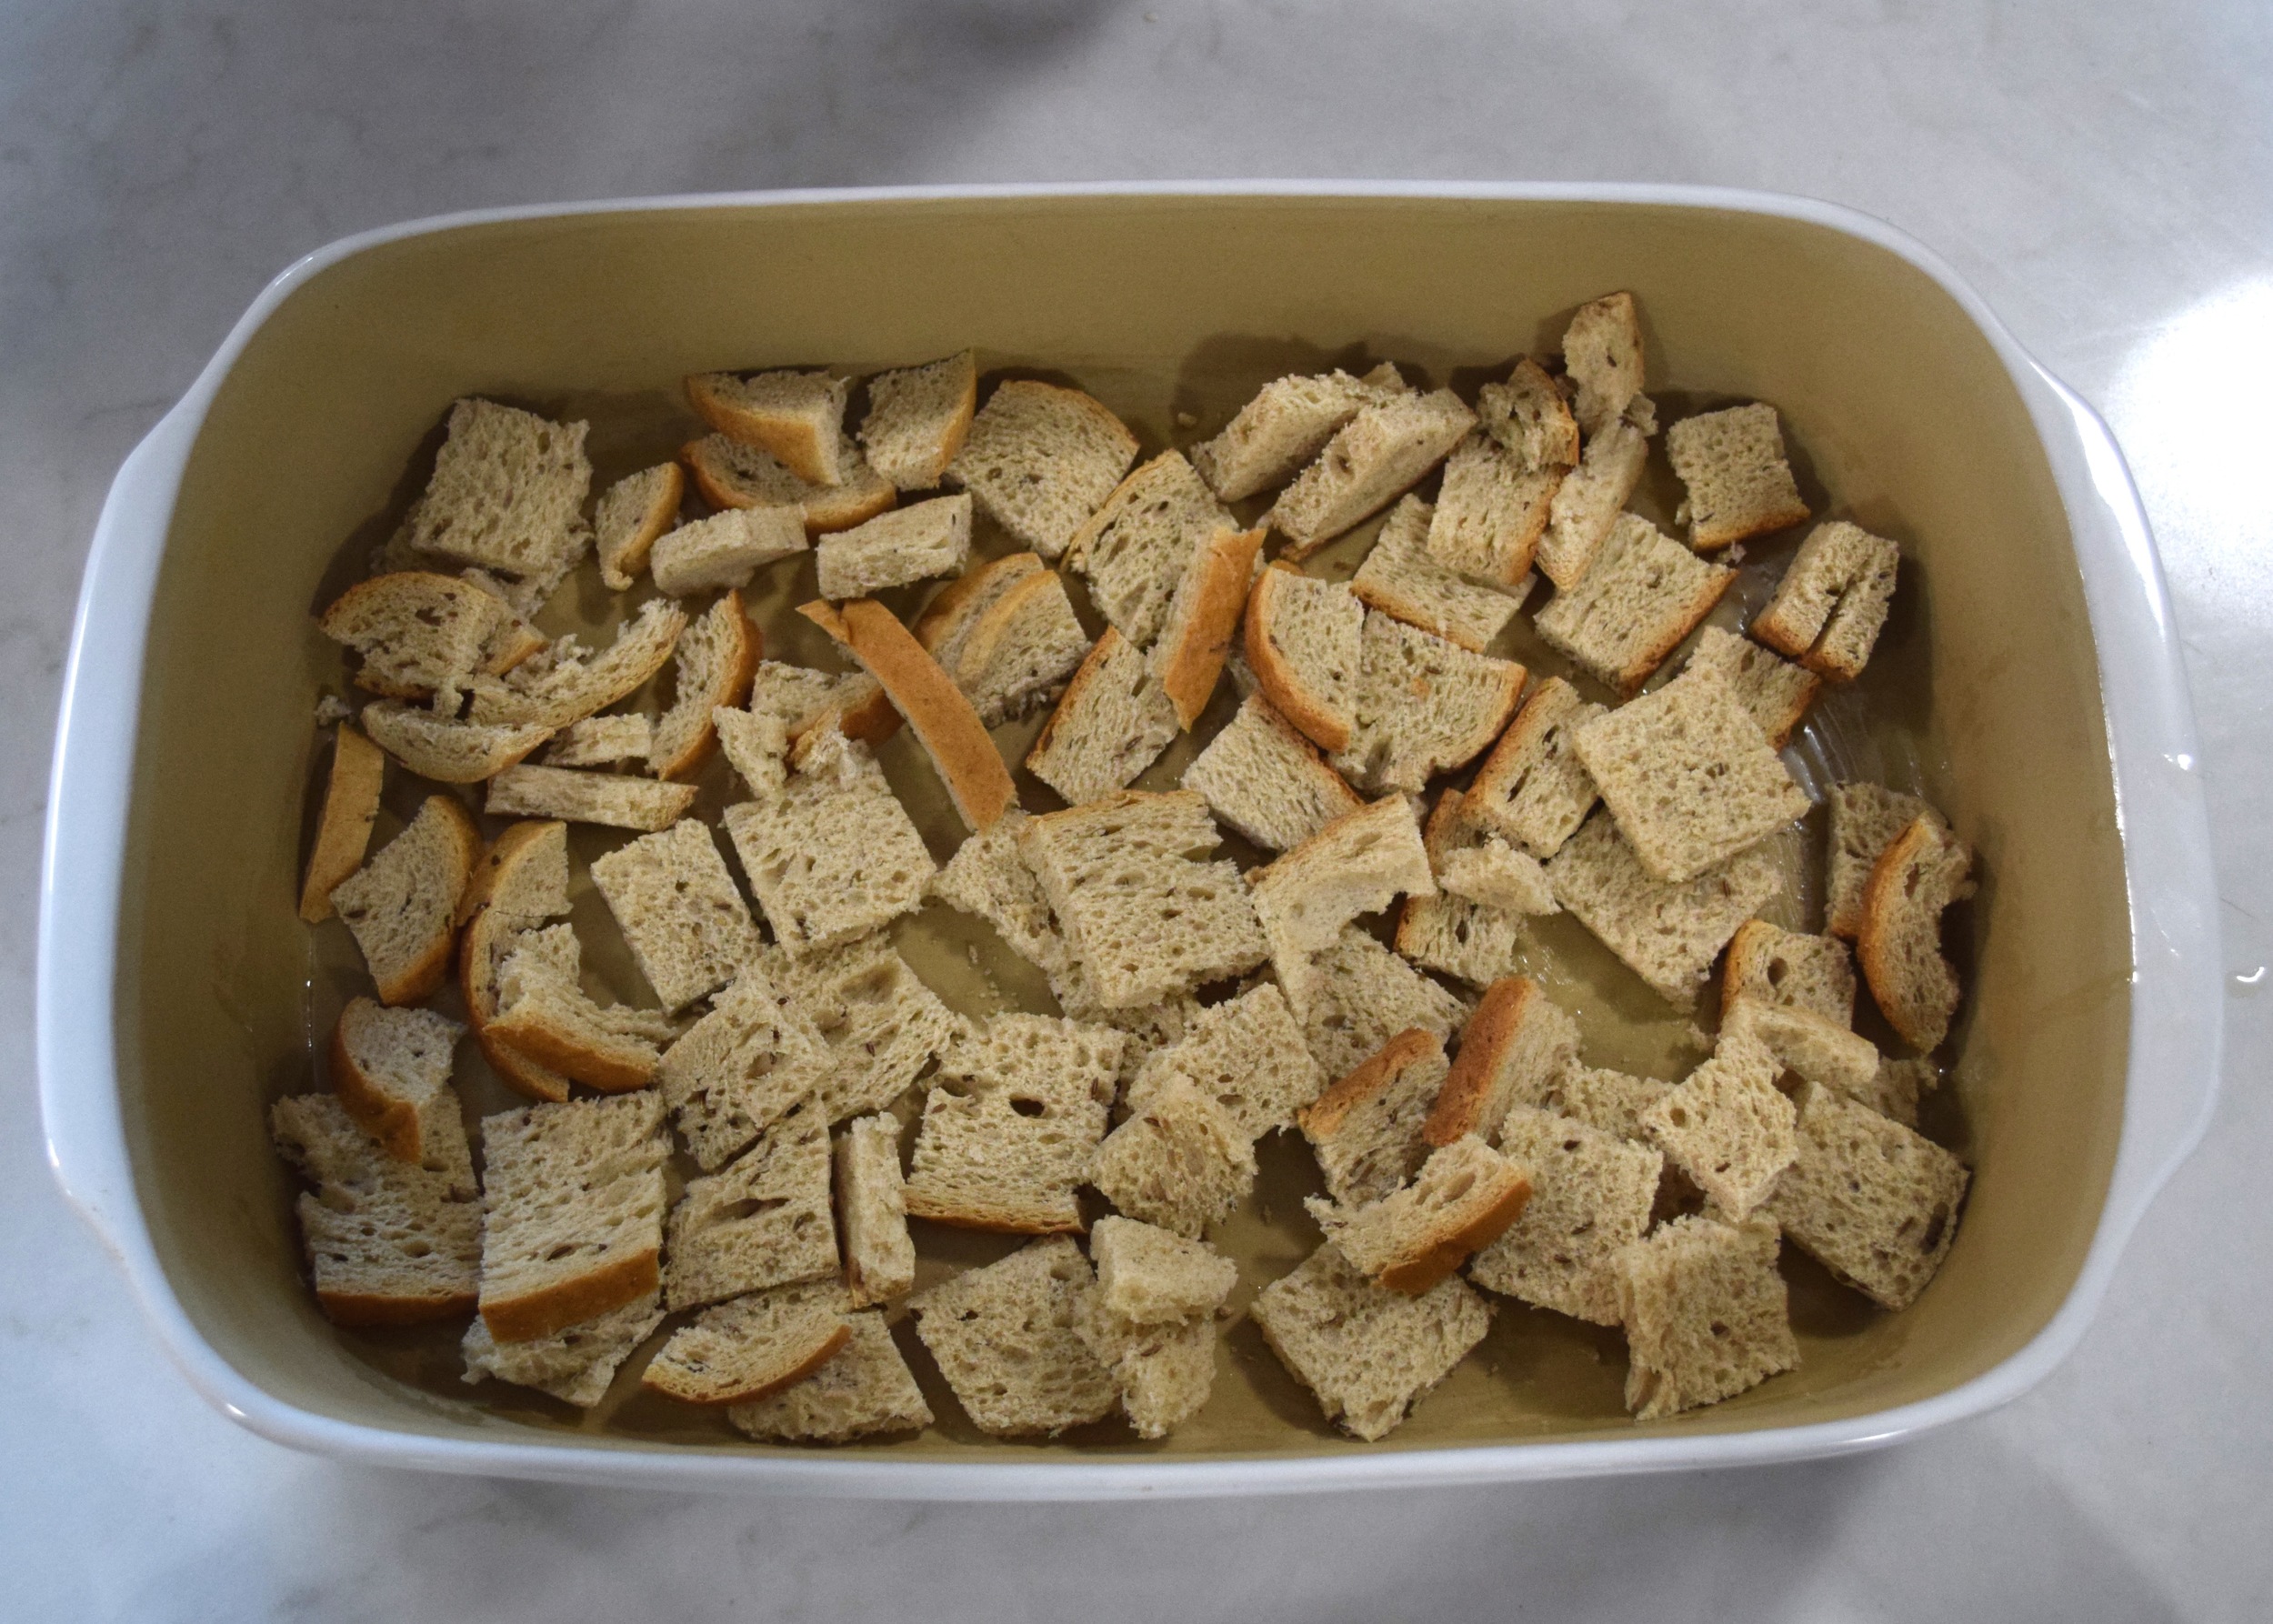
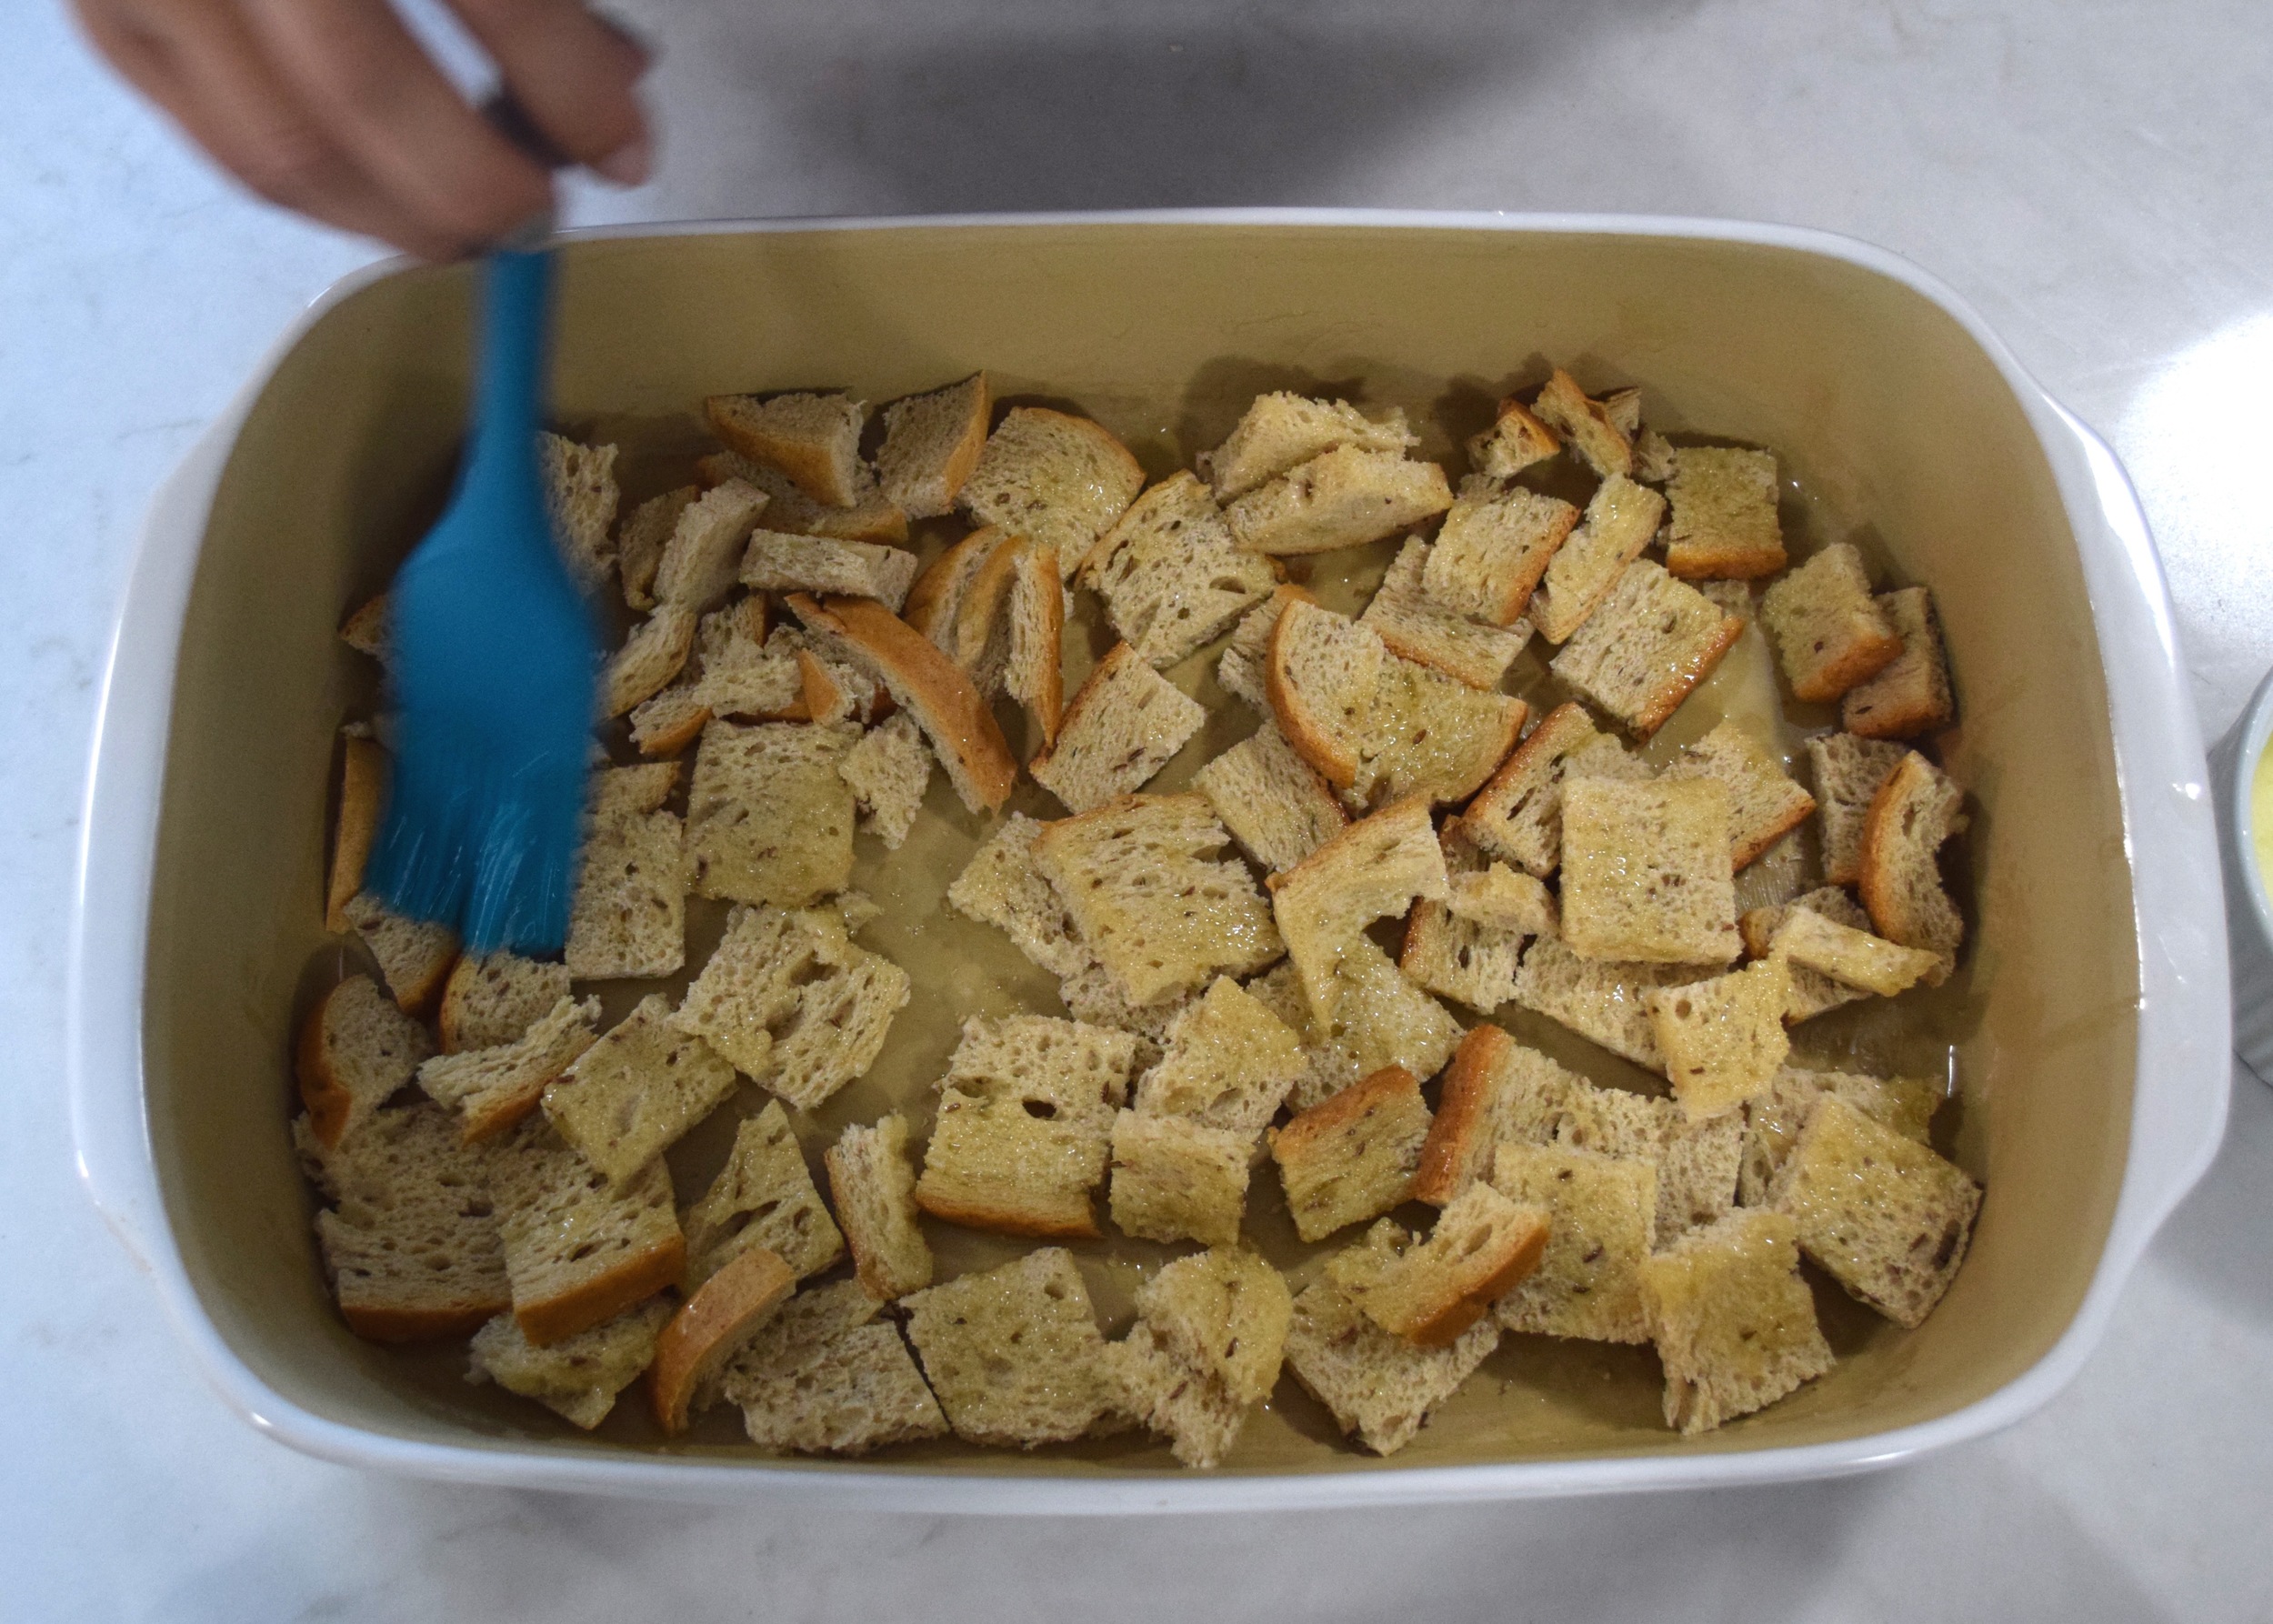
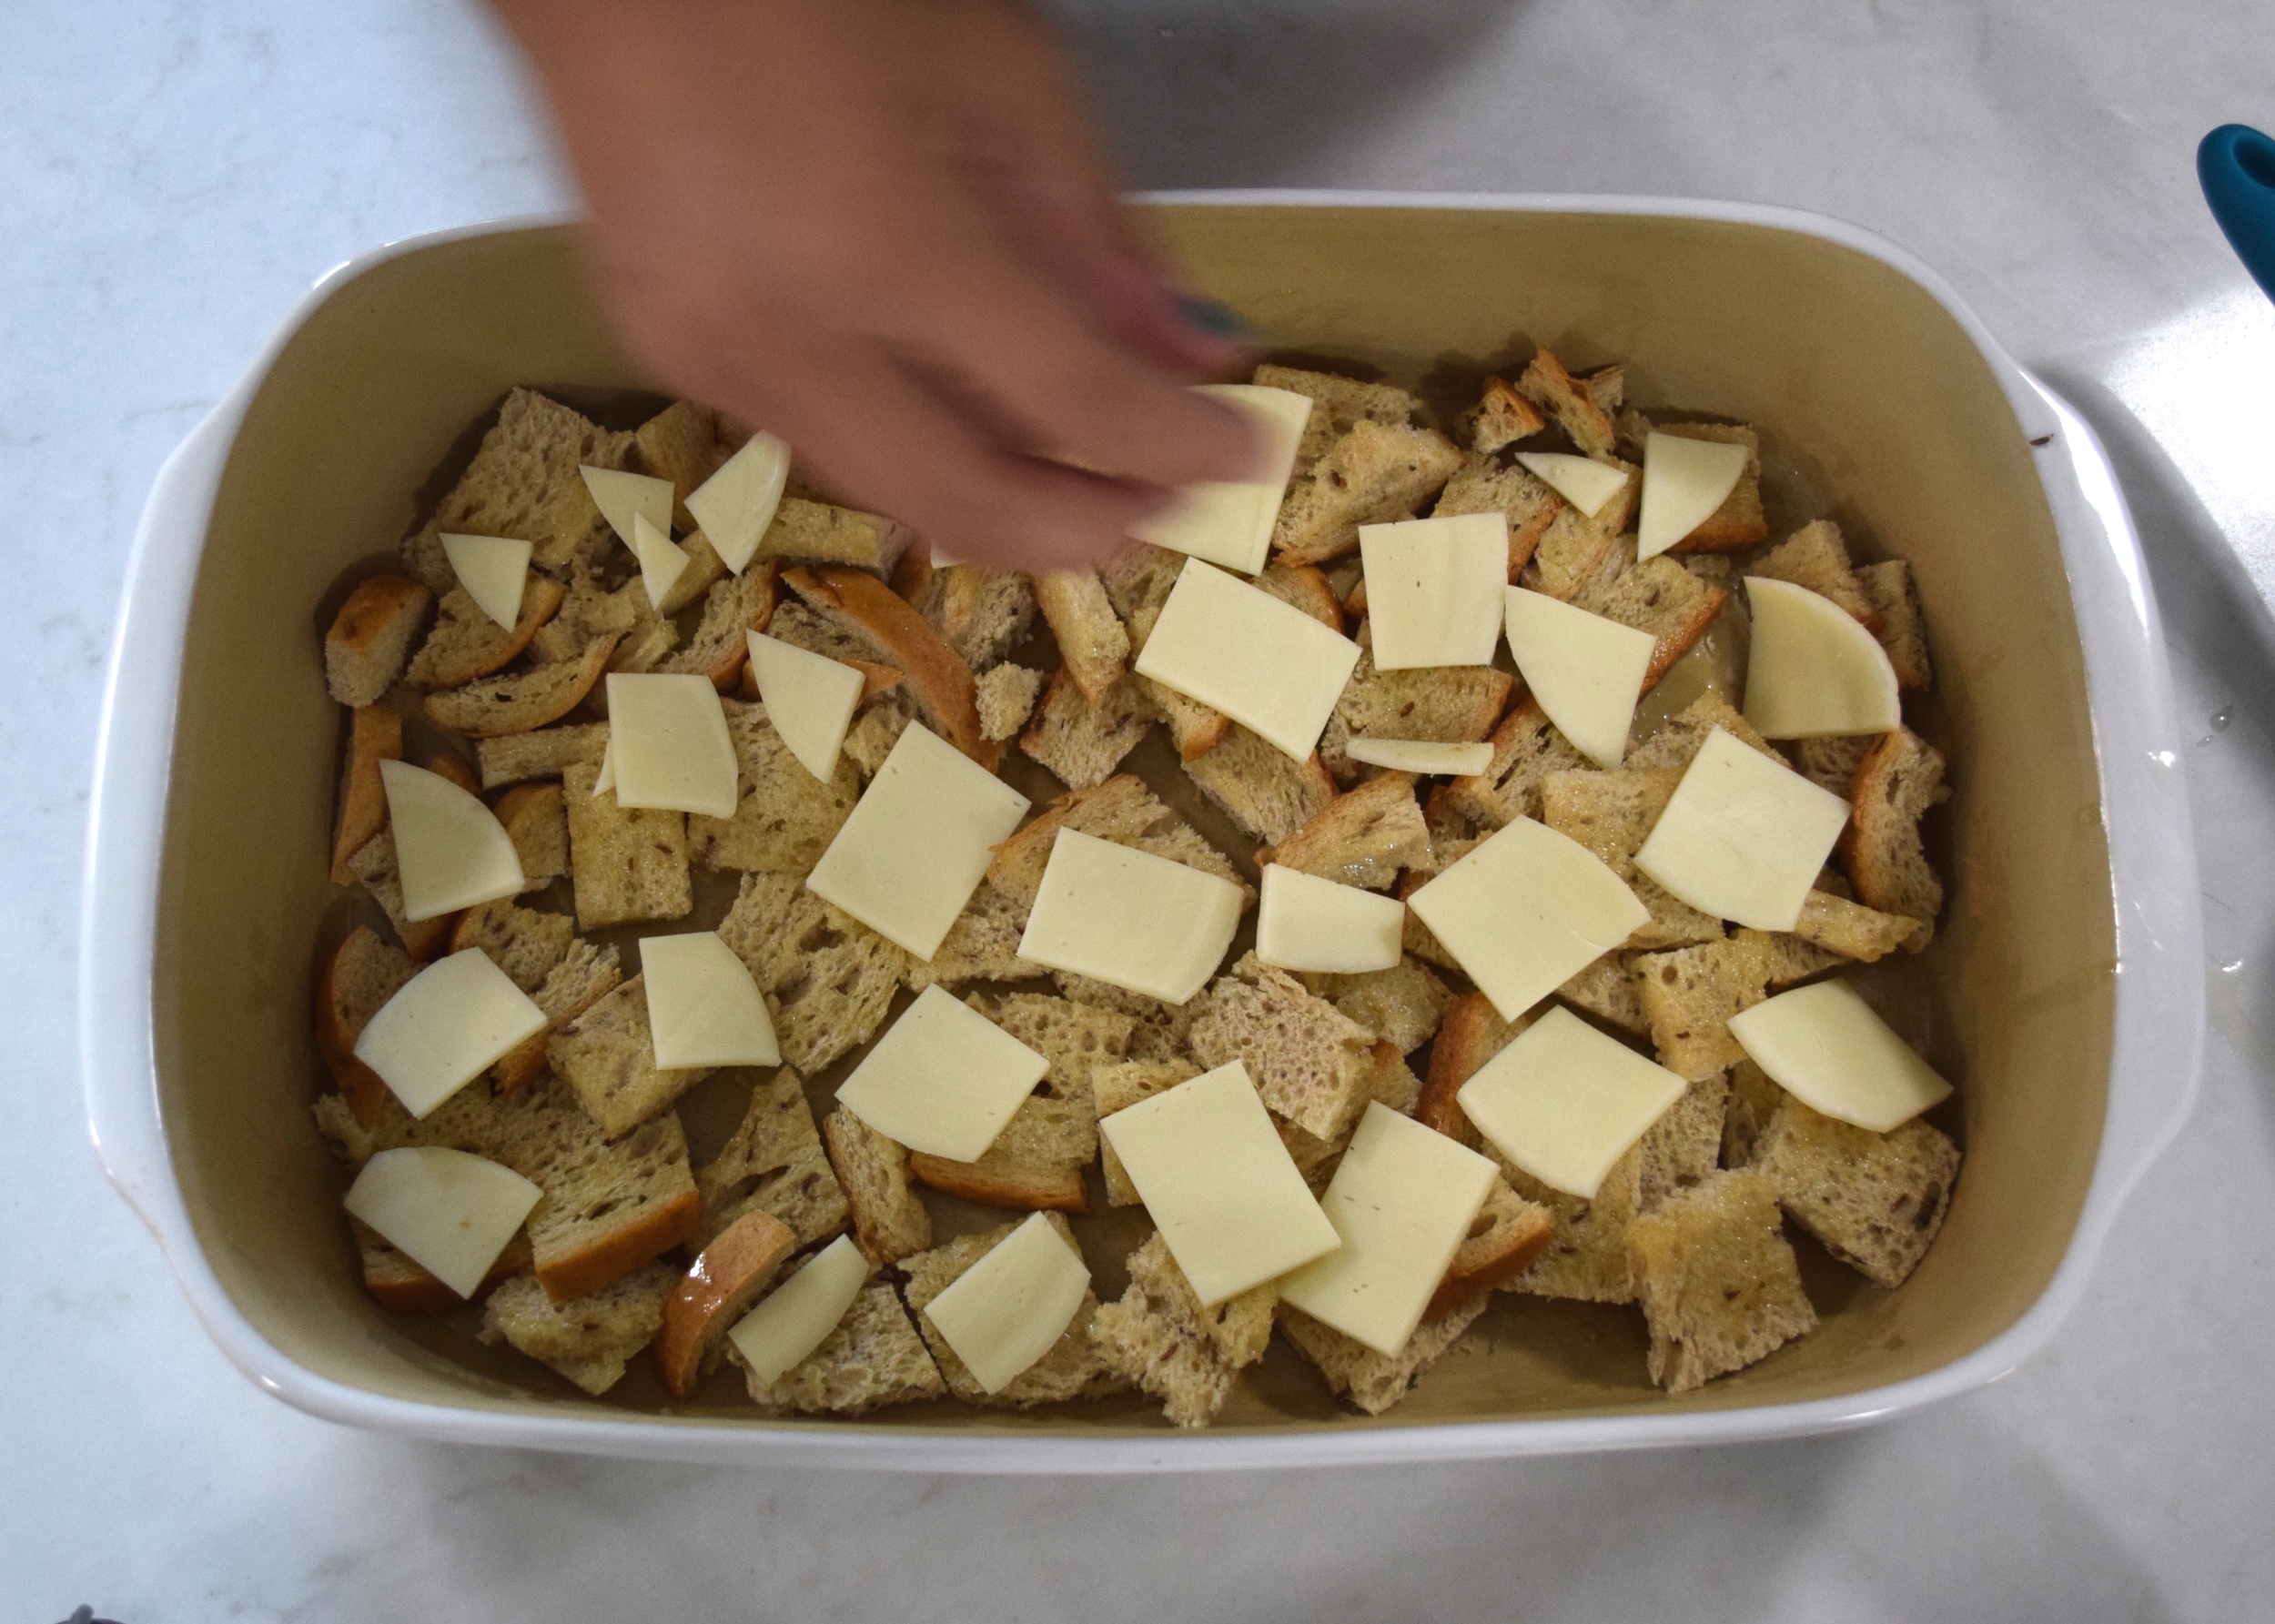
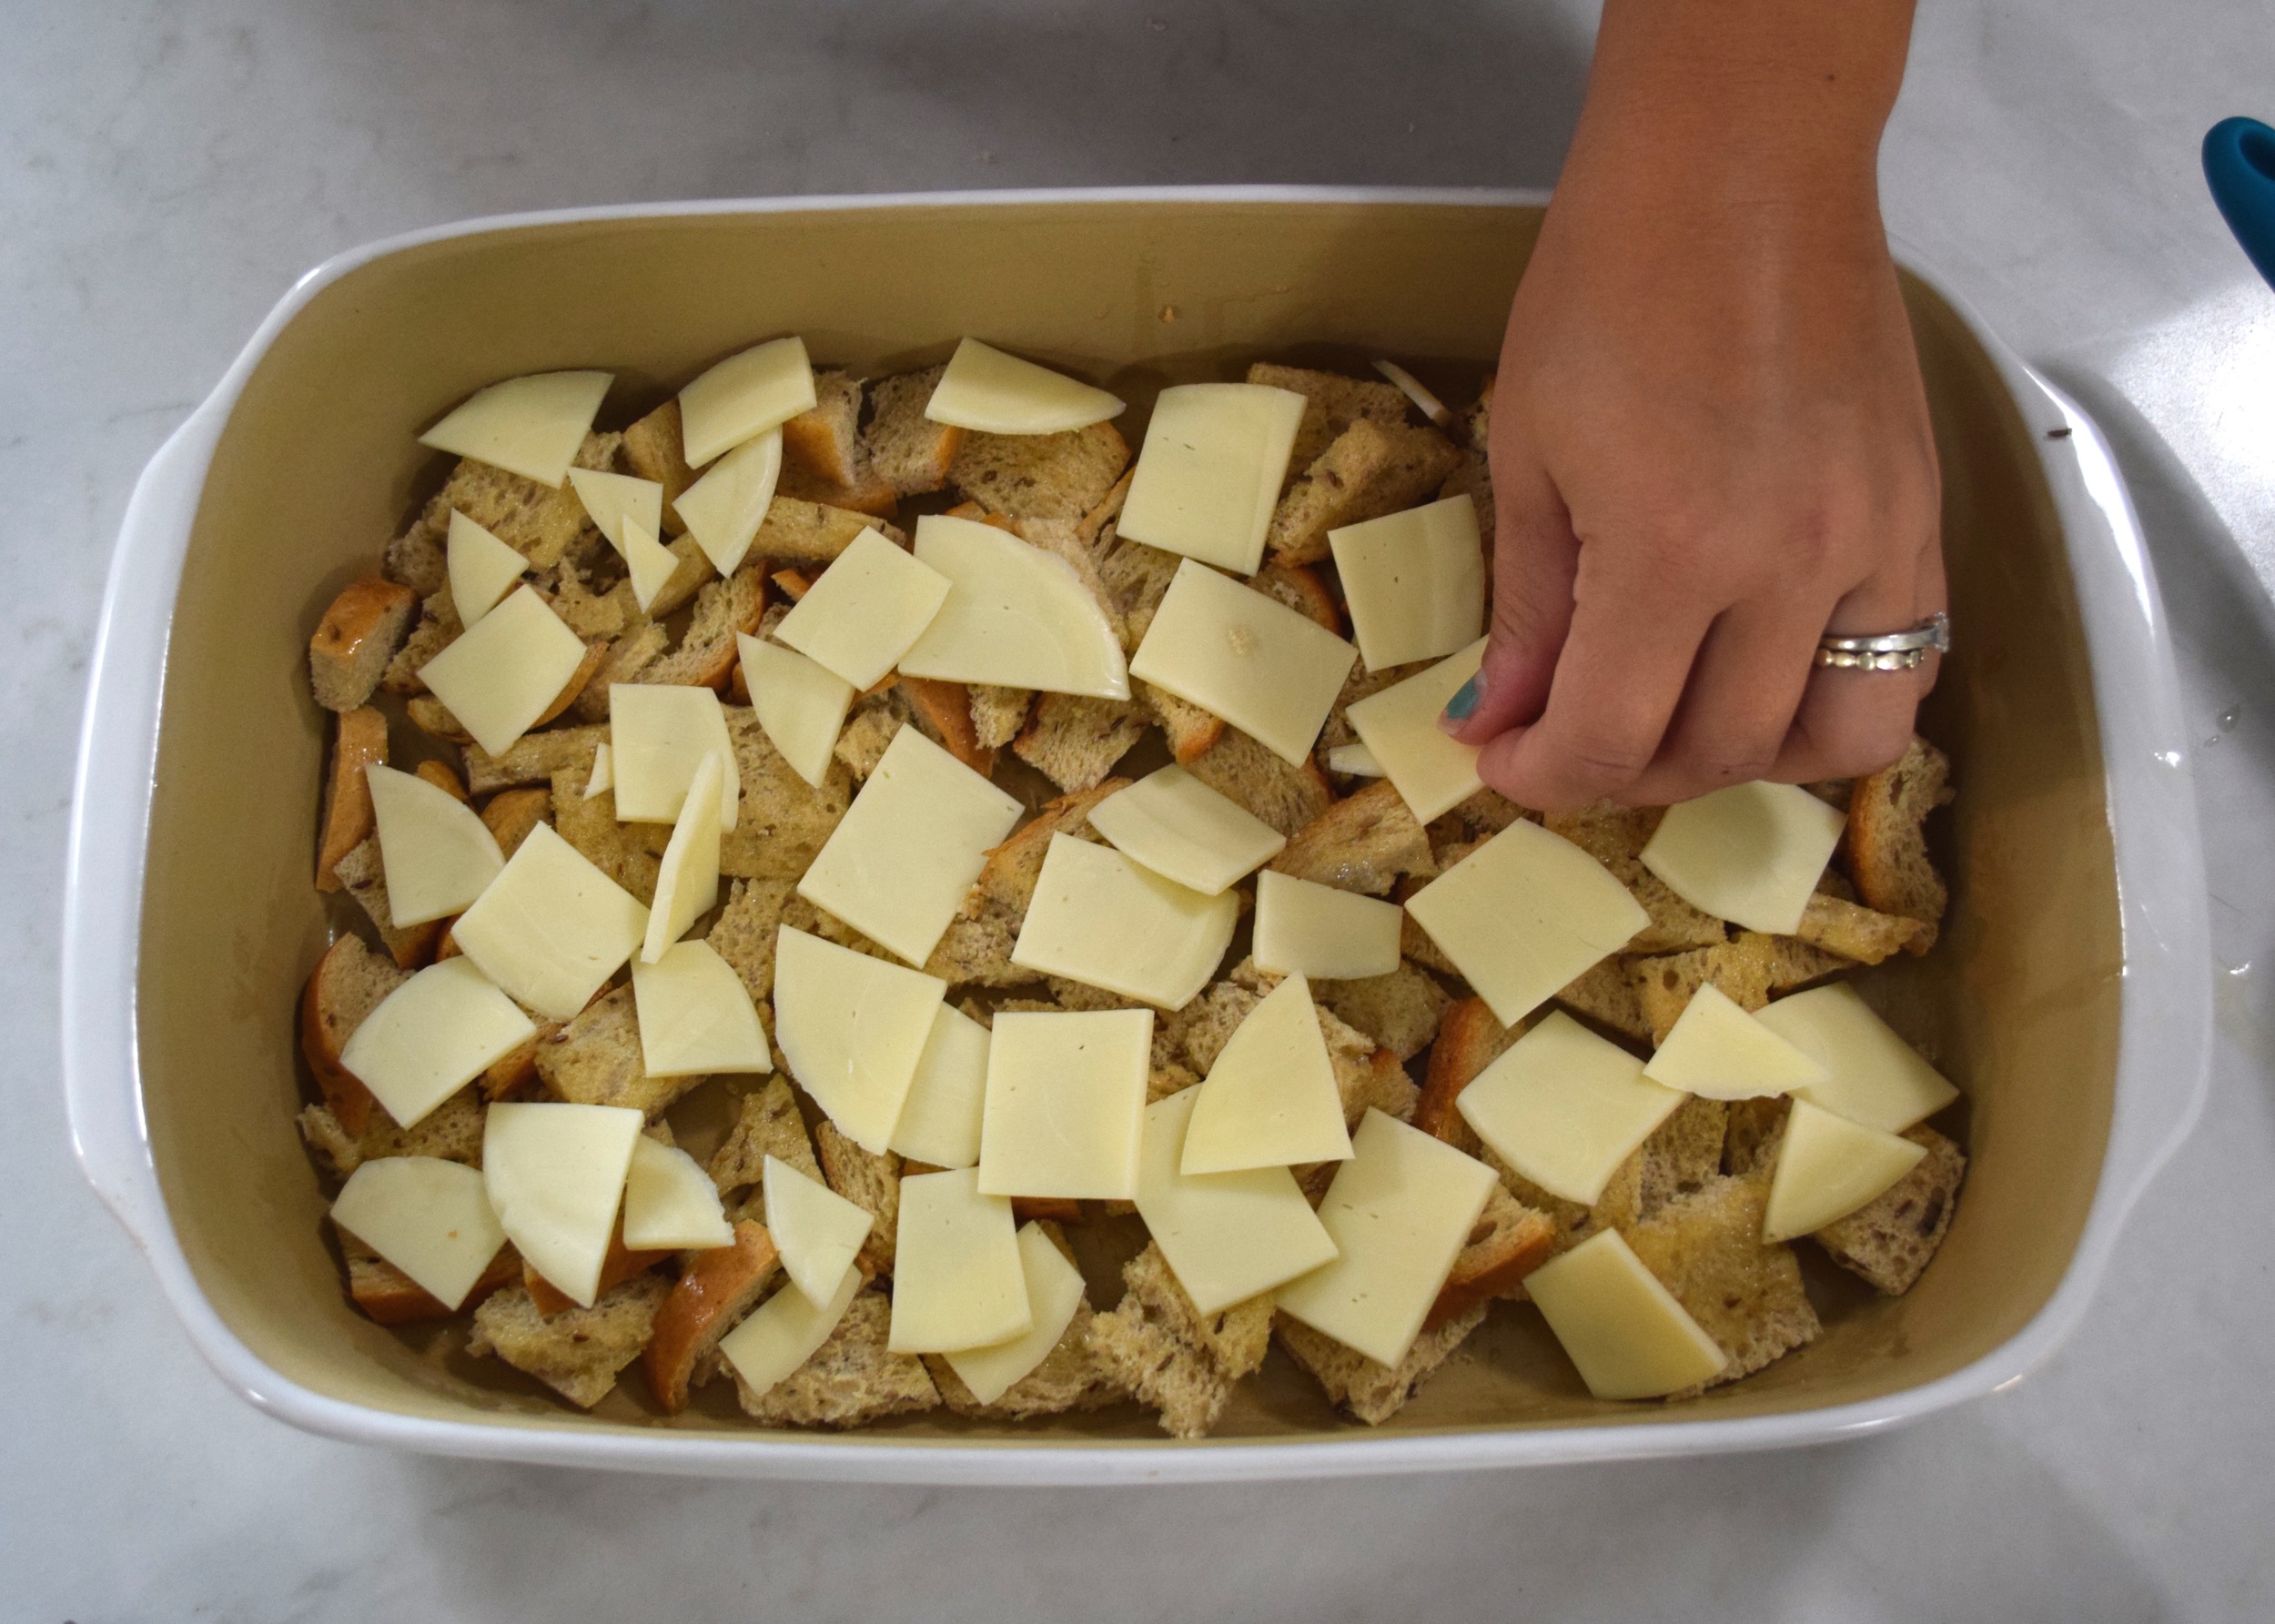
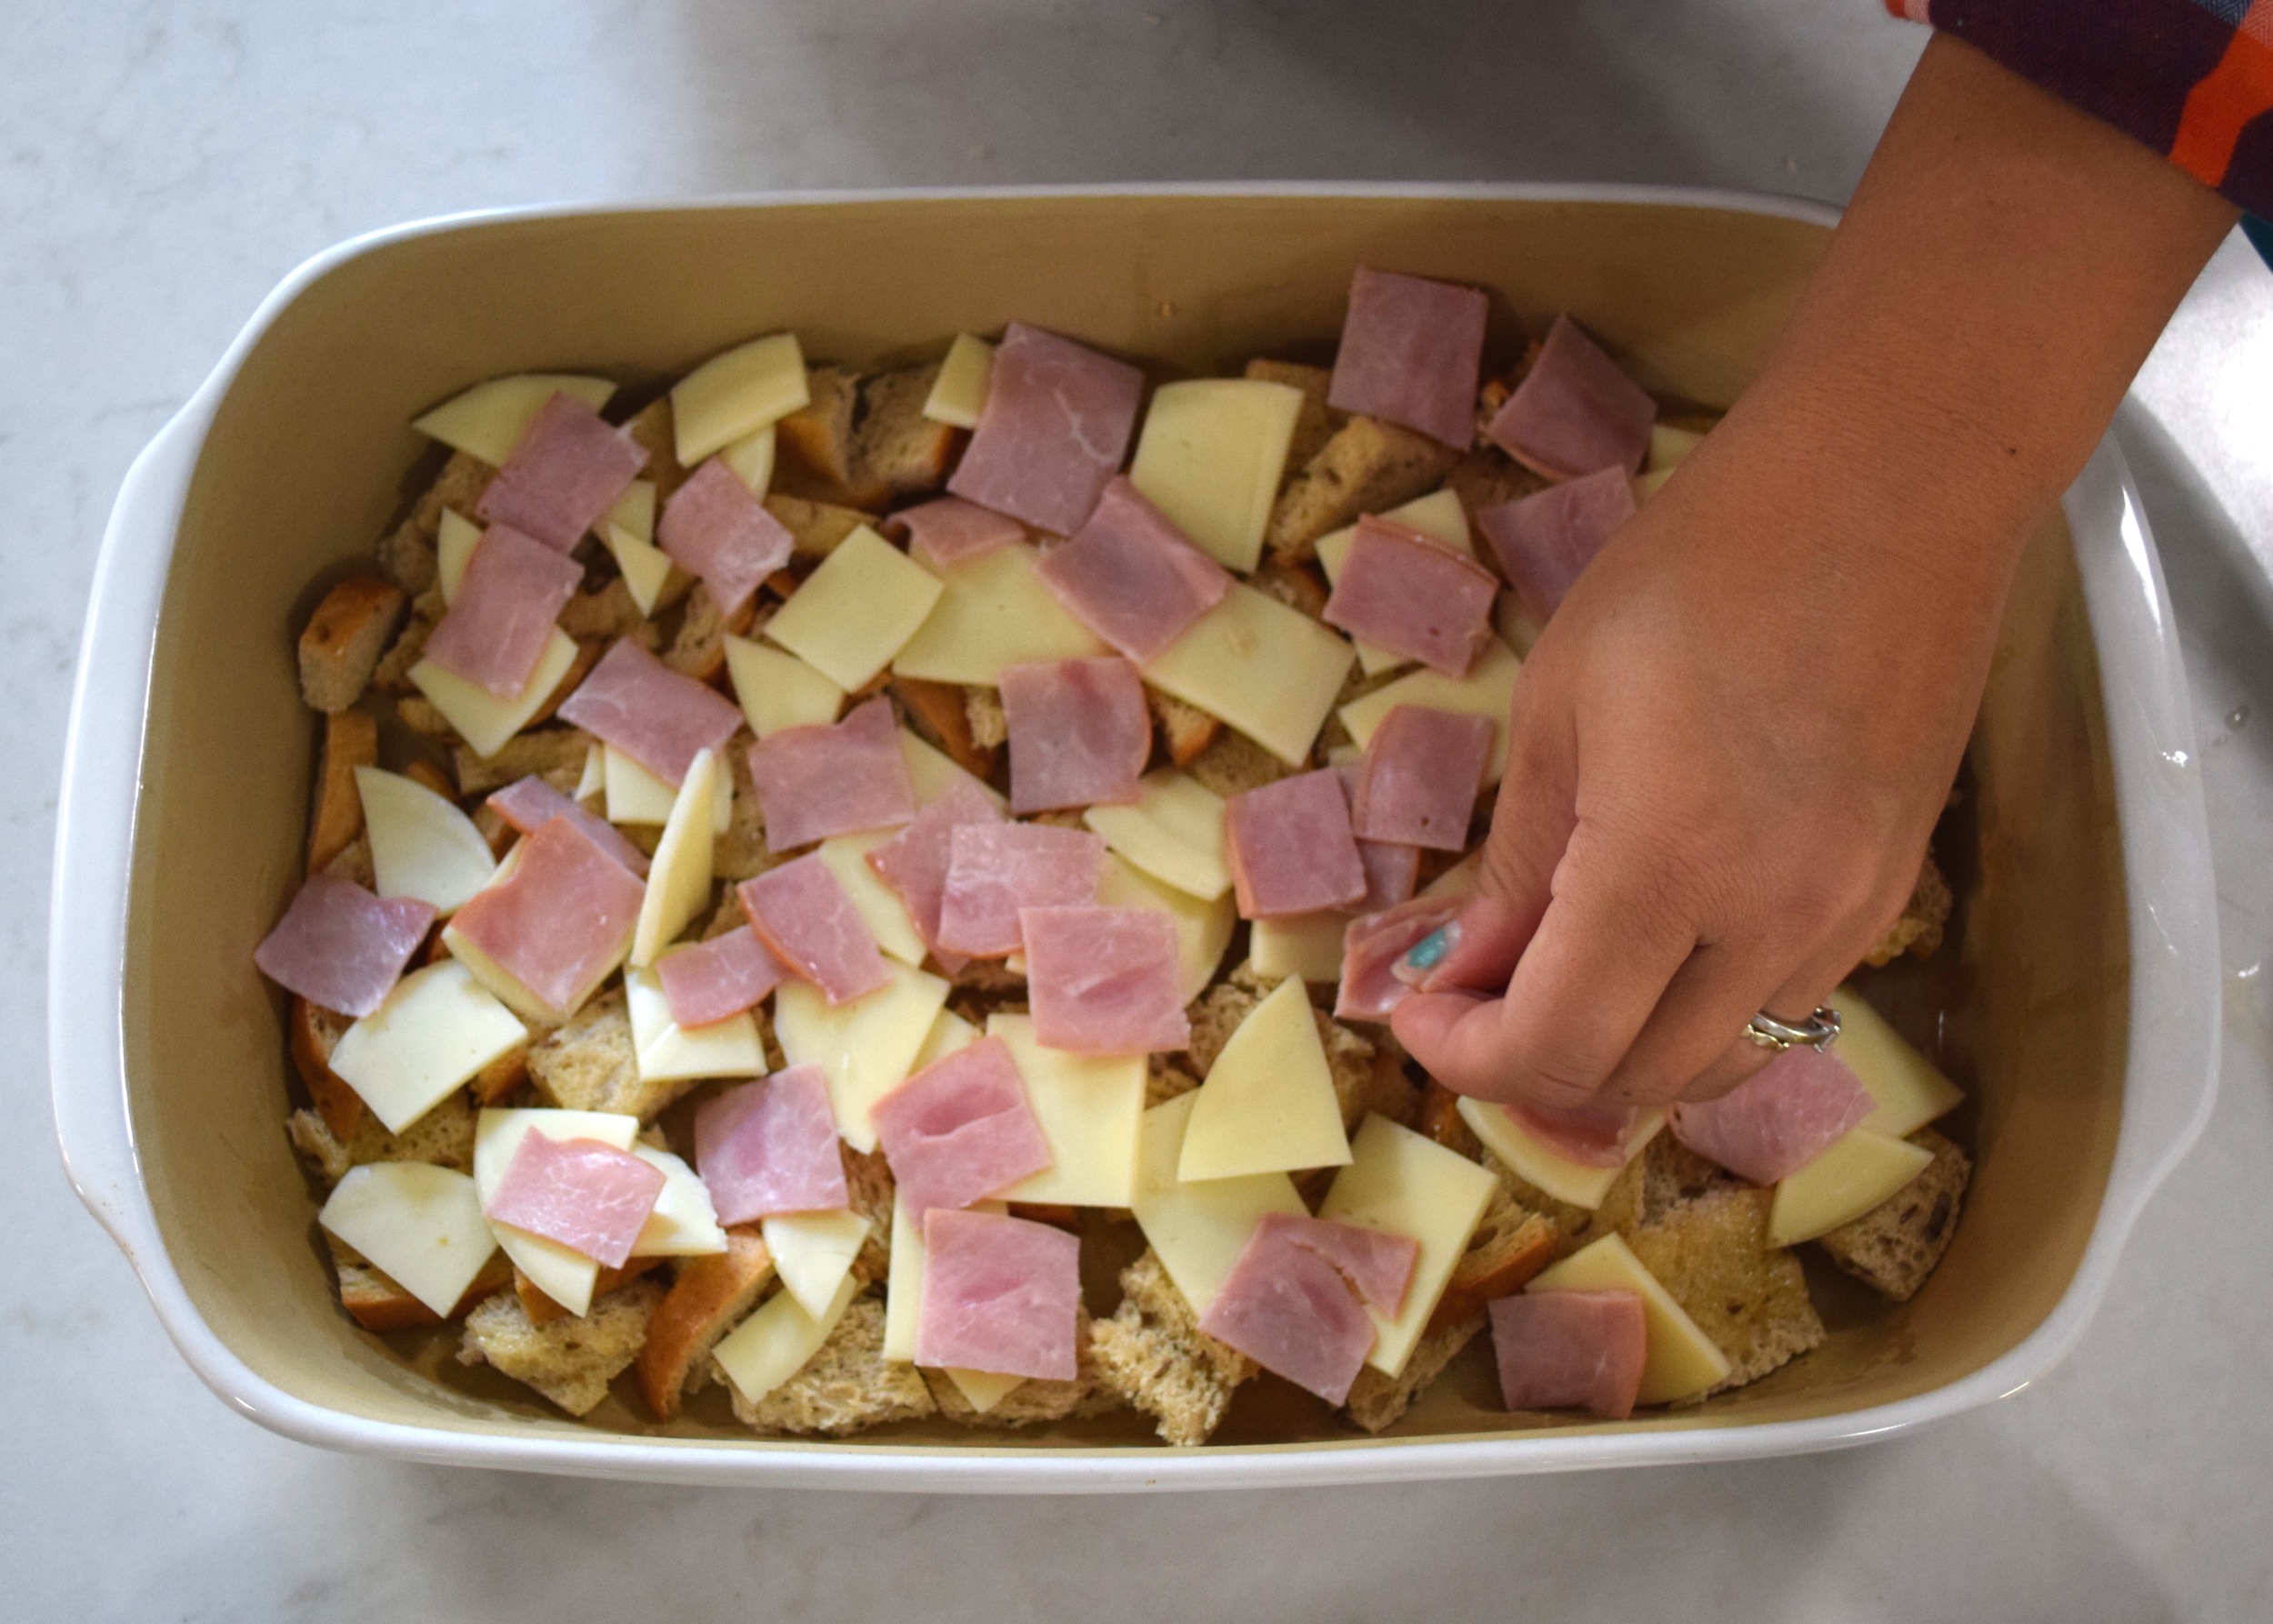
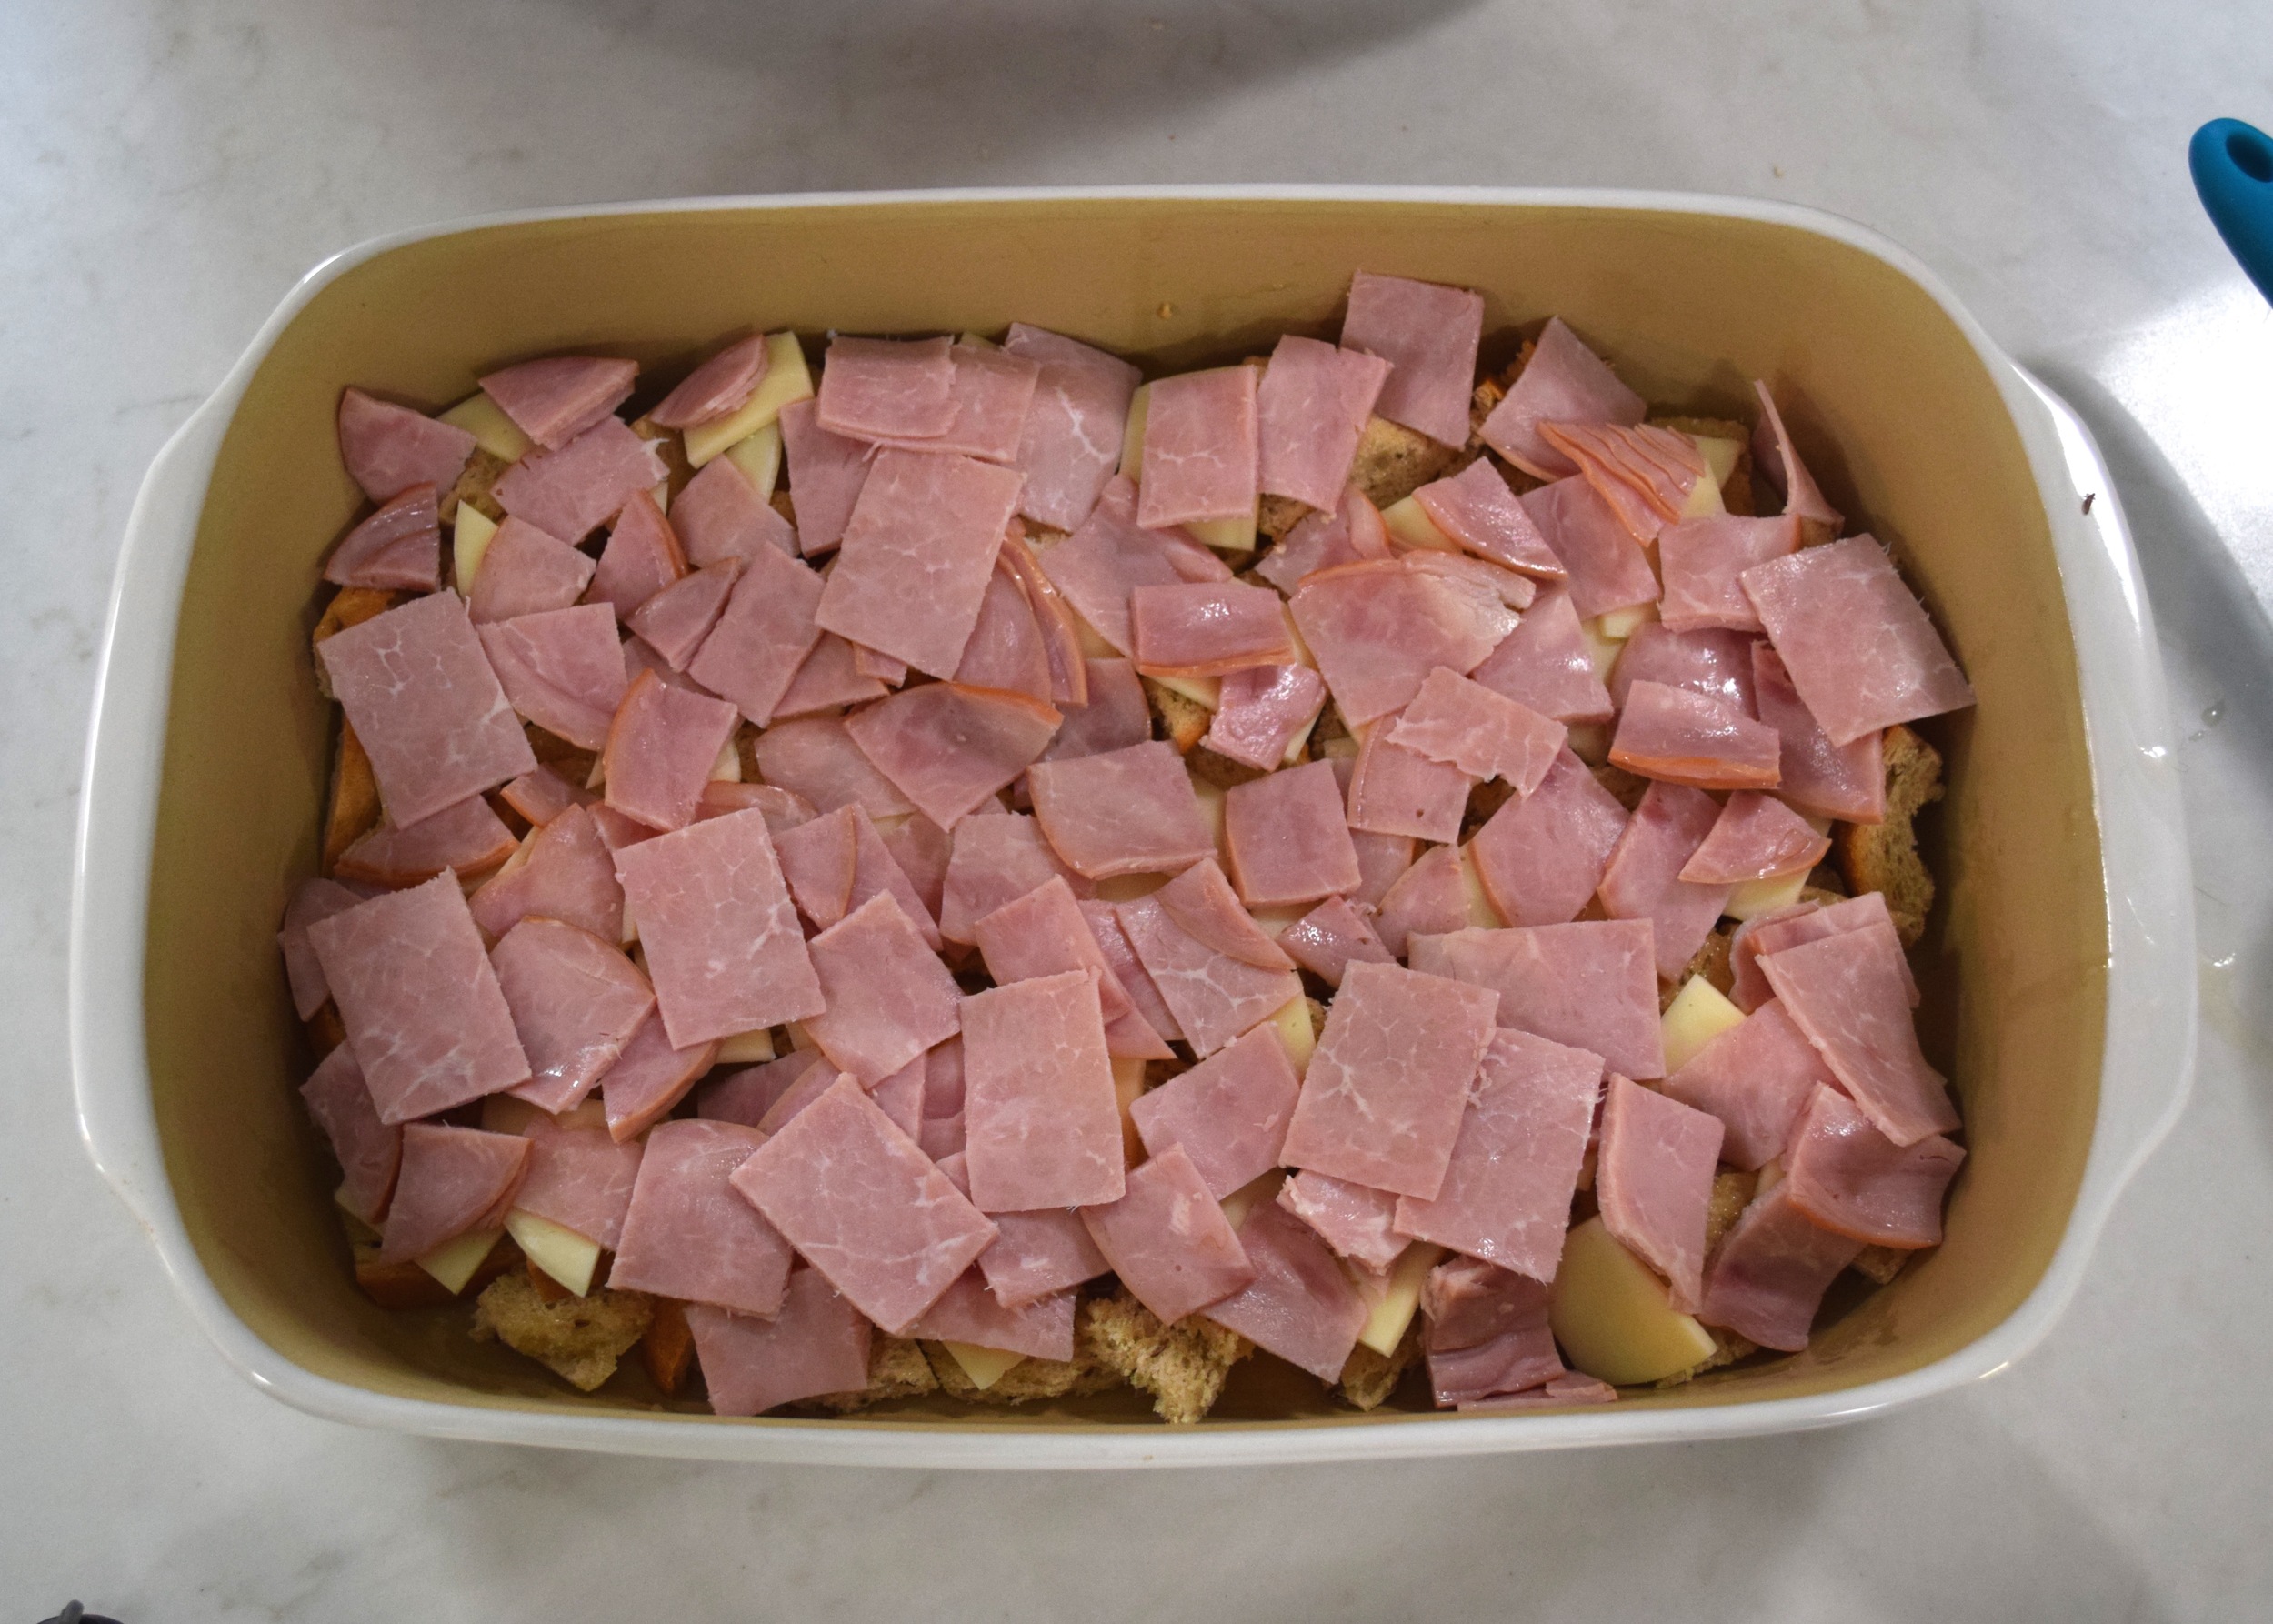
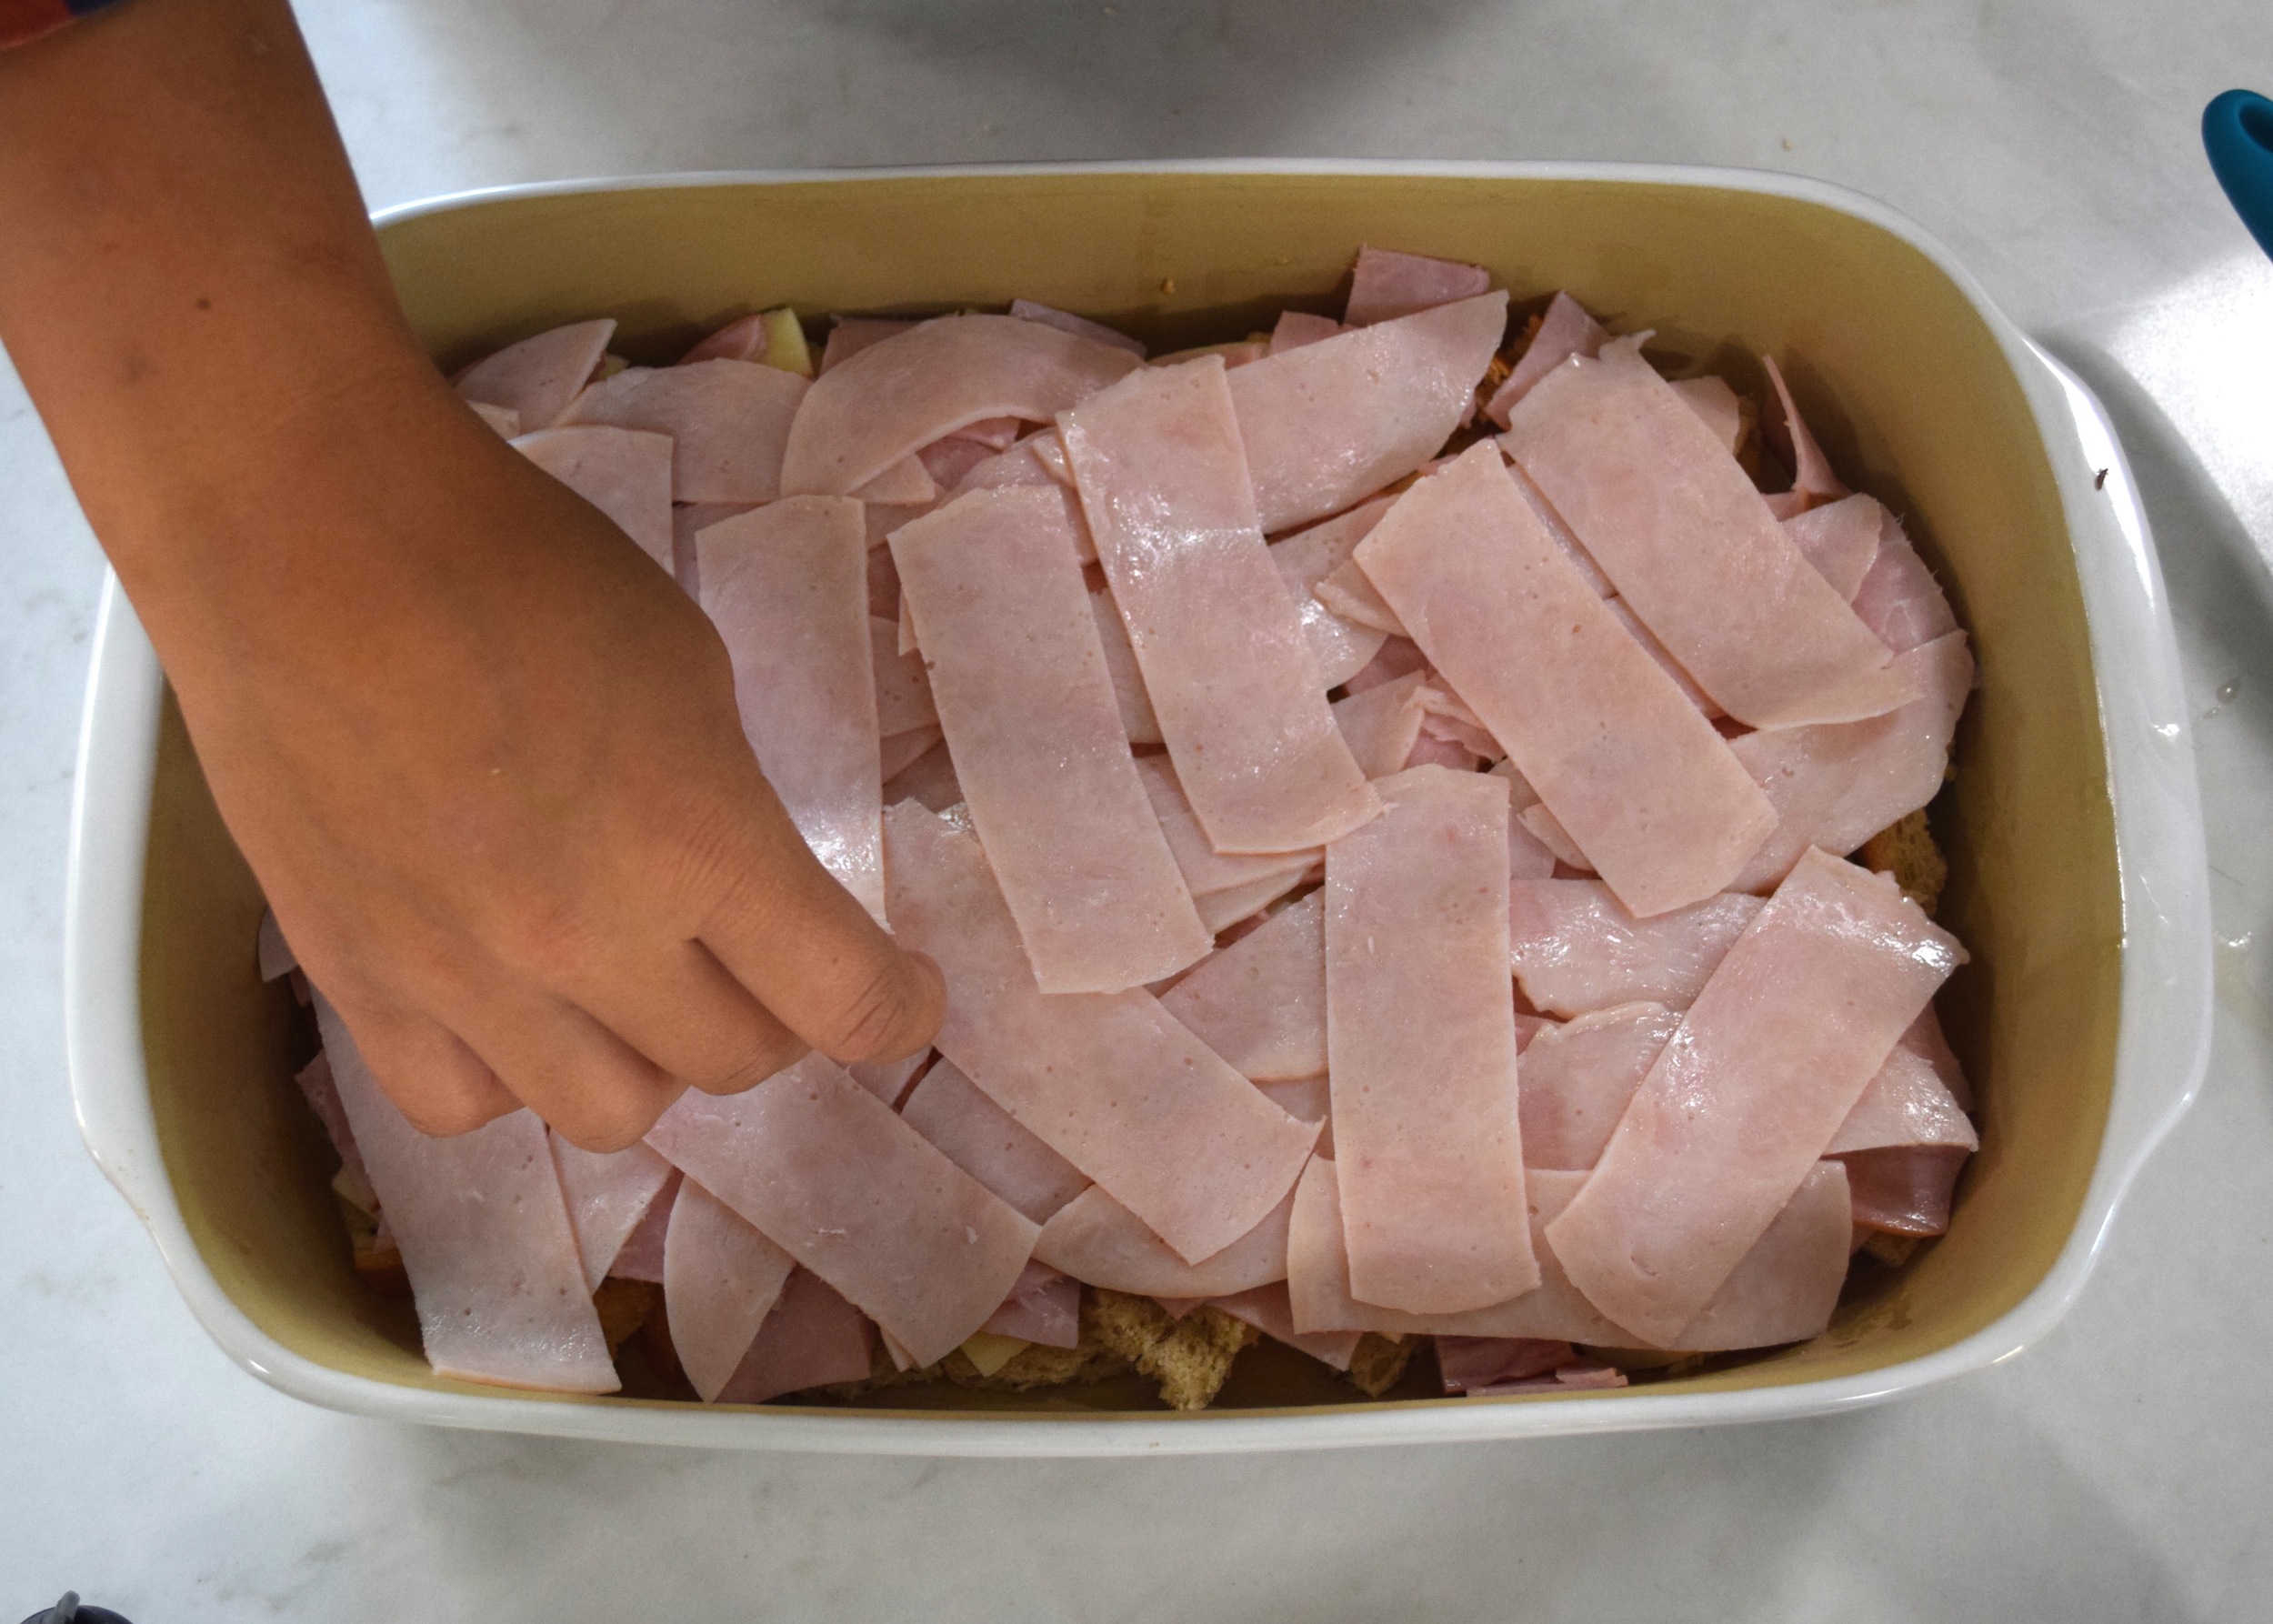
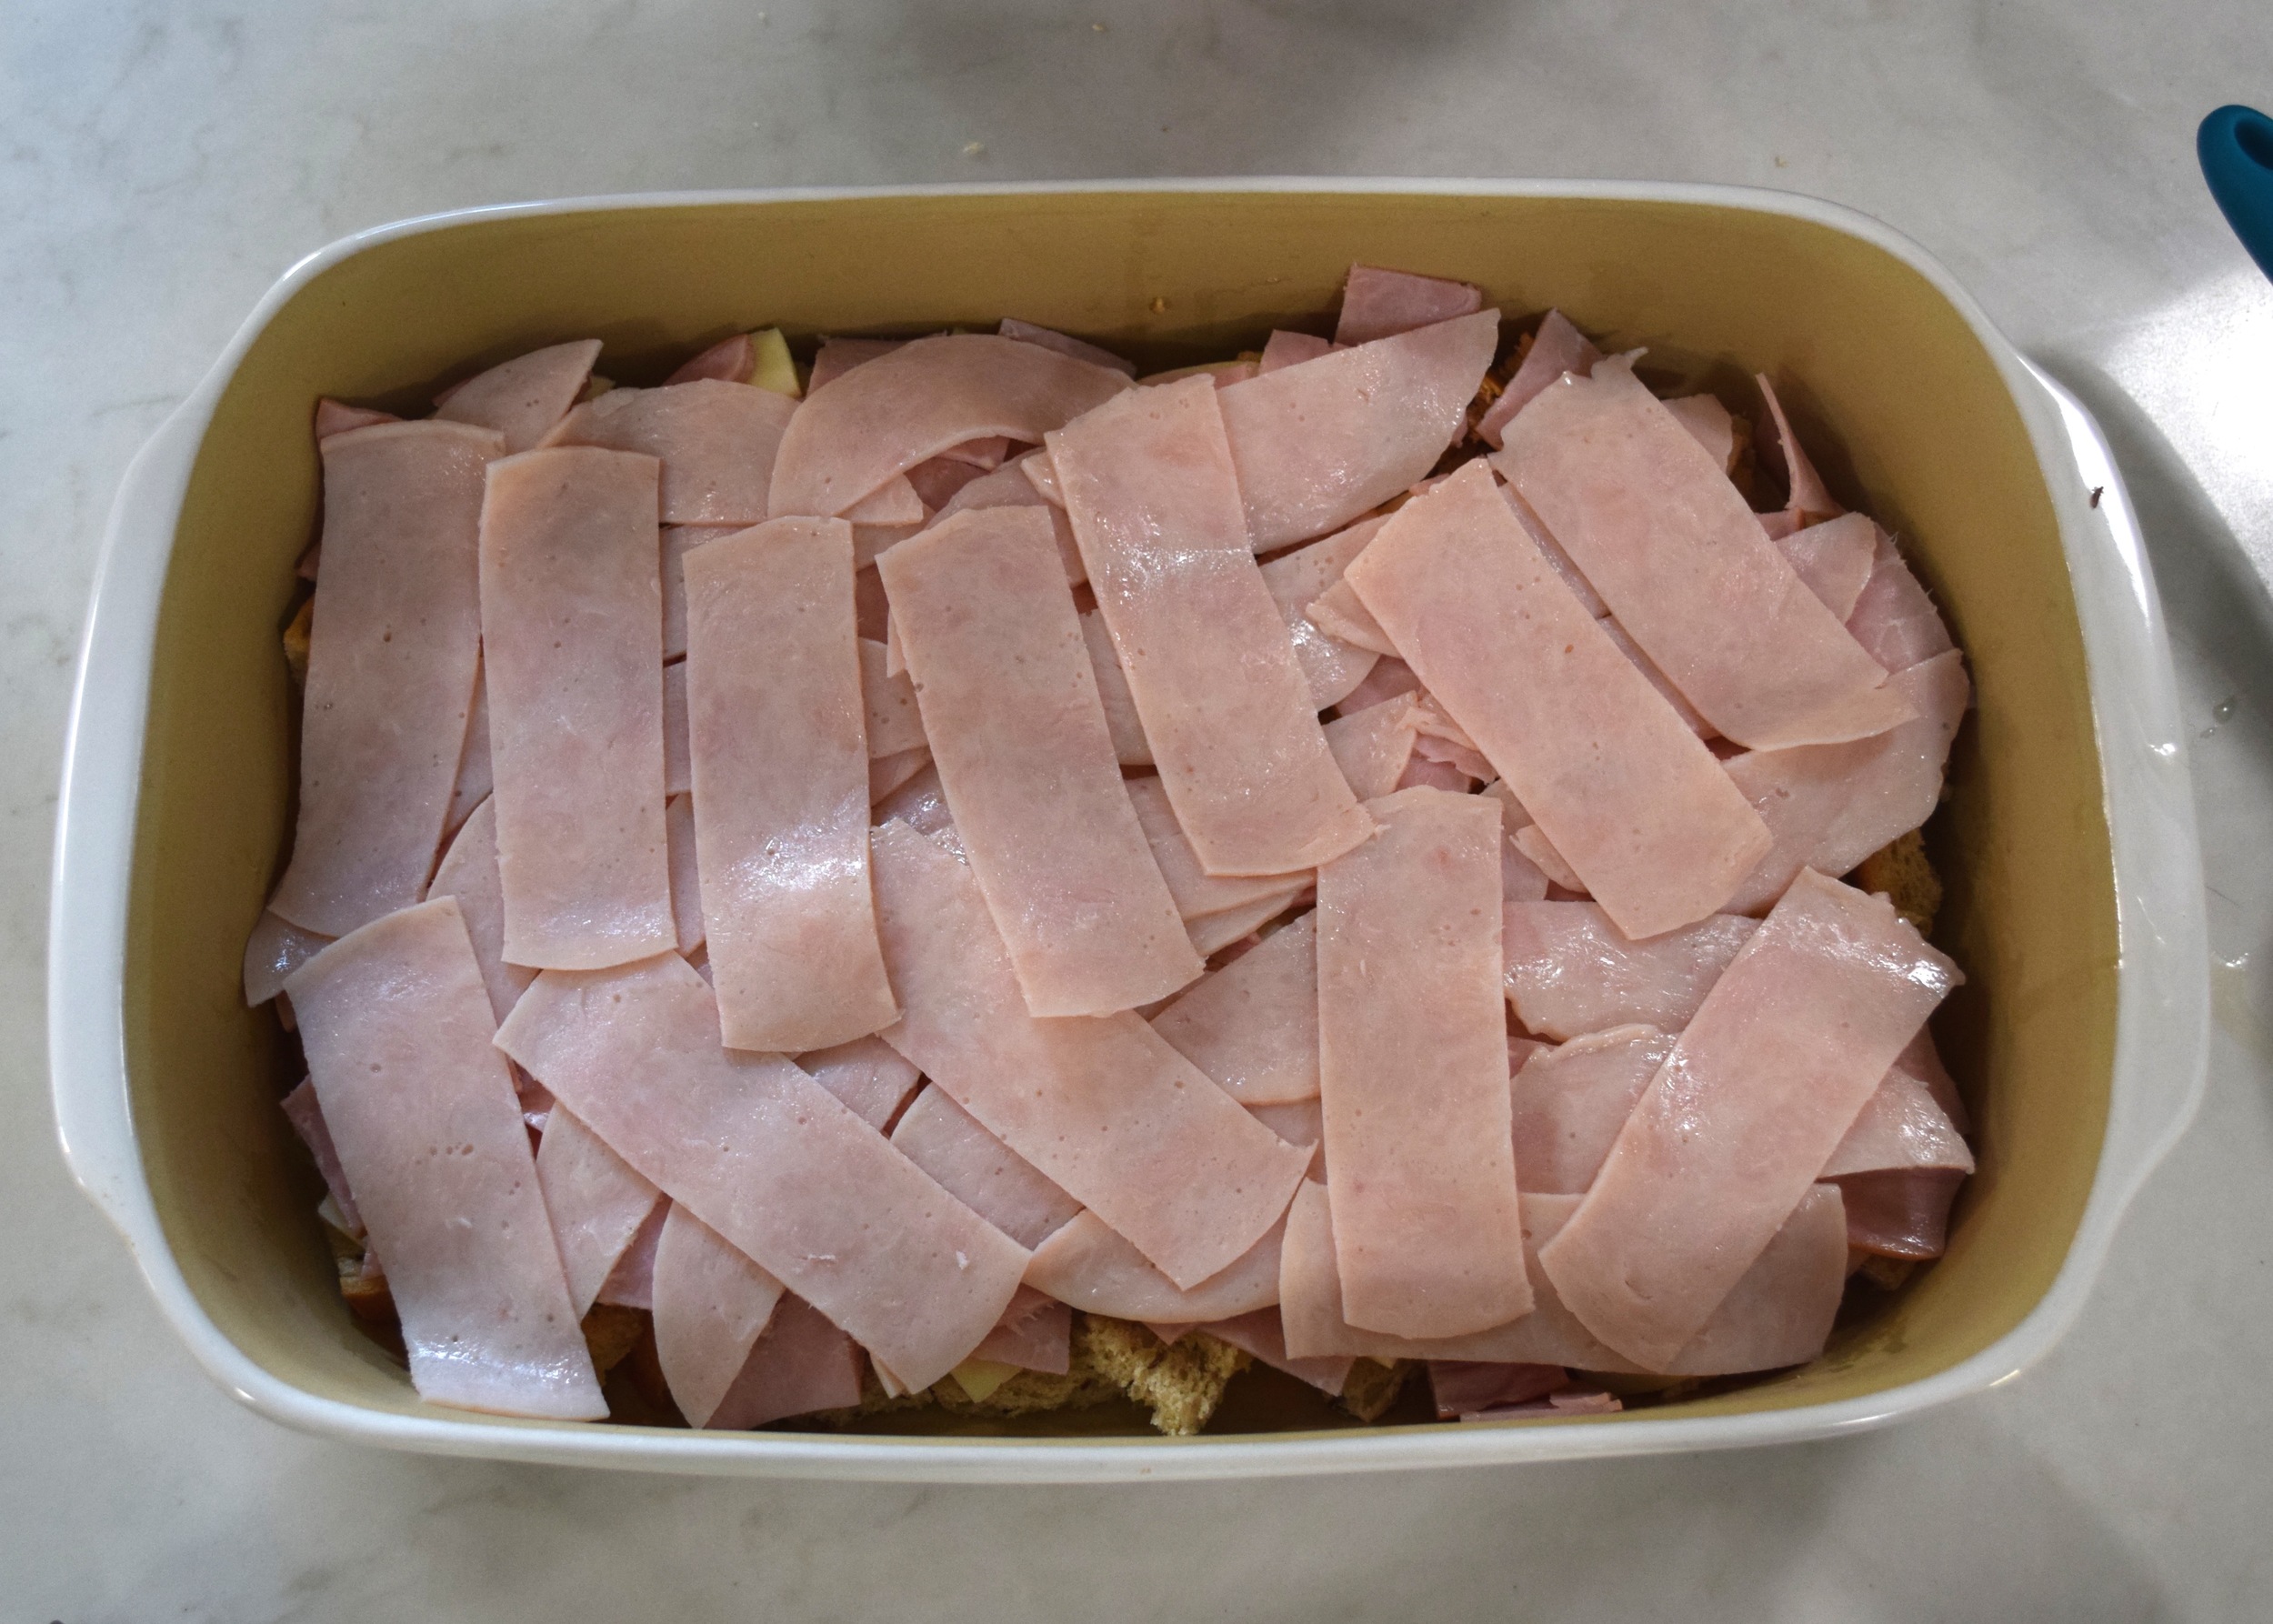
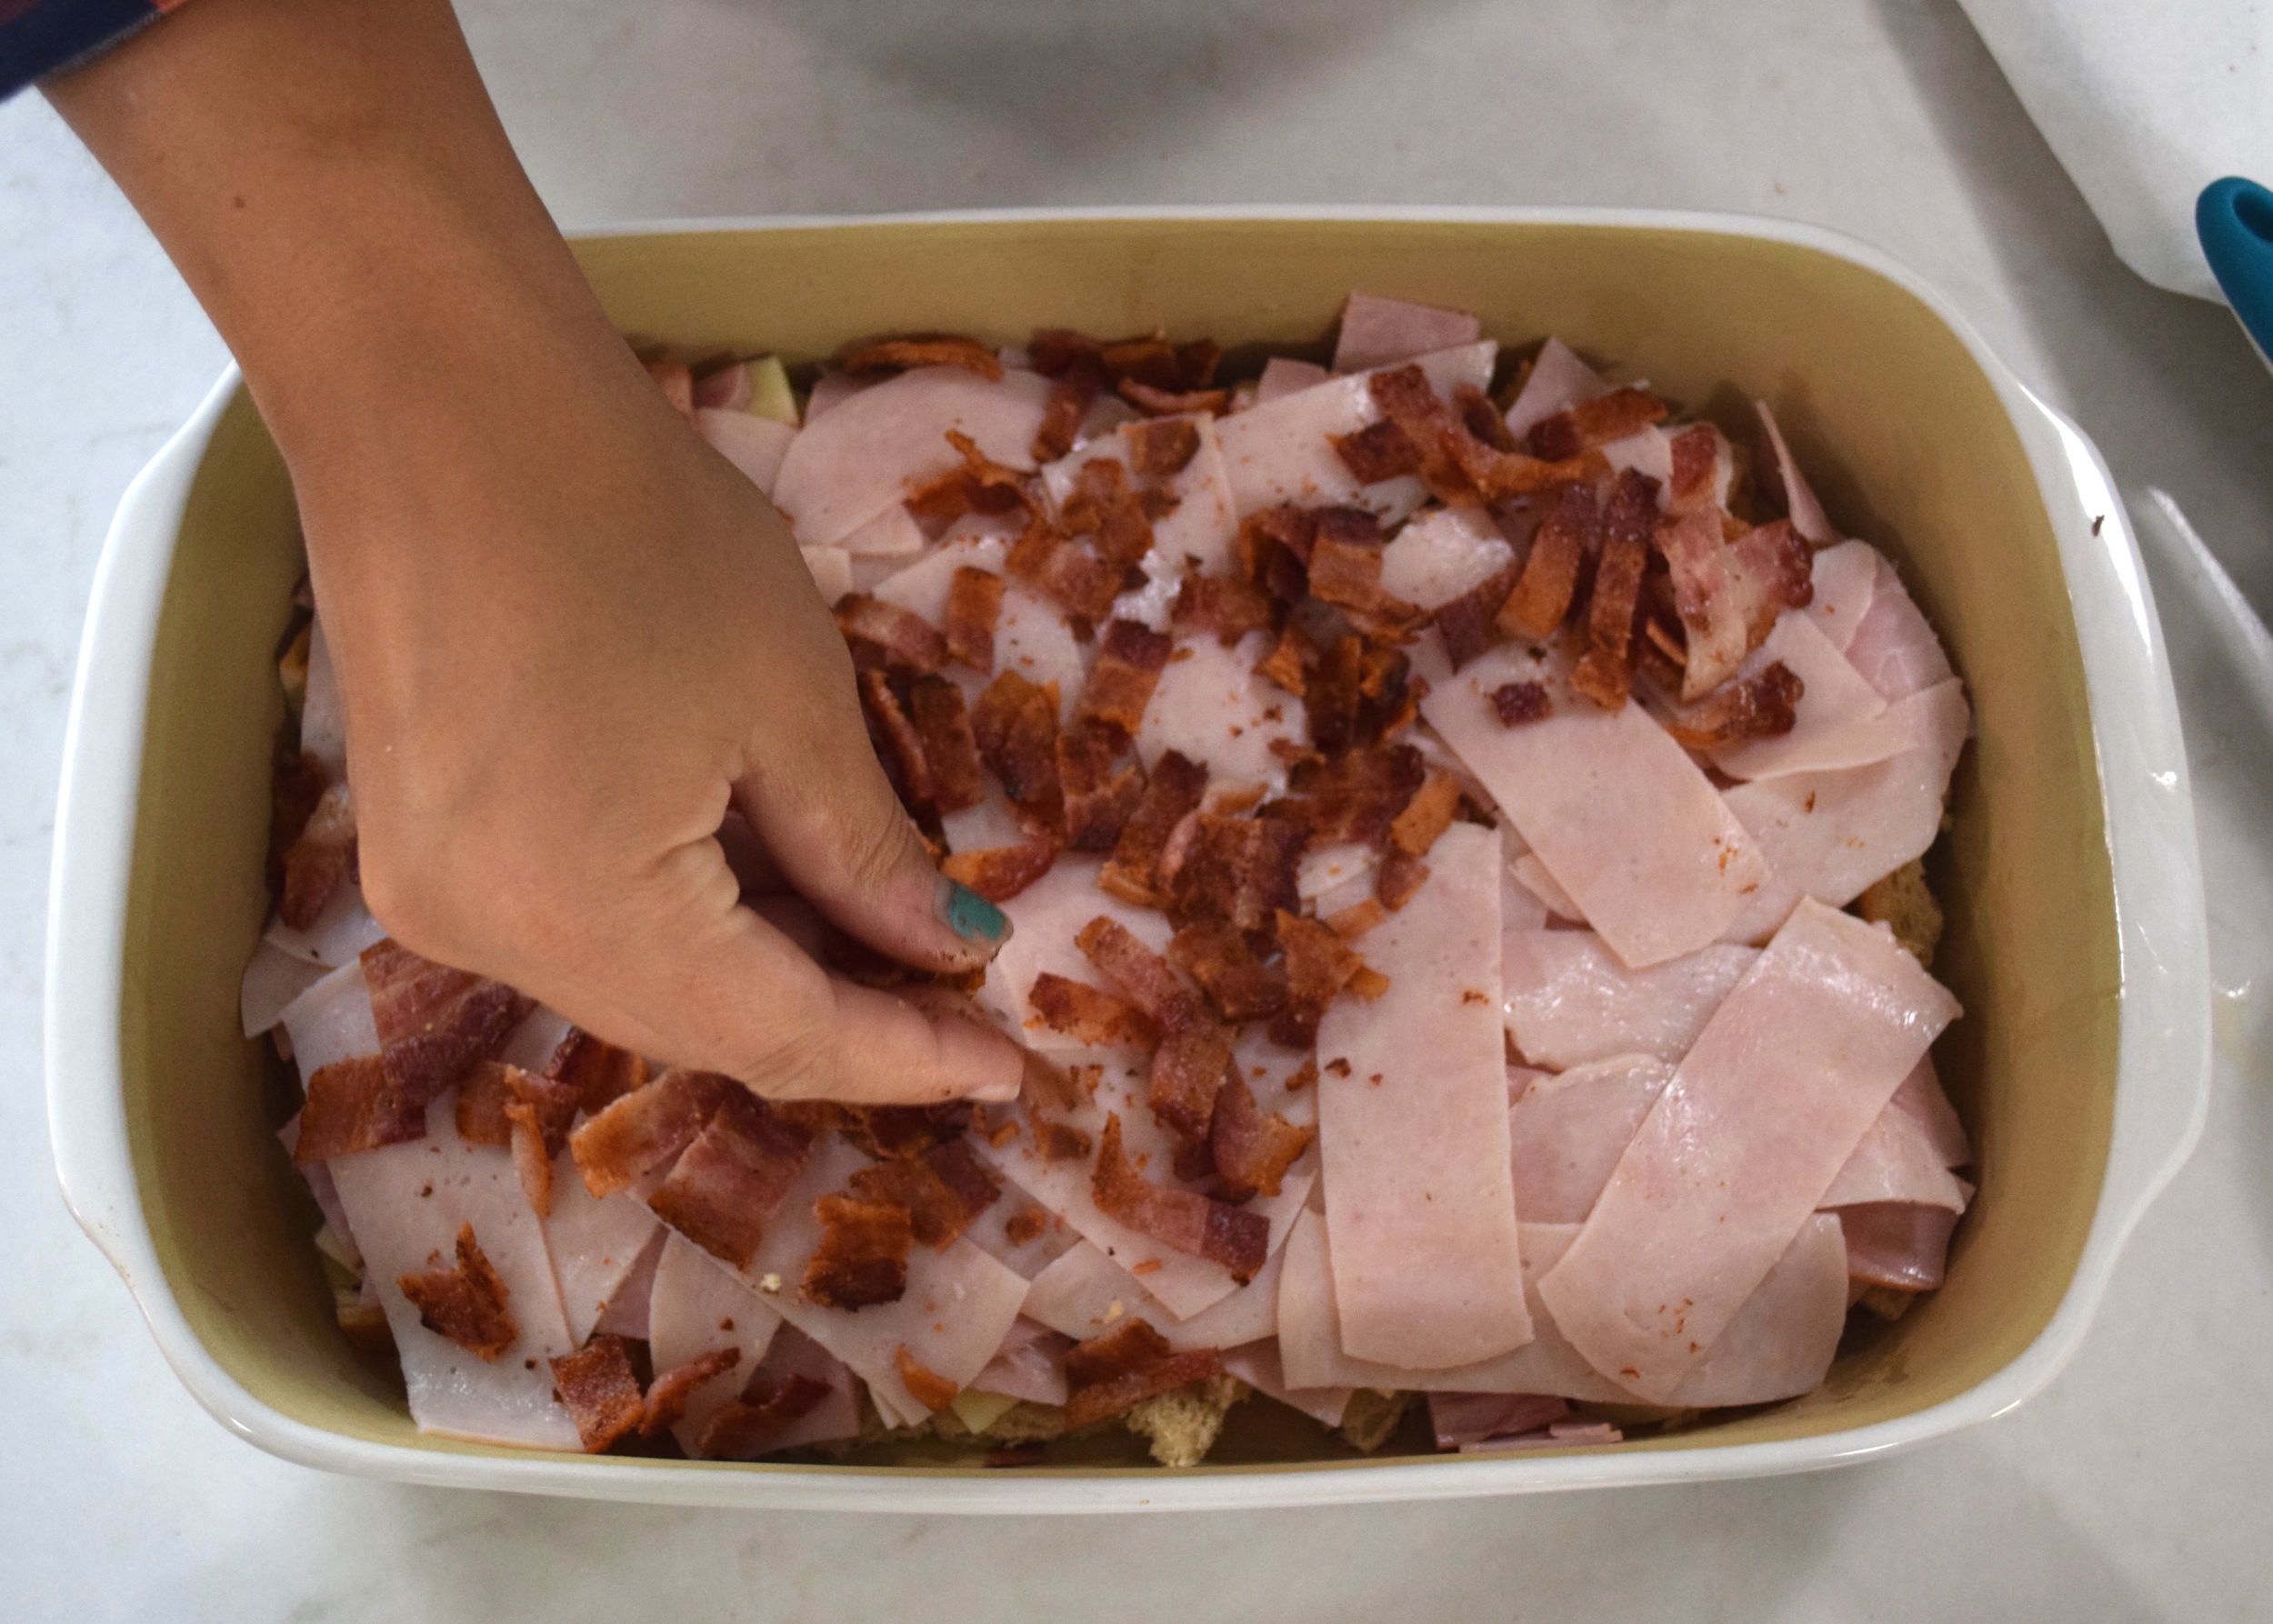
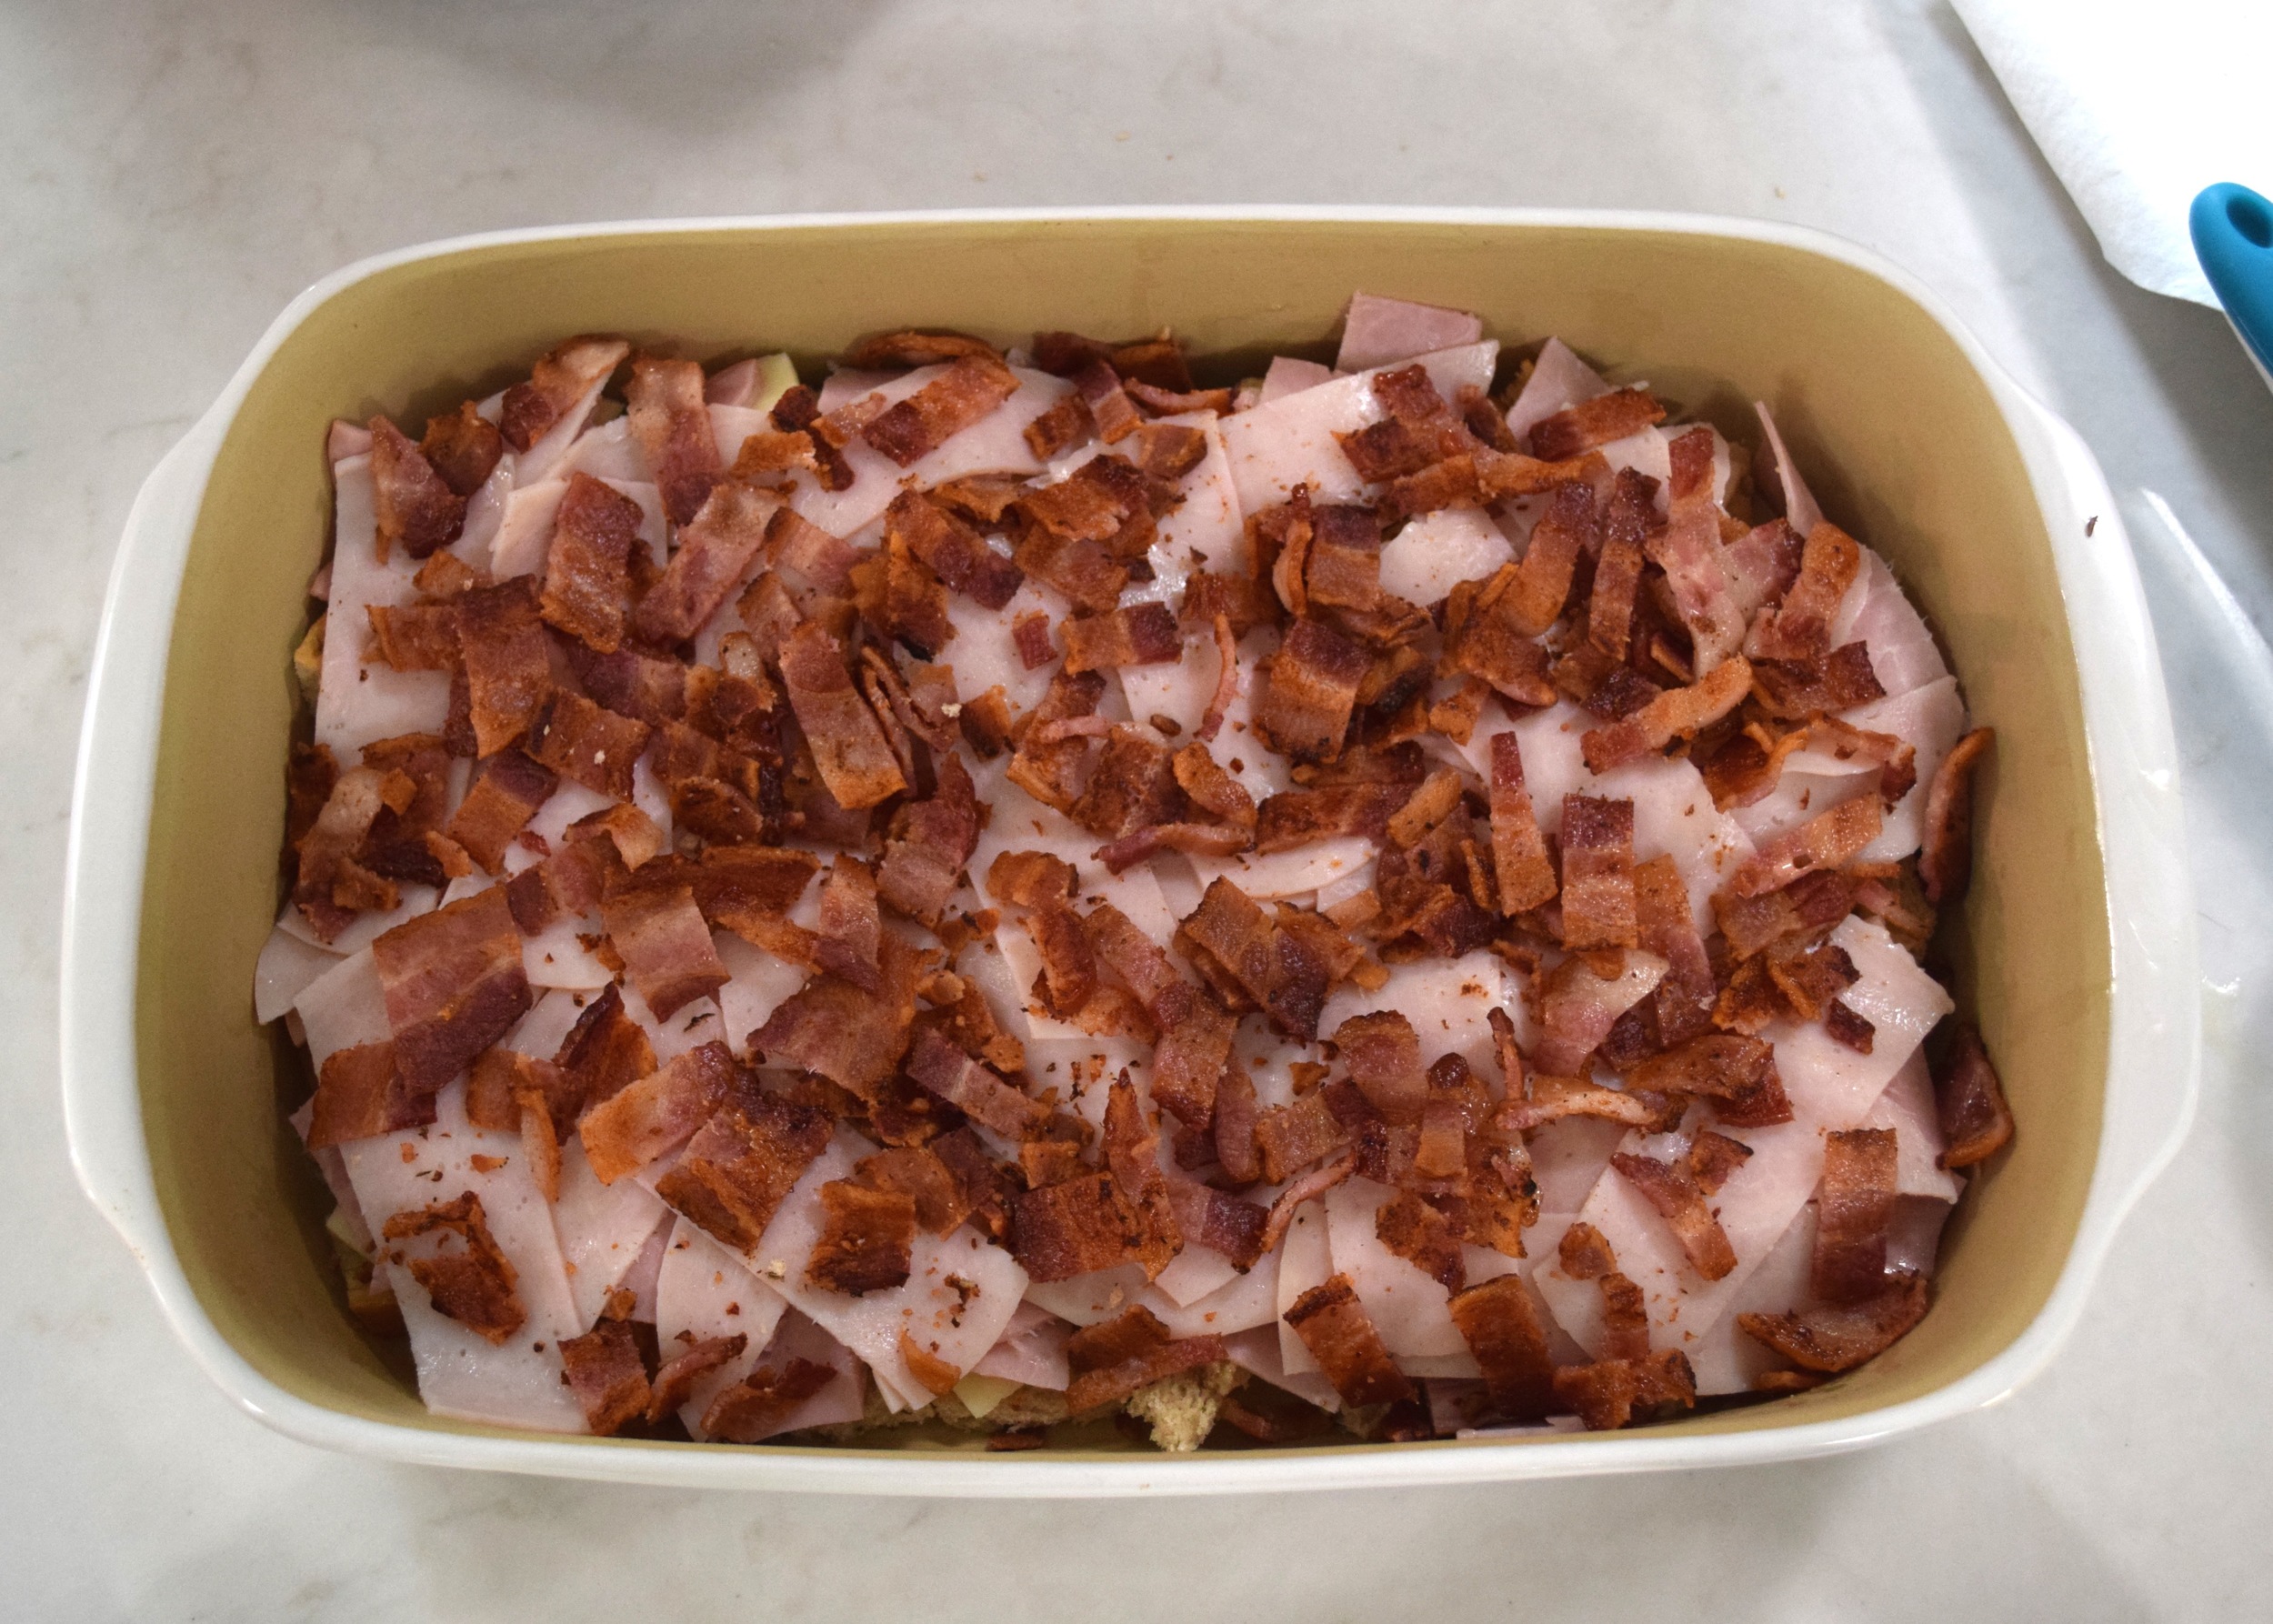
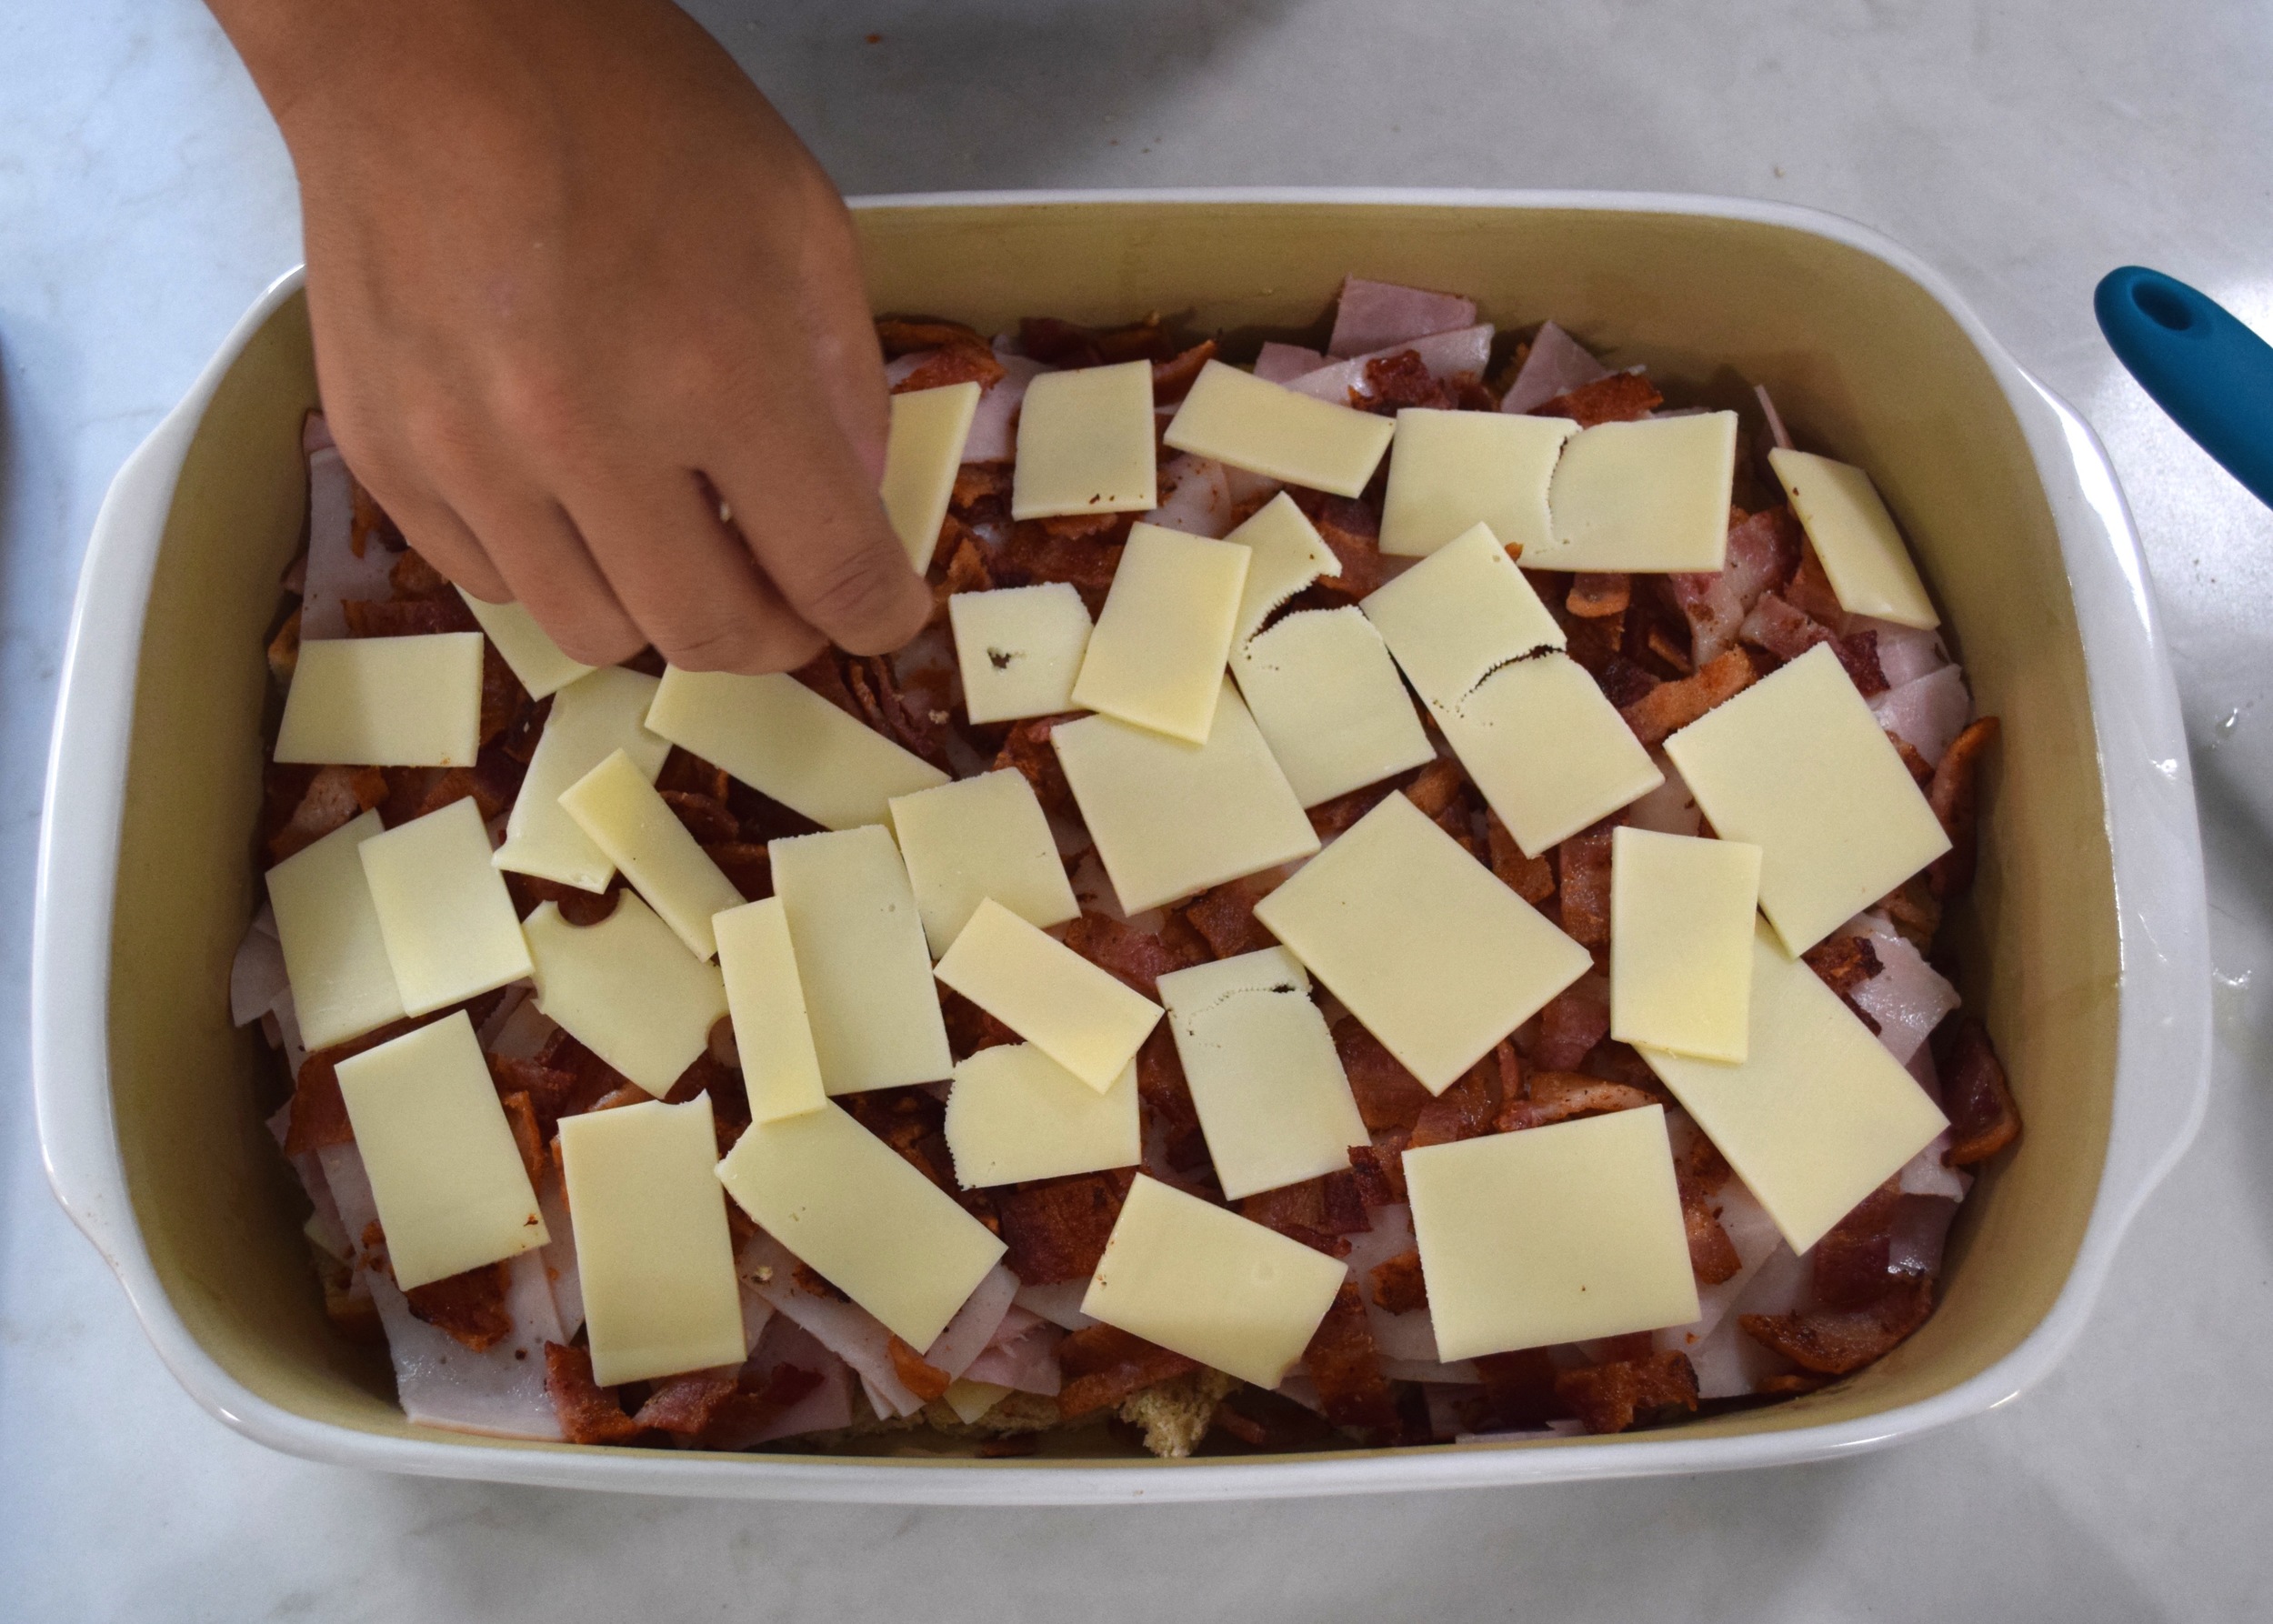
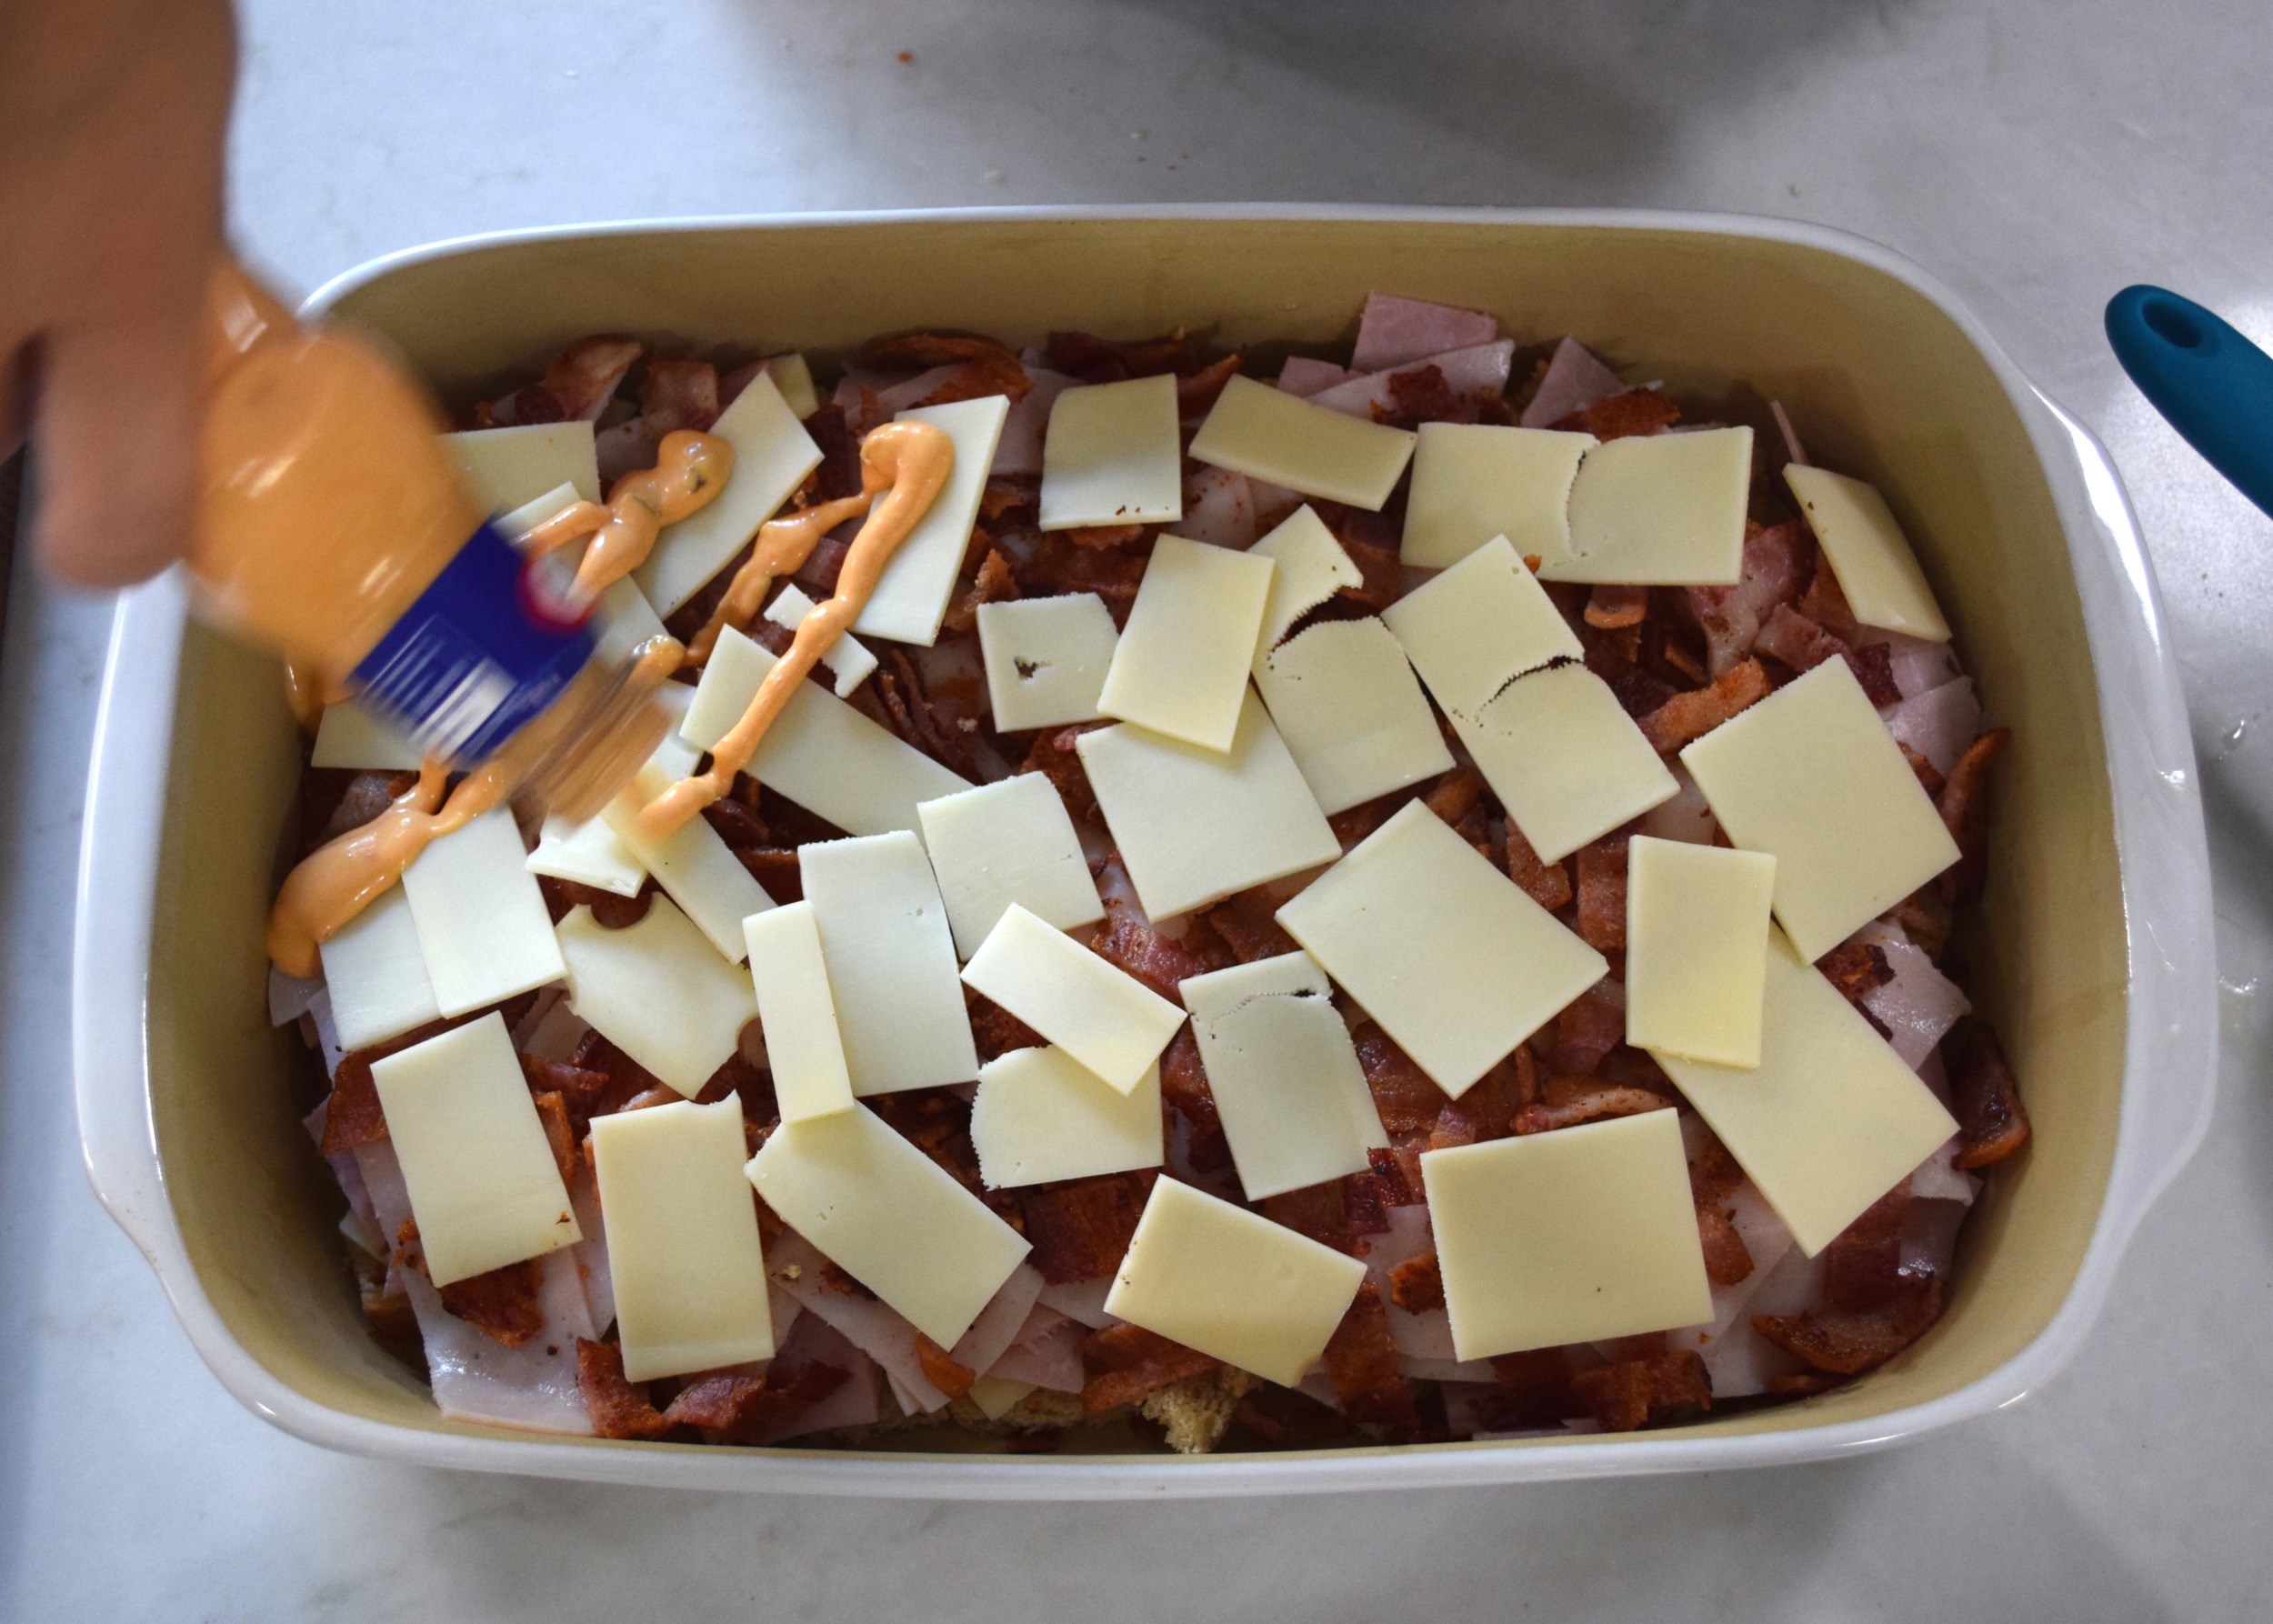
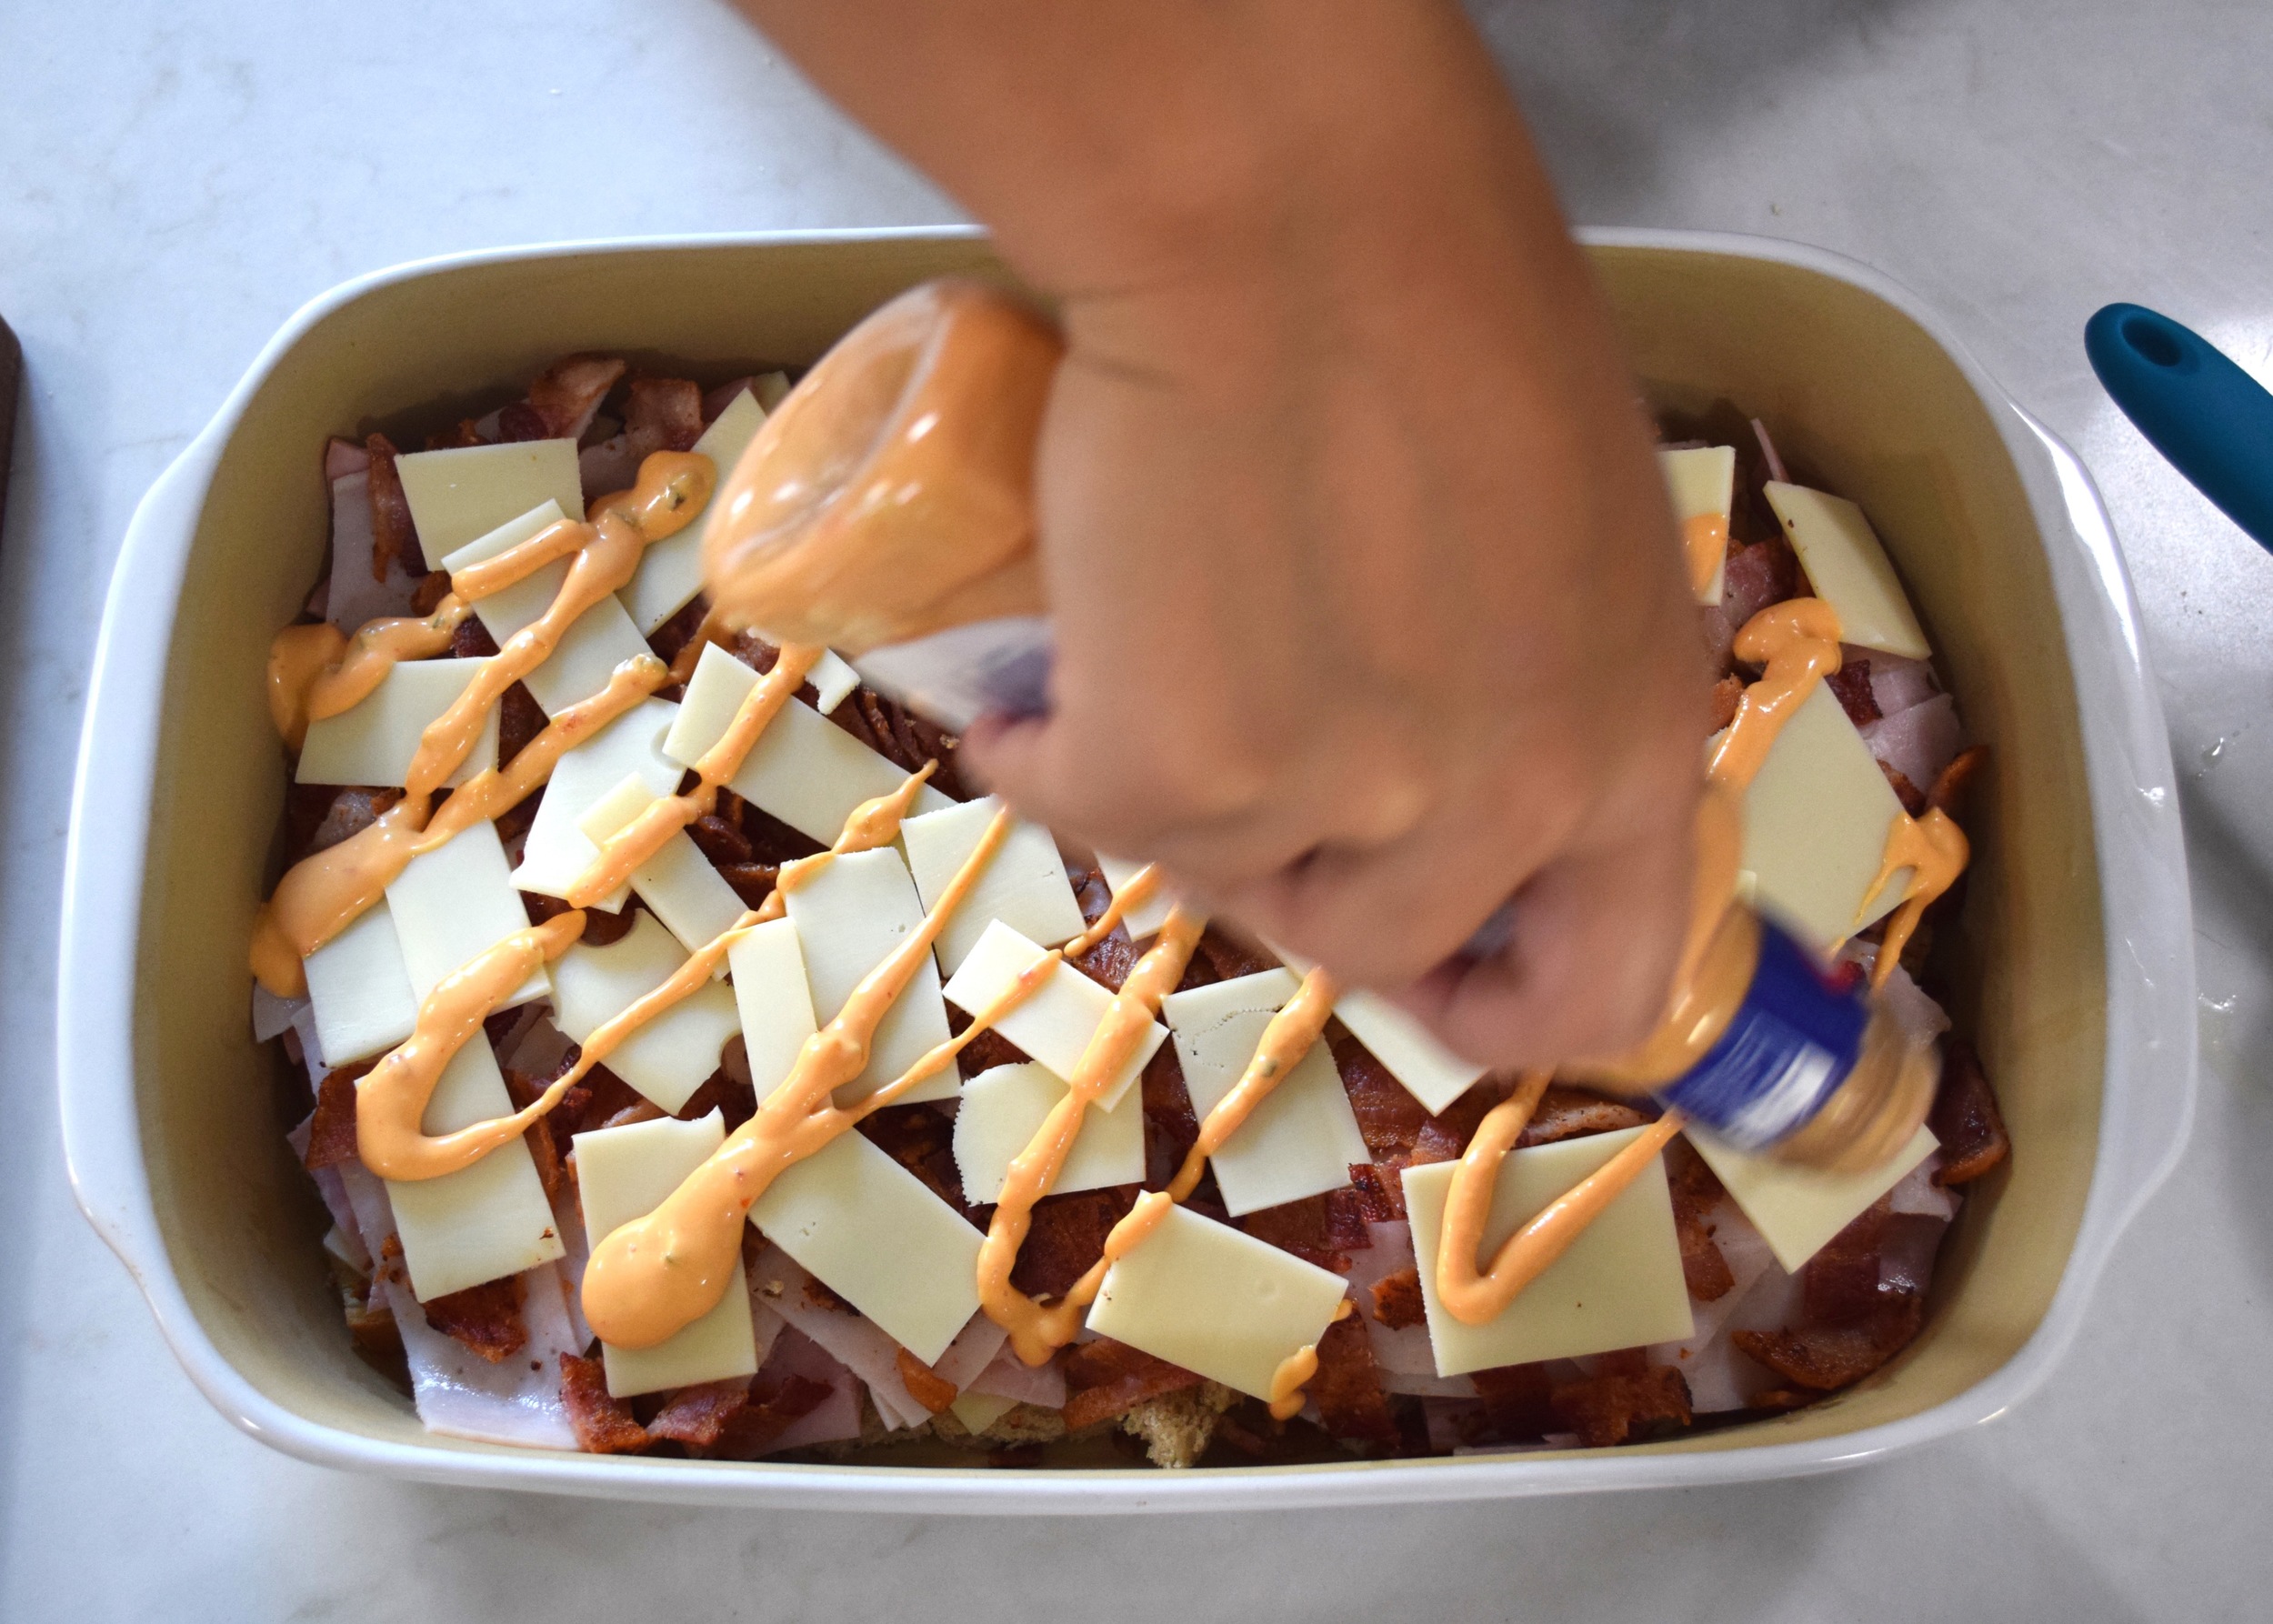
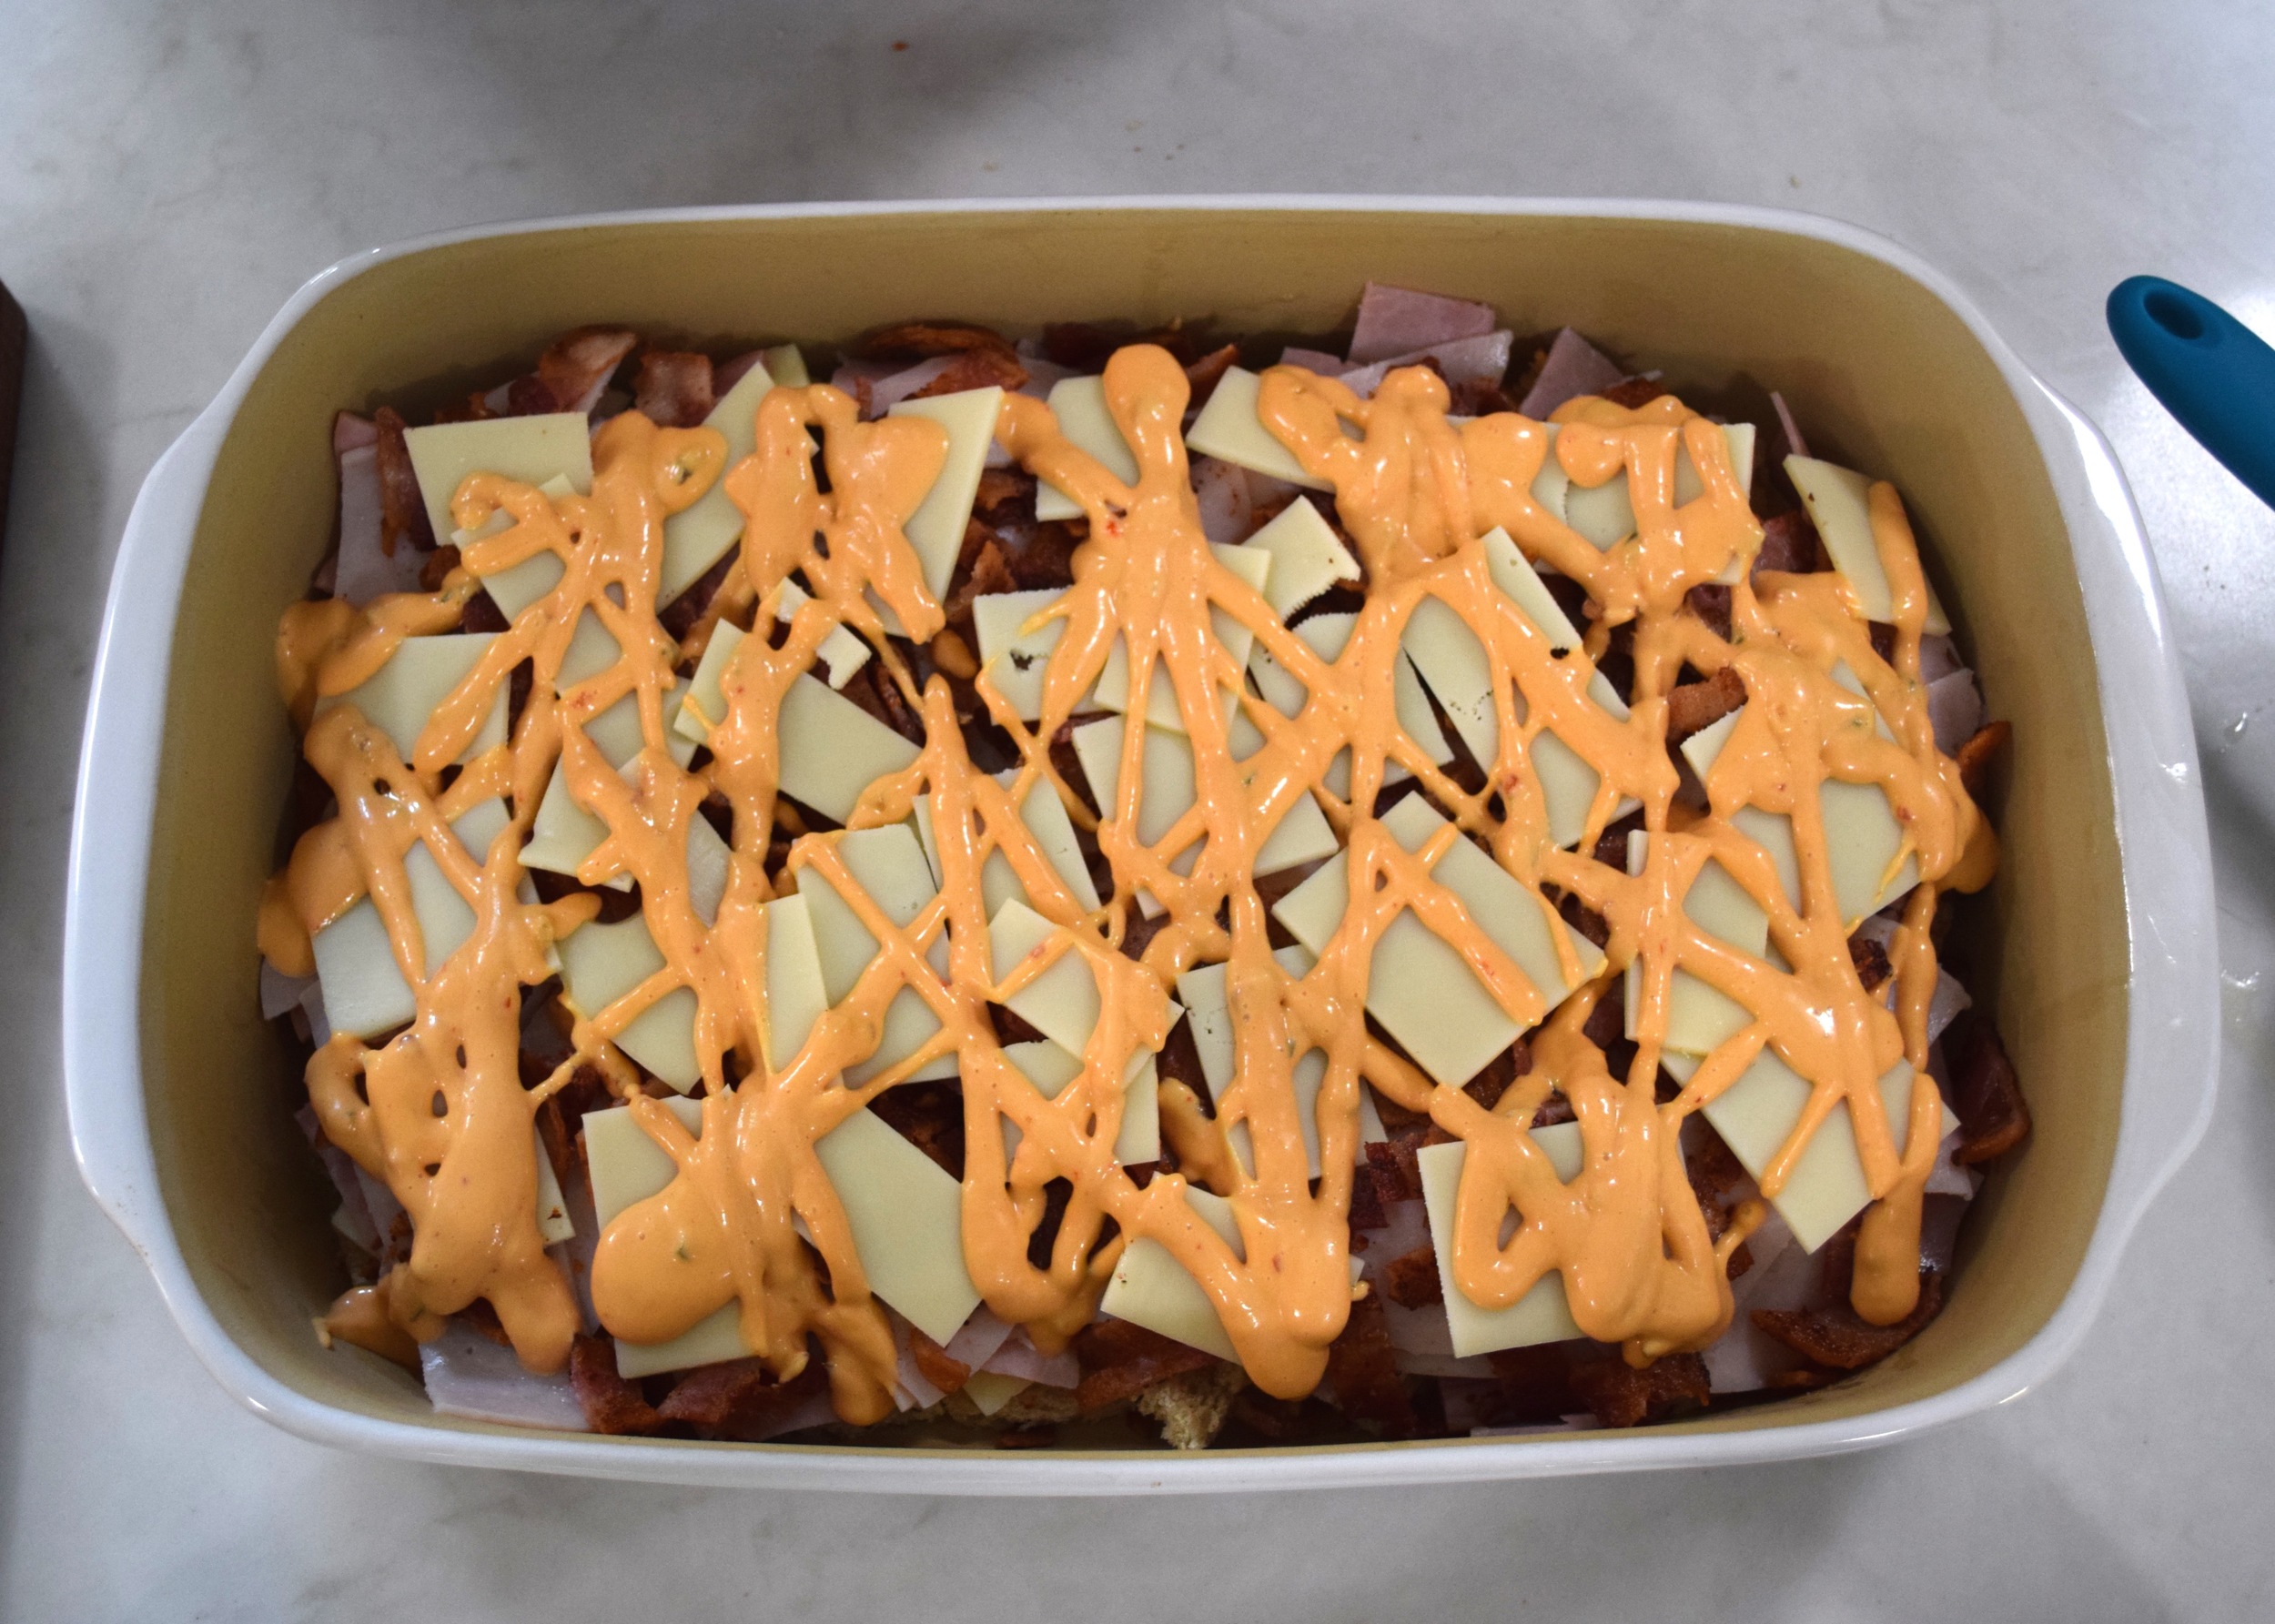
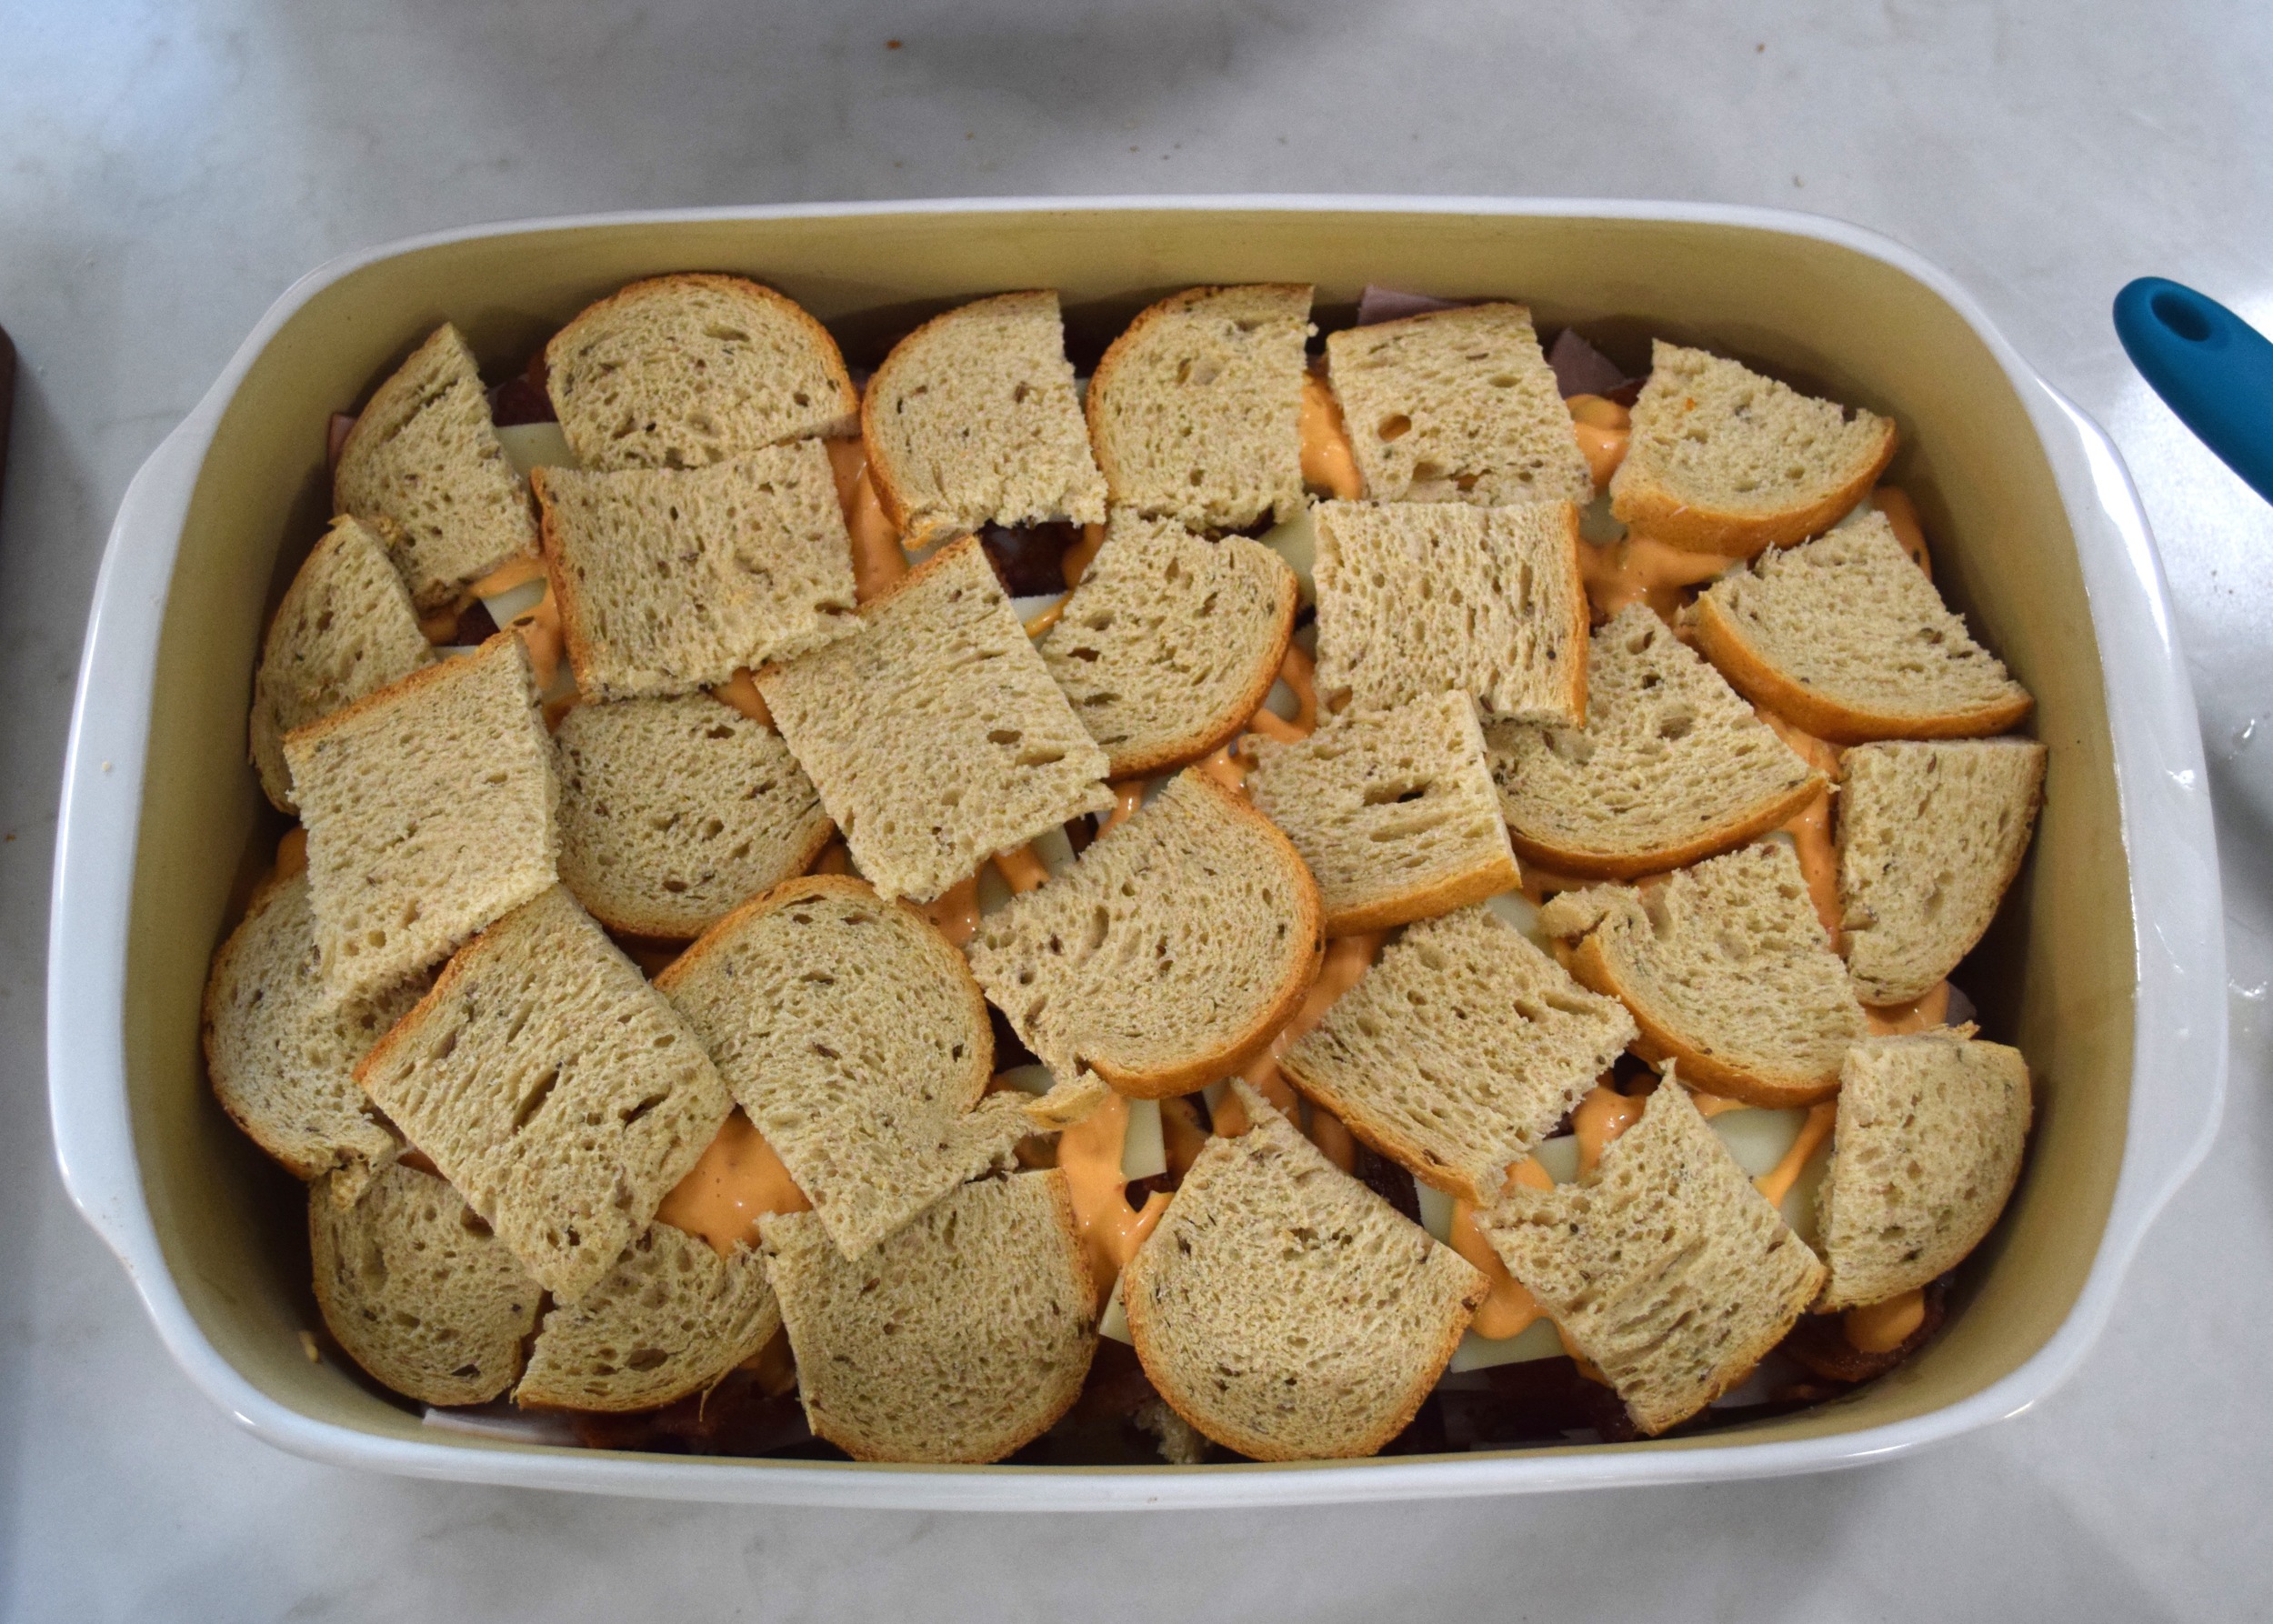
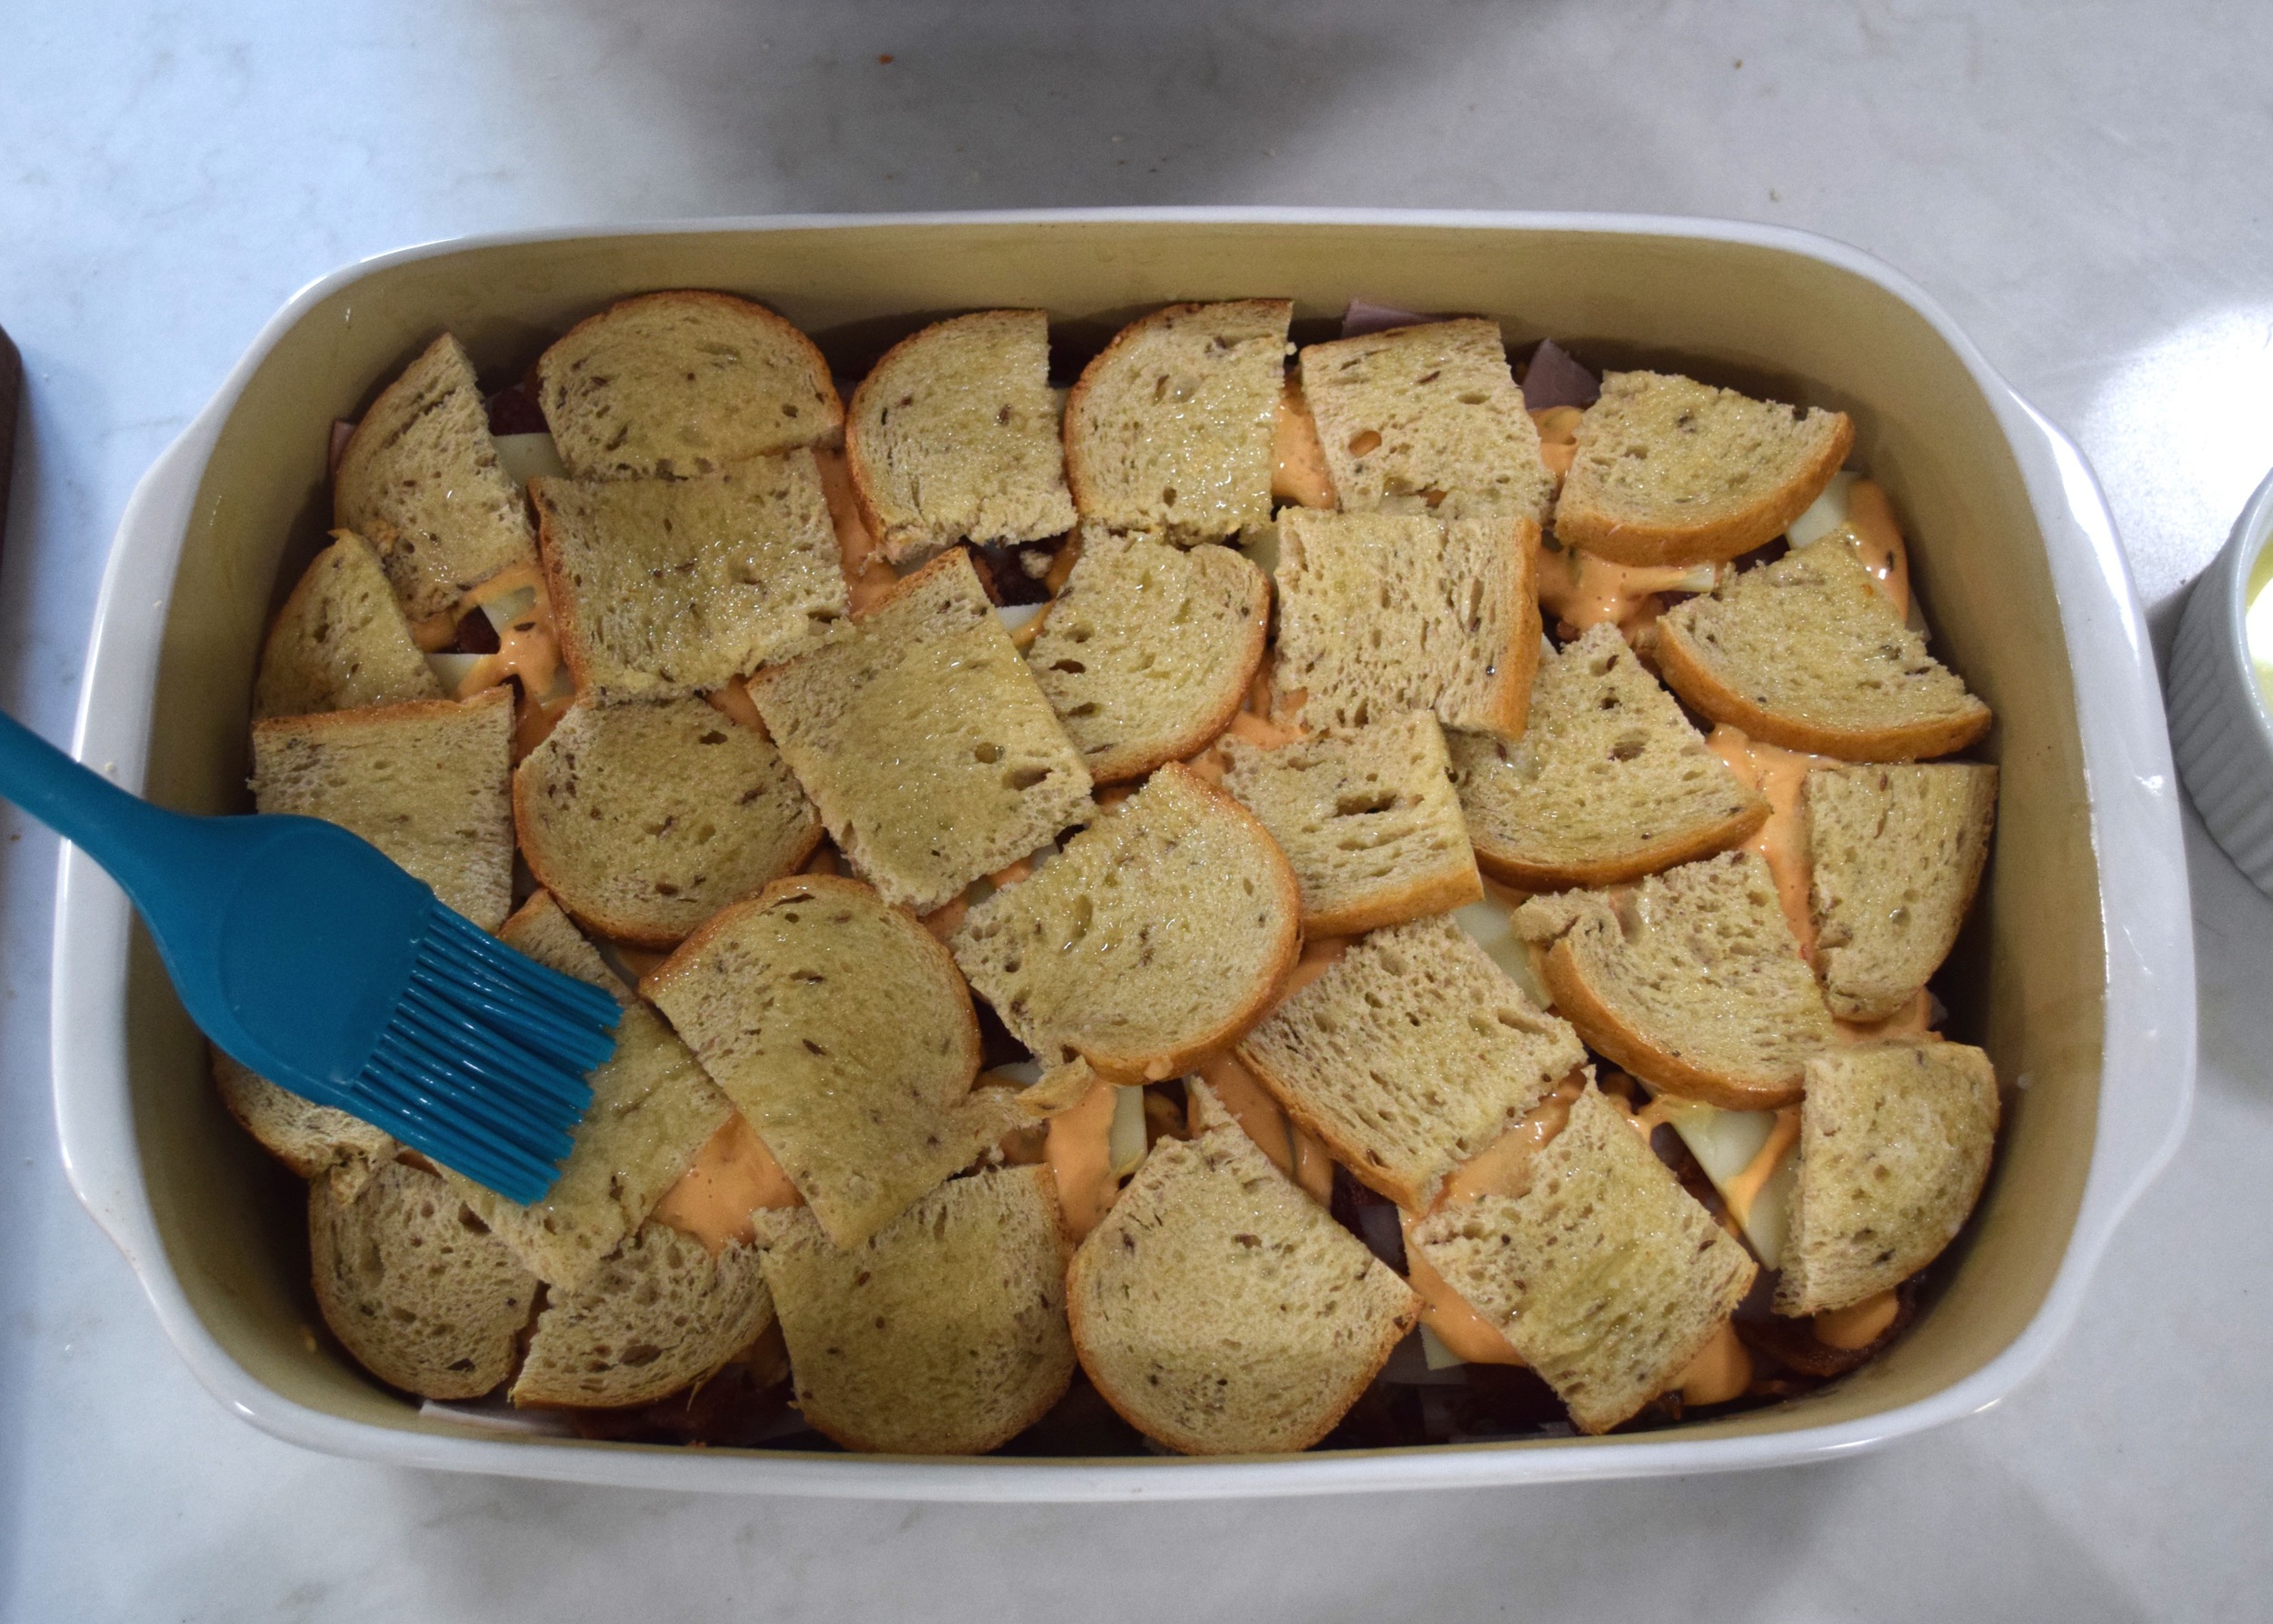
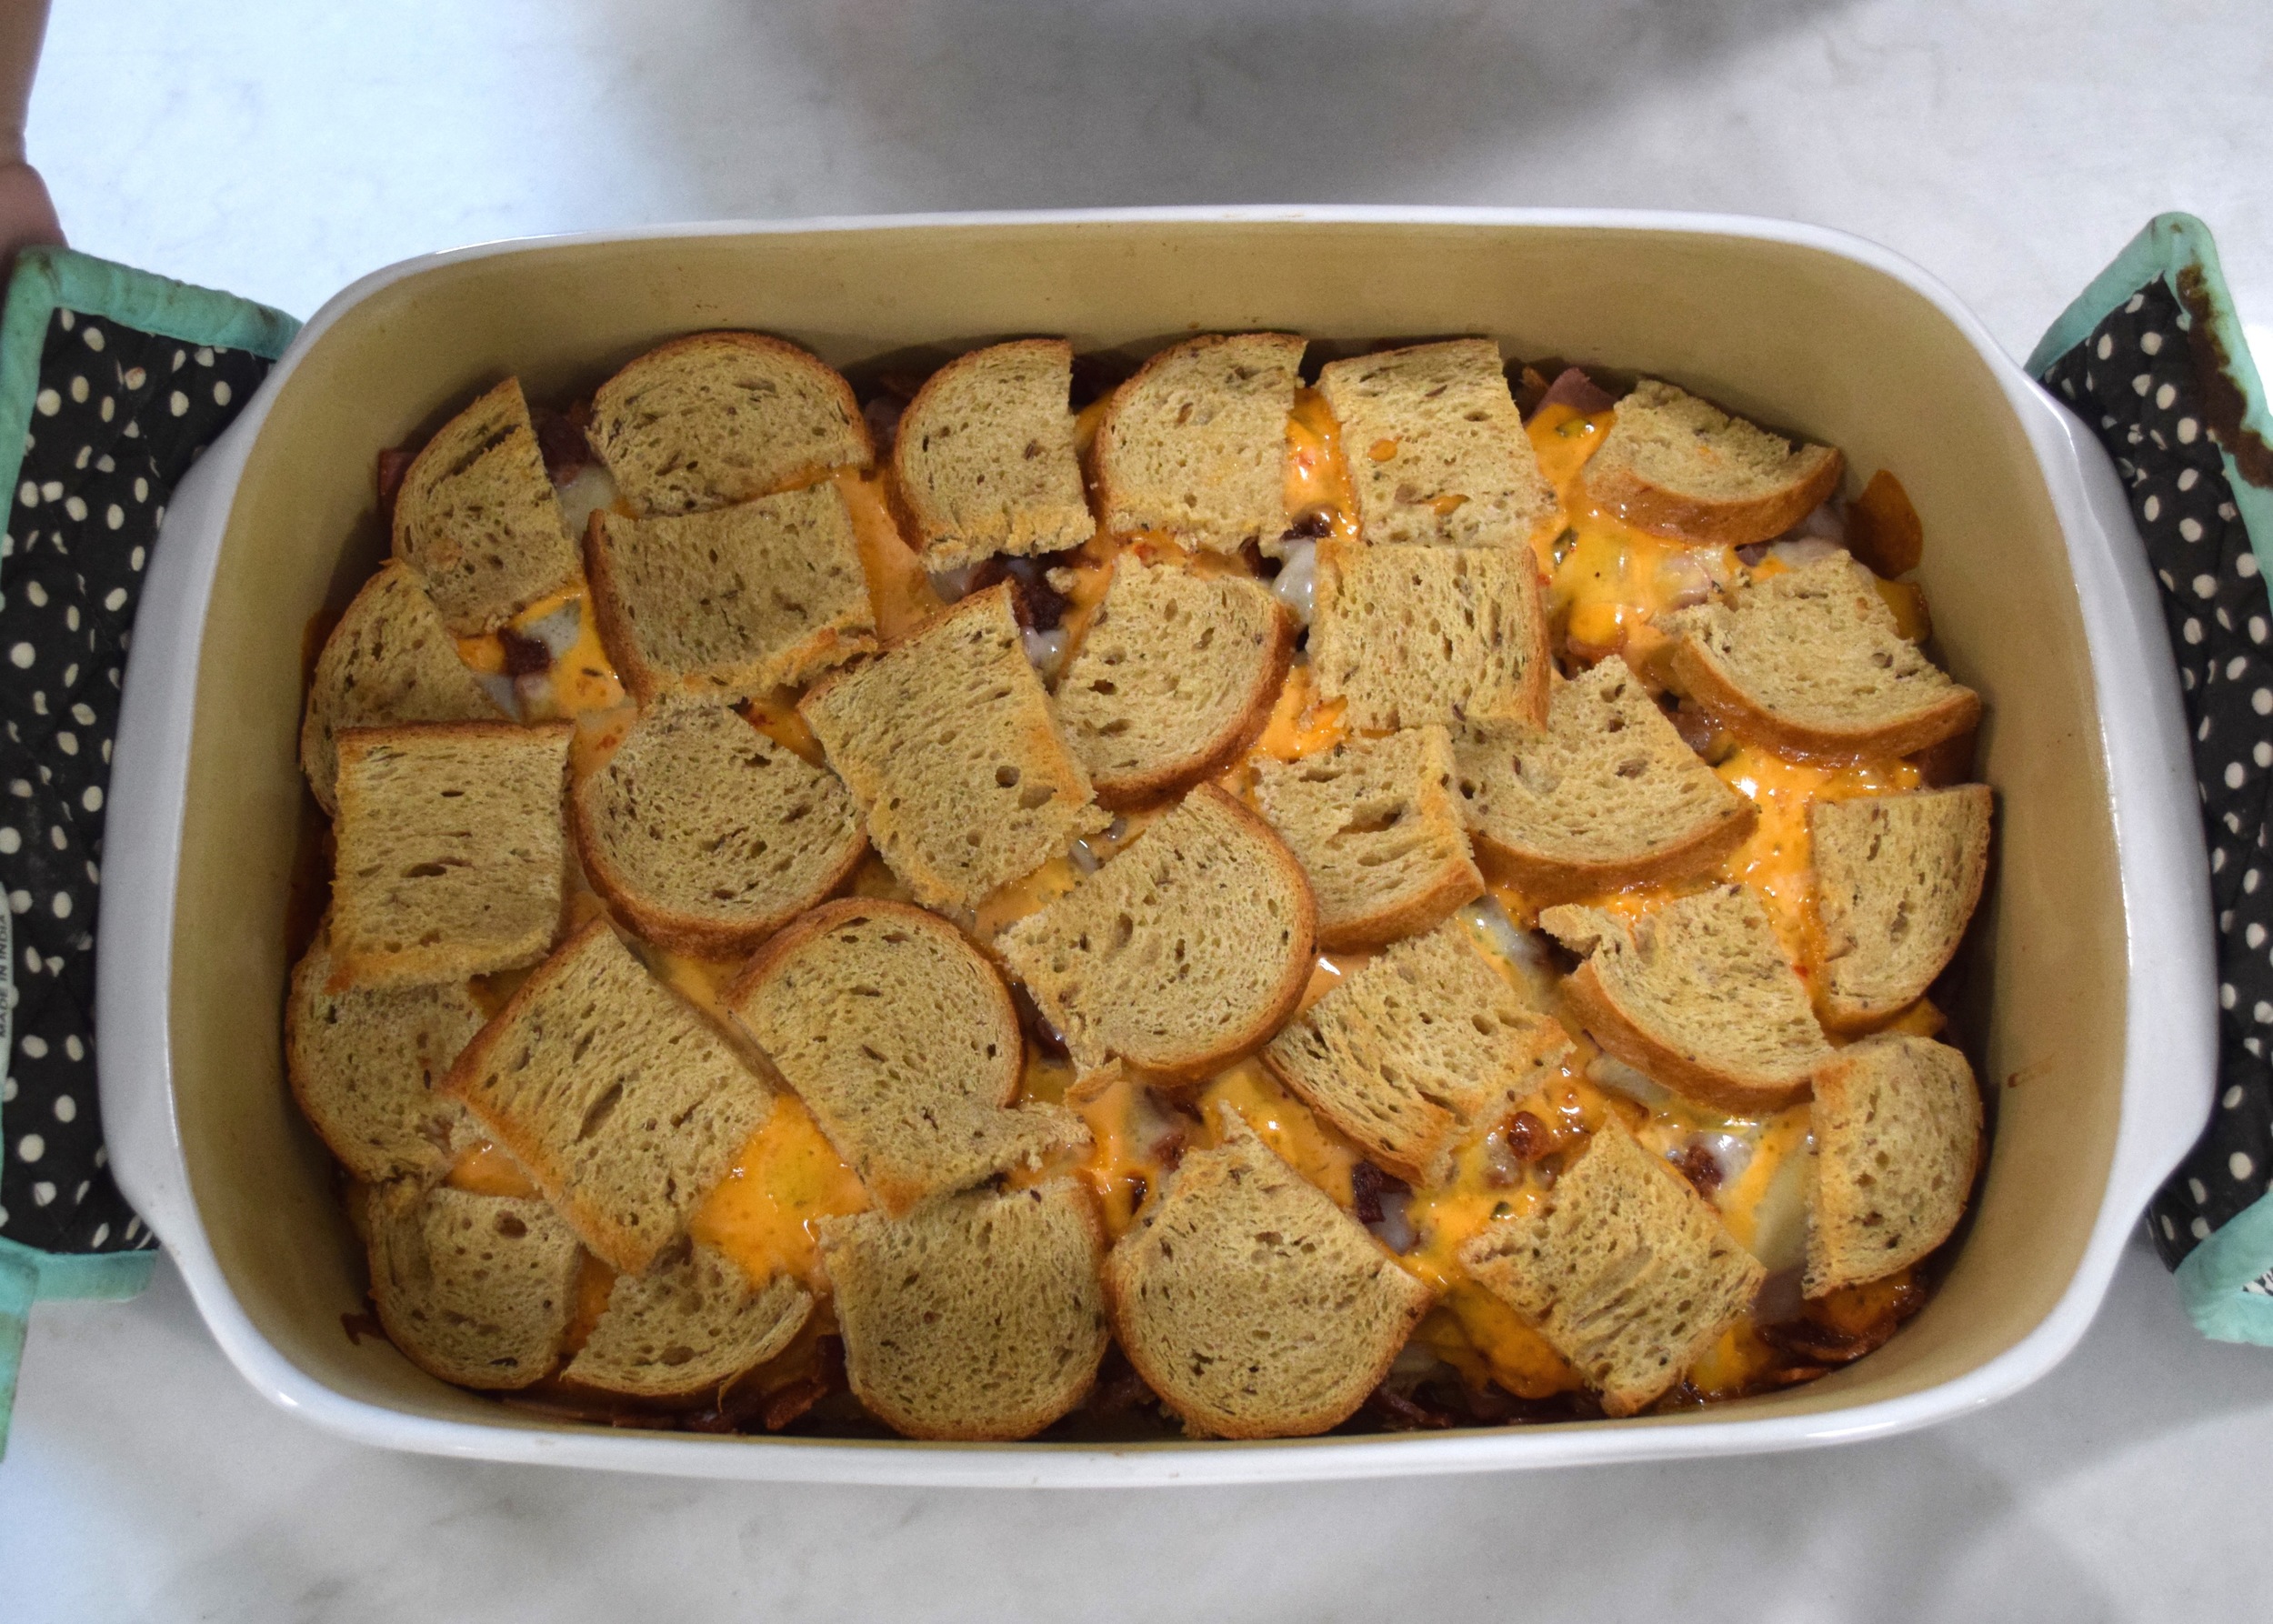
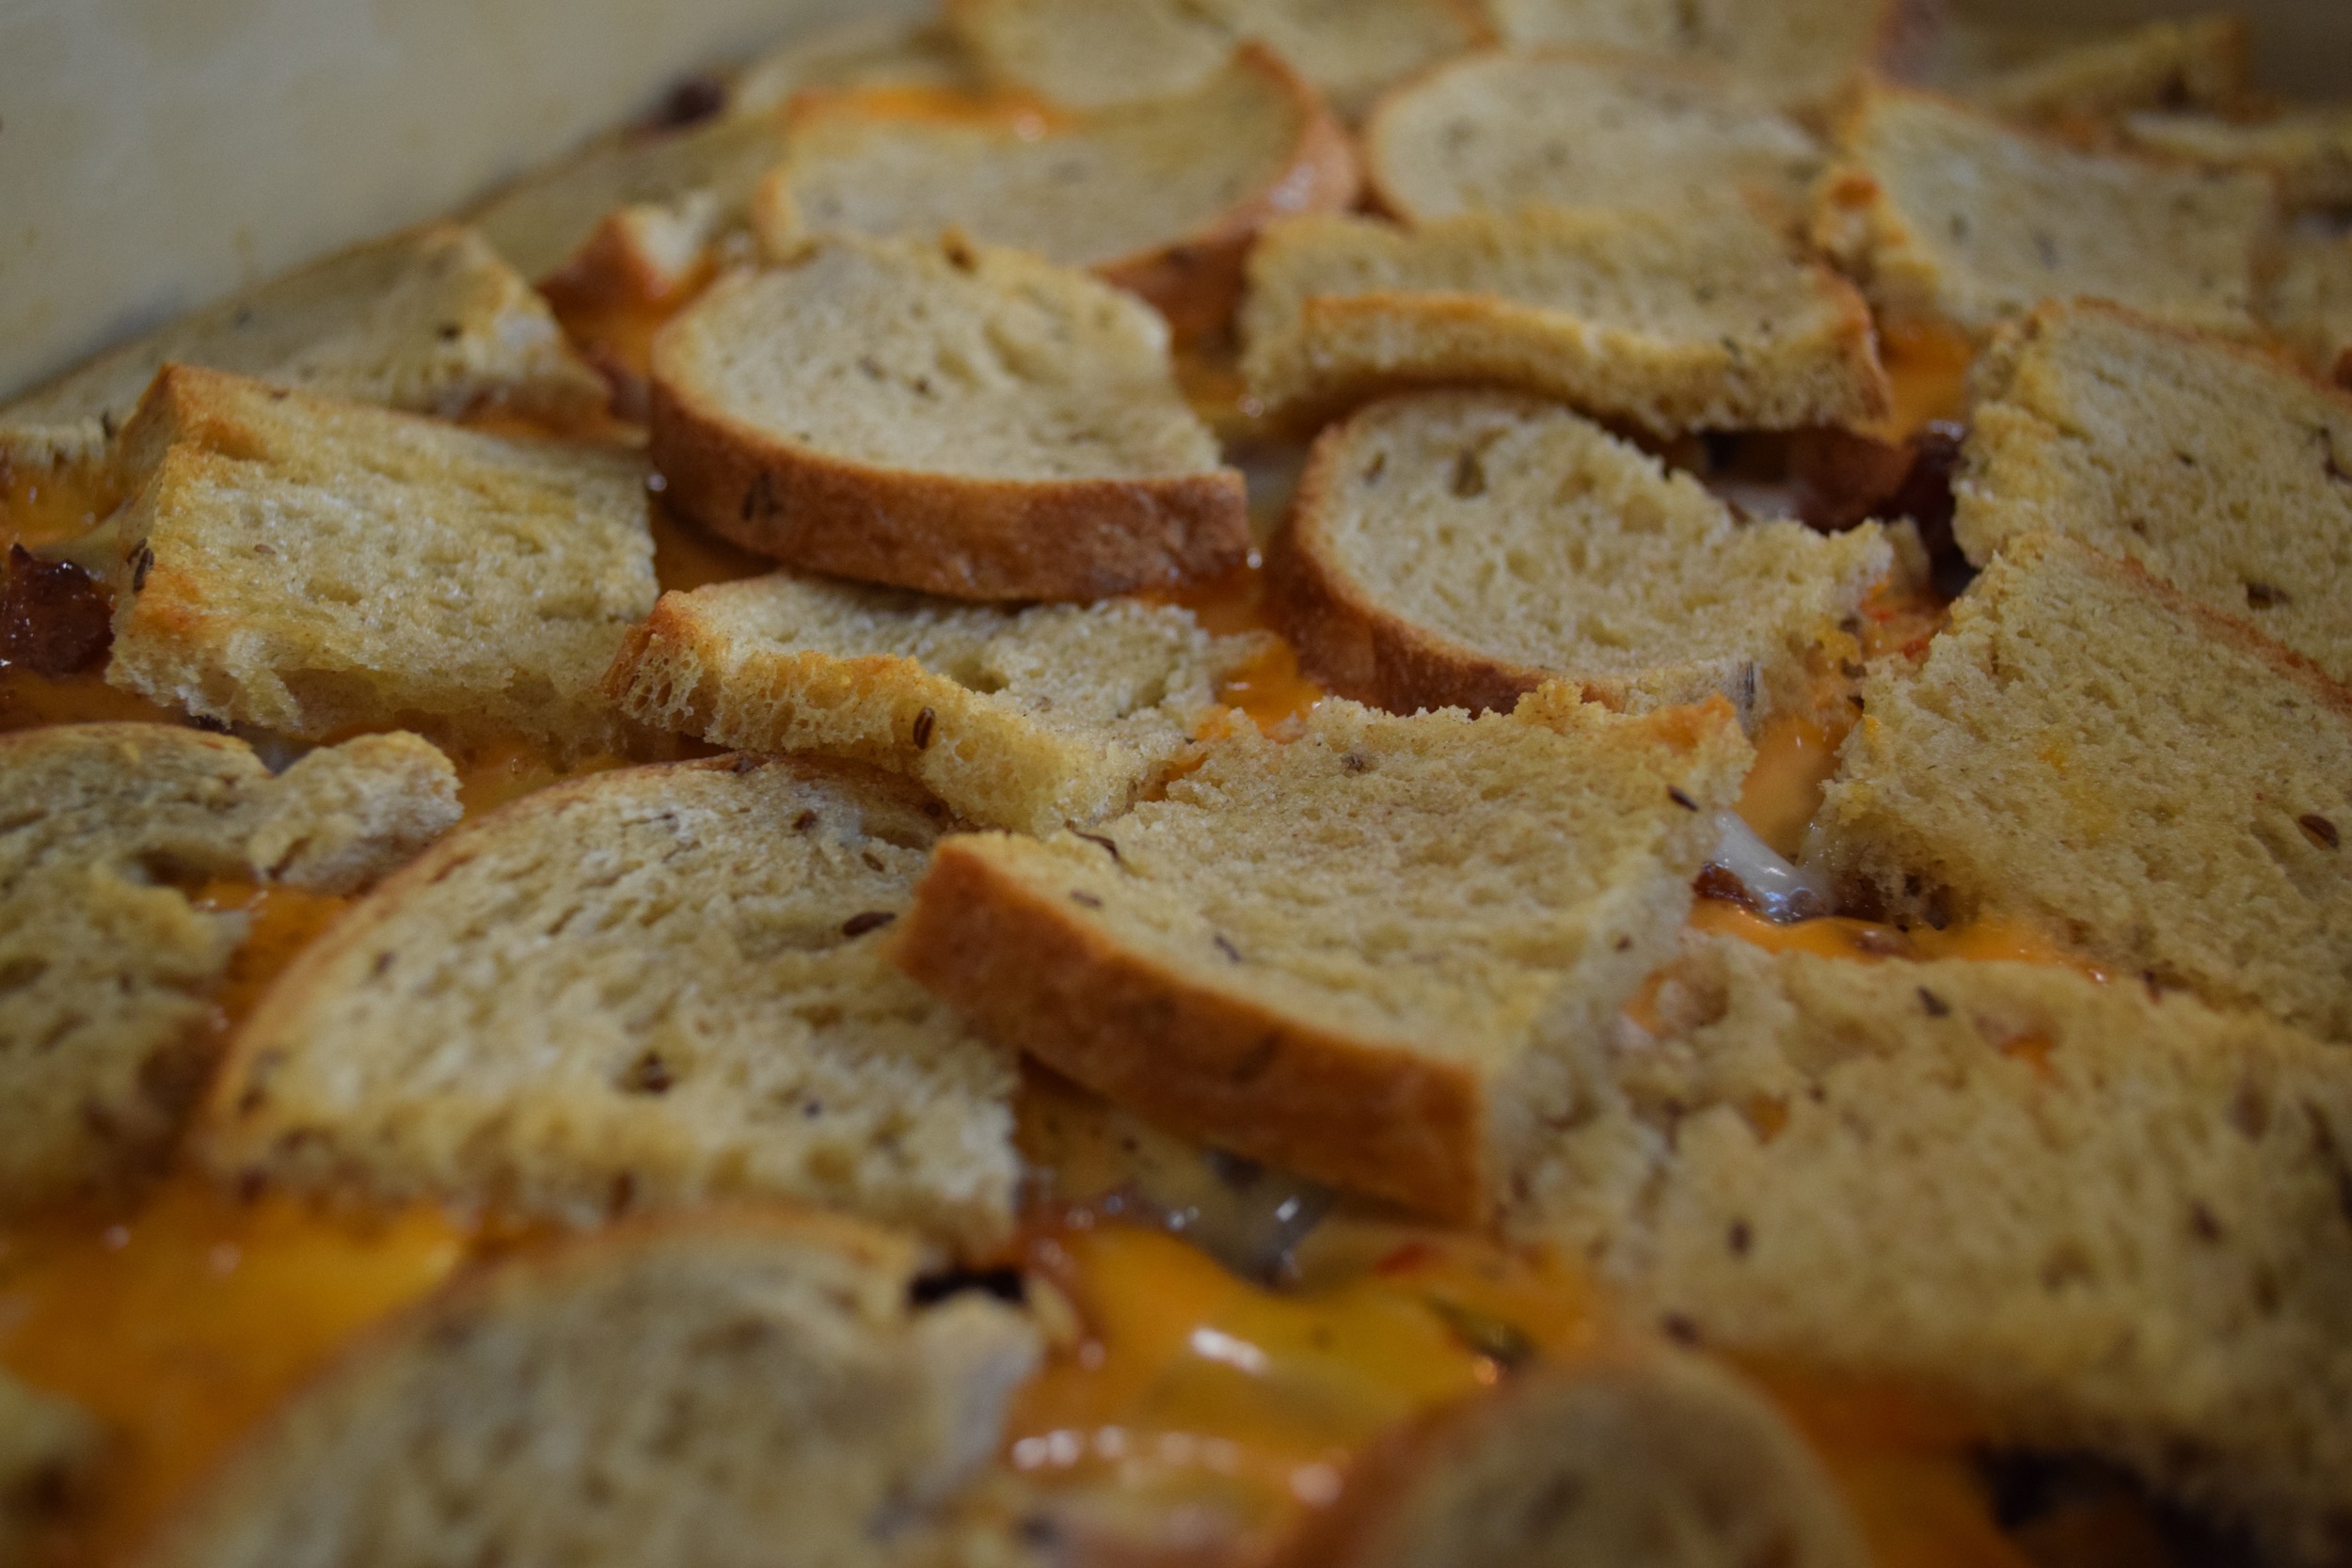
Anyway, back to making it.  You butter the bottom of your dish, then layer like a sandwich: rye bread (topped with a little butter), provolone cheese, ham, turkey, bacon, Swiss cheese, Russian dressing, rye bread (a just a bit more butter).  Cover it with some foil so it doesn't burn while the cheese melts, bake it for 20 minutes at 400 degrees.  Uncover it and bake for 5 more minutes to toast up the bread on top. It's that easy! Enjoy!

White Russian Casserole

Serves 6-8

Ingredients:

  • 6 tbs. butter, melted
  • 10 slices of Rye bread, cut in 1-inch squares
  • 4-6 slices of Provolone Cheese, cut in 1-inch squares
  • 8 oz. deli sliced ham, cut in 1-inch squares
  • 8 oz. deli sliced turkey, cut in 1-inch squares
  • 1 lb. bacon, cooked, and diced
  • 4-6 slices of Swiss Cheese, cut in 1-inch squares
  • Russian dressing

Preheat your oven to 400 degrees.

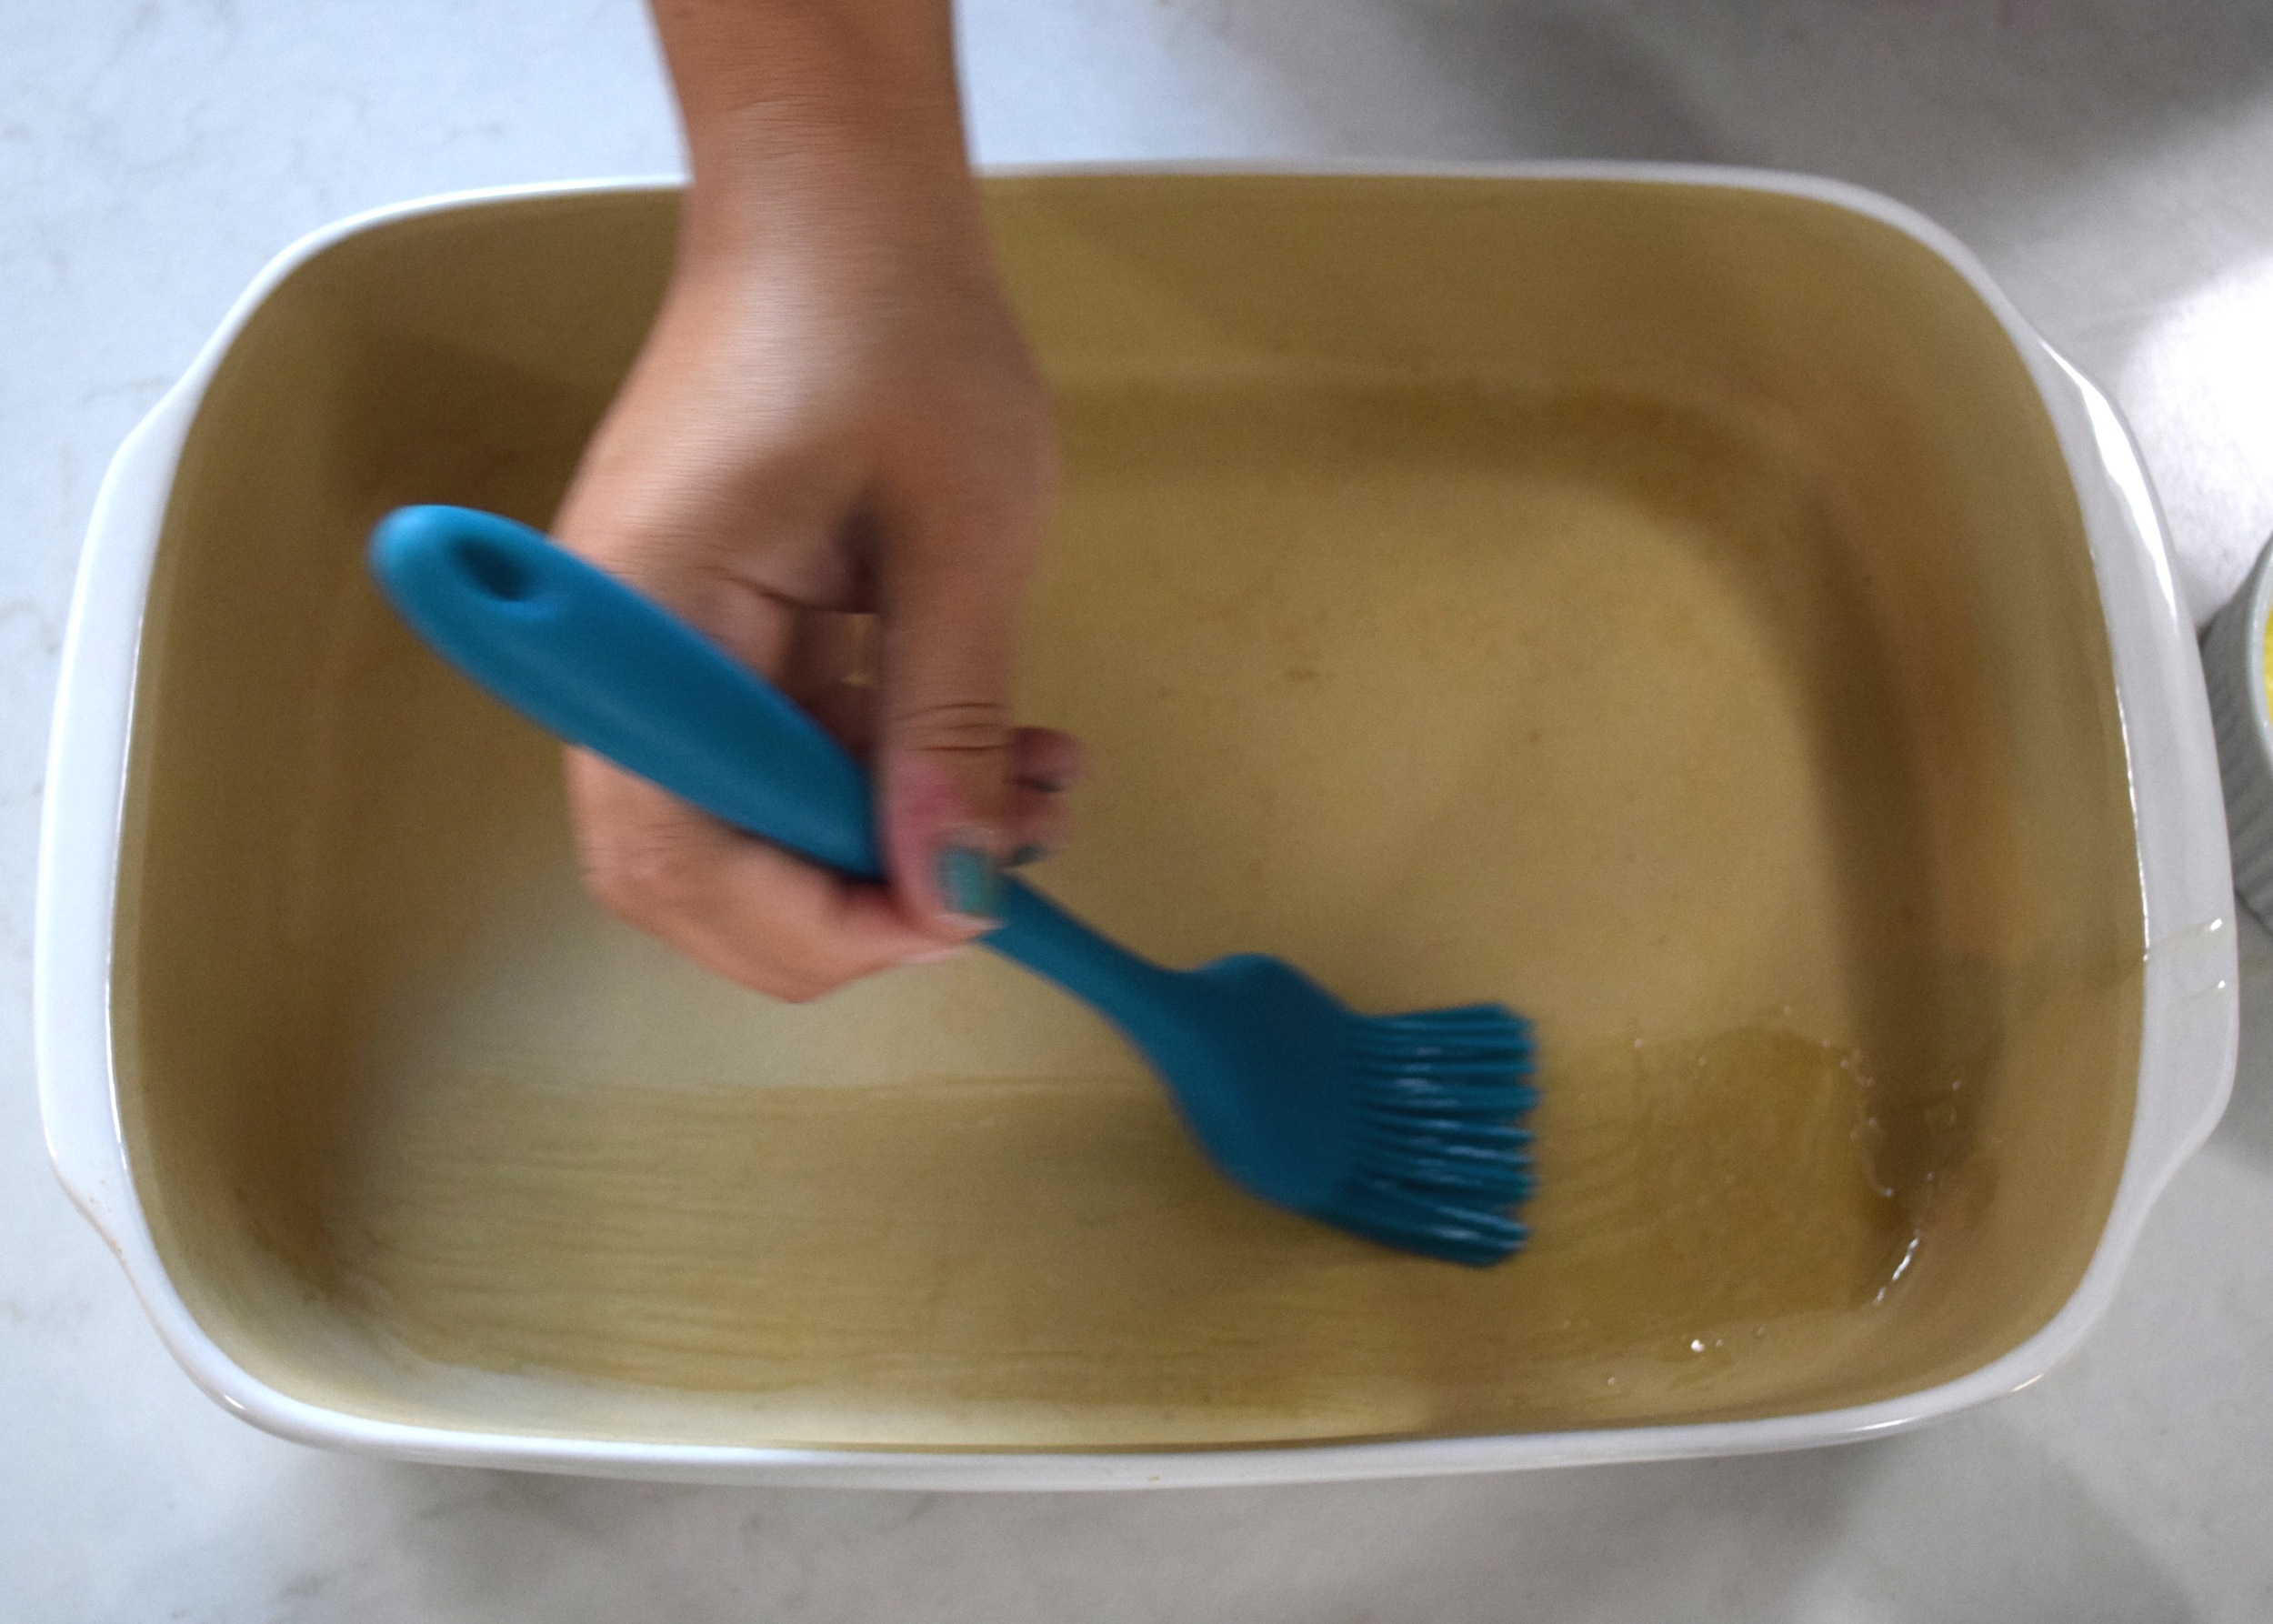
Brush the bottom of a 12x9 casserole dish with the melted butter.  Layer half the bread on the bottom of the dish, brush with butter.

Layer the Provolone cheese on top of the bread, followed by the ham, then turkey, bacon, and Swiss cheese. 

Drizzle Russian dressing over the entire casserole (amount to your preference).

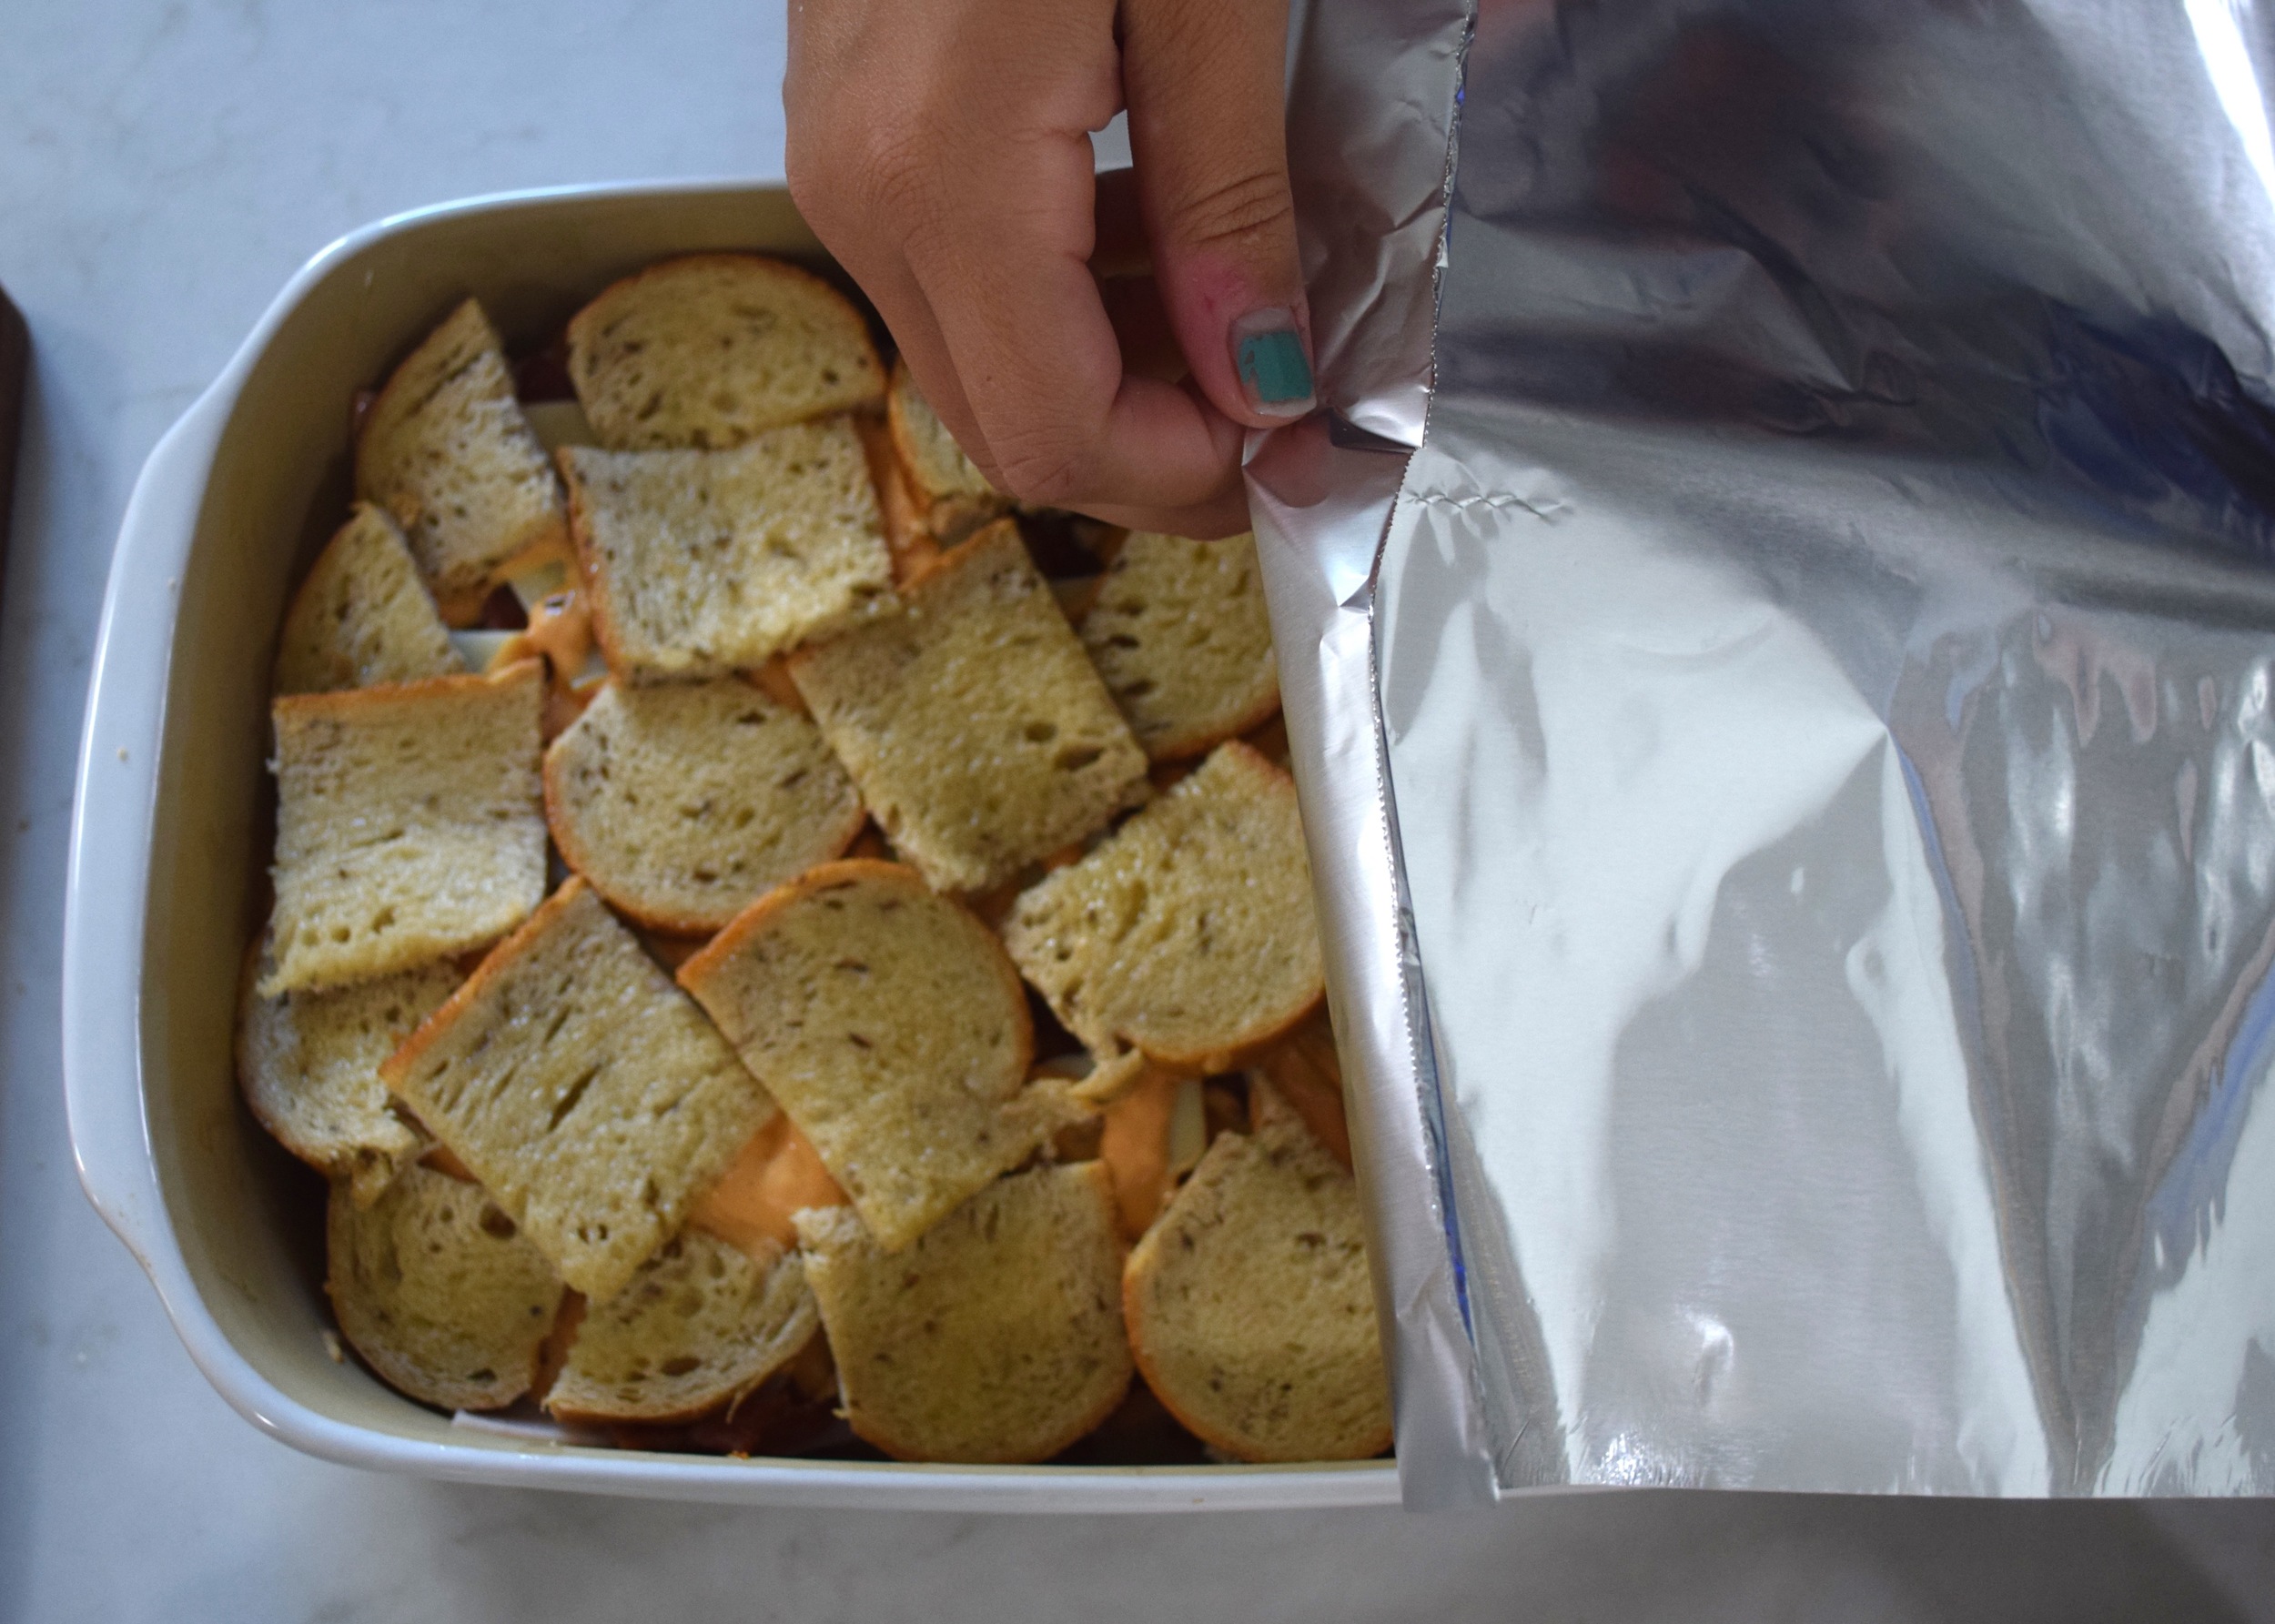
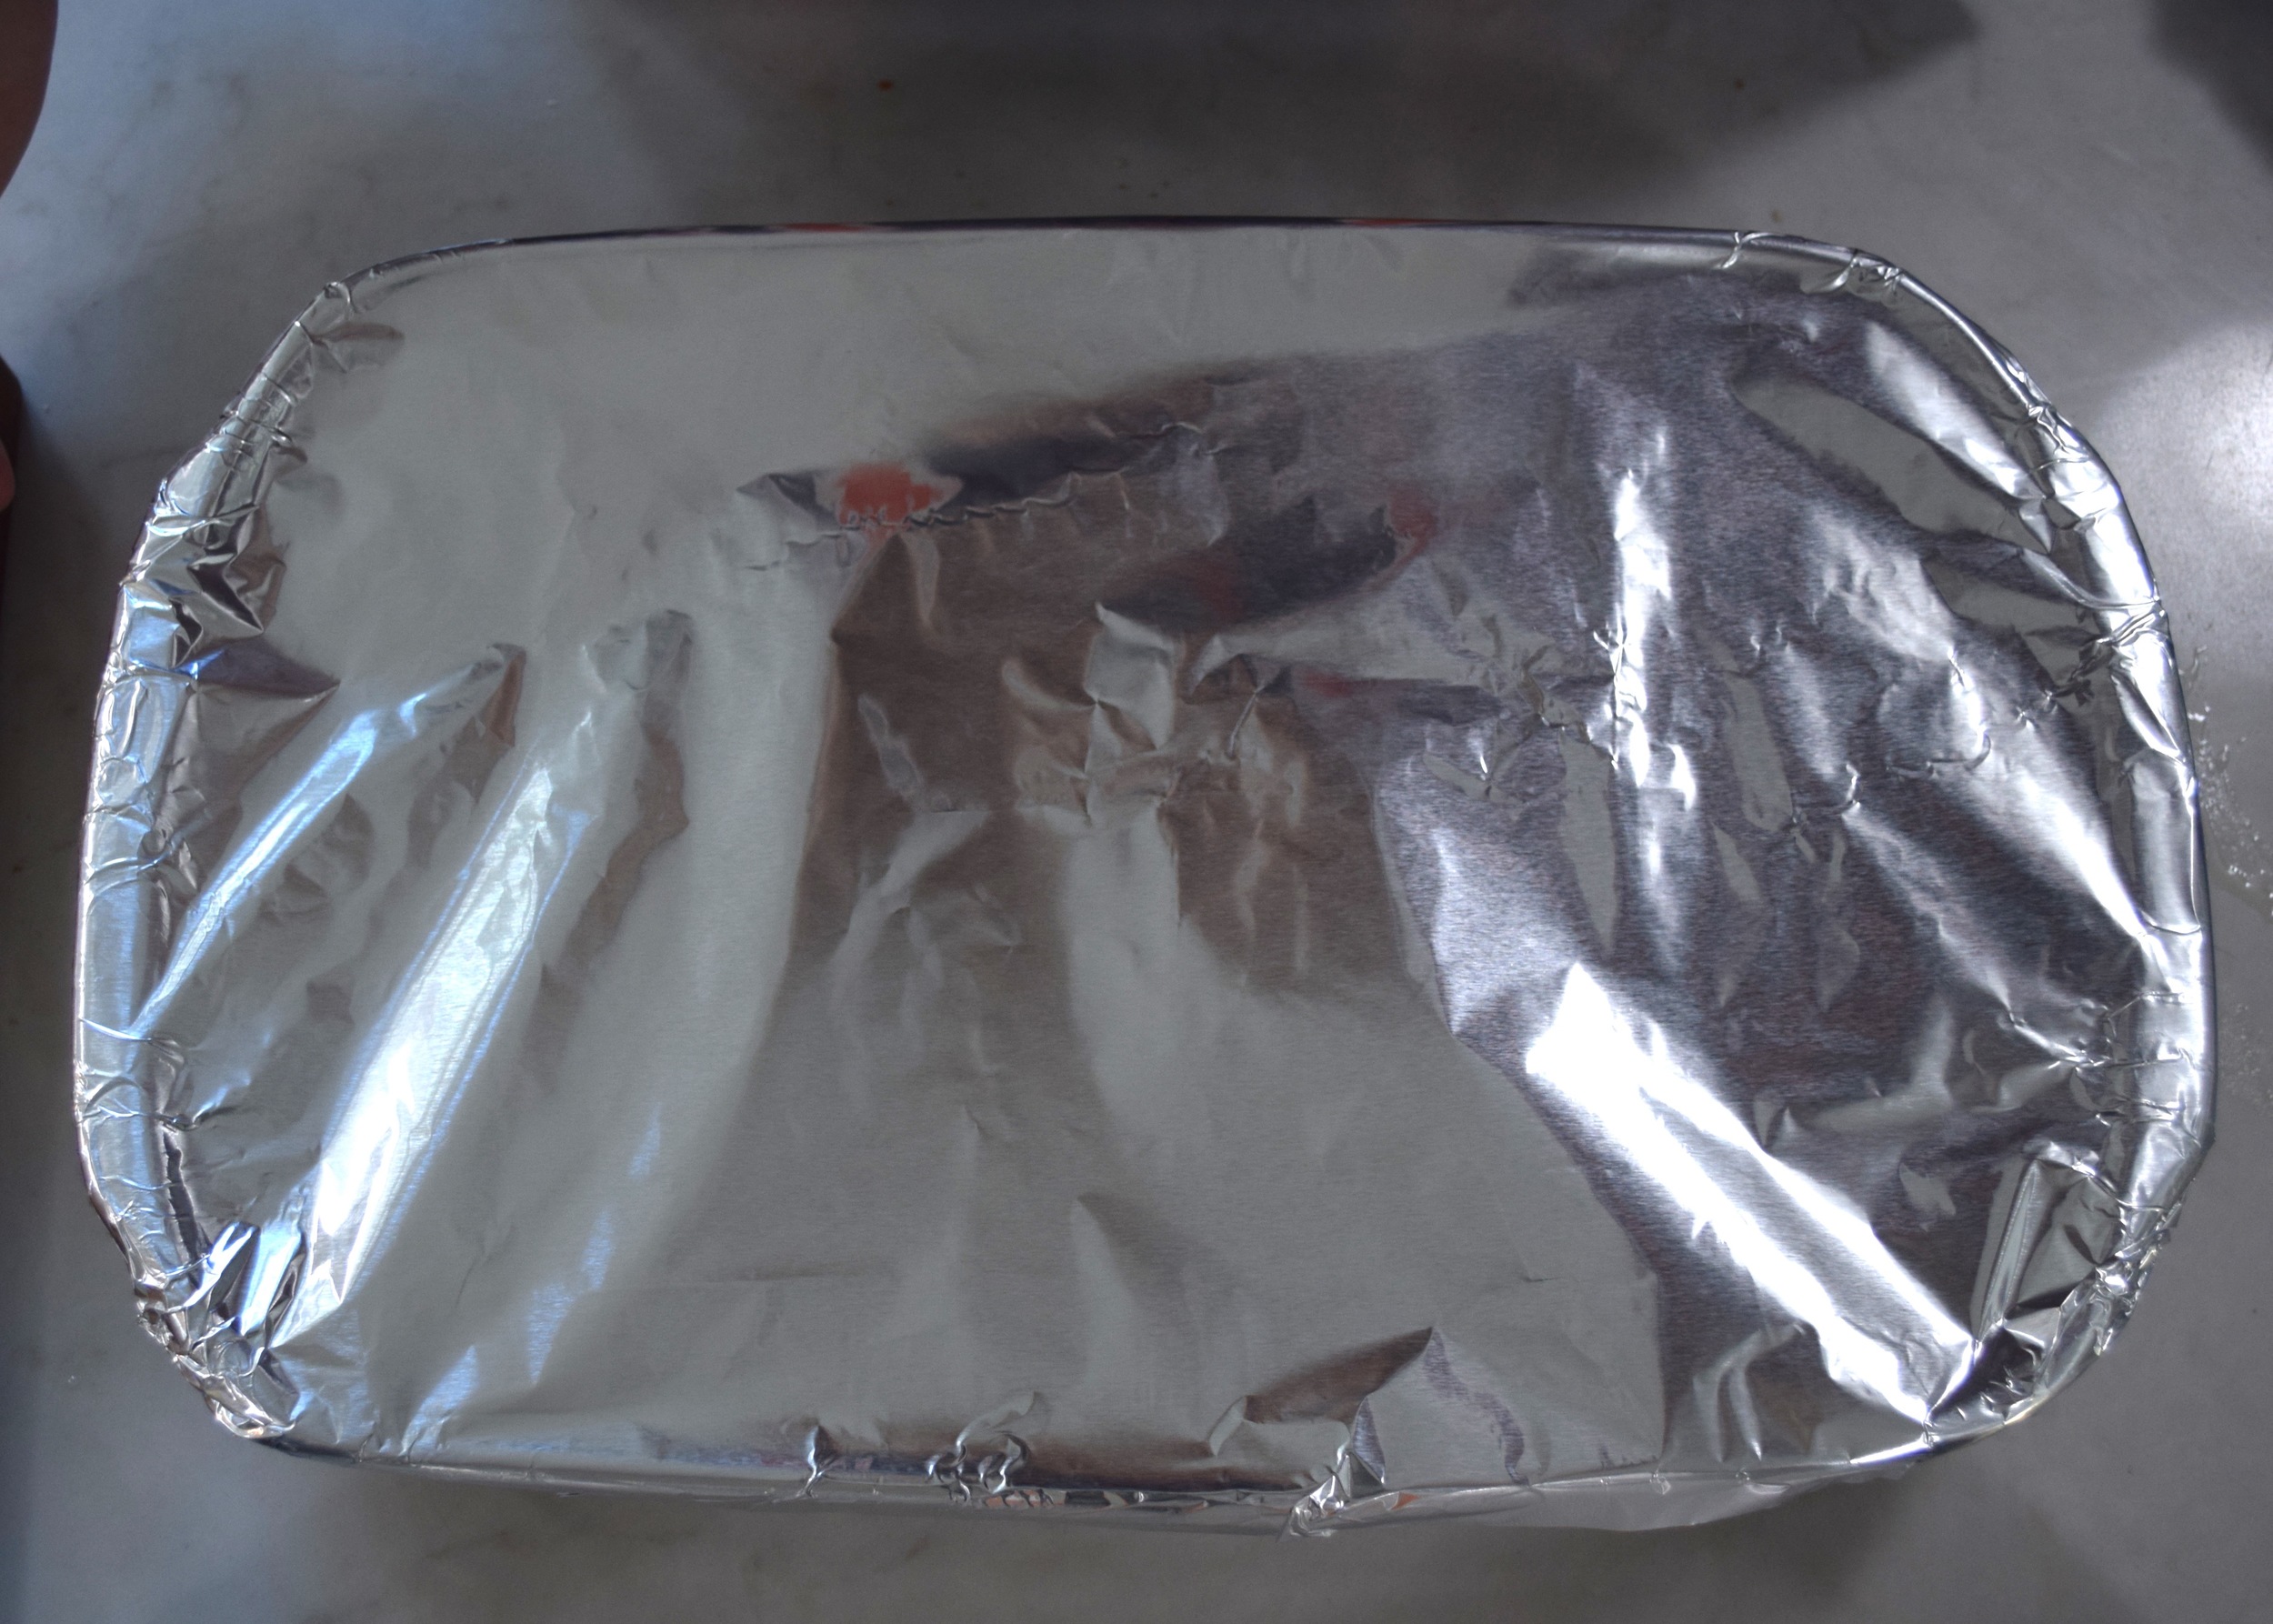
Top with the remaining rye bread, brush with butter.  Cover the casserole with aluminum foil.

Bake, covered, for 20 minutes.  Remove the foil and bake for an additional 5-8 minutes, until top layer of bread is toasted golden.

The Perfect Bagels

I'm not even a little bit exaggerating when I say that.  When I made these and tasted them, I almost couldn't believe it. They tasted just like the bagels I grew up on in New York.  Then when I ate one the next day, just as good!  I even did you all a huge favor and ate one lightly toasted, medium toasted, heavily toasted.  I ate one fresh out of the oven un-toasted! I made breakfast sandwiches with them.  I made lunch sandwiches with them. 

New York Style Homemade Bagel

I wanted to be appropriately thorough before declaring victory on the homemade bagel.  It has been a thorn in my side ever since I moved out of NY when I was 18 and went to California.  The bagels there are okay, the bagels here in Texas are less-okay.   And trust me, we have plenty of "New York Style" bagel shops here.  I have tried them all (I like to be thorough).  It was disappointment after disappointment.

Chanel and I had even been making this recipe from The Sophisticated Gourmet for the last year, yielding pretty decent results.  But something was always off.  They were too light.  The next day they got sticky.  They were too dense.  They were still better than Einsteins, but.. not quite right.

Then last week I was listening to NPR and heard a story on the water-bagel connection that has long been the stuff of legend.  I knew the water was the perfect pH and softness (or hardness, whichever), but thought testing, filtering and treating my water might be pushing the limits of my dedication.  I knew I should be using high-gluten flour.  I knew I was supposed to boil them before baking to get the right crust.

Proofing.  That was what we had been missing.  I didn't know that bagel shops in NY proofed their bagels and then cold retarded them. It was the key.  I am telling you.  As soon as I heard that in the story, I got on the internet and started researching.  I found the two missing keys: I needed to make a sponge then add it to a dough.  THEN I needed to let the bagels rise the second time in the fridge (cold retarding).

Supposedly, the serious guys do this for 36 hours.  I don't have that kind of patience.  So I do it for like 4. I tried to even make it over night the first time, but I couldn't contain my excitement and I cooked them after 4 hours. I can only imagine the potential you could unlock by waiting overnight.  I even used the wine fridge instead of the regular fridge so that the temperature would stay as consistent as possible and food smells wouldn't seep into the dough.

When they were done I was so glad I had made these adjustments.  It was a total game changer. I highly recommend whipping up an everything bagel topping mix and using that (because its my favorite).  I also think these have tasted the best toasted, and trust me on this, just do it, with butter then cream cheese.  Just trust me, yes its decadent, but it's without a doubt, the best way to eat a bagel.  Aaron takes it up a notch and grills the bagel face-down on the griddle in butter, then tops with cream cheese. Trust me, do it.

New York Bagels

Makes 12 medium or 8 large bagels

Ingredients:

  • 2 packets of active dry yeast (4 1/2 tsp)
  • 3 tbs. granulated sugar
  • 4 cups warm water
  • 6 cups bread flour (high-gluten flour)
  • 3 tsp. salt
  • 1 tbs. baking soda
  • Corn meal
  • 1 egg
  • Everything Topping Mix: 1 tbs. each of poppy seeds, sesame seeds, dried minced onion, caraway seeds and 2 tsp. coarse salt

MAKE THE SPONGE

In a large mixing bowl, combine the yeast and sugar.  Stir together gently so they are evenly distributed.  Pour 1 cup of warm water (100+ degrees, in my opinion, hot) over the yeast and sugar.  Do not stir. 

Let the mix sit for 5 minutes, it should be foamy and frothy.  If its not, your yeast is bad.  Stop and start over.

Stir in 1 cup of bread flour.  Slowly add a second cup of flour, a little at a time, until it is the consistency of a thick batter, but not a dough.  You may not need the whole second cup (I only needed about 2/3).  Put the remaining flour into a separate, large mixing bowl.

MAKE THE DOUGH

In the bowl with the left over flour, add another 3 cups of bread flour and 3 tsp. salt.  Mix together and make a well in the middle.

Pour 1 cup of water into the well, pour the sponge on top and mix it all together with your hands.

When its combined, make another well in the middle of the dough, Add the remaining cup of flour and top with half a cup of water.

Mix it well with your hands. You want your dough to be smooth and elastic without being sticky (a tad bit tacky is okay, but you don't want it clinging to your fingers and coming apart).  You may need to add more flour if it's too sticky, or more water if its not elastic enough.

When smooth and elastic, form into a large ball and place it in a lightly oiled bowl, cover with a damp cloth and let it rise until doubled in size, about 90 minutes. This may take more or less time for you, depending on your room temperature and humidity.  Make sure its doubled in size, don't worry about the time.

THE COLD RISE

Once the dough is doubled in size, punch it down and knead it for just a few minutes.  Using a sharp knife, divide the dough into equal portions (8 or 12 depending on the desired size of bagels).  I roll it into a log, then cut it in half, and cut the halves in half, etc.

One at a time, form each portion into a smooth round ball.  Firmly push your finger down through the middle of the ball and then gently pull the dough into a ring with your ringers.  Stretch the ring as wide as you can without tearing the dough.  Place each shaped bagel onto a cookie sheet dusted with cornmeal (I needed two).

Cover the sheets lightly with plastic wrap (you don't want to apply pressure to the dough because it will still be rising, but you don't want it to dry out).  Put the cookie sheets into the refrigerator for at least 4 hours, or overnight.

THE BOIL

Fill a large pot 3/4 of the way full with water.  Add 1 tbs. salt and bring the water to a boil. 

While you wait for the water to boil, preheat your oven to 475 degrees.  Line two cookie sheets with parchment paper and then dust with cornmeal.  In a small bowl, whisk the egg with some water to make an egg wash.  Assemble your desired bagel toppings. Set all aside, close to the stove if you can.

Once its boiling, add the 1 tbs. baking soda. Gently drop two or three bagels, one at a time, into the boiling water.  Don't over crowd or they can stick together.  Boil for 2 minutes, then using a spoon, flip them over and boil for another 2 minutes on that side. 

Remove from the boiling water with a slotted spoon or strainer.  Place onto a prepared baking sheet, brush with egg wash and top with your desired toppings. Repeat with remaining bagels.

THE FINISH

Bake for 10 minutes in the middle of the oven, or until golden.  I rotated mine halfway to make sure they browned evenly, but every oven is different.

Remove from oven and cool on wire racks.


Lemon Blueberry Shortbread Bars

Chanel and I are already huge fans of citrus baked goods, lemon bars and cookies in particular.  They are so fresh tasting and tangy sweet.  So when Clay said lemon bars were his favorite desert, I got super excited to try something new for the baby shower I was throwing to celebrate him and his wife Katie and their expected baby boy.

This version is a variation of a recipe I saw from Fresh April Flours - the way we did it made the prettiest layers of shortbread, topped with oozing blueberries, and then a lemon custard and crumble top.  Even the colors coordinated perfectly with the baby shower, gold and purple.  They were a huge hit.  A couple people even asked to take some home after the party was over.

Lemon Blueberry Shortbread bars

Adapted from Fresh April Flours

Makes 24 Bars (recipe can be halved)

Ingredients

FOR THE CRUST

  • 2 cups (4 sticks) unsalted butter, melted
  • 1 cup granulated sugar
  • 1 tbs. vanilla extract
  • 1 teaspoon salt
  • the zest of two lemons, divided
  • 4 cups all-purpose flour

FOR THE FILLING

  • 16 ounces (2 bars) cream cheese, room temperature
  • 4 large eggs
  • 2 cup granulated sugar
  • 11 ounces lemon flavored Greek yogurt (2, single serving yogurts)
  • 2 tbs. lemon juice
  • Pinch of salt
  • 1 cup all-purpose flour
  • 18 oz. fresh blueberries

Preheat oven to 350ºF.

Line an 12" x 9″ baking pan with parchment paper and lightly spray with oil. Leave an overhang on the sides. Set aside.

To make the shortbread crust: stir the melted butter, granulated sugar, vanilla extract, salt, and half of the lemon zest together in a medium bowl. Add the flour and stir until combined. Reserve 1 1/2 cup of the shortbread crust and place in the refrigerator or freezer until needed. Press remaining crust evenly into the prepared pan. Bake for 15 - 18 minutes while you prepare the filling.

To make the filling: in the bowl of a stand mixer fitted with the paddle attachment, or in a medium sized bowl with a hand mixer, beat cream cheese on high until smooth. Beat in eggs, scraping down the sides as necessary. Add sugar, lemon flavored Greek yogurt, remaining lemon zest, lemon juice, and salt and mix thoroughly. Add flour and mix again until just combined.

Once the crust has cooled to the touch, cover with a single layer of blueberries (you may have some left over).

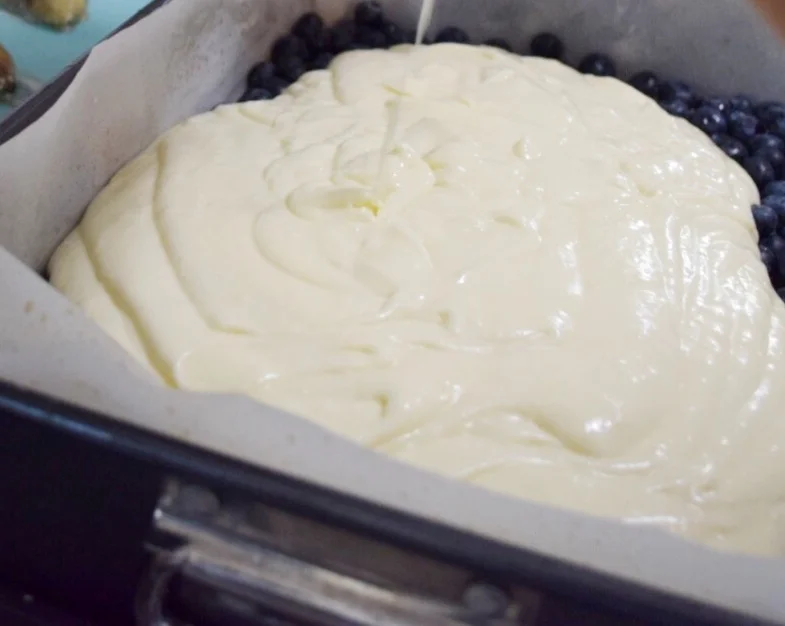
Pour filling over the blueberries carefully. Remove reserved crust from refrigerator and crumble into pieces with your fingers, then sprinkle over top of the filling. Sprinkle with sugar (or Sugar In The Raw). Bake bars for 55-60 minutes minutes, or until toothpick placed in center of pan comes out mostly clean. Allow pan to cool at room temperature on a wire rack. When completely cool, chill in the refrigerator for 1 hour.

When bars are completely chilled, lift out of the pan using foil overhang and cut into squares. Top with lemon zest before serving. Bars can be stored covered in the refrigerator up to 5 days.


NY Deli Macaroni Salad

I grew up in NY and we love our delis.  I mean, really, love delis.  There are two basic and important kinds: Jewish and Italian.  They both are similar, but feature some different types of specialties - one of which is the Macaroni Salad.  I have no idea if it started in a Jewish deli or an Italian one, but I think these days you can find it in either. 

Some variations have a whiter, more sour sauce - others, like this one, have a pinkish, sweet and tangy sauce.  That's my favorite kind.  I have spent YEARS since moving away from NY trying to figure out how to make it.  I had no idea what the secret to the recipe was, or what flavor it was that I was missing, but a few tweaks to this fantastic recipe from The Comfort of Cooking and I finally got it!

Every time I have made it, I loved it even more.  I will say this about the recipe though, it makes A LOT of macaroni.  So its great for a party or a pot luck, but not the easiest thing to get through if you just make it for yourself.  It keeps well in the fridge though and tastes better over time.

One of the biggest determining factors in the taste of this salad is the pickles and resulting pickle juice that you choose.  The original recipe recommends using a specific brand, Wickles Pickles, and I strongly urge you to do the same if you can find them. If not though, it will still taste good with some Vlasic (which I've used before as well).  You want to find a sweet and sour variety.

Final note on the pickles - I buy spears and then dice them.  However, before you dice up the spear, slice off the seeded, mushy parts so you just have a crisp pickle to dice up.

NY Deli Macaroni Salad

Serves 12

ingredients:

  • 1 lb. elbow pasta, cooked
  • 1 small jar (15 oz) or roughly 2 cups, mayo
  • 2 tbs. apple cider vinegar
  • 4 tsp. sugar
  • Salt and Pepper
  • 1/3 cup milk
  • 1/3 cup Pickle juice from Sweet and Sour pickles
  • 1 jar (16 oz) roasted red peppers, diced small
  • 3/4 cup diced sweet and sour pickles
  • 1 bunch green onions, sliced small

Whisk together the mayo, vinegar, sugar, salt and pepper, milk, and pickle juice.  Taste and adjust seasoning, I like to add a bit more pickle juice normally.

Stir in the peppers, pickles and green onion.

Pour over cooled macaroni and stir until evenly coated.  Refrigerate for at least 2 hours before serving for flavors to meld.

Picnic Sandwiches

Its the end of summer, beginning of fall: the perfect time to get outside.  You still have enough light to enjoy summer activities like BBQ, and picnics, and events at the park.  Certainly here in Austin, I feel like we are finally getting back outside as the heat of summer eases up.  With that in mind its the perfect time of year to have a few people over for casual get-togethers over the weekend.  Easy, simple, but tasty foods are great to have in your back pocket for things like this.

The pulled pork sandwiches and chicken salad I made for Katie's Shower are exactly those type of things.  It was a cinch to put them together for a crowd without breaking my back and slaving in the kitchen.  You can prep both meats in the crock pot, or do the pork in the smoker (like Aaron likes to).

Pulled Pork Sandwiches


The pulled pork sandwiches are probably some of my favorite.  It's a really simple flavor concept that I think is always a win: sweet, spicy and savory.  Aaron does the pulled pork in the smoker (a 8-10 lb pork shoulder or butt), he puts a brown sugar rub on it.  Or you can put the pork in the slow cooker with your favorite BBQ sauce, a sprinkle of brown sugar, salt and pepper, and a splash of root beer and soda.  As long as the pork gets cooked so tender it falls apart - you are good to go.

Put your pork in a bowl and shred it with two forks, your hands, or Chanel's secret weapon (the hand mixer!).  Then prepare the sauce: I like to simmer Stubb's BBQ sauce with 2/3 cup of pineapple juice, 1/4 cup of brown sugar, and a 1/2 cup of hot sauce.  Its a tangy, sweet Hawaiian flavor with a bite.  Simmer it until its thick then pour it into your pork, a little at a time, until its the right consistency for you.  Some people love LOTS of sauce, others less - do you.  I like to serve them on King's Hawaiian slider rolls with coleslaw. 

Classic Coleslaw


The slaw is pretty easy to make also.  Chop 3/4 head of red cabbage, 1/2 head of green cabbage, and 1 1/2 cups grated or shredded carrots.  Whisk together 1 cup of mayo, 1 tbs. white wine vinegar, 1 tbs. apple cider vinegar, 2 tsp. sugar, 1 tsp celery salt, 1/2 tsp. dry mustard, salt and pepper. Taste and re-season as needed - pour the dressing over the cabbage and carrots and combine well, make sure its evenly coated.  I like to make sure it sets in the refrigerator for at least 2 or 3 hours before serving - it lets all the flavors blend and grow.

Chicken Salad Sandwiches


The chicken salad is seriously one of the easiest and most flavorful I have ever had.  You put four or six chicken breasts into the crock pot, cover with chicken broth, season with salt, pepper, sage, poultry seasoning, basil, garlic and dill.  Cook until falling apart with a fork.  Then Chanel used her secret trick (which I will totally tell you), which is to use the hand mixer to shred the chicken.  Its practically magical.

Once its shredded, you add mayo until its the moistness you like, add diced celery and re-season with the original seasonings. For the shower, I served the chicken salad on sliced croissants (thanks, Pillsbury) and it was great.  One of the best things about shredding the chicken (instead of dicing it) is that it tends to hold together better, so when you have lots of little sandwiches, it doesn't fall out the sides and into people's hands when they pick them up.